I finally got my grubby hands on one of these bad boys. It showed up yesterday, straight off the boat from Greece. I wasn't feeling well last night, so tonight was the night.
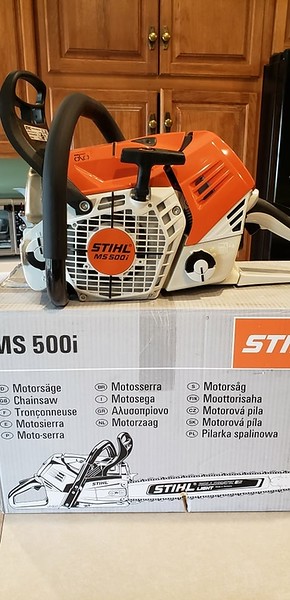
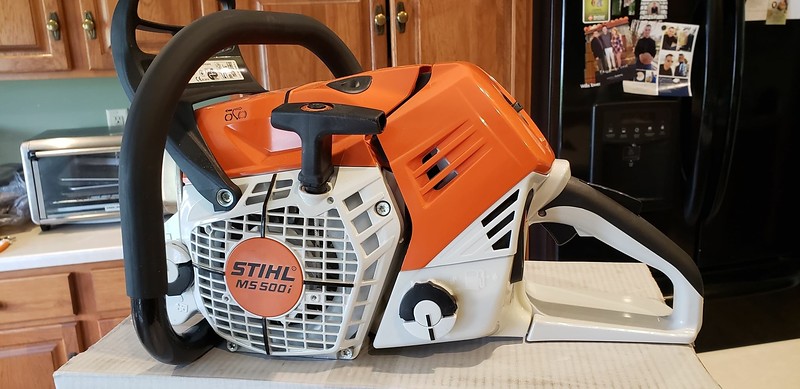
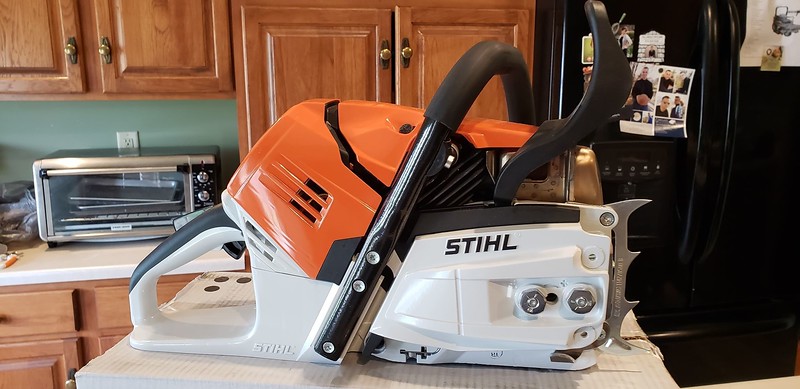
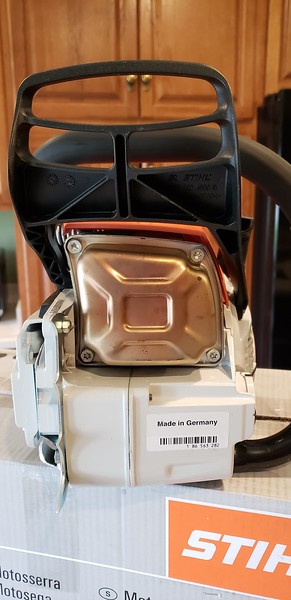
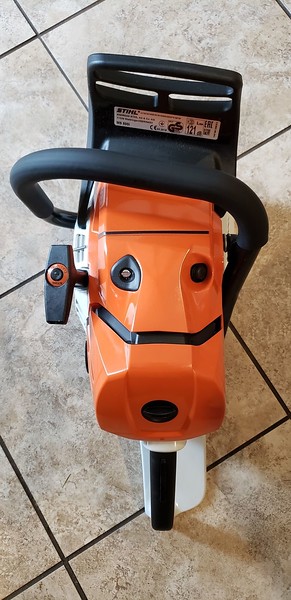
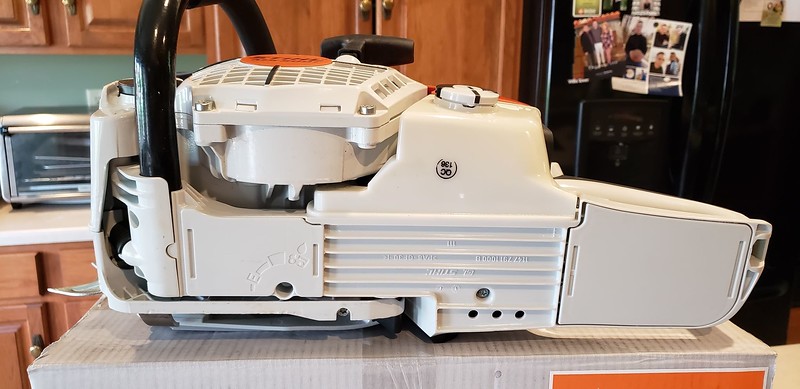
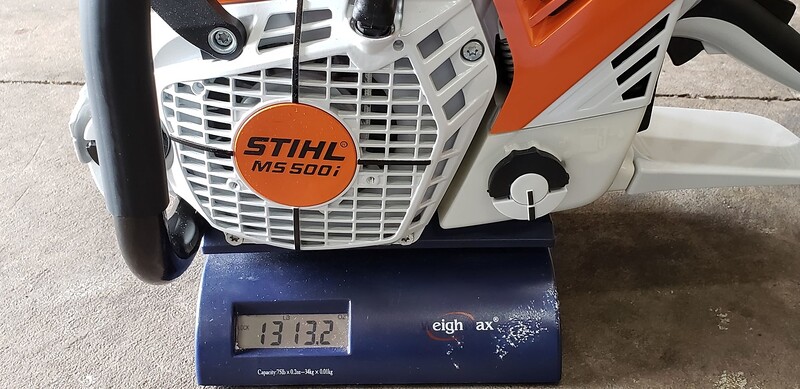
The first two things I noticed was that it started in only 4 pulls and had instant throttle response...brand new, straight out of the box, no fuel ever in it, and cold. It was then time to hit the wood pile. I have very little wood here, so only four cuts were made, basically to make sure it ran right. The cuts in this video are the very first cuts it made, shortly after the very first start. It ran very well with good power and not a single hiccup. It definitely has more power than a new MS462, as it should.
It then went straight to the bench, just like most saws that I port.
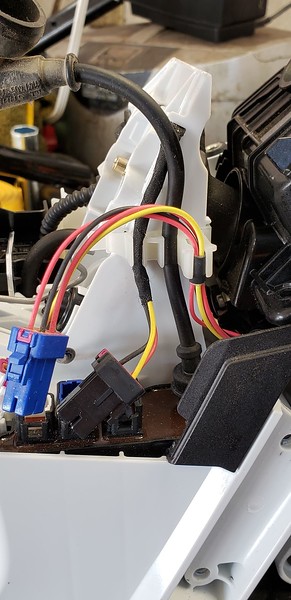
These next couple of pics were simply for reference should I need them for reassembly.
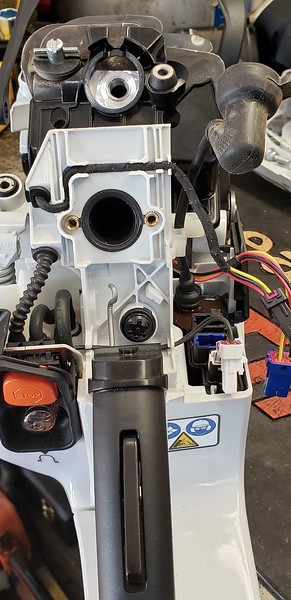
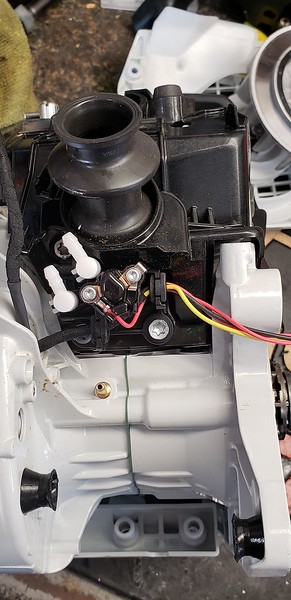
Here's your burn pattern after the first 4 cuts.
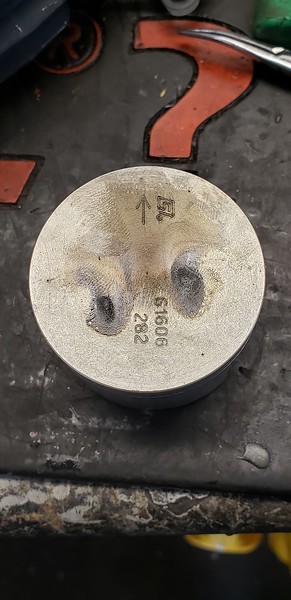
I used a mandrel to cut the squishband. (Thanks Randy! It's the same one you made for me to cut 066/MS660s several years ago). I took the pic after the first cut so that the shape of the squishband would be more evident. I debated doing a popup on the piston, but chose to go with cutting the squishband since the combustion chamber is kind of odd shaped.
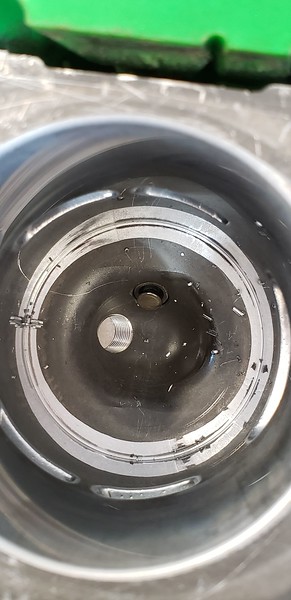
After cutting, I use 120 grit and then 220 grit to smooth and even it up. The sanding will remove any inconsistencies introduced with the cutter. You simply sand until all of the cut surface has been sanded, indicating that there are now no low or high spots.
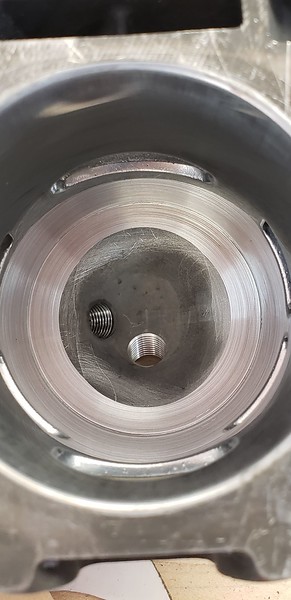
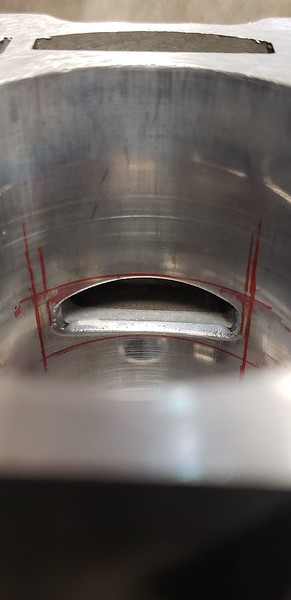
Here's some of my port layout. I like to mark existing port edges, pin locations, and desired port edges.
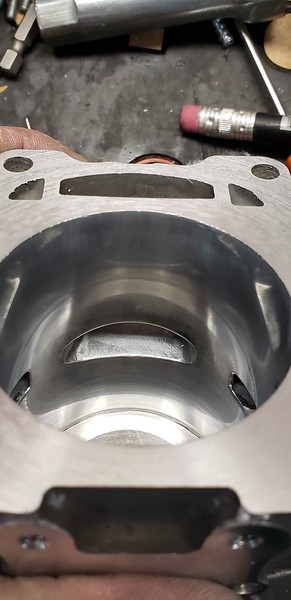
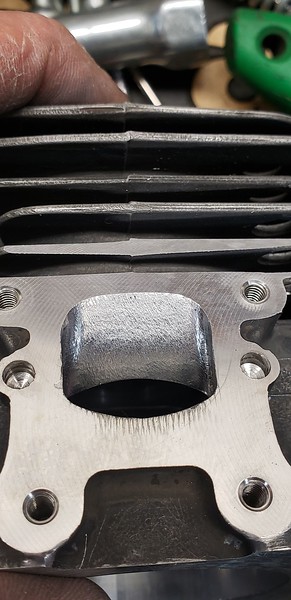
The intake was smoothed and the roof slightly reshaped. It was not made larger in any dimension. There's very little room to widen the transfers due to the ring end location.
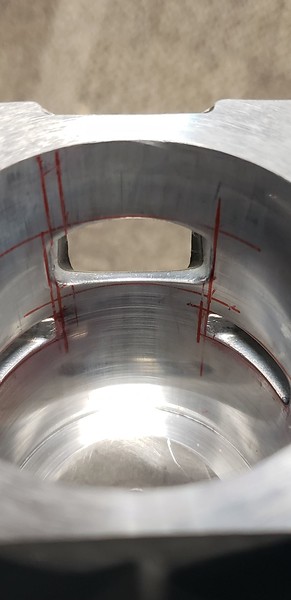
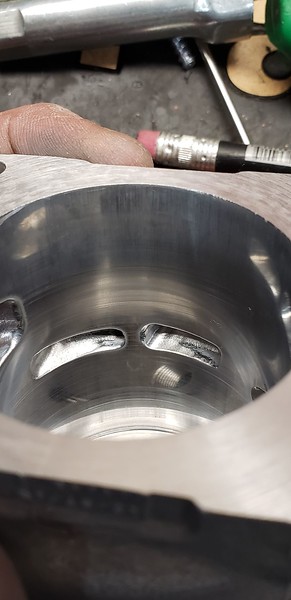
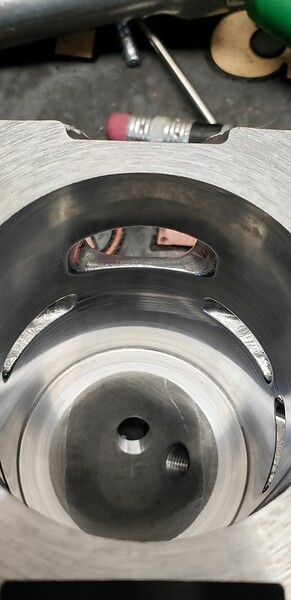
This saw has very short blowdown, so the transfers were only leveled, not raising the front of the port at all. That's why you see a little of the NiSi lining remaining in the port. I left the primaries opening 2° before the secondaries. This is a technique I have done for several years. It's interesting to see Stihl incorporate that into this saw. By the way, these lines are remarked several times as I check and refine my work.
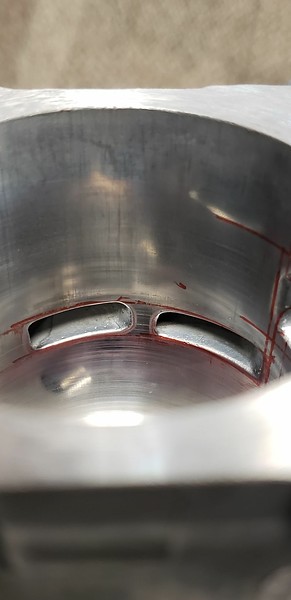
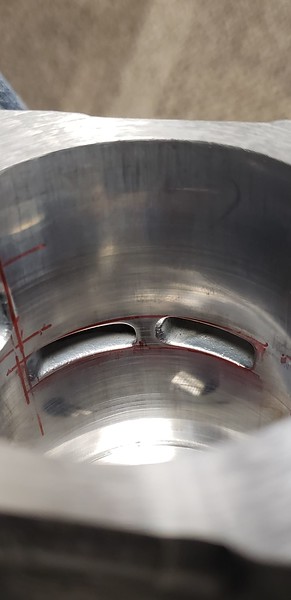
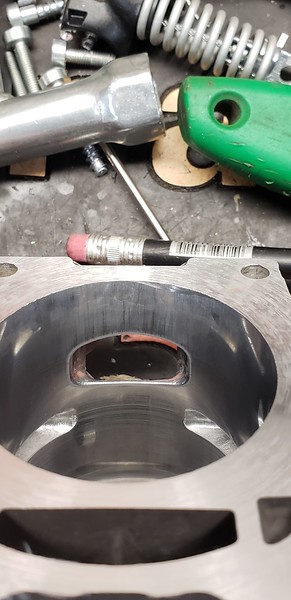
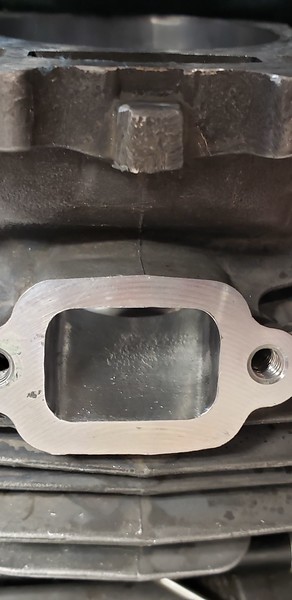
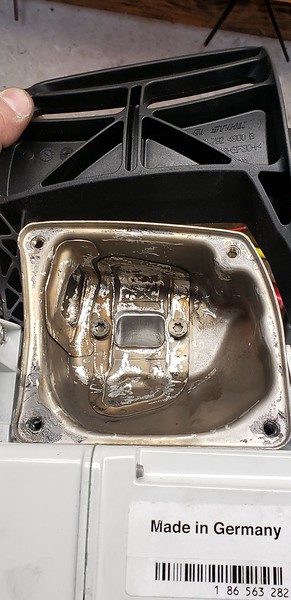
The exhaust was raised several degrees. This gave me some additional blowdown and made up for dropping the cylinder.


The first two things I noticed was that it started in only 4 pulls and had instant throttle response...brand new, straight out of the box, no fuel ever in it, and cold. It was then time to hit the wood pile. I have very little wood here, so only four cuts were made, basically to make sure it ran right. The cuts in this video are the very first cuts it made, shortly after the very first start. It ran very well with good power and not a single hiccup. It definitely has more power than a new MS462, as it should.
It then went straight to the bench, just like most saws that I port.
These next couple of pics were simply for reference should I need them for reassembly.


Here's your burn pattern after the first 4 cuts.

I used a mandrel to cut the squishband. (Thanks Randy! It's the same one you made for me to cut 066/MS660s several years ago). I took the pic after the first cut so that the shape of the squishband would be more evident. I debated doing a popup on the piston, but chose to go with cutting the squishband since the combustion chamber is kind of odd shaped.

After cutting, I use 120 grit and then 220 grit to smooth and even it up. The sanding will remove any inconsistencies introduced with the cutter. You simply sand until all of the cut surface has been sanded, indicating that there are now no low or high spots.

Here's some of my port layout. I like to mark existing port edges, pin locations, and desired port edges.
The intake was smoothed and the roof slightly reshaped. It was not made larger in any dimension. There's very little room to widen the transfers due to the ring end location.

This saw has very short blowdown, so the transfers were only leveled, not raising the front of the port at all. That's why you see a little of the NiSi lining remaining in the port. I left the primaries opening 2° before the secondaries. This is a technique I have done for several years. It's interesting to see Stihl incorporate that into this saw. By the way, these lines are remarked several times as I check and refine my work.


The exhaust was raised several degrees. This gave me some additional blowdown and made up for dropping the cylinder.


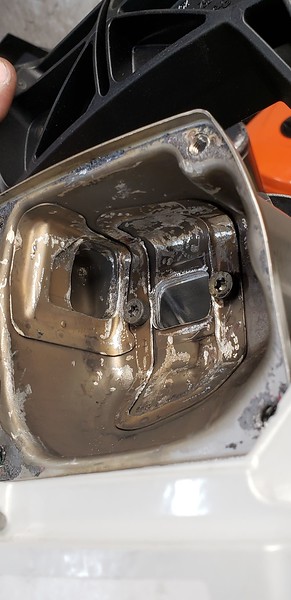
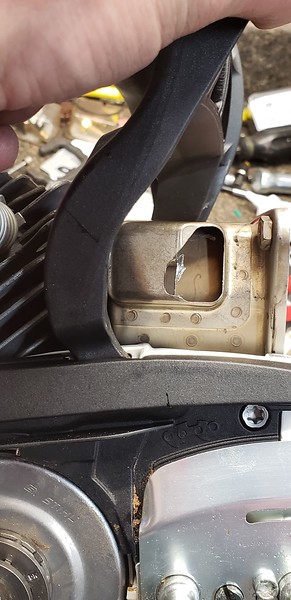


 Stock the saw sounds pretty lame if you ask me, I'm sure it runs fine, just seems to have slow acceleration stock, or at least that's how it sounds. The 462 on the other hand is real snappy.