What are you building with your milled wood? merged

Arborist Forum

Help Support Arborist Forum:

This site may earn a commission from merchant affiliate links, including eBay, Amazon, and others.
Just wondering how you did the metal work? I do a lot of forge and machine work here and I would guess you might have used precision ground annealed stock and perhaps heat treated the chisels yourself??

Very nice tool kit...

Thanks Mike.

The brass items are milled/turned at work where we have an old but useful metal shop. but otherwise the remainder of the metal work is done in my home shop using basic machines and hand techniques/tools. I usually shape the metal using a combination of 4" belt sander, 5" angle grinder, 10" bench grinder, files and even a Dremel. The only metalworking machines I have at home are a 5" water cooled metal cutting disc mounted in an old 8" table saw and a 1 HP drill press. I also have a MAPP torch that I can silver solder small things with and a $99 stick welder.

I do work with precision ground gauge plate/stock - eg am in the middle of making a set of plane makers floats from some O1 tool steel, but none of the blades in this kit are made from 01.

The chisel plane blade and the marking knife point are made from old re-tempered files, cut on my water cooled saw and ground to shape on a grinder.

The chisel blades are made from low cost chinese M2 tool steel blanks. The sequence is as follows;
- The blanks are not rectangular, so the first thing I do is cut one end (cutting end) square.
- Next the tang and small curve near the tang are cut and ground.
- Then I mount the blade sideways in a steel holder than exposes just the metal at an approprite that needs to be ground away on the long sideways bevel, the bevel is then ground using a bench grinder and belt sander.
- Then I grind the primary bevel before epoxying the blade and ferrule onto the handle.

The advantage of M2 is that is can be shaped by grinding with minimal attention to temperature and loss of temper and no subsequent heat treatment is required. The M2 steel is very hard and so takes a longer to sharpen but OTOH it holds it's edge for a lot longer than carbon tool steel.
 
Last edited:
My House! I started sawing the 2x4s today. did 1100 BF in 4 hours. One pine long we sawed had over 400BF in it. here are a few pics of my fathers Timber harvester in action. will have more as the project goes on.


attachment.php


attachment.php
 
More tools

Here is another set of tools I have been working on. They are wooden plane maker floats. (tools for making tools like wooden planes).
setout.jpg

Apricot wood handles (I'm not even half way through one slab of that small apricot tree I milled last year).
handles.jpg

O1 tool steel blanks. I cut the teeth with a mill and a dovetail cutter, then hardened and tempered the steel.
cuttingaction.jpg
bolster.jpg
They are simply wonderful handtools to use.

If me posting all these tools is boring you guys - just tell me to go away! :)
 
Last edited:
...If me posting all these tools is boring you guys - just tell me to go away! :)
...are you nuts? Guys like me love lookin' at tools, especially beautiful hand made heirloom tools like you make. Don't stop posting your work Bob, it's top of the line. I love that apricot. Question... what did you do for a finish on the handles... oil and wax? If so, what oil and what wax if I may ask.
 
...are you nuts? Guys like me love lookin' at tools, especially beautiful hand made heirloom tools like you make. Don't stop posting your work Bob, it's top of the line. I love that apricot. Question... what did you do for a finish on the handles... oil and wax? If so, what oil and what wax if I may ask.

Thanks for the positive feedback guys.

RE: Finish oil and wax is correct.
Just about all my tool handles are finished in the same way.
- Start with sanding down to 400 grit paper.
- Liberally apply pale boiled linseed oil (PBLO) wiped on with a cloth, wait till soaked in - maybe one hour, and then another coat, wait overnight.
-Take the same cloth as before and add ~10 drops of PLBO and 2 drops of white shellac and wipe on - leave till dry - usually overnight.
- Rub down with superfine steel wool and repeat previous stage but increase the white shellac to 4 drops.
- lightly rub down with fine steel wool and wax with quality natural wax

The other finish I like to use on hardwood handles is tung oil rubbed it into the grain using 800 grit wet and dry, wipe off excess and allow to dry. Then wax. It's a very good grain closing finish but it does make dark timbers go even darker.
 
...doghouse? ...chicken coop? Made out of pine? I like the rough sawn look of it. Imagine how much less character it would have if made from smooth sanded milled boards. Some things just look so much better when the wood is left as it was milled. Fences are another example of that.
 
its a custom chicken coop that I did for a lady in town who has some chickens in her back yard. It's mixed pine and spruce, I got a bed frame to do now too out of beech for her husband; he wants it as a surprise for her for next year.
 
Thanks guys; I am very proud of the clapboards I made for the roof. I looked at those jigs you can buy for the mill and thought they where a dumb waste of money. I bought a package of wood shims for 99 cents and did the same thing the jig does, elivate one side of the cant, make a pass, lay the cant flat, make a pass, and repeat.
 
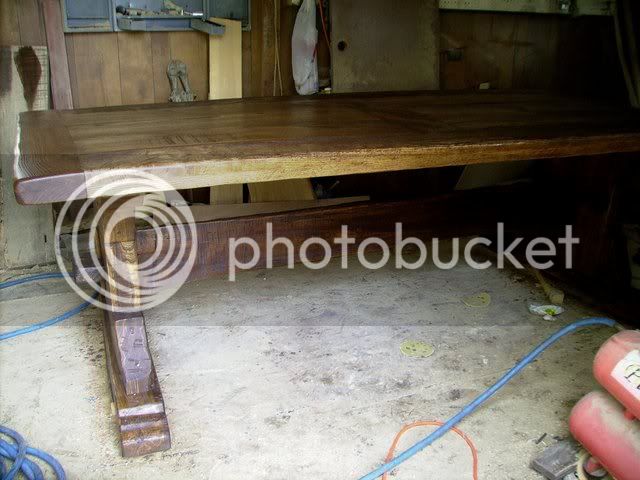
Medieval trestle table

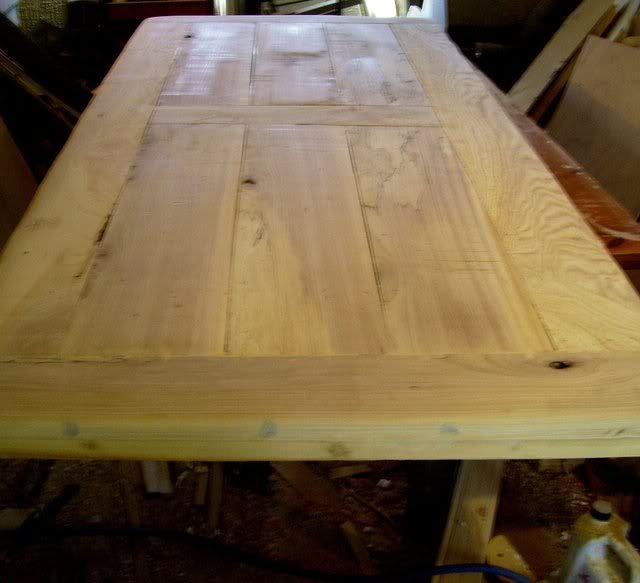
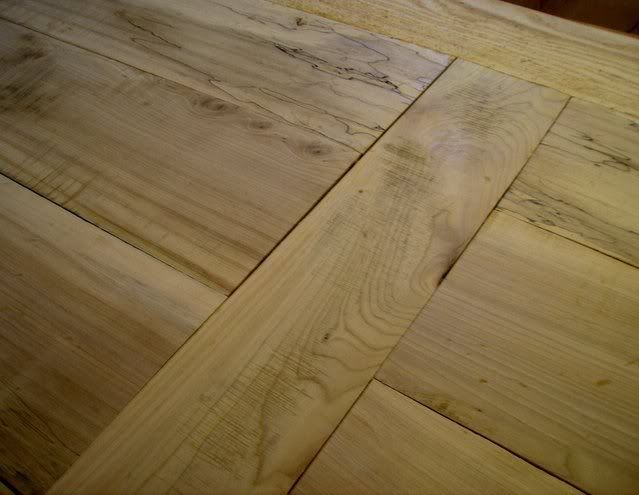
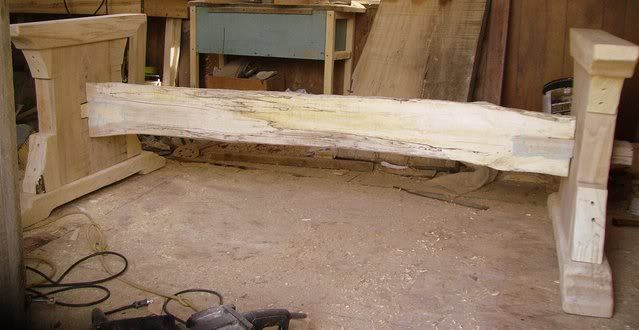
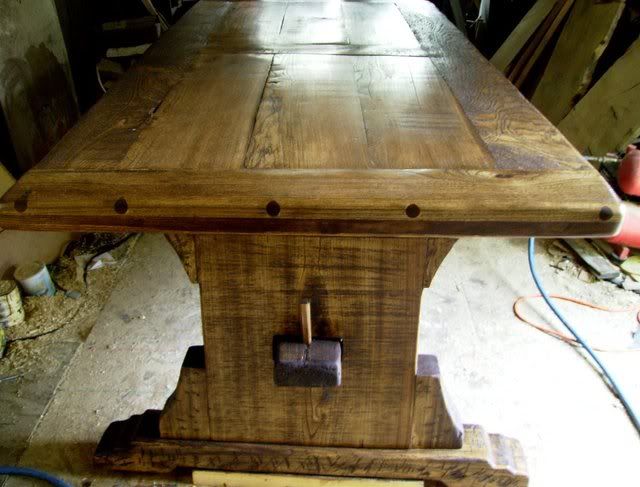
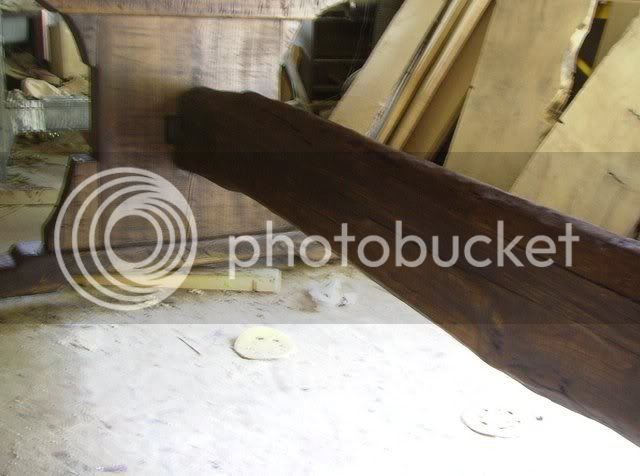
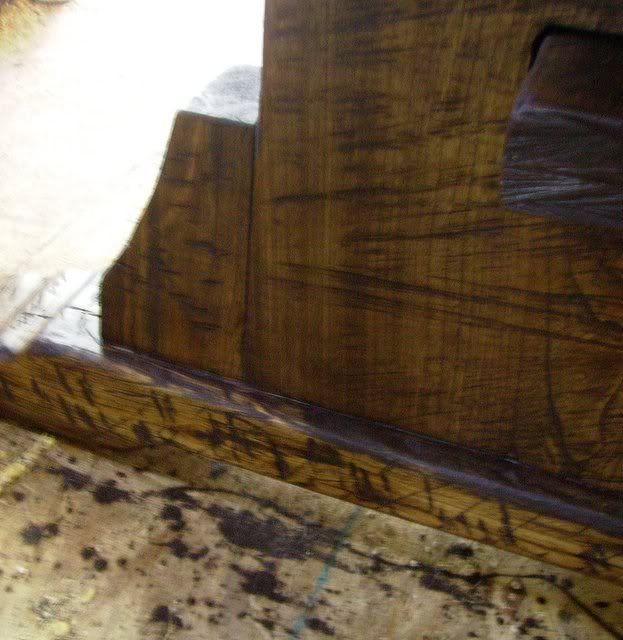
a few pics of my latest creation. A medieval trestle table custom ordered by a customer. All American elm except for the stretcher that is siberian elm. I especially like the stretcher. This is the customers design, not mine. If it were mine the top would be 2 wide thicker boards. I like it though. Its strong enough to park a truck on.

IMGP05771.jpg


IMGP05831.jpg


IMGP00131.jpg
 
A rugged beauty, nice work. :clap:

Are those big dowels or pins in the ends functional? Are those milling marks we see here and there? Did you distress it some to age it?
 
A rugged beauty, nice work. :clap:

Are those big dowels or pins in the ends functional? Are those milling marks we see here and there? Did you distress it some to age it?

thanks

those big pins hide the breadboard end hardware.

the shallow grooves are saw marks. All the deep ones are hand hewn marks with a broadaxe. you can't see it well in the pics, but the entire stretcher , I removed the bark with a broadaxe.

Yes I distressed it. Again the pics don't do it justice, but the top is very wavy, on purpose. Worn more in some spots than others. The boards purposely don't line up perfect. Its 500 years old, so ....... it wouldn't line up anymore.

All the wormholes are natural. Looks better that way.

No I didn't use chains. I hate that. It looks like you hit it with chains if you do that.
 

Latest posts

Back
Top