My milling experiences - Pics/Vids

Arborist Forum

Help Support Arborist Forum:

This site may earn a commission from merchant affiliate links, including eBay, Amazon, and others.

JakeG

Addicted to ArboristSite
Joined
Dec 24, 2012
Messages
1,060
Reaction score
487
Location
NE of Houston, Texas
This will be on-going documentation as I try my hand at milling.

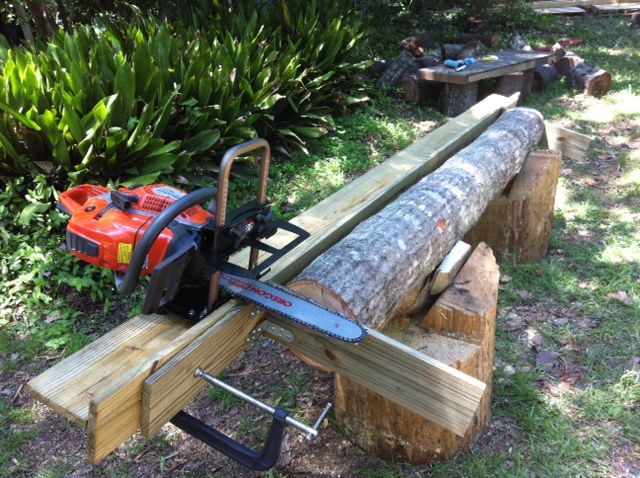
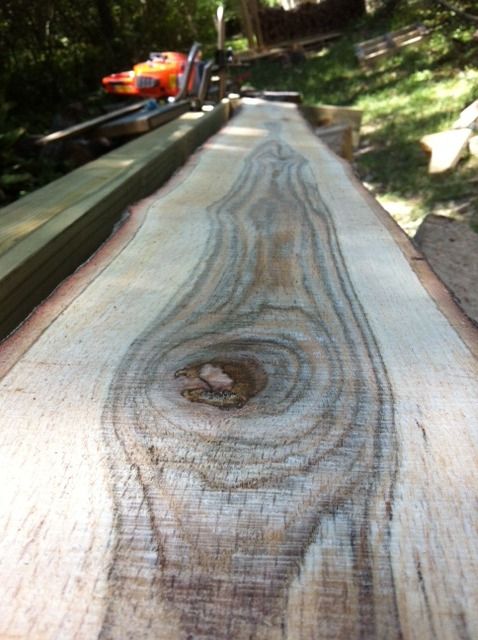
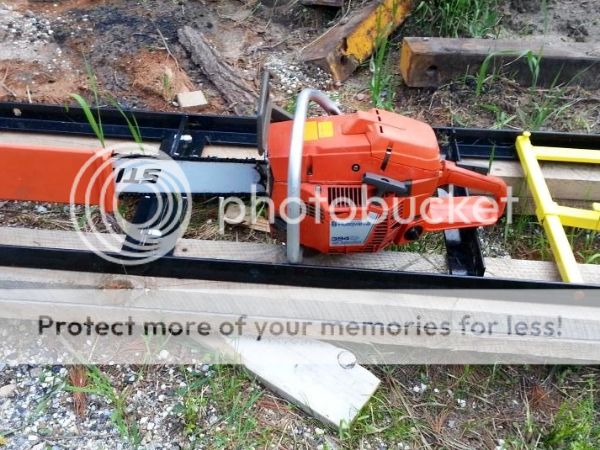
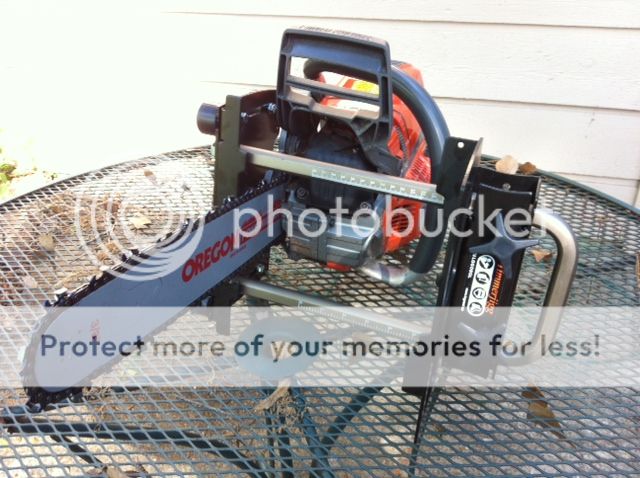
I started out with a 10" diameter x 8' 6" long Red Oak, the Logosol Timberjig & my Husqvarna 562xp. The bar nuts on this saw are retained into the cover via 3 metal clips per nut. I removed them and used nuts from another saw. I went with a small 16" bar and had to use full chisel oregon chain. The Woodland Pro/Carlton ripping chain I ordered went on back order.

This is a temporary set up, no doubt. In the future I will use aluminum profile to make my own Alaskan style mill.

Here's the story in picture & video:


Here's a video of my first piece of lumber. I'm beyond happy I took this video as it provided me with instant feedback and an opportunity to learn from my mistakes/nip bad habbits in the bud. There were several "mistakes" right off the bat... Let's see if you can name them! :popcorn:


[video=youtube_share;0CnHUXQTZzo]http://youtu.be/0CnHUXQTZzo[/video]
 
Good video and pics - thanks for posting.

Two things I noticed were
- the way the cant moved around too easily at the start, I like to clamp mine down if they are likely to move
- starting at the wrong angle resulting in a wedge shaped cross section lumber.

An Alaskan style mill will help minimze the second problem.


Other than that it looks OK.
 
Last edited:
Good video and pics - thanks for posting.

Two things I noticed were
- the way the cant moved around too easily at the start, I like to clamp mine down if they are likely to move
- starting at the wrong angle resulting in a wedge shaped cross section lumber.

An Alaskan style mill will help minimze the second problem.


Other than that it looks OK.

Thank you for the feedback Bob.

I do agree.. The cant was not secured and I started off at the wrong angle. Other things I noticed which could not be seen: I used 22" diameter pine logs to support the cant.. Towards the end of the cut, my walking path was obstructed making it awkward to end the cut. This could be eliminated by using something else to secure the logs, or moving the support upwards a couple of feet from the end of the log.

Looking back at the video, I found myself loading up the saw irregularly. I can imagine a constant pressure (or load) being favorable so I'll try to find a sweet spot.

Now for a question..

I noticed a hard brown lining/build up on the bottom of the 16" bar after milling. The chain's rivets also have the same build up which is darn near impossible to clean off. Is this from a lack of oil? My oiler was and still is at its maximum setting.
 
Looking back at the video, I found myself loading up the saw irregularly. I can imagine a constant pressure (or load) being favorable so I'll try to find a sweet spot.

Operating the saw on the angle means that not only will the saw be pulling itself into the cut, but the weight of the saw will add to the friction on the top-side of the cant. With an alaskan mill, wheels can be added that hold the saw away from the wood and if log rails are used on every cut and UHMWPE coating applied to the mill rails this reduces the friction considerably. Then by placing logs on a slope the weight of the CSM actually contribute to the constancy of the force being applied.

I noticed a hard brown lining/build up on the bottom of the 16" bar after milling. The chain's rivets also have the same build up which is darn near impossible to clean off. Is this from a lack of oil? My oiler was and still is at its maximum setting.

It's probably just some baked on resin - does your bar and chain seem to get overly hot ie are there any blue spots on the bar rails?

On an alaskan CSM an Auxilliary oiler will help reduce this problem. Some Aussie trees are notorious for their resins even using an Aux oiler and I have tried many things to clean it off. Oven cleaner, diesel and even stale coffee (Caffeine is quite a good solvent) all work. I even made a chain cleaner, but what I do these days is run the saw at the end of the cut so the chain is fully oiled and by the time I go to start the next cut much of the resin comes off at the start of the cut.
 
Operating the saw on the angle means that not only will the saw be pulling itself into the cut, but the weight of the saw will add to the friction on the top-side of the cant. With an alaskan mill, wheels can be added that hold the saw away from the wood and if log rails are used on every cut and UHMWPE coating applied to the mill rails this reduces the friction considerably. Then by placing logs on a slope the weight of the CSM actually contribute to the constancy of the force being applied.

I'll have to look into the UHMWPE coating. I do plan on using log rails and more of a slope. There was less than a foot of slope in the above video which is nothing like what you normally use!

BobL said:
It's probably just some baked on resin - does your bar and chain seem to get overly hot ie are there any blue spots on the bar rails?

I don't recall blue spots from my initial inspection. I'll check it out again Monday.


BobL said:
On an alaskan CSM an Auxilliary oiler will help reduce this problem. Some Aussie trees are notorious for their resins even using an Aux oiler and I have tried many things to clean it off. Oven cleaner, diesel and even stale coffee (Caffeine is quite a good solvent) all work. I even made a chain cleaner, but what I do these days is run the saw at the end of the cut so the chain is fully oiled and by the time I go to start the next cut much of the resin comes off at the start of the cut.

Thanks for chain cleaner tips!

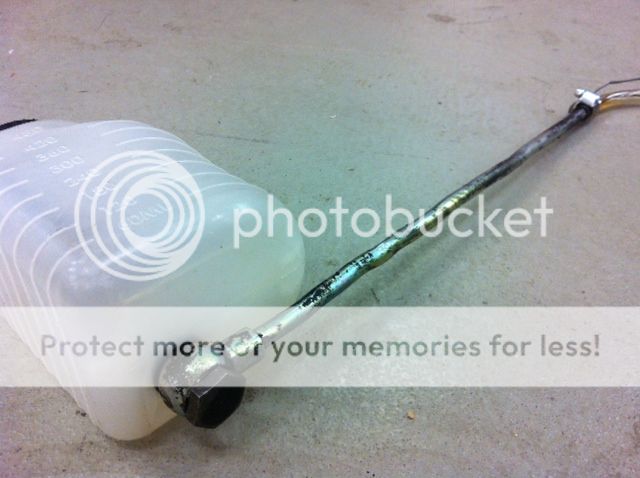
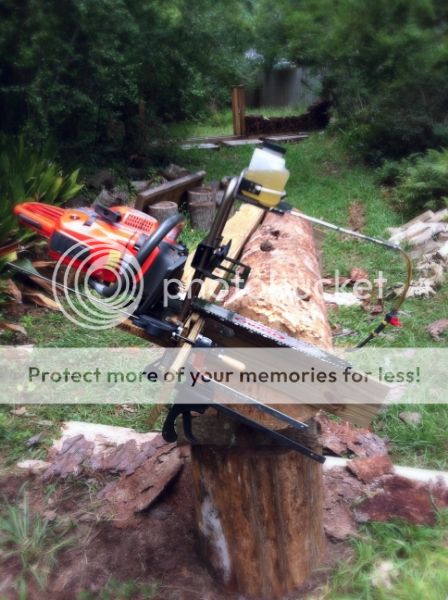
Speaking of oiler... In my garage, I ran across this reservoir and trailer brake controller mounting bracket that I've had for a long time. They make a perfect couple. Next, I snagged left over parts from my cummins compound turbo build, added one fuel shut off valve from an old generator and rigged up an oiler for the Timberjig. It's not fancy nor is it completely done. I'd like to replace the last section with copper tubing so as to eliminate the chance of damaging the chain. Eventually I'll need a larger, more permanent and cleaner set up.

It does work tho..


Like I said, "rigged up an oiler"...


It's mounted securely onto the Timberjig and this will be my starting point for flow control. It will drip onto the cutting side of the bar with a copp

[video=youtube_share;eOczu3O3eNk]http://youtu.be/eOczu3O3eNk[/video]
 
I'll have to look into the UHMWPE coating. I do plan on using log rails and more of a slope. There was less than a foot of slope in the above video which is nothing like what you normally use!

If the mill is heavy enough and the rails are slippery enough then even a foot of slope can be enough.
 
I like your Timberjig videos and pics. Life has gotten in front of me getting my Timberjig into wood. Hope to remedy that here soon!
 
First of all, I have a new to me saw on the way. It's a respectable 394xp (94cc's) in good condition. I purchased it as a power head only. This saw should pull a 36" bar through the toughest wood and a 42" through most others. From the research I did, we have AS members making cuts through much larger diameter logs than I intend to.


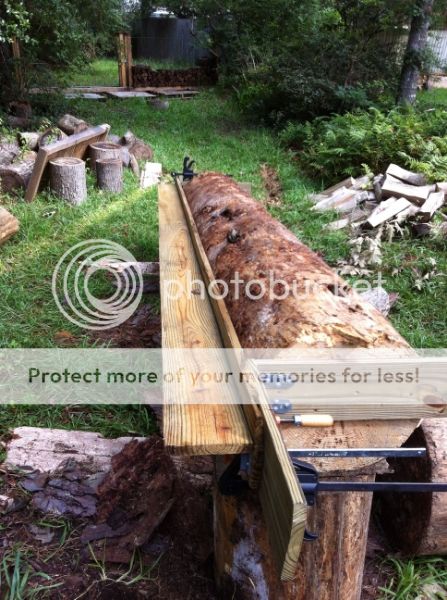
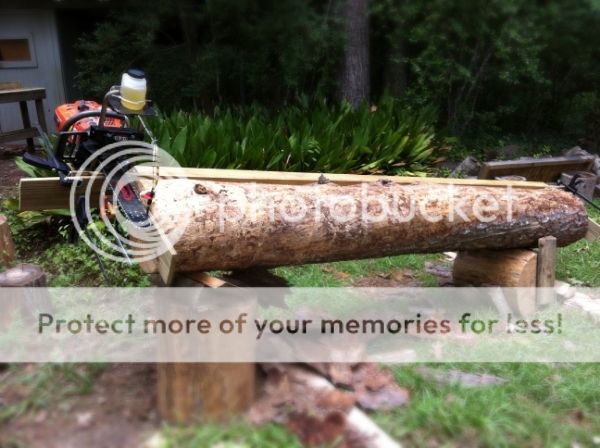
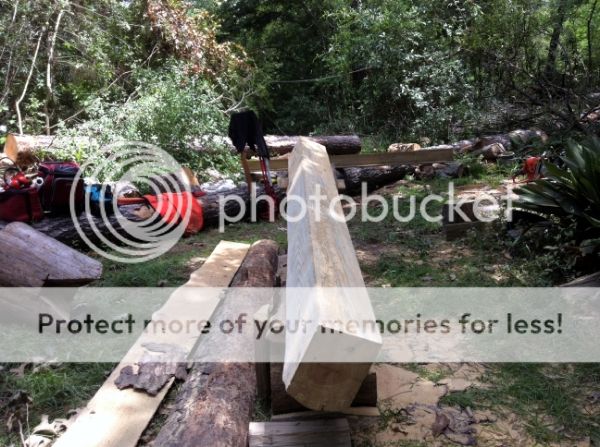
Took down 2 Loblolly Pine trees and plan to mill them on site (my back yard, for once). One is a 22" dbh while the other has an 18" dbh. I cut a 10' 6" section (16" diameter) from the larger tree, pulled it out of the brush with the 4 wheeler, set it up on logs with the high-lift jack and got her screwed down securely this time!

Today was the debut of my 10 minute and $0 auxiliary oiler. I was pleased with its performance and ability to maintain the flow I set it to and not vibrate to a different setting. The 16" diameter log was perfect for my 20" bar and 72dl's of WP ripping chain.

Cell phone pics below:


Veggie oil, ready to go. It looks somewhat goofy but performed well. If I stick with the Timberjigg, I may use aluminum to built a mounting location for the reservoir and to reach the tip of the bar.


I used more of a slope this time which was a far more comfortable experience.


I'm not too fond of bugs...


Ample work area and shade.

We had a rain storm coming along with pretty good wind so I packed it in for the day. I hope to finish this log and one other tomorrow. It's possible but there is a lot on the plate. All in good time I suppose!


All in all I was thoroughly surprised at how fast 59.xx cc's/4.7hp ripped through this log. It literally put a smile on my face. The cut times were much shorter than the 8'6" x 10"dia red oak log. The ripping chain, auxiliary oiler and wood species make this incredibly smooth and easy.

Any suggestions are much welcome, even if they are little nit-picky little things. I'm still a noob, so I'm all ears.

Thanks a bunch... cheers
 
Awesome pics and commentary! I finally got my Timberjig on my PM700 and did a bit more milling. I have it set up with a 16" hard nose McC bar and oregon 72lg chain. I am going to have a loop of picco chain I have resounding to fit the shorter bar and see how it does. I like how easy the setup is on the Timberjig, and for smaller average log diameters doing a lot of dimensional lumber, I like it over the Alaska mill. The Alaska mill has its place on live edge milling, and bigger logs, but probably 3/4 of the milling I will be doing from here on out will be dimensional for a while, so I am really happy to get the Timberjig going and have its versatility to draw on for my needs. Thanks for sharing your pics! Wood is good:rock:
 
Thanks Murdock, and I'm glad you're enjoying your set up. I used 72LGX on the red oak log and it came out good, but I feel I lost some power due to aggressive nature of that chain. I hope the picco chain works out for you. I was going to try it but figured I'll stick with ripping chain until I see a reason not to. Stihl chain in my area is $0.44-$0.45 per drive link, which is terrible.

My saw has to be mounted ALL the way back for the chain brake to work. This sacrifices a good 3.5-4.5" of potential cutting width.

for smaller average log diameters doing a lot of dimensional lumber, I like it over the Alaska mill.

That's good to know as I'm doing dimensional cutting with these two trees. I'd like to add on to my storage shed and plan on making 4x4's, 2x4's and 2x6's. Not sure what else I'll need cause admittedly, the only thing I've ever built were engines, transmissions and offroad suspensions.

Now it's time for you to take pics of your milling!
 
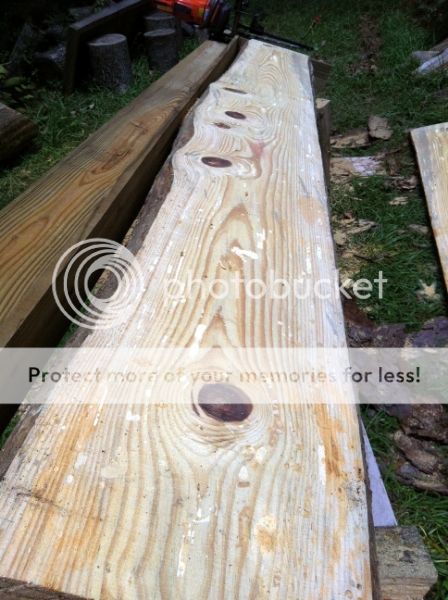
Big Question.. What can I do to evict the residents in my new lumber?


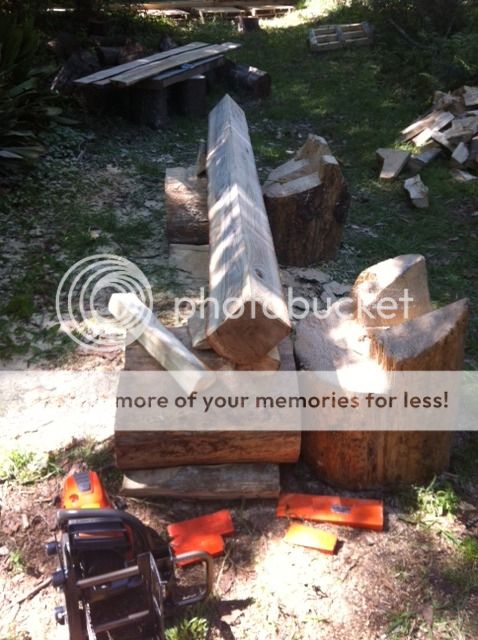
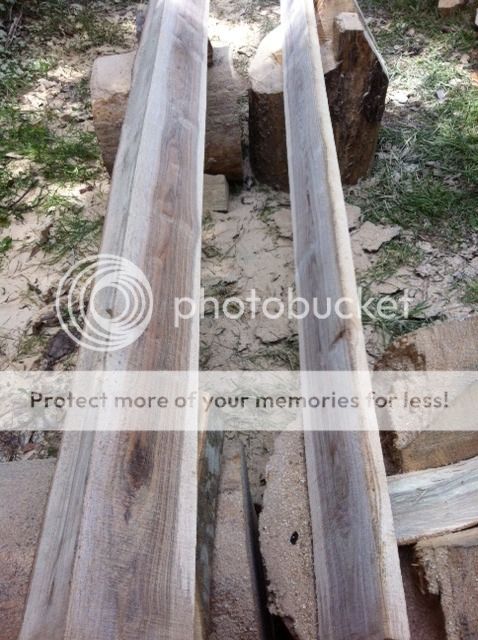
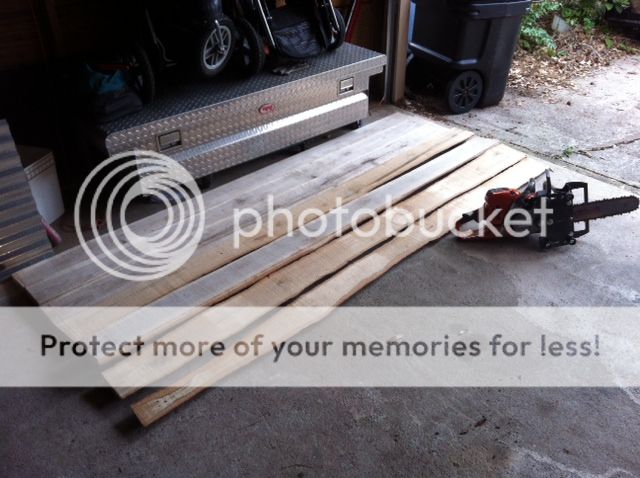
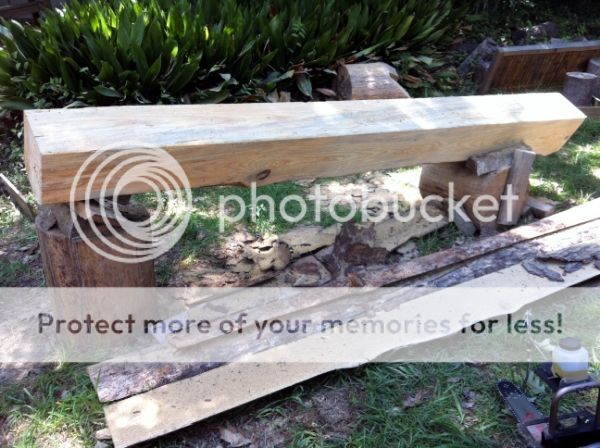
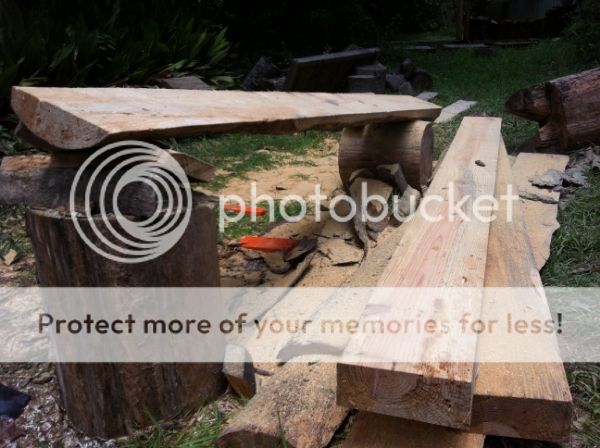
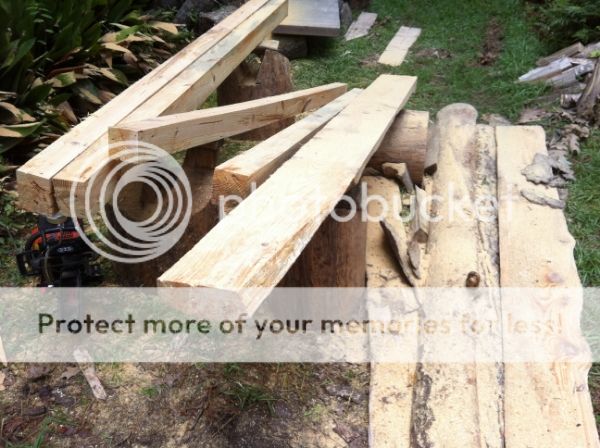
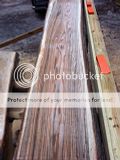
Despite finding an old nail with a new loop of ripping chain... I ended up with two 4"x4" and two 5.25"x4" which I'll cut two 1x4's from. I will use the bottom of the cant (with bark) as a bottom for a crude bench around the fire pit.


I see they added a lot of new cartoon figures but still didn't see one for peeing on a parade.

You're doing great with your chainsaw milling. Keep the updates coming.
 
Quit ruining your saw, wasting wood and gas. Either get a bandsaw or hire one. I'd saw that log up for $10 or less and get you way more lumber, also more uniform. Steve

That'd be an awfully long drive just for you to earn $10 bucks. I'll wait for ya :cheers:

:msp_biggrin: :msp_biggrin:

Fixed it ^^^

I see they added a lot of new cartoon figures but still didn't see one for peeing on a parade.

You're doing great with your chainsaw milling. Keep the updates coming.


Thanks olyman and flashhole, Steve is just trying to help me out.. And I certainly look forward to his arrival. Unfortunately he did not read the very first line of my original post.. I'll copy and paste it below:

" This will be on-going documentation as I try my hand at milling. "

There is a local small town sawmill 3 miles up the street from me. The point is to try MY hand at milling.
 
I didn't have any complaints until last week. The slider/doughnut shaped pieces on the bottom (that ride the guide rail) are all cracked despite not being overtorqued and being very well taken care of.

One even came off midway through a cut. I quickly realized the hardware would never be found (I'll carry a magnet from now on) so I finished the cut.#

I used the 394xp (w/28" bar and 93dl's of Woodland Pro/Carlton ripping chain) to make 3" slabs from a 24-25" x 9' white oak log. To slab with the Timberjigg, you have to move the guide rail down after each cut. It takes a solid 2 minutes, which is just enough time to let the saw rest. The 394 could make 2 cuts (and probably another 1/3-1/2 cut) before refuelling.

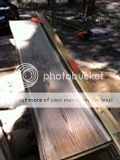
I made this particular guide rail that morning using 5/4 x 12' decking boards. This time I added reinforcing brackets to the top side of each end. For added stability, I screwed the guide rail to the wooden "L" brackets and used clamps. For a better product... Make sure the guide rail's surface is ALSO level before you angle/rotate the log. You may have to shim between the guide rail and wooden "L" brackets to achieve a level surface.


Thanks flashhole..

According to the leaves its a water oak. 41" at the base, 32" dbh.

The 394 has the low top. I actually haven't seen a high top before but I know of them.
 
Back
Top