Small wood stove out of LP tanks

Arborist Forum

Help Support Arborist Forum:

This site may earn a commission from merchant affiliate links, including eBay, Amazon, and others.

Jim Timber

1/4 bubble off
Joined
Jul 4, 2012
Messages
2,027
Reaction score
1,198
Location
Brainerd, Mn
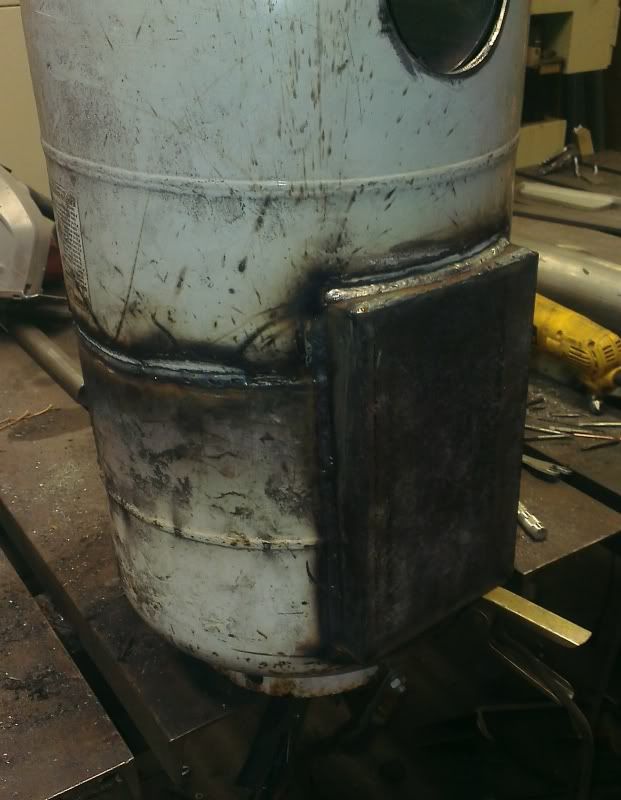
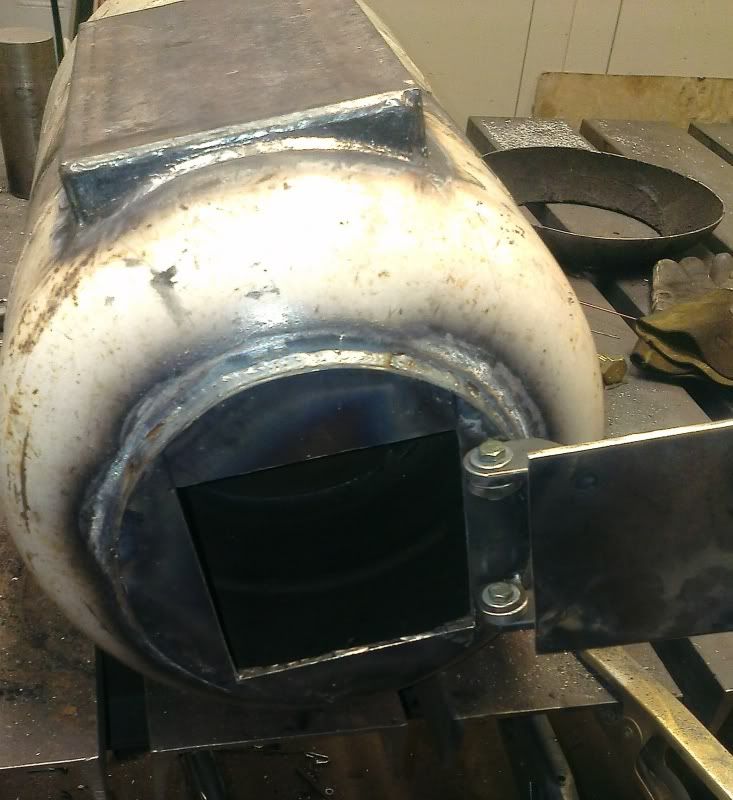
In fashion with my little woods trailer, I'm going to build a little wood stove. :D

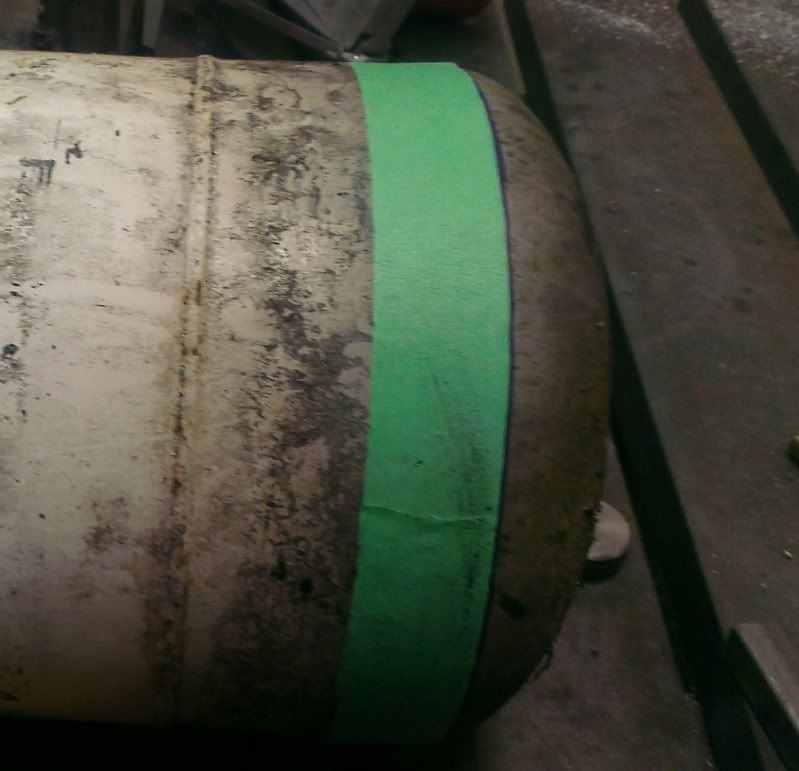
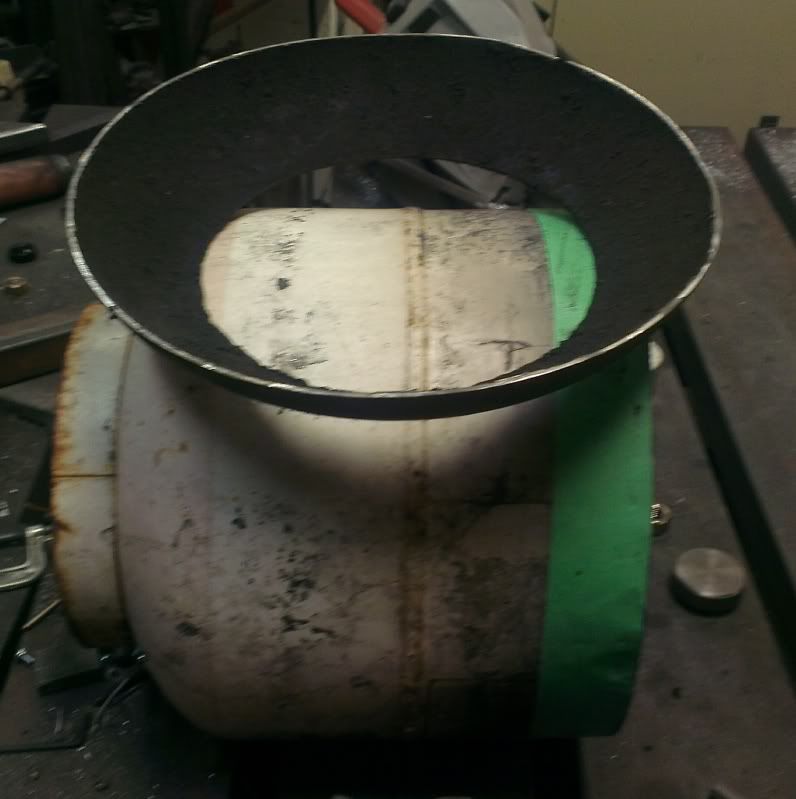
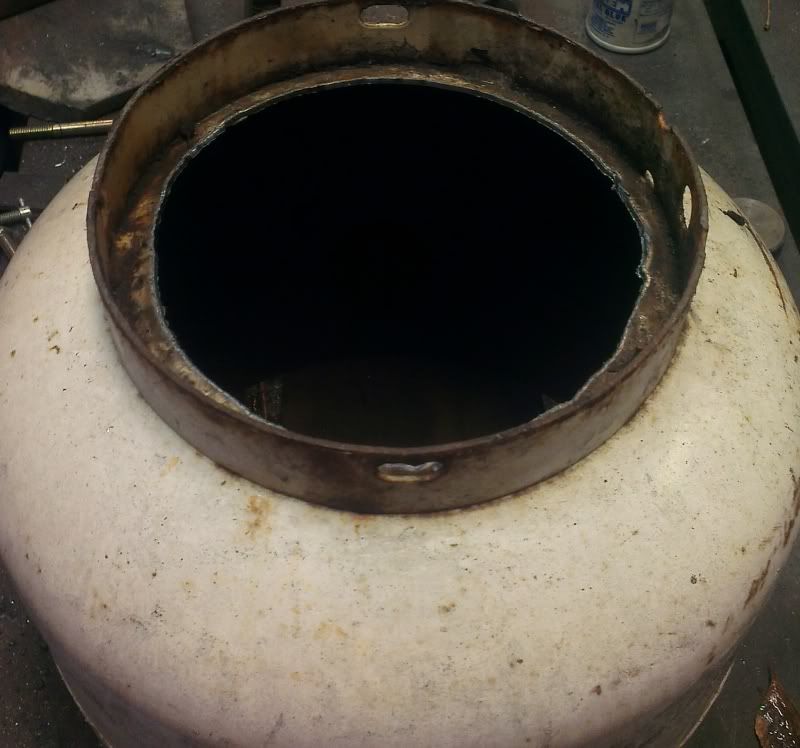
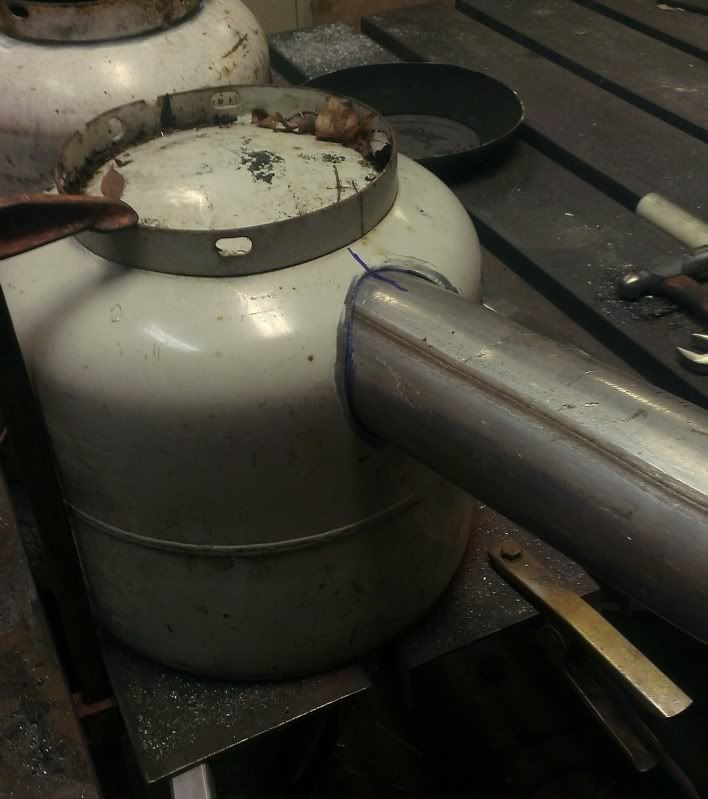
I started making one several years ago, as an attempt to provide something for ice houses (fishing) using charcoal, but didn't like how it was turning out and it's buried somewhere in my garage. The new version will be for shed/tree condo (deer stand) use and will hold a decent load of wood. I'll be joining two 20# tanks to make enough length to stuff a 16-18" log in.

There's some neat designs of these on youtube, but mine will be a little different.

I haven't even penciled this one out. I'm just going to build as I go. Pics later. :p
 
? not sure how you will make yours jim.. I made mine for the 8x16 wheel house(ice shack) out of a 100 pounder, takes 18" sticks. cook stove as well to keep the coffee hot on the cold winter day fishing through the ice!
 
I'd already cut the tops off of these cylinders years ago (I have a dozen or so that are cut), so I started with removing what's left of the end bell. First tape, then back-up sharpie for the line:

IMAG0943.jpg


This was done with a cut off wheel because the dross on a plasma edge isn't conductive and will pollute a weld:

IMAG0944.jpg


Plasma cut the "front" inside the former base:

IMAG0945.jpg


Happened to have a 3.5" hole saw, so I used that to install my stack hole. This is a chunk of something's exhaust that was re-done on a new truck before the owner took delivery. I got it dumpster diving (with permission) at an exhaust shop:

IMAG0946.jpg


Then I found a chunk of 4" tubing drop in my shorts storage to make the diverter. The bottom is a slug a buddy gave me to make .22lr targets out of (I have more), but this one has rounded sides and isn't going to make it to the range. I fired up the MIG for this one:

IMAG0947.jpg


I'm waiting for the weld to cool while posting this.
 
Here's the baffle installed:

IMAG0949.jpg


Then I welded the two halves together and started working on my stove top:

IMAG0950.jpg


Which is a piece of 6" channel:

IMAG0951.jpg


IMAG0952.jpg
 
Decided I didn't like how thin the base flange was, so I cut it off before adding the front:

IMAG0953.jpg


That thing takes a lot of weld to attach. Which means I get to stop for dinner while this one cools.
 
Don't forget about firebricks. It will help keep the heat. If too expensive to find curved ones I have read about guys using cat litter in their homemade forges! You need the clumping type that has some kind of cement inside. For the curves I would think about reusing some old chain link fence to stabilize the homemade "firebrick".

Hoping to see progress!

7

edit: I just checked clumping cat litter is betonite clay. Ground fine in the mixture 1/2 sand & 1/2 betonite clay with water and ashes to a thick mixture, spread and let dry over a week with good outside temps.
 
Last edited:
Door hinges are done and tacked, then the door was cut free:

IMAG0954.jpg


Door flanges added:

IMAG0955.jpg


The door is all welded up and hotter than satan's chin at the moment. I need to make the latch and then decide on my air intake system, weld the stack in, put some legs on it, and get a fire going!

I hadn't thought about refractory - mainly because this will only get used about 8-10 hours at a shot, probably less than a dozen times a year, and it'll only be heating a 160sf structure or smaller (probably smaller). So I should achieve t-shirt weather with just the thermal mass of the steel. Max efficiency isn't high on my priorities either, but I am taking care to isolate the intake from the room - I'll do a flex pipe air inlet just like I plan to plumb the exhaust.

Is there a compelling reason to add refractory? I know it'll save wear on the steel, but considering I can rebuild the bottom of the stove in less time than it takes to type this - I guess I just don't see the point.
 
Very nice work. I see lots of 100# cylinders come through our local scrap yard. You've given me an idea :D.
I look forward to seeing the finished product.
 
I love it when people convert propane tanks for wood stove use! I've had a desire lately to build one up myself so this might give me the nudge I need. We'll need videos of it burning when you're through....
 
Of course that has to be considered. Me on the other hand I don't like reduing unneccesary work and like the idea of high efficiency. Means for me much less work.

But sure is lookig great from over here! Are you going to install a gasket around the door? Are you going to install a grate with a box underneath for the asches?

7
 
I guess I just don't see the reasoning for trying for ultimate efficiency in something which acts as an enclosed camp fire.

I'm not sure what I'll do about the door seal. I stuck a piece of paper (lit) in it after completing what I got done tonight, and I have a slight leak at the junction of my upper fixed hinge and the door trim piece. Granted, I had a full head of smoke coming out the stack while there's a whimper of fumes coming out that crack. I'm very pleased with how flat the door and front plate stayed through all the welding. I need to tighten up that crack, and then I don't think anything else will be needed to seal it. I don't even have the latch started and it's working great!

IMAG0956.jpg


I'll have to take some more pics later to show the air inlet and damper. I'm not running a flue damper because the baffle is already rather restrictive. If it won't stoke up enough, I figure I can poke some holes in the baffle to reduce the restriction.

I'll probably add an ash pan, and I need to add an intake baffle up front.

I'll definitely take some video of it going when I fire it up. I need to dig out my green ash (the tree - it's seasoned wood) from the snow bank first. I've got plenty of wood here for backyard fires, but none of it is covered (in anything but 6" of snow).
 
Very nice work. I see lots of 100# cylinders come through our local scrap yard. You've given me an idea :D.
I look forward to seeing the finished product.

I have 3 of them myself, but I had to pay for two of them and I have other plans for those. :)

In truth, having the two halves come from smaller cylinders worked out great. The radius on the top of the back one (in my case) made for an easy fit-up when assembling the two sides. It ends up being a lap joint instead of a butt joint, and I find you can put more heat in lap joints without having the puddle sag on you.
 
Hey thats pretty creative.
Those tanks also make awesome BBQ smokers. I had to build one just so I had an excuse to burn wood in the summer.
 
Do you have a thread on your smoker build? I literally have 2 dozen of these tanks in my back yard. Then again, the first course of them is frozen to mother earth at the moment...
 
I guess I just don't see the reasoning for trying for ultimate efficiency in something which acts as an enclosed camp fire.

I'm not sure what I'll do about the door seal. I stuck a piece of paper (lit) in it after completing what I got done tonight, and I have a slight leak at the junction of my upper fixed hinge and the door trim piece. Granted, I had a full head of smoke coming out the stack while there's a whimper of fumes coming out that crack. I'm very pleased with how flat the door and front plate stayed through all the welding. I need to tighten up that crack, and then I don't think anything else will be needed to seal it. I don't even have the latch started and it's working great!

IMAG0956.jpg


I'll have to take some more pics later to show the air inlet and damper. I'm not running a flue damper because the baffle is already rather restrictive. If it won't stoke up enough, I figure I can poke some holes in the baffle to reduce the restriction.

I'll probably add an ash pan, and I need to add an intake baffle up front.

I'll definitely take some video of it going when I fire it up. I need to dig out my green ash (the tree - it's seasoned wood) from the snow bank first. I've got plenty of wood here for backyard fires, but none of it is covered (in anything but 6" of snow).
nice! makes mine look like "slag junk"....
 
Looks good. Had one something like that years ago, cooked all kinds of things while fishing... Used chunks of wood for the fuel and later changed it over to LP - Used the burner from a hot water heater... Never did like it after that. Something about heating with wood. ;-)
 
Do you have a thread on your smoker build? I literally have 2 dozen of these tanks in my back yard. Then again, the first course of them is frozen to mother earth at the moment...

No thread on it and right now it is also frozen and snow covered and more white stuff coming.

It is an over under design with a smaller tank on the bottom for the firebox and larger one on top as the cooker. Probably not the best design and not sure I would do it again that way if I was going to do another , although it does work really well.
If you have that many tanks you might want to do an online search and see what others have done for some of their designs. A great website is " The Smoke Ring" , go to the forums there and there are tons of pictures there and tons of information , some of the stuff people have built will blow your mind.

Good luck with the snow and nice jobs on your builds.
 
The chimney drops down into the baffle a couple inches. I took a pic of where I welded the back radius of the baffle to the LP tank, but it didn't really show anything other than the second connection of the tube to the tank so I didn't upload it.

Most conventional designs just have a long route for the smoke to travel with some kind of plate/diverter to make it hang out a little. I'm trying this design because in theory it should build minimal convection while still allowing the fire to breathe. It's also possible it'll act as a venturi and that would further dump more heat inside the stove.
 
Back
Top