BigRed96
ArboristSite Operative
Hello All, I typically sharpen all my chains by hand leaving the chain on the saw and using a stump vise. Recently I have had others ask me to sharpen their chains which are not on a saw. I used an old bar in a vise to hold a chain as I sharpened. I was less than thrilled. I knew that a chain vise would be the answer. I like to have projects and figured building a vise wouldn't be difficult so I went to Home Depot and started shopping. The following list will detail the item and price:
M8-1.25 Zinc Plated Wingnuts 3 @ .74 cents each
M8-1.25x22mm Metric Socket Cap Screws 3 @ .74 cents each
48 in. x 1 1/4 in. x 1 1/4 in. x 1/8 in. Plain Steel Angle $10.57
1 in. x 48 in. Plain Flat Steel $6.48
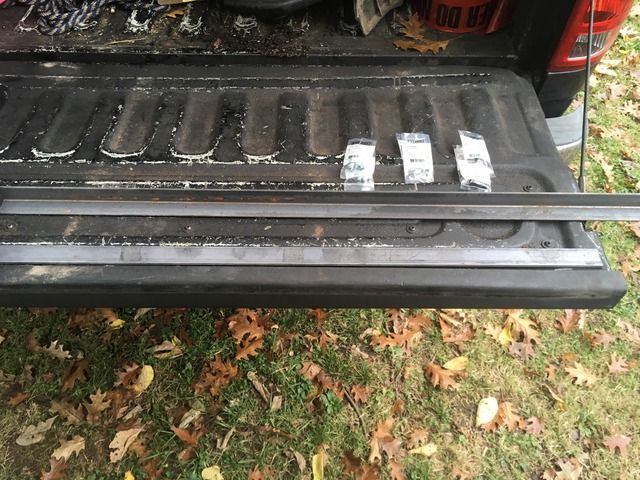
Here is a pic of the supplies on my favorite outdoor workbench, my tailgate.
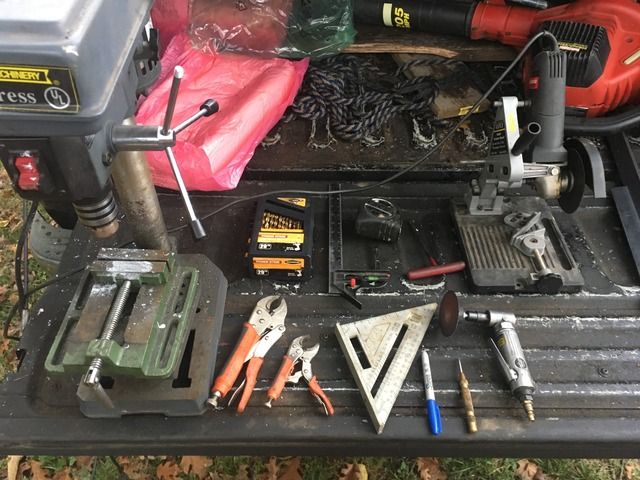
Here is a picture of all the tools used except for a 110v stick welder.
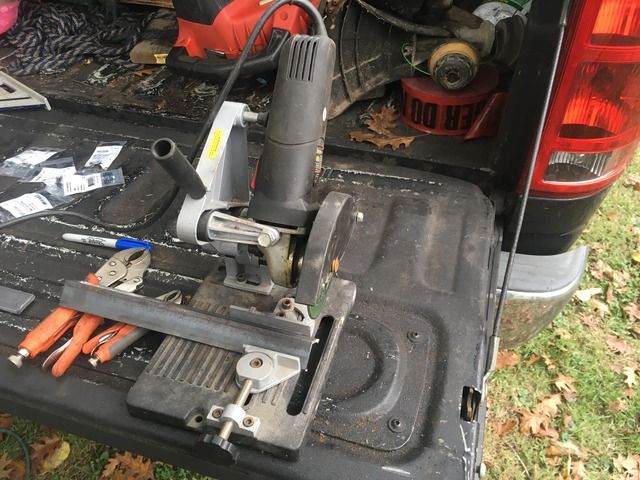
To get started I decided on the length I wanted to make the vise. For no specific reason I decided on 12 in. So the first step was to mark and cut both the flat steel and the angle to length. Obviously you can use anything that cuts steel like a sawz all, hack saw, plasma torch, ginsu knife, etc.
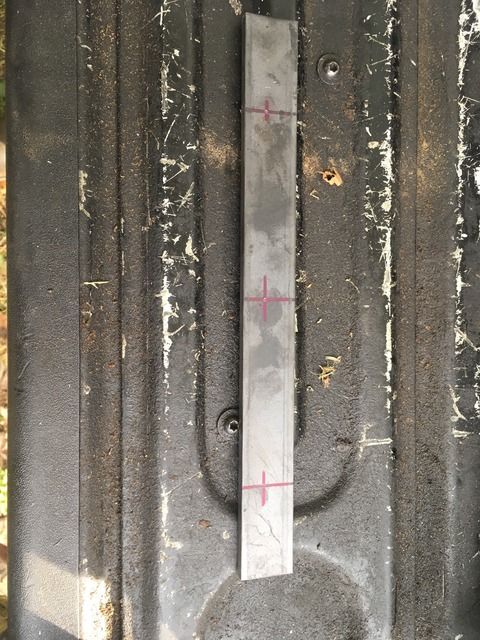
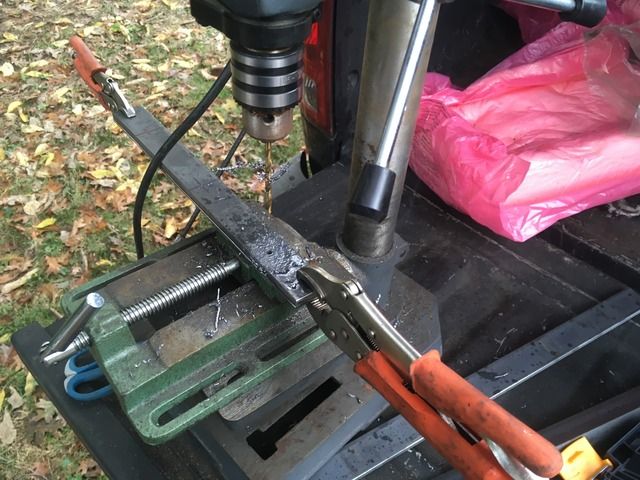
After cutting to length its time to decide where to locate the holes for the bolts to go through both pieces of metal. I choose to locate mine at 2 in., 6 in., and 10 in. approximately 1/2 in. up from the bottom. You don't have to use these measurements as I just guessed on location but after using the vise I am happy with them. For drilling I used a cheap drill vise and a drill press with cheap Harbor Freight bits. Using lots of lube is key. Again, a simple drill would also work here. I chose to clamp the pieces together in order to assure all my holes lined up.
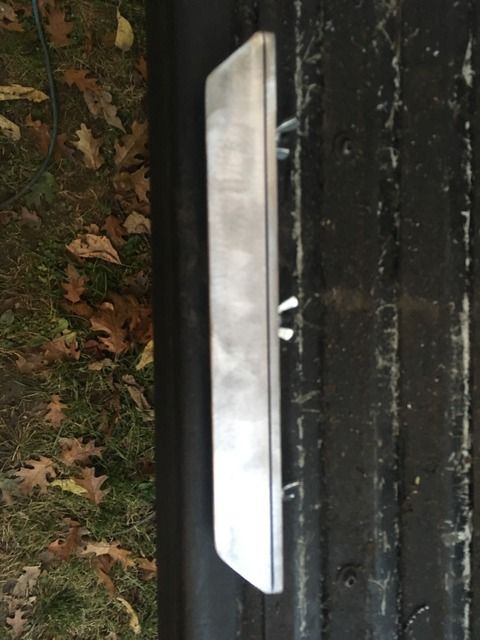
After drilling I decided to cut each end of the angle iron at a 45 degree angle. I did this so I could the round the edges both the plate and angle so chainsaw chain would get hung up as I pulled it to advance it in the vise. I bolted the two pieces together and tightened the screws.
Once I was happy with the rounded edges it was time to break out my 110v stick welder and melt some steel. I don't have a before picture of welding the socket cap bolts to the angle but here is a hard to see after paint picture.
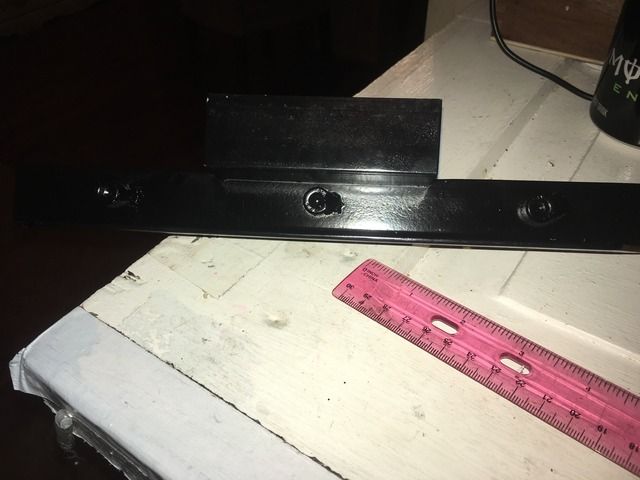
Now, the only thing needed is a way to mount the vice. I have multiple vises in my shop so I decided I would simply mount the vise in a vise when I needed to use it. To create a mount I took a 4 in. piece of the left over angle iron and welded it to the other piece of angle iron. Here is a pick of how I placed the 4 in. angle to the 12 in. angle.
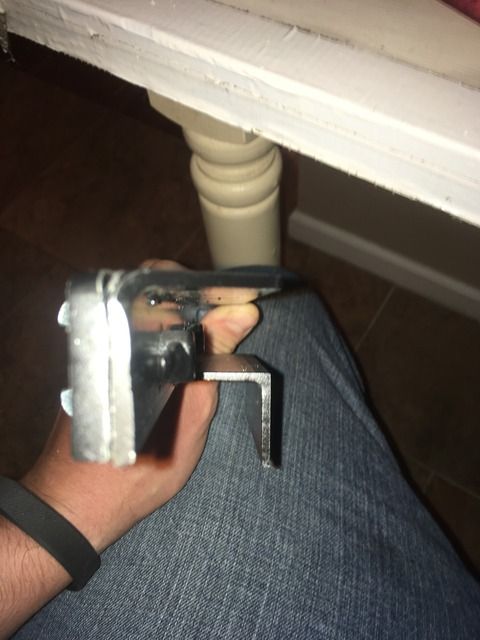
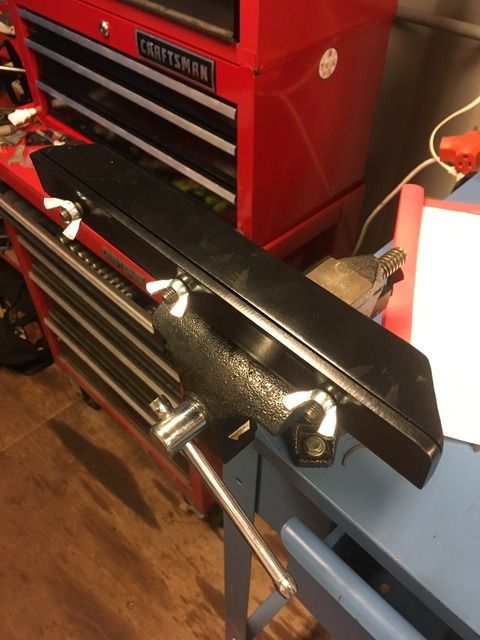
Finally after all the welding was done I took the vise to work and sand blasted it. I then painted it with my favorite color. Here is a pick of the finished vise in a small shop vise ready for some action.
Overall I am very happy with how the vise came out and how it functions, and for a bit over $20 dollars I am happy with the price to.
M8-1.25 Zinc Plated Wingnuts 3 @ .74 cents each
M8-1.25x22mm Metric Socket Cap Screws 3 @ .74 cents each
48 in. x 1 1/4 in. x 1 1/4 in. x 1/8 in. Plain Steel Angle $10.57
1 in. x 48 in. Plain Flat Steel $6.48
Here is a pic of the supplies on my favorite outdoor workbench, my tailgate.

Here is a picture of all the tools used except for a 110v stick welder.

To get started I decided on the length I wanted to make the vise. For no specific reason I decided on 12 in. So the first step was to mark and cut both the flat steel and the angle to length. Obviously you can use anything that cuts steel like a sawz all, hack saw, plasma torch, ginsu knife, etc.

After cutting to length its time to decide where to locate the holes for the bolts to go through both pieces of metal. I choose to locate mine at 2 in., 6 in., and 10 in. approximately 1/2 in. up from the bottom. You don't have to use these measurements as I just guessed on location but after using the vise I am happy with them. For drilling I used a cheap drill vise and a drill press with cheap Harbor Freight bits. Using lots of lube is key. Again, a simple drill would also work here. I chose to clamp the pieces together in order to assure all my holes lined up.


After drilling I decided to cut each end of the angle iron at a 45 degree angle. I did this so I could the round the edges both the plate and angle so chainsaw chain would get hung up as I pulled it to advance it in the vise. I bolted the two pieces together and tightened the screws.

Once I was happy with the rounded edges it was time to break out my 110v stick welder and melt some steel. I don't have a before picture of welding the socket cap bolts to the angle but here is a hard to see after paint picture.

Now, the only thing needed is a way to mount the vice. I have multiple vises in my shop so I decided I would simply mount the vise in a vise when I needed to use it. To create a mount I took a 4 in. piece of the left over angle iron and welded it to the other piece of angle iron. Here is a pick of how I placed the 4 in. angle to the 12 in. angle.

Finally after all the welding was done I took the vise to work and sand blasted it. I then painted it with my favorite color. Here is a pick of the finished vise in a small shop vise ready for some action.

Overall I am very happy with how the vise came out and how it functions, and for a bit over $20 dollars I am happy with the price to.


