Is this how crank seals should look?

Arborist Forum

Help Support Arborist Forum:

This site may earn a commission from merchant affiliate links, including eBay, Amazon, and others.

jgrady1982

ArboristSite Lurker
Joined
Apr 3, 2012
Messages
38
Reaction score
3
Location
cleveland heights, ohio
Hello,

I am requesting the help of all of the local chainsaw experts. I am rebuilding an 028WB and tonight I installed the crank seals. I read all last night about packing them with grease and then seting them level with the case.

I ended up using plain red wheel bearing grease and a deep well socket.

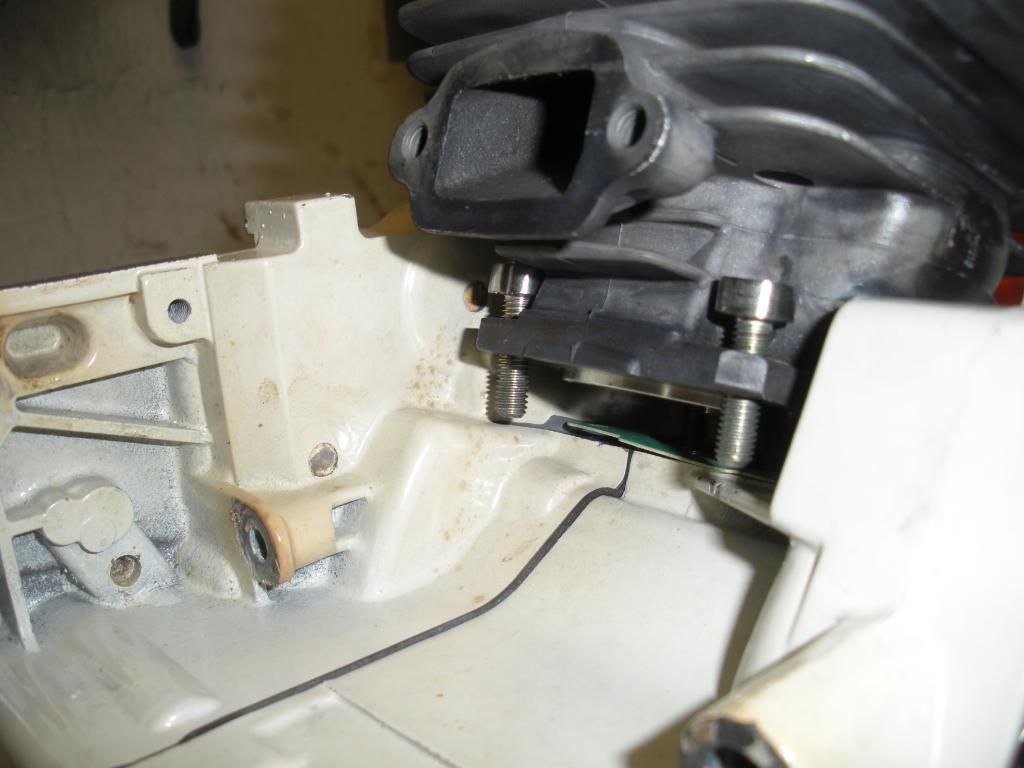
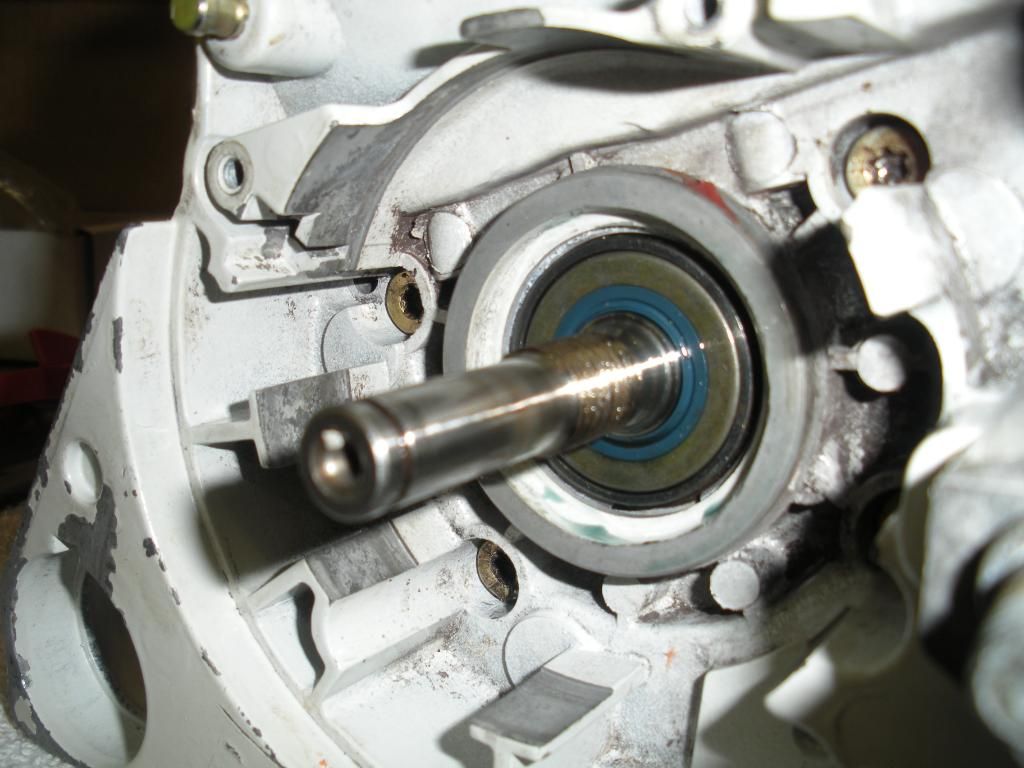
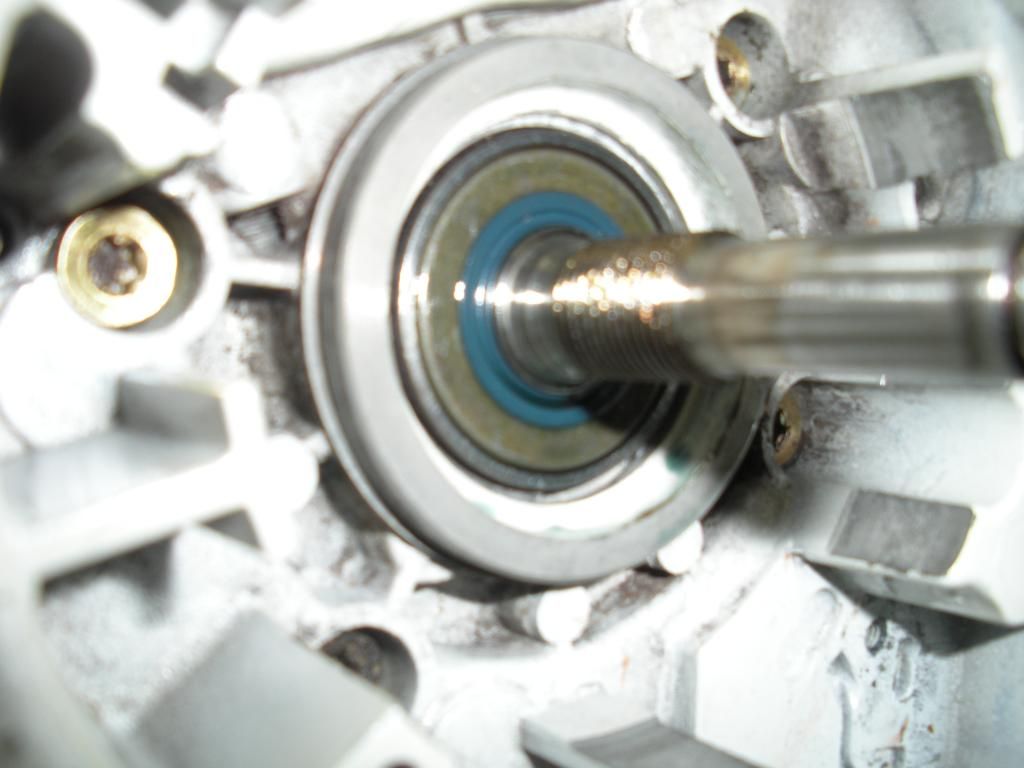
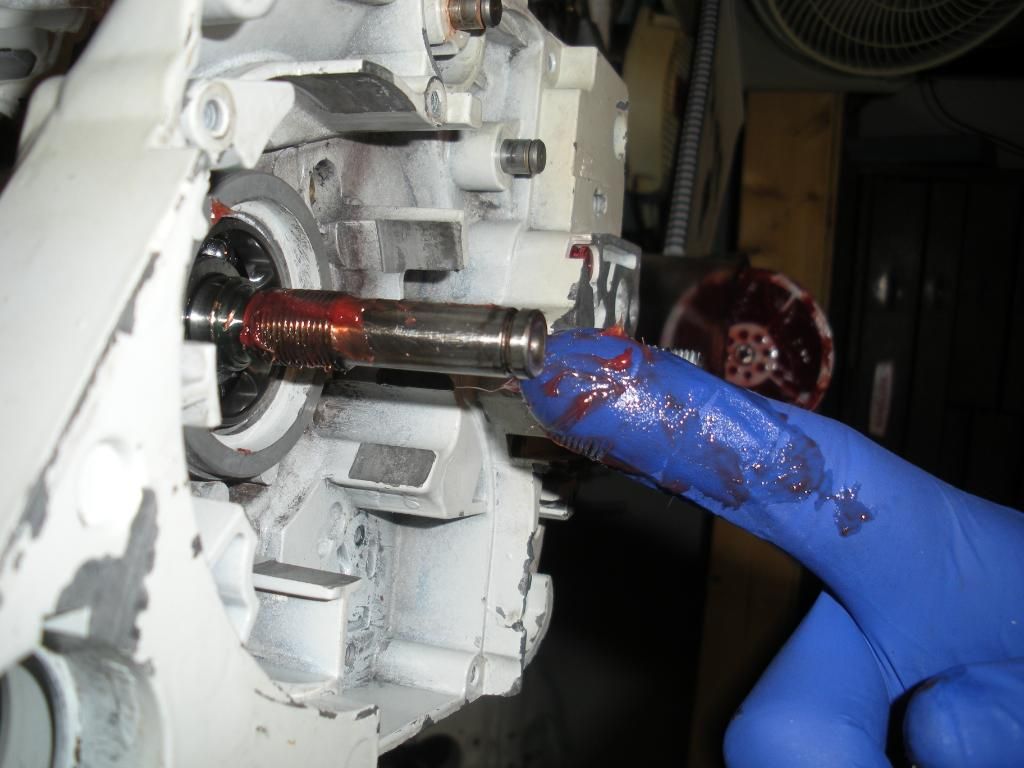
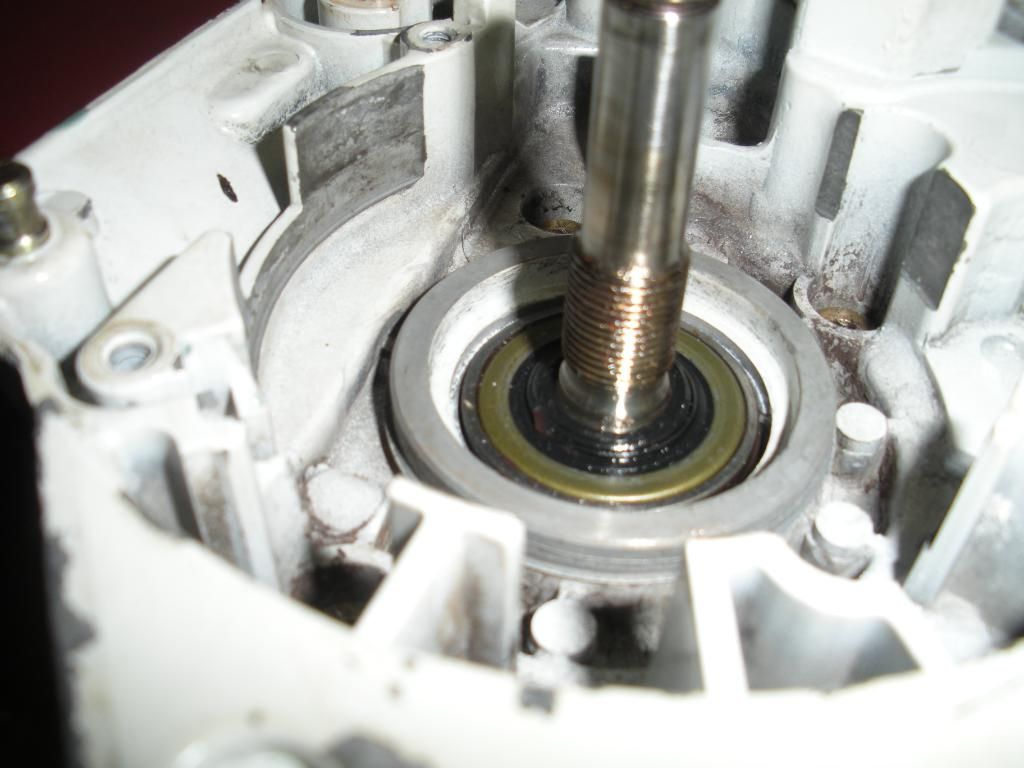
Does this look correct? The seal on the clutch side is set down to level with the case and then the outer (more towards me) part of the seal lip kind of rolls over a portion of the crankshaft. Is this normal? Or should I use a dental pick and push that portion of the seal down (toward the bearing) so that it is not "rounded" over that portion of the crankshaft.

Here are the pics:

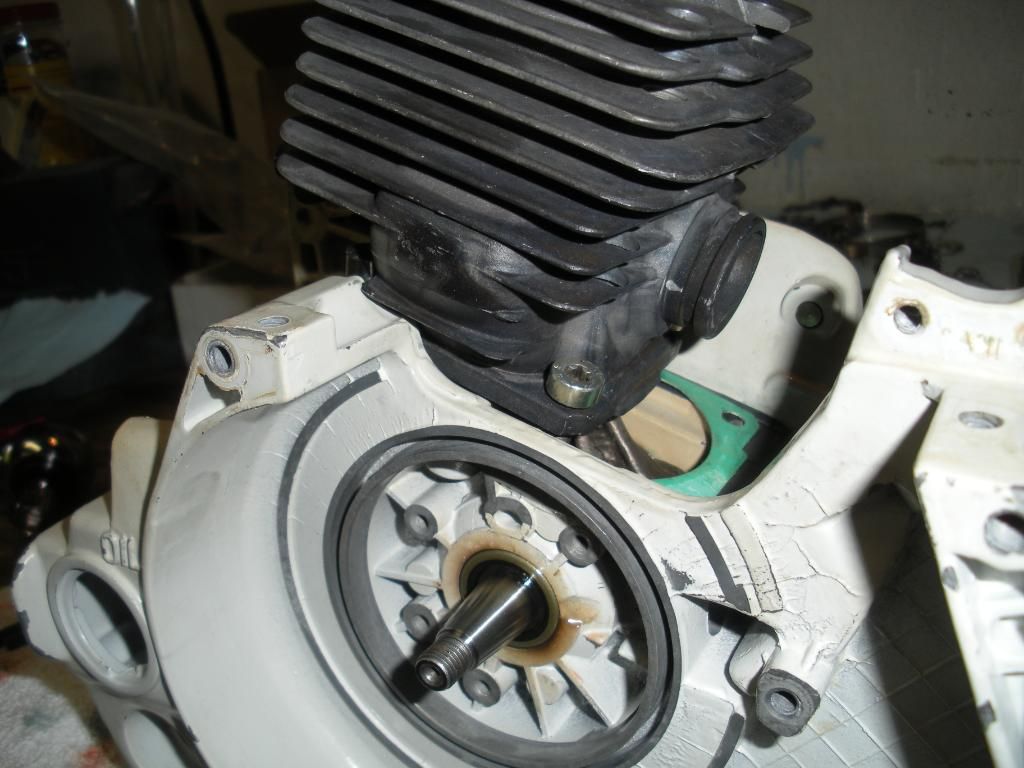
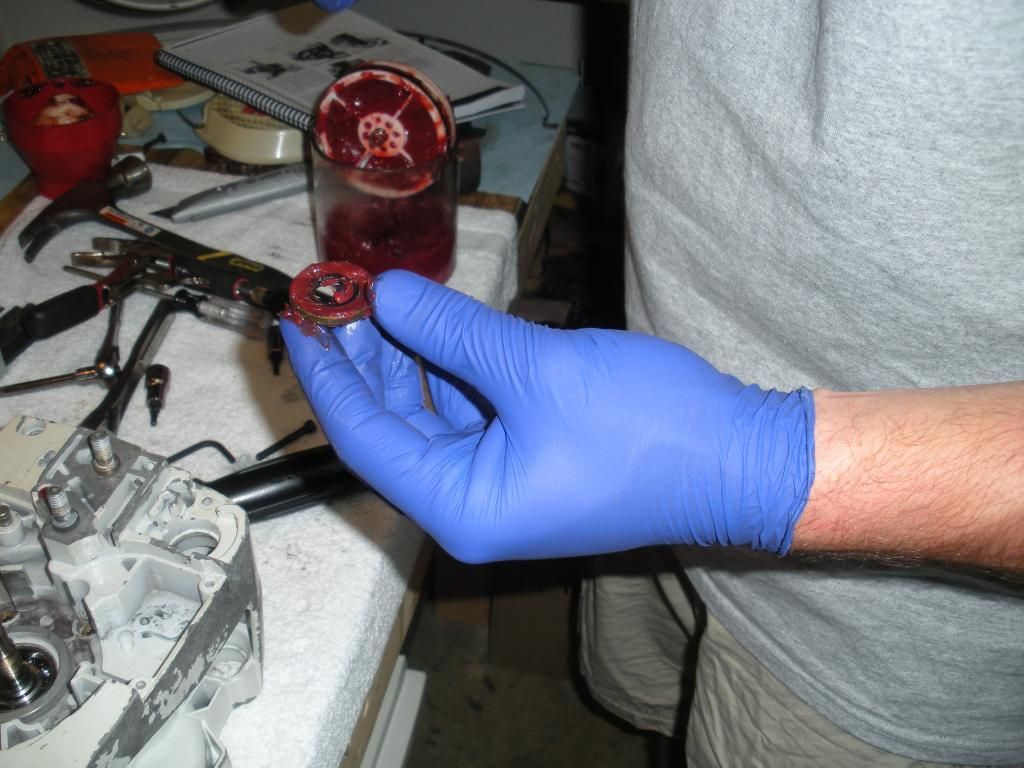
This is the larger seal packed with the red wheel bearing grease.
DSCN3198.jpg

DSCN3199.jpg


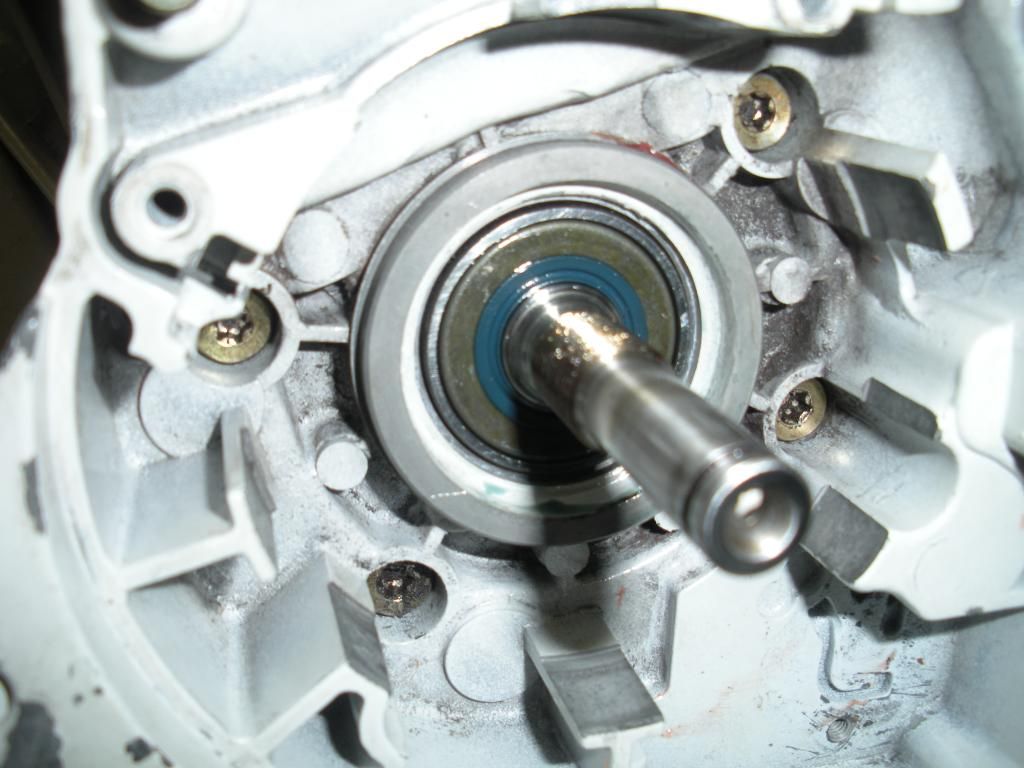
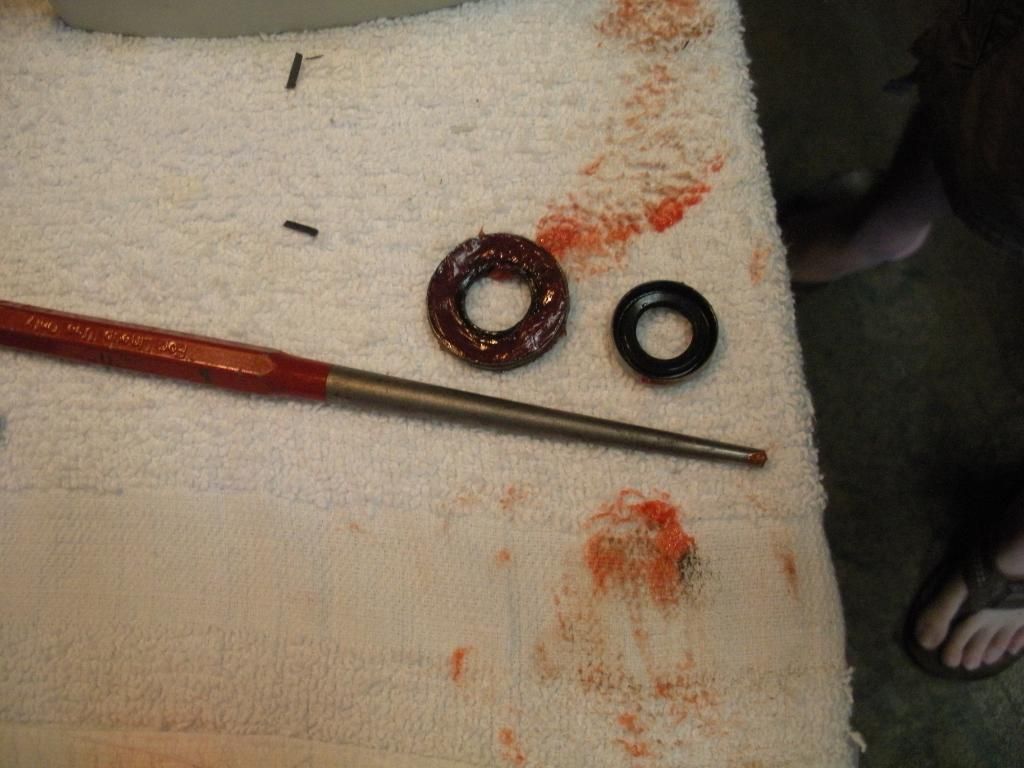
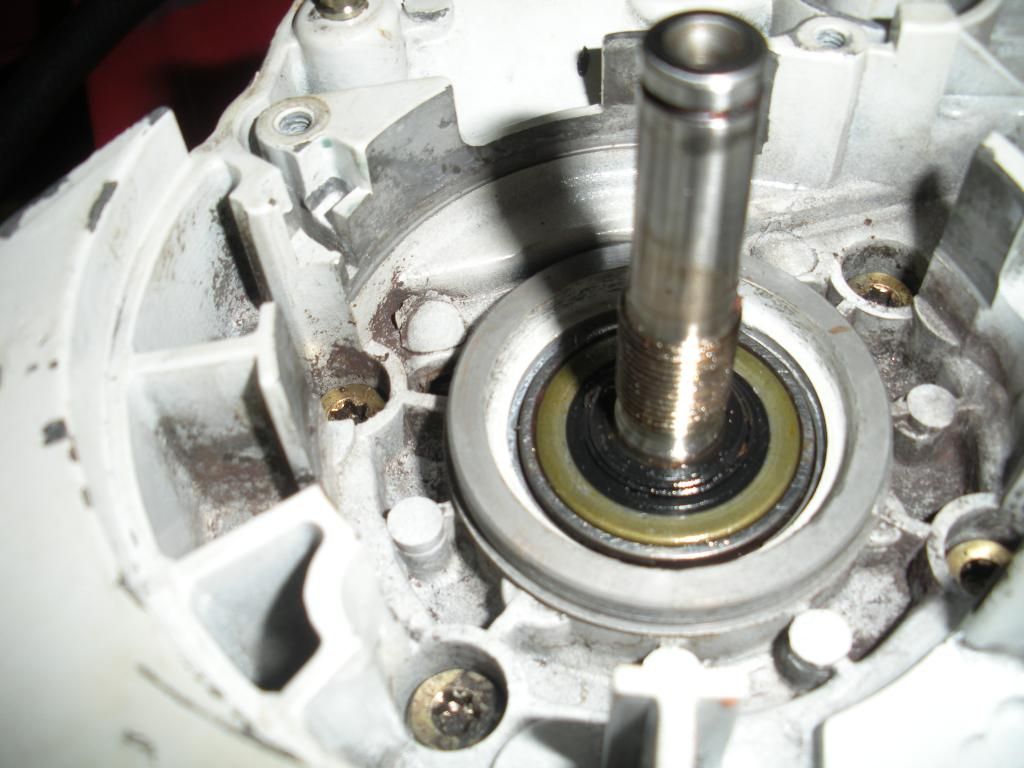
The two seals together.
DSCN3200.jpg


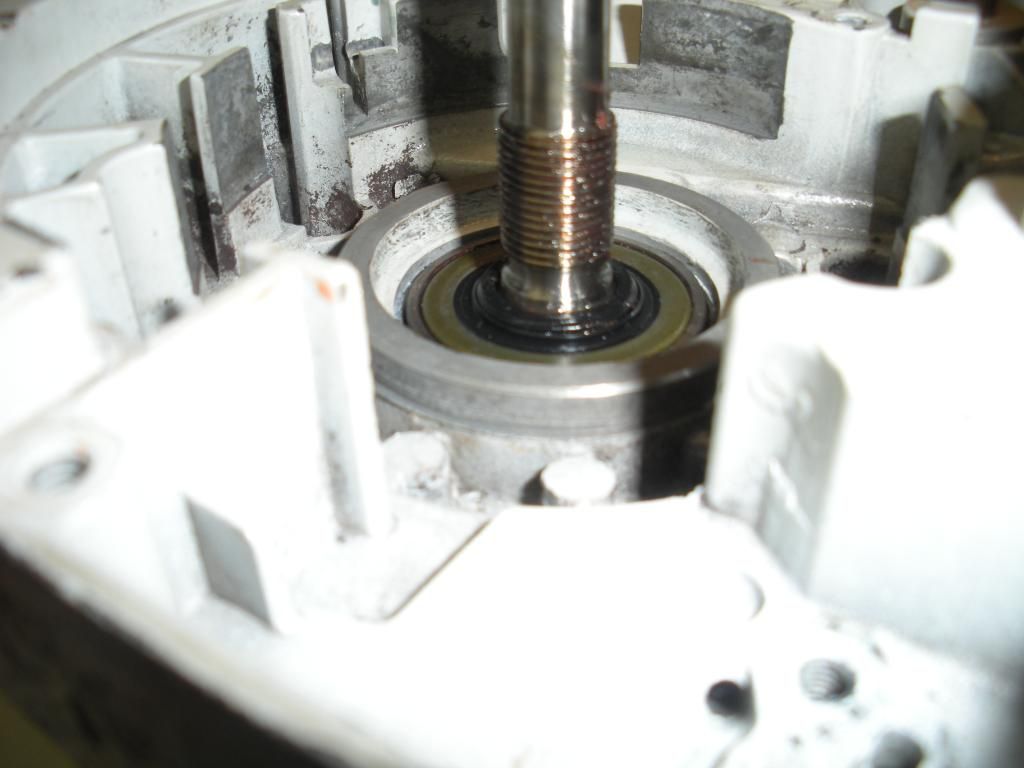
A (okay) pic of the seal with the end of the seal wrapped around the "shoulder" on the crankshaft.
DSCN3201.jpg


DSCN3203.jpg


DSCN3204.jpg


DSCN3205.jpg
 
I think I would tap that in a touch deeper. I always take note how deep the original was prior to removal. I'm thinking that should be slightly deeper than the case, like maybe 1mm. Not 100% sure though.
 
Last edited:
I would roll that seal edge back into place on the shoulder. Be careful and do not cut the rubber. The garder spring inside may not be in the place it is supposed to be located now. They sometimes slip out when the seal is "pooched" out like that. The lips have been turned slightly and the spring can sometimes jump out. Not every single seal has that spring, so if yours does not have it you can disregard, but the saws I worked on all had them.
 
Yep, I agree with Rupedoggy, it is boogered - pull it out and redo. Good peace of mind.
And remember, that grease is just used to ease installation - only need a little bit. But great pics!

Al.
 
Whenever I have a "step" to go over with a crank seal, I wrap a small piece of film negative around the shaft. It keeps your seal from being turned inside out on the step and that keeps the spring from popping off. Get your seal in place and then just pull out the negative
 
agreeing with above.
looks like the inner lip has snagged the shoulder on the crank and rolled inside out, towards the outside. You could work it back inside with a smooth tool, but not knowing if there is a garter spring inside (there usually is) that may have popped off, I would pull it out, toss it, and get a new one.

Use the 35 mm film trick works well.

Or, depending on the overlap onto the shoulder, you can slide it in, push it radially to one side and get the lip over. Then sort of 'orbit' the seal around, pushing radially outward at 1 oclock, 2 oclock, 3 oclock, etc until one full revolution puts the entire lip over the shoulder, then continue pushing it in. If there is not enough shoulder that doesn't work, then do the 35 mm film or some similar plastic. Be careful of a scissor or knife cut plastic piece, there can be a burr edge that slices the lip seal rubber. Masker sure the burr edge is towards the crank.

kcj
 
Since you lubed that seal up so much you can probably pop it out by pressurizing the crankcase (air compressor). When you put it in the next shot don't put lube on the edge where it fits into the case. It needs a little friction fit there. Mike
 
I bought three seals from the local dealer yesterday and today I was able to get the second seal installed correctly...

I went ahead and installed the piston and rings and then placed the cylinder over the piston and started to insert the screws that hold the cylinder in place, and that is where I stoped.

The piston and cylinder are from HL supply, it is the 028 super wood boss cylinder and piston combo. The problem is that the distance from exhaust side mounting holes to the cylinder body is too short and the screw head hits the cylinder and does not go into the case straight.

So tomorrow I have to head to the hardware store to get four machine M5x16mm screws with washers. The head O.D. is much smaller and hopefully will allow enough clearence between the side of the cylinder to allow them to go straight down onto the case. The intake side holes have enough distance from the mouting hole to the cylinder body, but to keep it all uniform I am just going to replace all four.

Oh well....

You can see the two exhaust side screws abutting the cylinder, preventing them from going straight down into the case.
DSCN3206.jpg


Intake side sitting flush...
DSCN3209.jpg


Abutting
DSCN3207.jpg
 
Last edited:
I agree with the comment about good clean work. While you are at the store get some of that tape that is for a/c and heating work. It is sticky on one side and shiny (like chrome) on the other. Put a piece of it on the case and under the muffler, to protect the gasket. Some of the gasket sets have a piece for this but just in case yours didn't come with it...
 
The piston and cylinder are from HL supply, it is the 028 super wood boss cylinder and piston combo. The problem is that the distance from exhaust side mounting holes to the cylinder body is too short and the screw head hits the cylinder and does not go into the case straight.

So tomorrow I have to head to the hardware store to get four machine M5x16mm screws with washers. The head O.D. is much smaller and hopefully will allow enough clearence between the side of the cylinder to allow them to go straight down onto the case. The intake side holes have enough distance from the mouting hole to the cylinder body, but to keep it all uniform I am just going to replace all four.

Chinese stuff still lacks quality control, sometimes it's fine, sometimes it's not.

Also curious, was the garter spring still on that seal that you removed?

If you have a Dremel grinder/or access to one, with the assortment of grinding wheels mounted on the shafts,
you can feed the shaft end down through the cylinder bolt hole, then attach it to the Dremel. Mount the cylinder
in a soft vise, get a steady rest for your hand, then turn on the Dremel and grind the bolt head pockets larger to
fit the Torx heads. Don't let the Dremel get out of control, and it works great. If you don't have a foot control
Dremel, it works better if you have a helper shut the grinder off when you're done grinding the pocket.

I once bought a new old stock Stihl 056 magnum cylinder with one of the ears busted off for $20. No other
damage was done to the cylinder, so they probably dropped it on concrete. I still had the old scored cylinder
so I cut grooves around an ear on it (to match the lost broken one) using a thin cut off wheel. I then broke off
the corner using a drill bit. Took two tries before I got one that matched close enough to use, as the first one
didn't follow the grooves just right.

Anyway, the point of the story is that after I tig welded that ear onto the NOS cylinder, the weld kept
the bolt head from seating like yours. The Dremel did the trick, and you really have to look at the
cylinder closely to tell it was welded up. The base got milled off to lower it, so that took care of the weld
bead on the bottom
 
Last edited:

Latest posts

Back
Top