hello good sir!
several years ago i wanted to get a tech-lite bar and full wrap based mostly on your signature; thank you for the inspiration good sir!
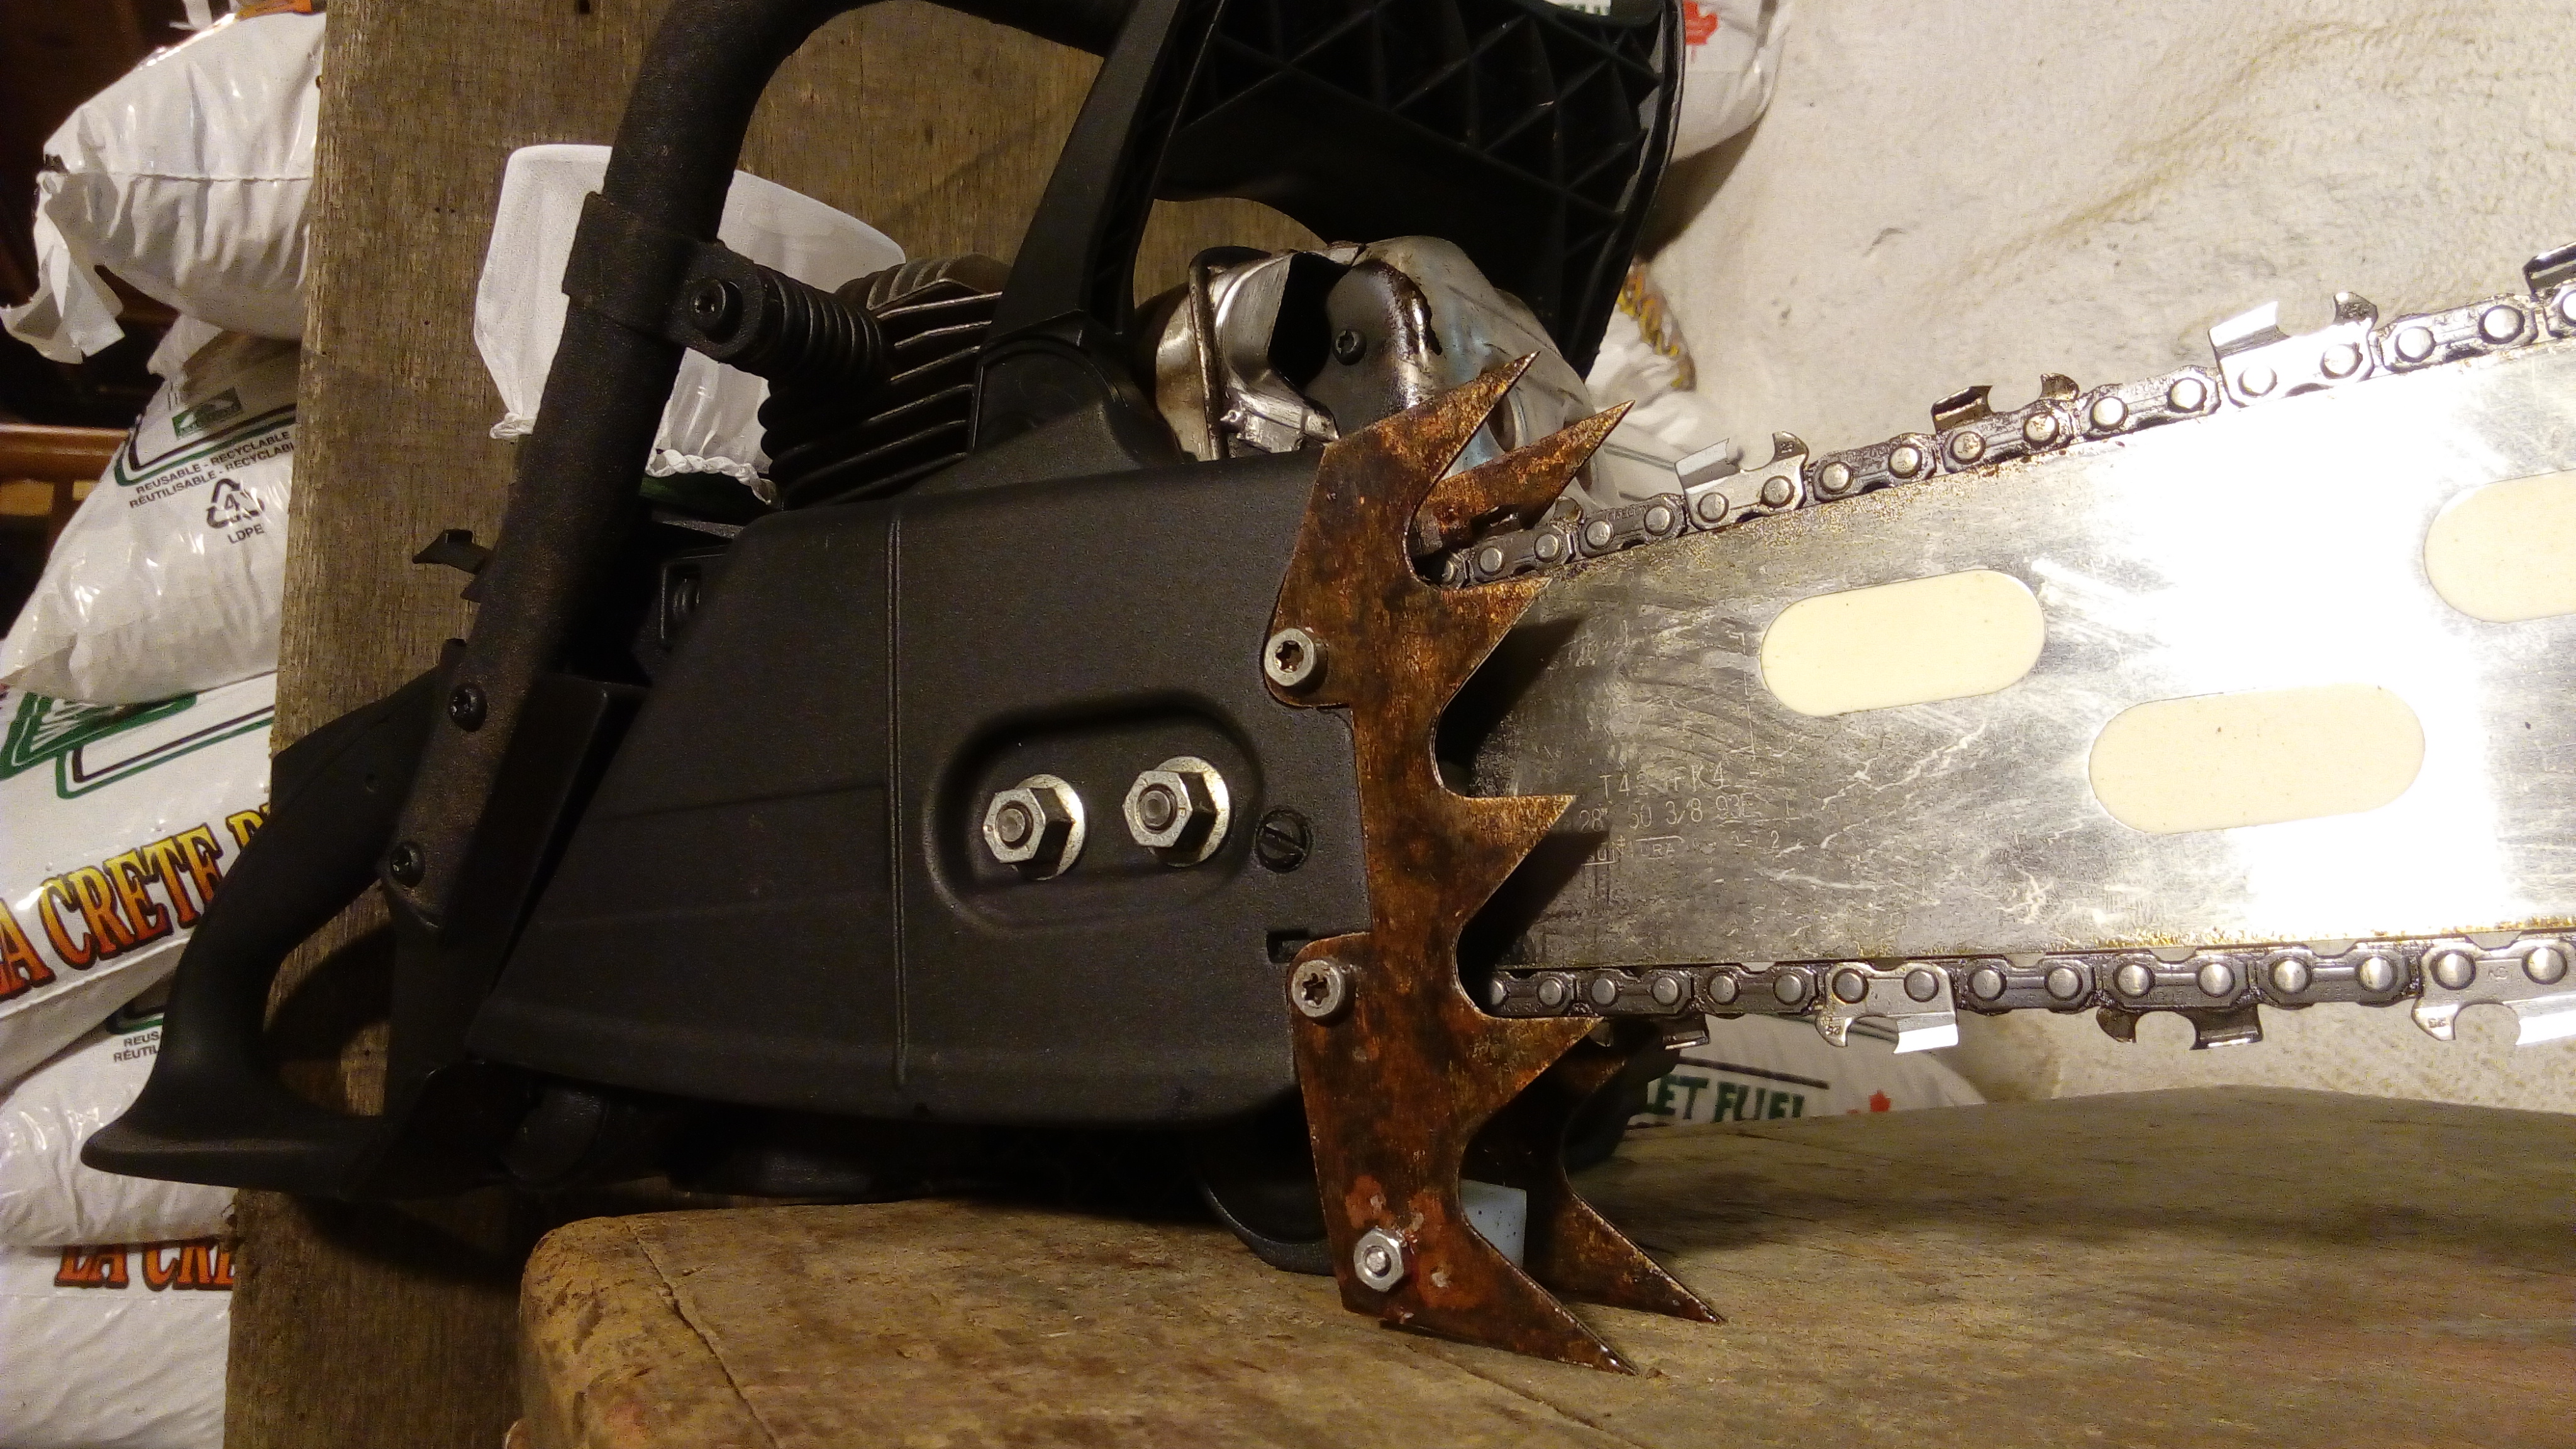
the saw is grown up now with an oem 79cc kit and sporting 183psi compression here; squish ~.019". i spent some time with many drawings to help pull off the more raw and masculine look i wanted on this saw. i eventually compromised on this 5 tooth design. i also had a more aggressive 4 tooth more on this when i make the video. these spikes help me get back another 1" or so of the bar which is nice as well. the spikes are just a low carbon content mild steel i had laying around. i de-greased it and then used some hydrogen peroxide/vinegear and salt to expedite the rusting in about 5 minute with the aid of some heat. i tried to help limit additional oxidation by sealing them with epoxy; time will tell how successful i was. i then made the chain catch as well. the spikes were cut with sheers and holesaws and hand files were used to have better control of the form.
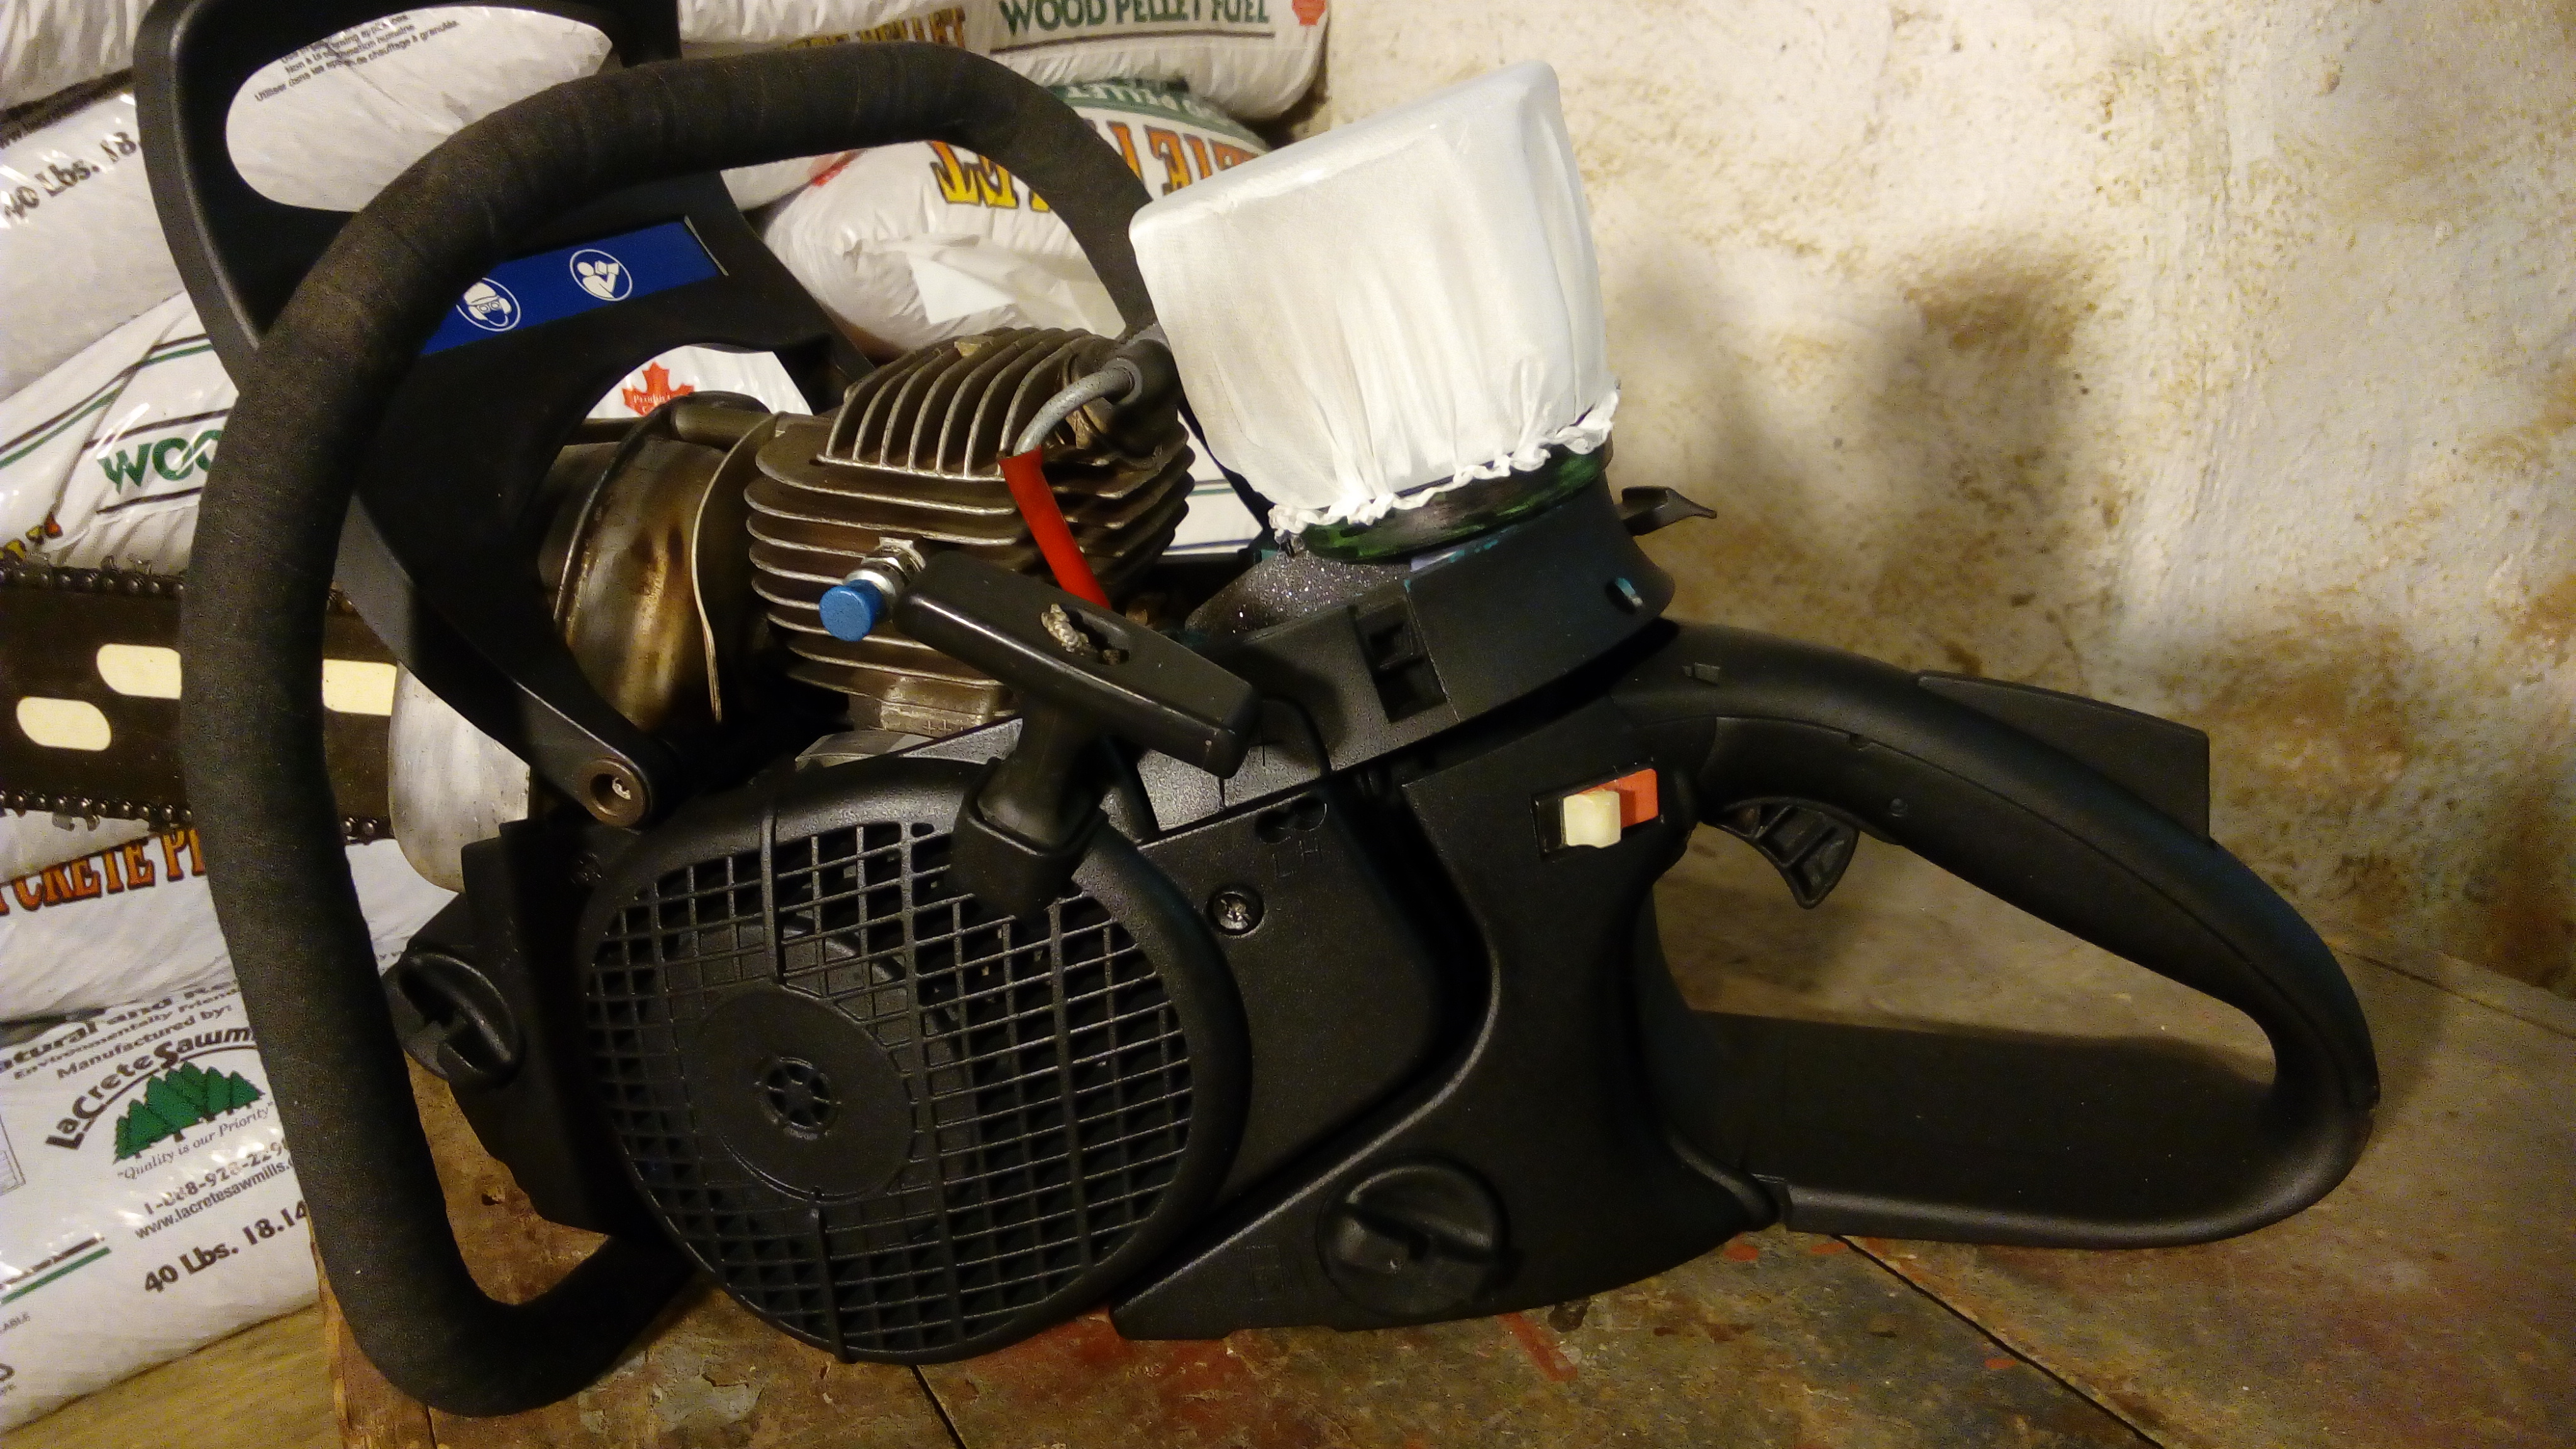
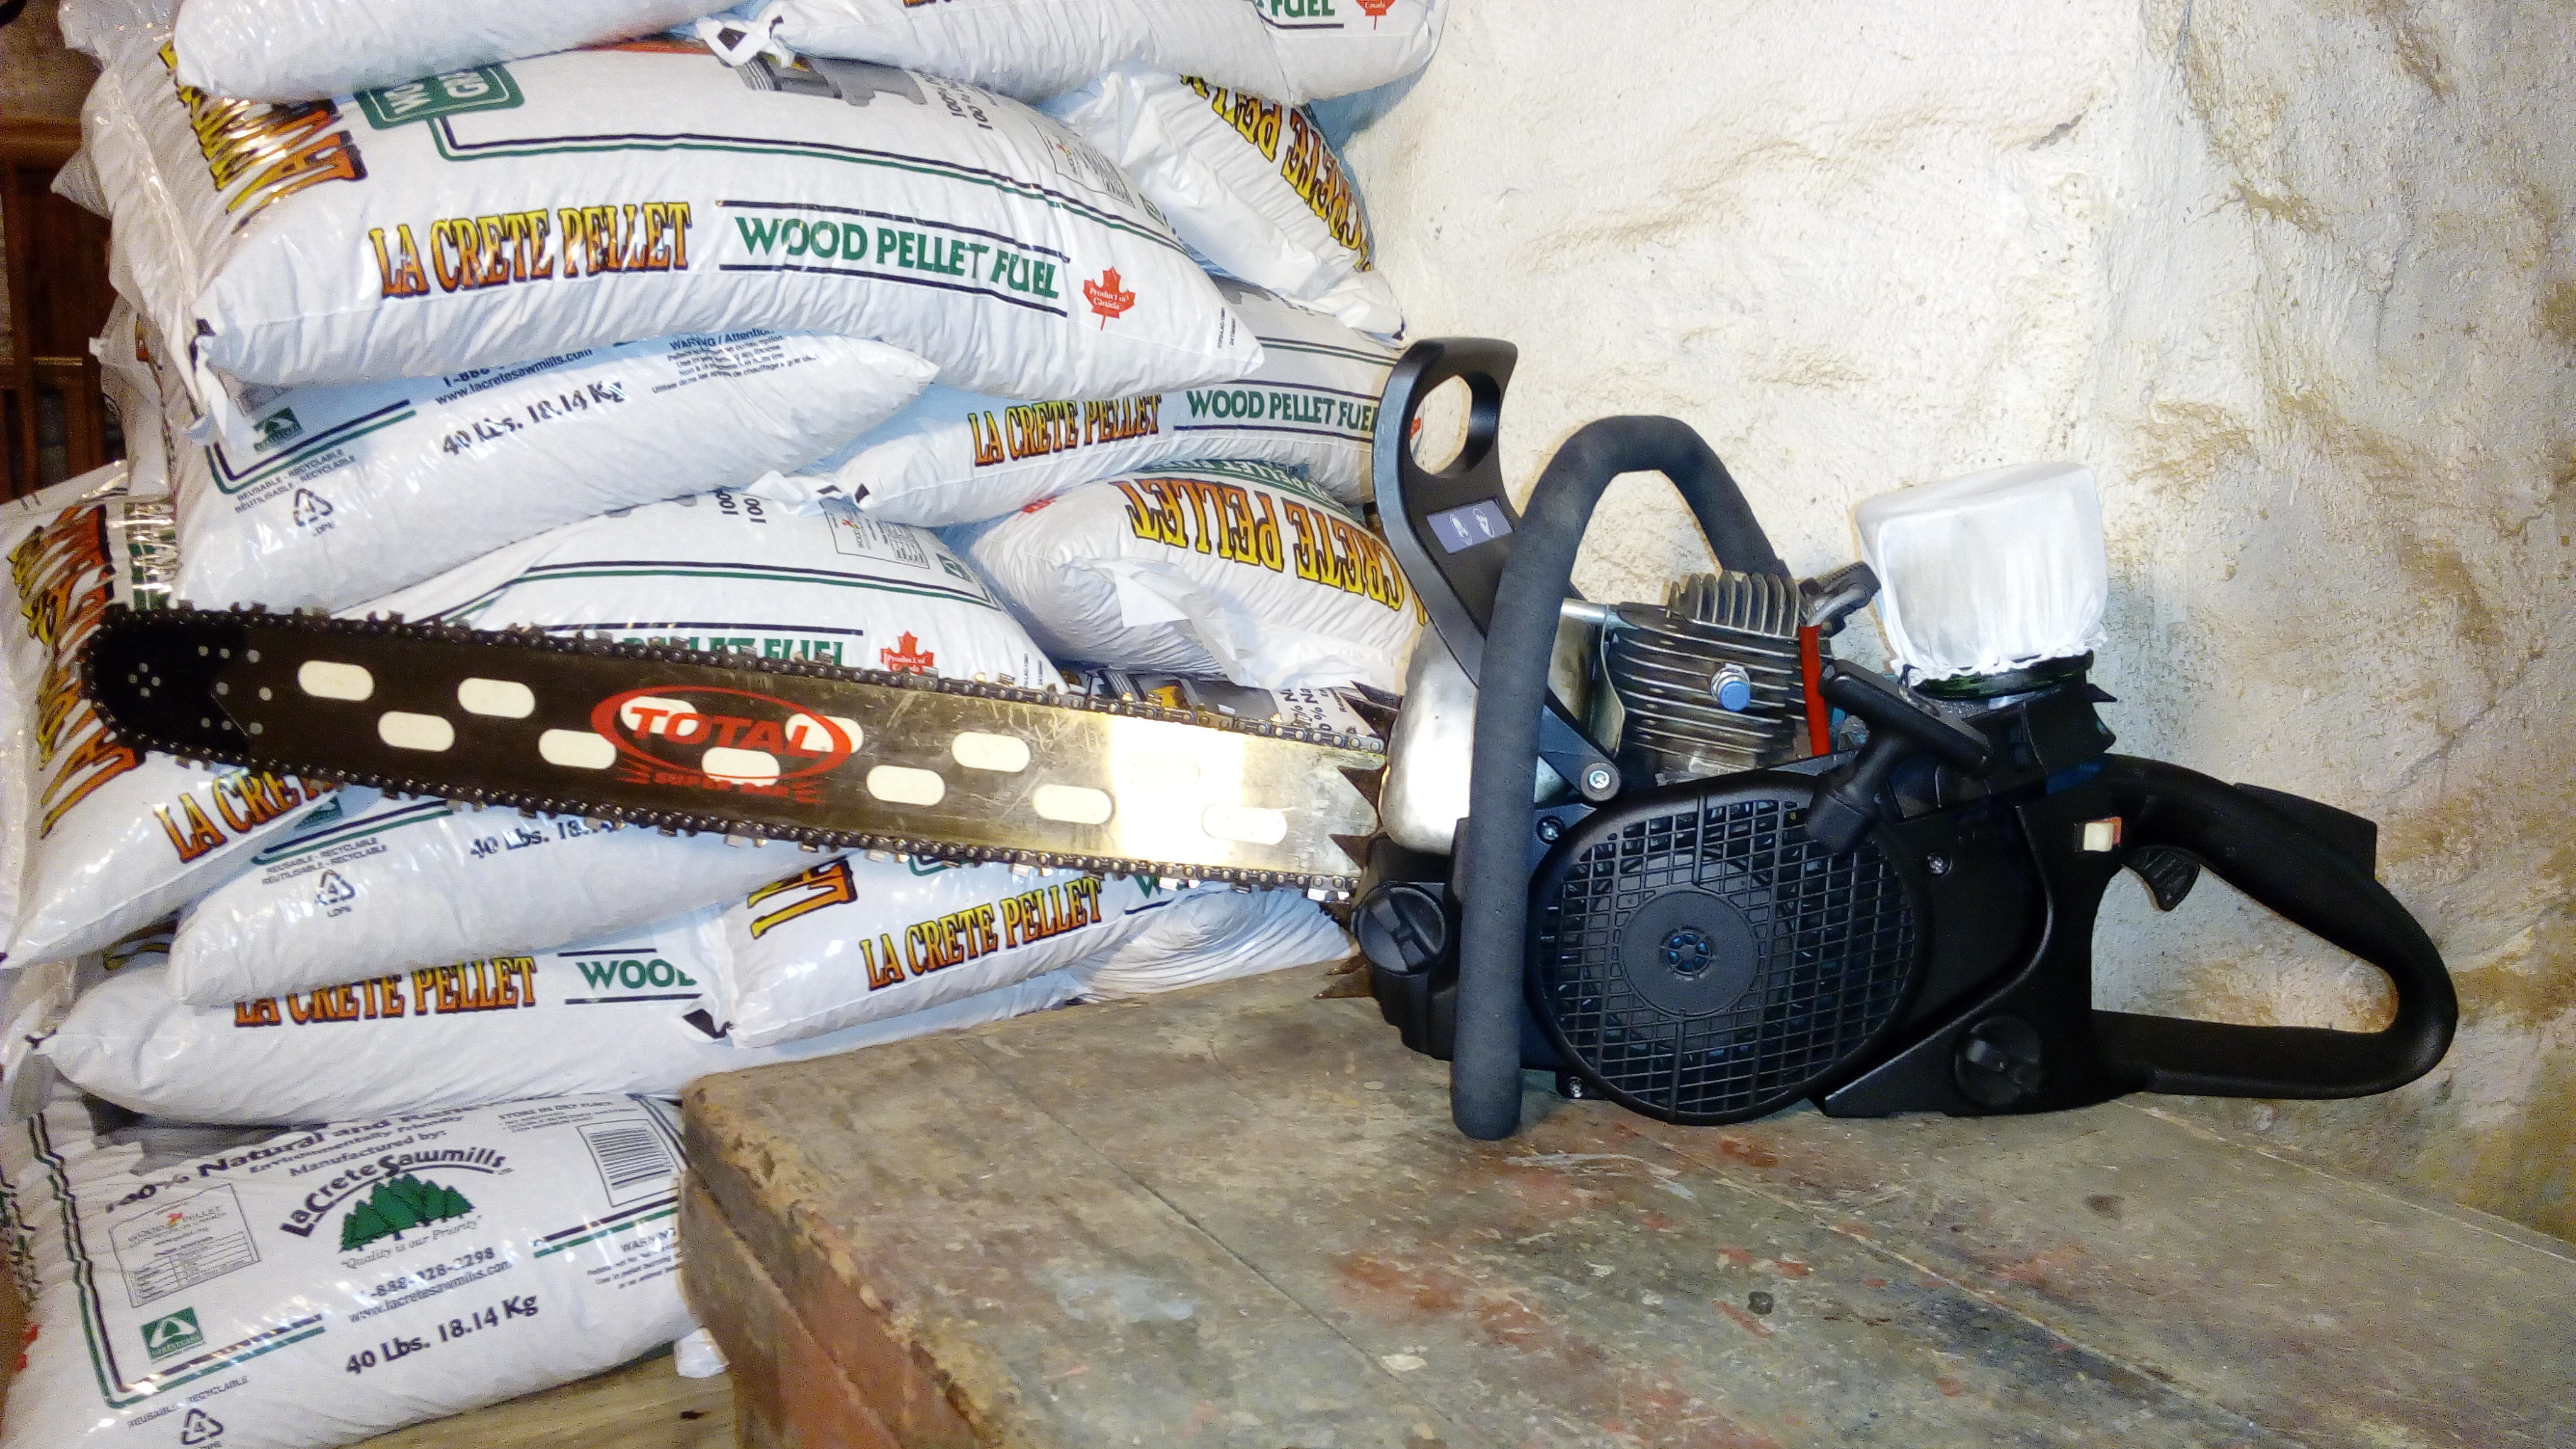
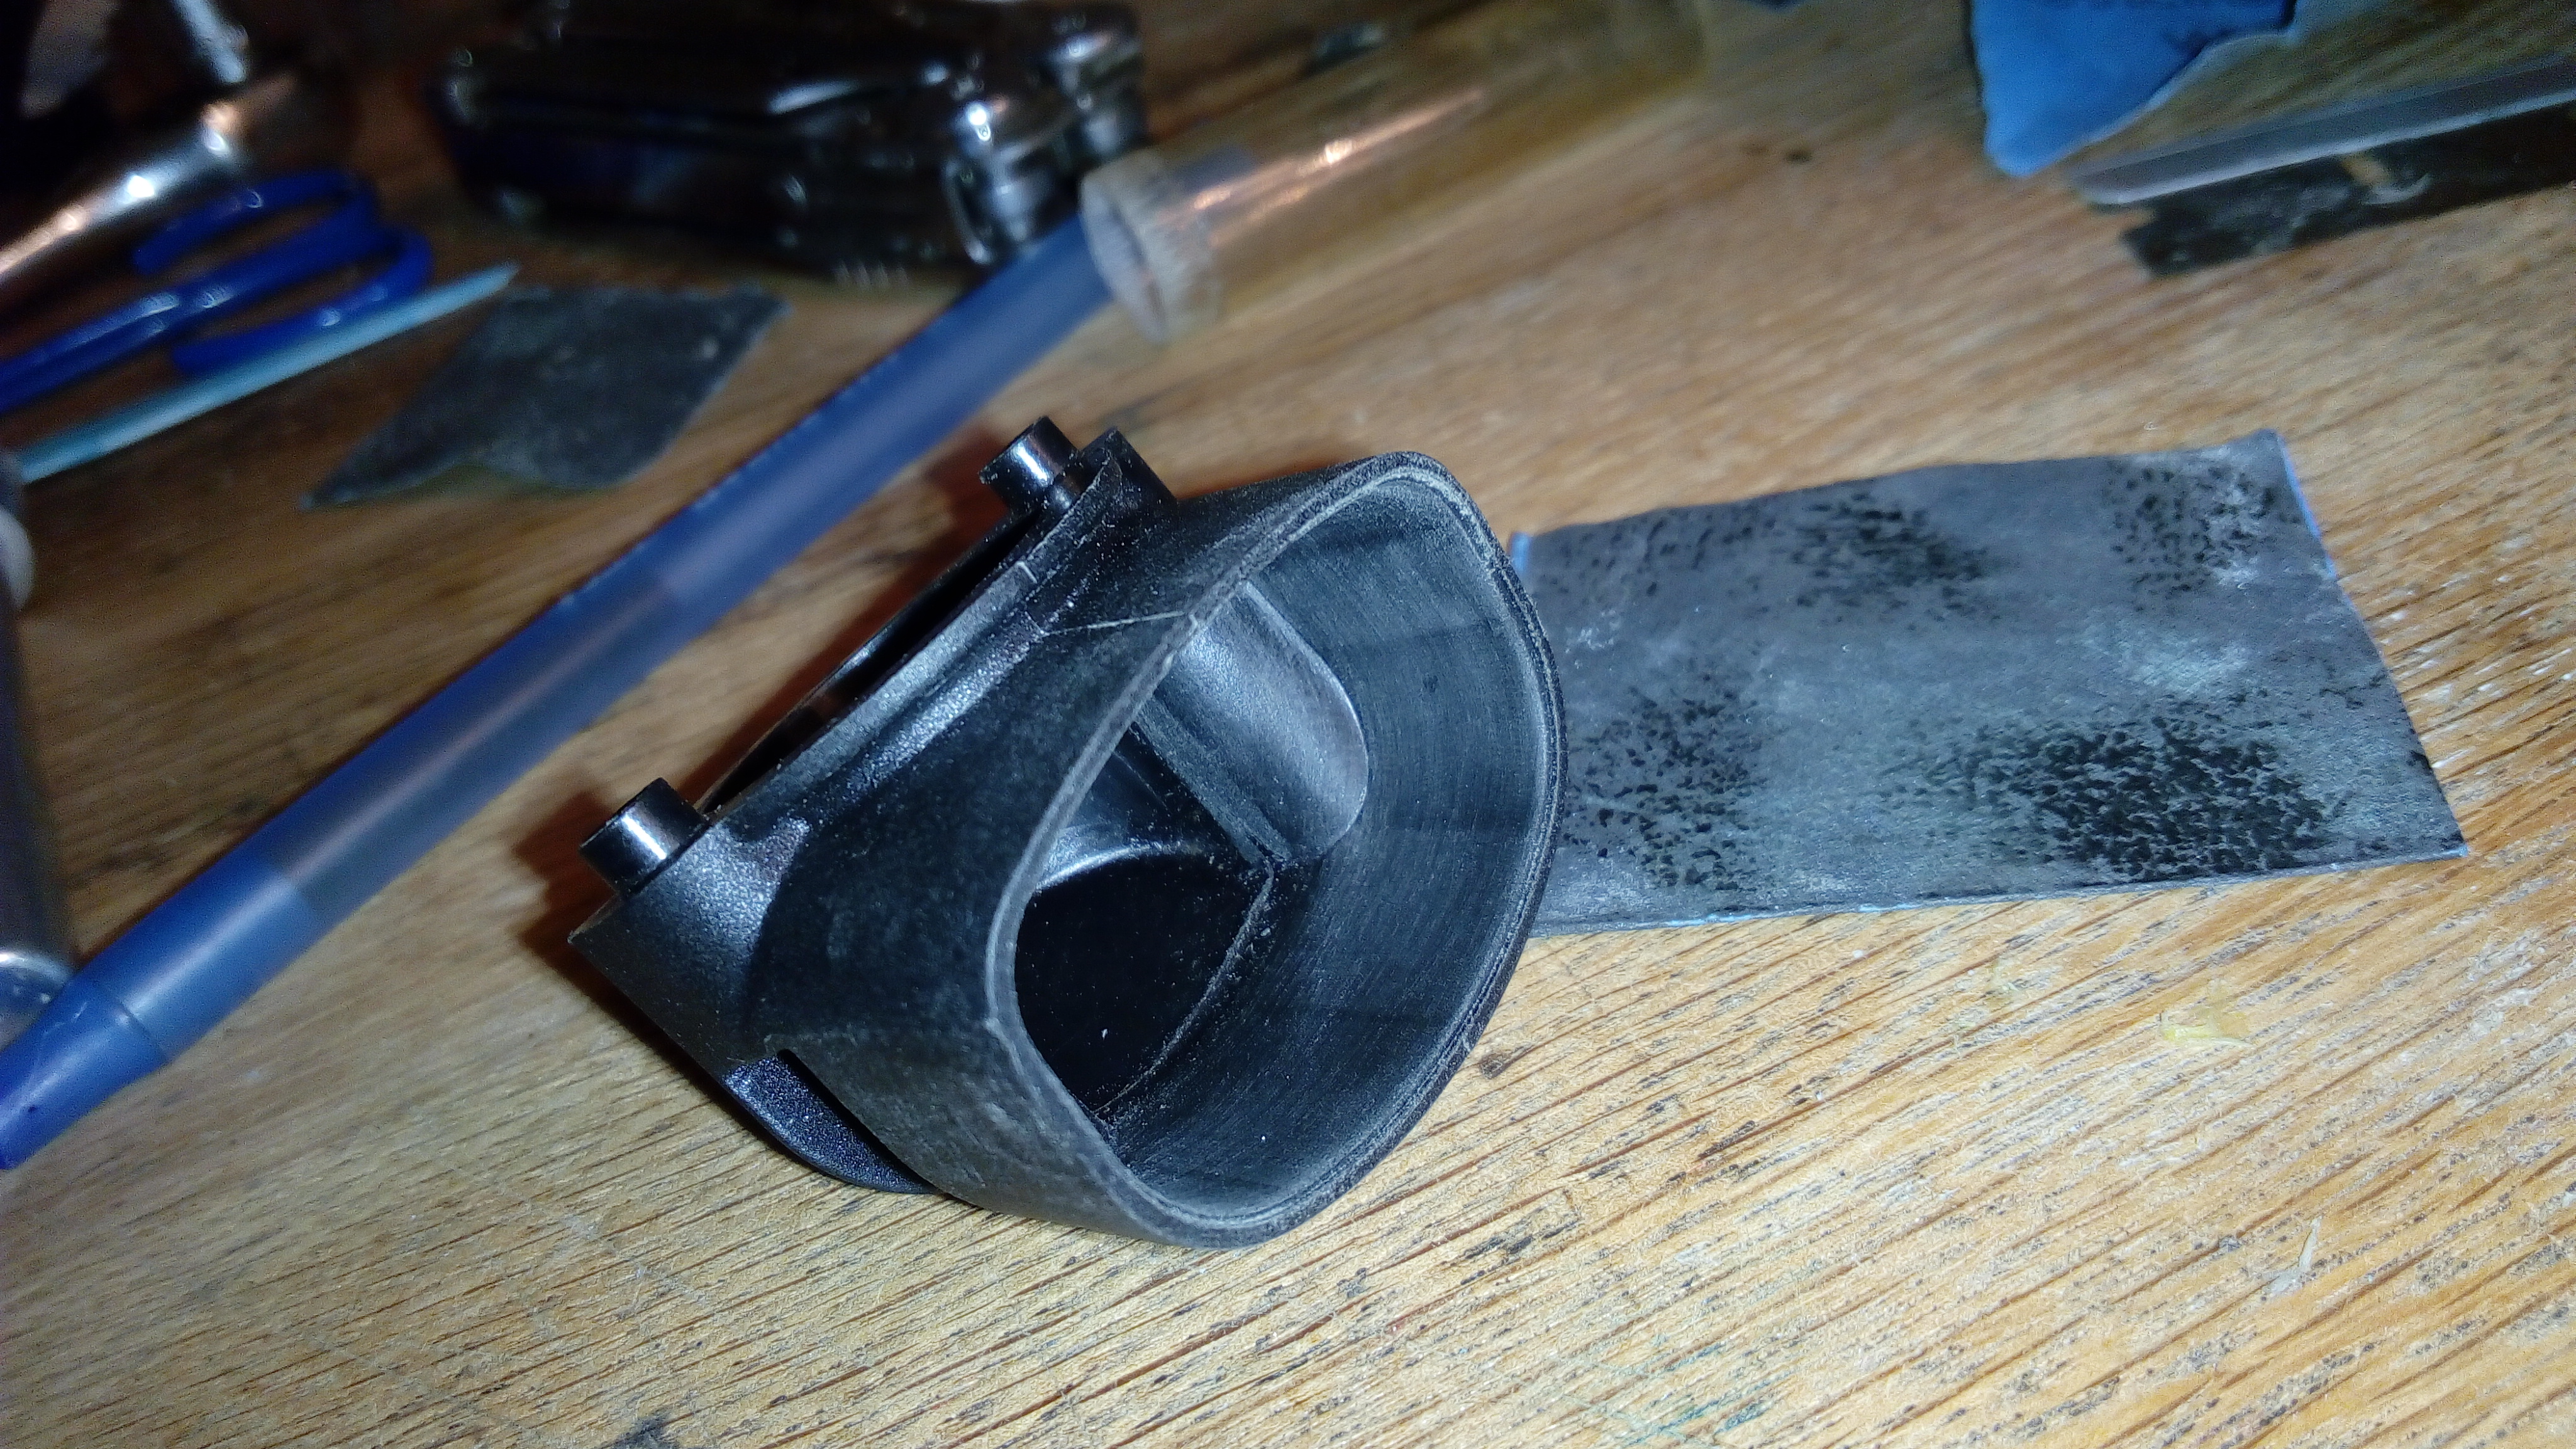
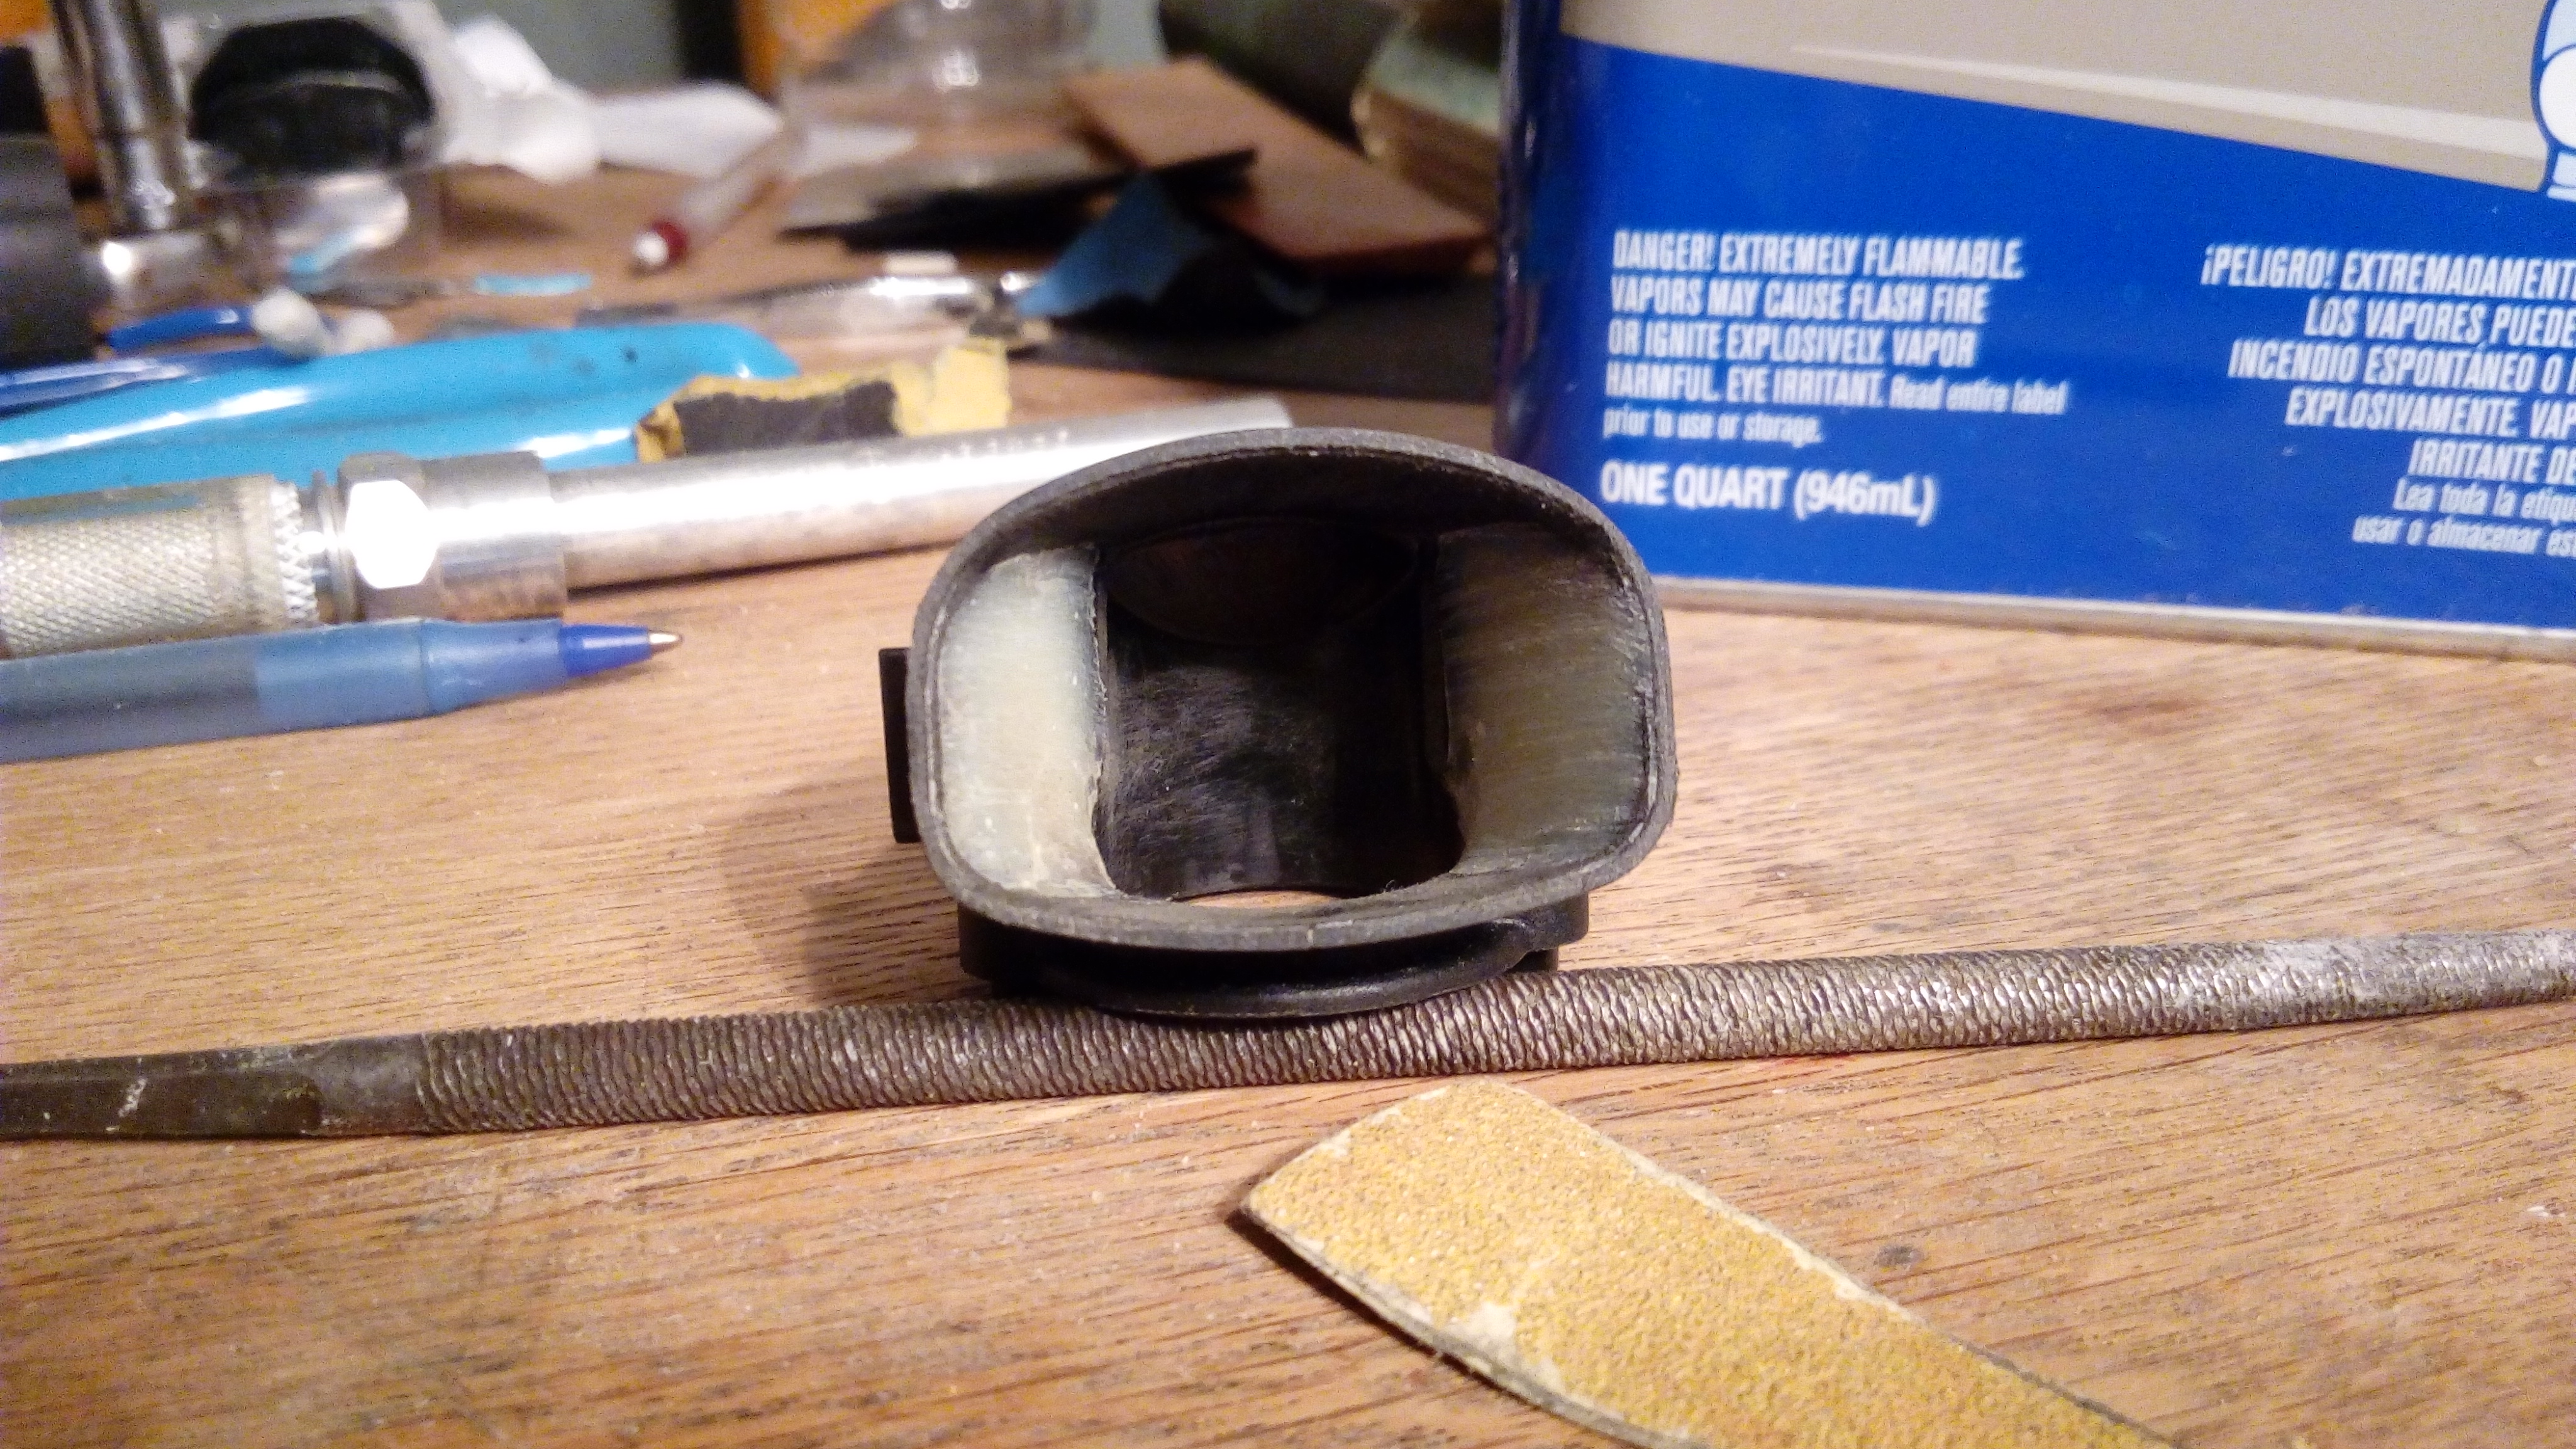
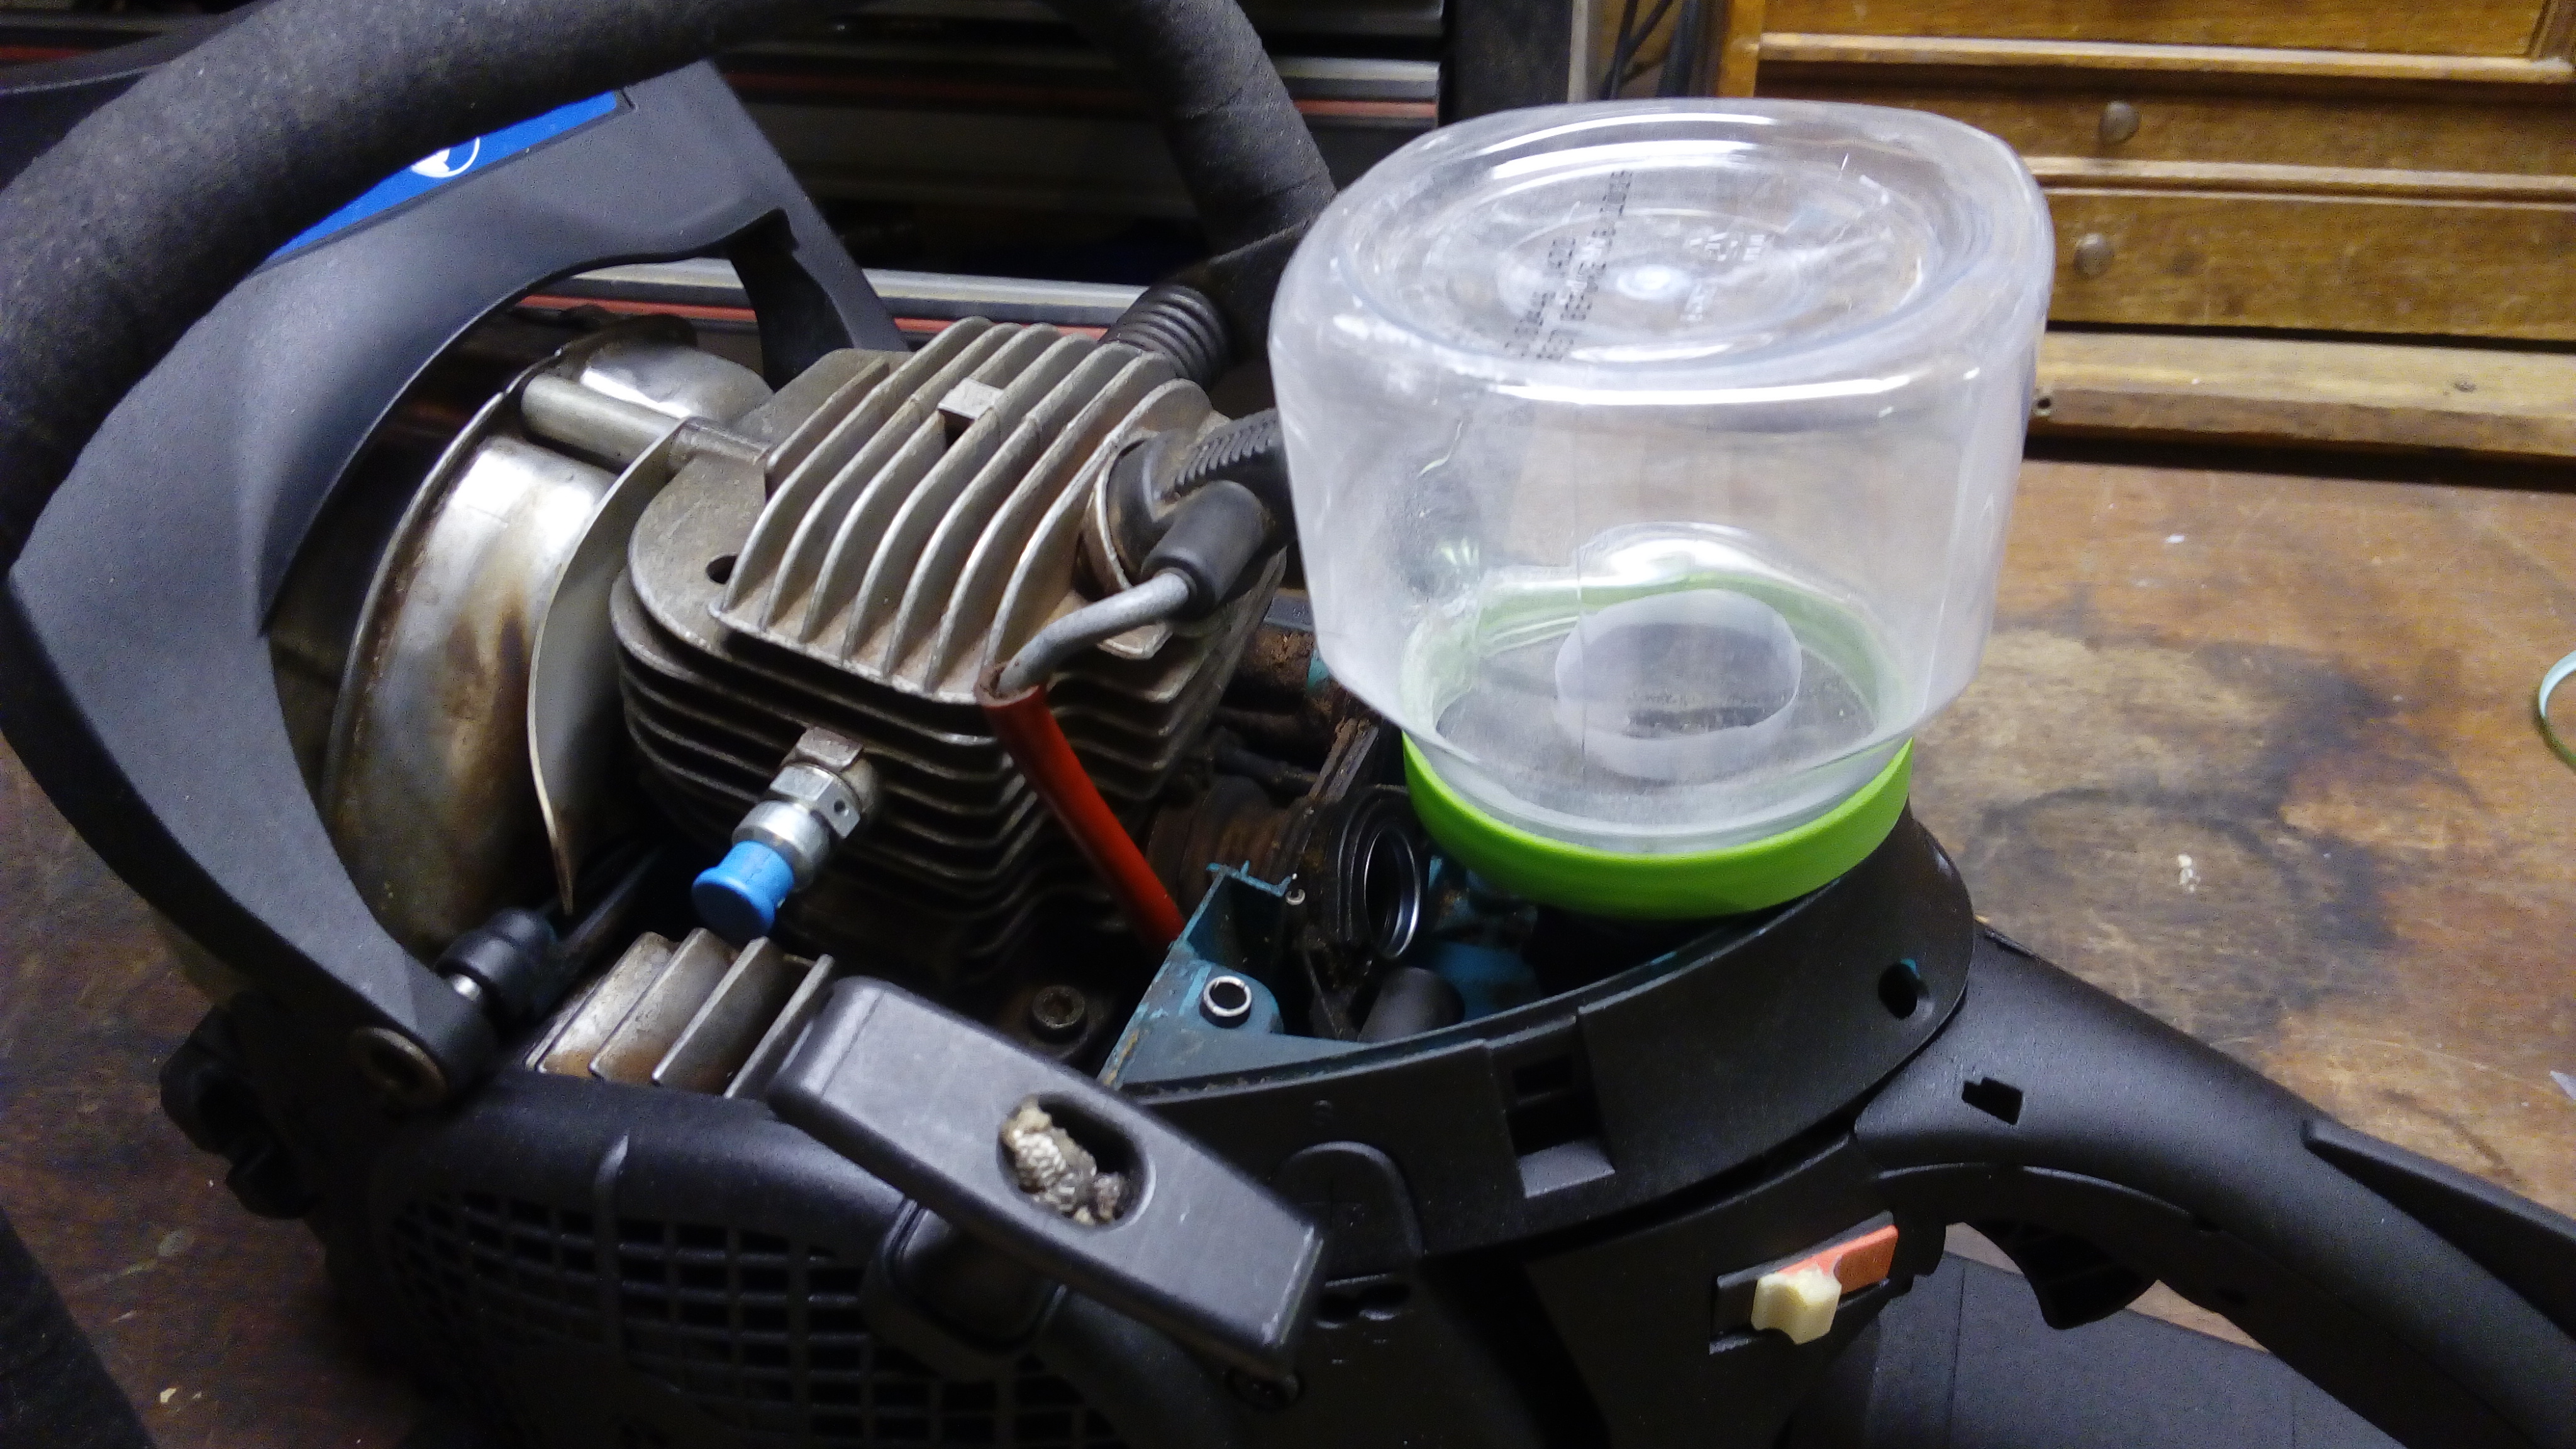
to me, curves and more flowing shapes are feminine. they do tend to produce more aesthetically pleasing results to most people but i felt it contradicted with the purpose of this tool. the oem felling spikes were in direct violation of this and so are the top plastic and air filter. i bought the oem filter elbow; called intake muffler or something along those lines for 4 dollars at the local shop. i then de-greased and sanded the interior so i could fill it with some methyl methacrylate type adhesive (commonly called plastic weld). i then smoothed the edges and added a collar to the this piece so that it protruded slightly above the deck of plastic. the filter element is just a piece of recycling, truvina(?) containers and was the only thing in the recycling that day, even a blind squirrel finds a nut...lol i then used some bicycle inner tube which is trapped between the threaded cap and container. next i cut the rubber slightly smaller so it slides over and provided tight fit. i cut out just about all the plastic of this container; the only purpose i needed it for was to provide a frame for which very fine polyester mesh could drape over it. i debated leaving the top uncut to maximize protection from rain should i need to use saw but compromised by cutting a flower type pattern which left the center solid above the opening for the intake elbow. the intake elbow also protrudes about 3/4" into the plastic container to also limit water draw; this was done initially to get cleaner, non turbulent air then if the velocity stack blended right into the bottom edge but helps with potential water as well. i then draped the fabric over the container and allowed the edge just below the cape to act as a groove to locate a rubber band i made with some 1/32" shock cord. i was going to sew a couple of these up but for the time being this is only draped and pulled tight. i have the stumps knocked down to like .040" so when this cuts it throws corn but in the little i have ran the saw since finishing it had done it's job. after i a get couple tanks of juice through her i will make another determination if i need to add more filtration.
here are a couple images which will bring more resolution then my aforementioned incoherent thoughts
this last image before all the removing of plastic. i may add back or create a shroud around the exposed fins on this near side but the remaining plastic will likely not go on. the plastic is nice and keeps dirt and debris out so people can neglect the saw longer without much worry. i understand i will likely need to clean it more and if something else comes up which suggests i need it i will add it back. the only surface i did not painstakingly clean and prepare for paint was that upper curved shell. i will prep it in the coming weeks and blow some paint to cover the green. this is why i like painting textured finish because to me they look better, are much easy to paint and also to touch up.
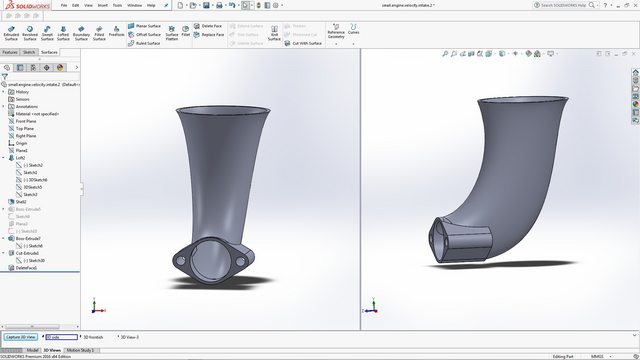
enough babbling for now, i will try and get more details out when i make the videos. the point of the videos is just to try and motivate others to do similar projects. i could cut the spikes with laser cutter and 3d printed a proper one piece velocity stack i created in solidwork modeling but this would be intangible to many, instead i opted to solve the problems i created with common tools most of us have.
if my lack of organization had confused anyone please speak up and i will try to better explain myself if i can.
thank you for your time and motivation good sir!