Basic stihl pro saw step by step dissassembly w/pics

Arborist Forum

Help Support Arborist Forum:

This site may earn a commission from merchant affiliate links, including eBay, Amazon, and others.

sILlogger

Addicted to ArboristSite
Joined
Jan 14, 2007
Messages
2,506
Reaction score
412
Location
southern illinois
unless any of you have been wondering why i have been taking so many pics of my projects it is because we got 10+" of rain between tuesday morning and wednesday evening..and im rained out..and i figured that as much as i've got out of this site i'd try to give something back

alright..here is where i started..everything except the bar and chain
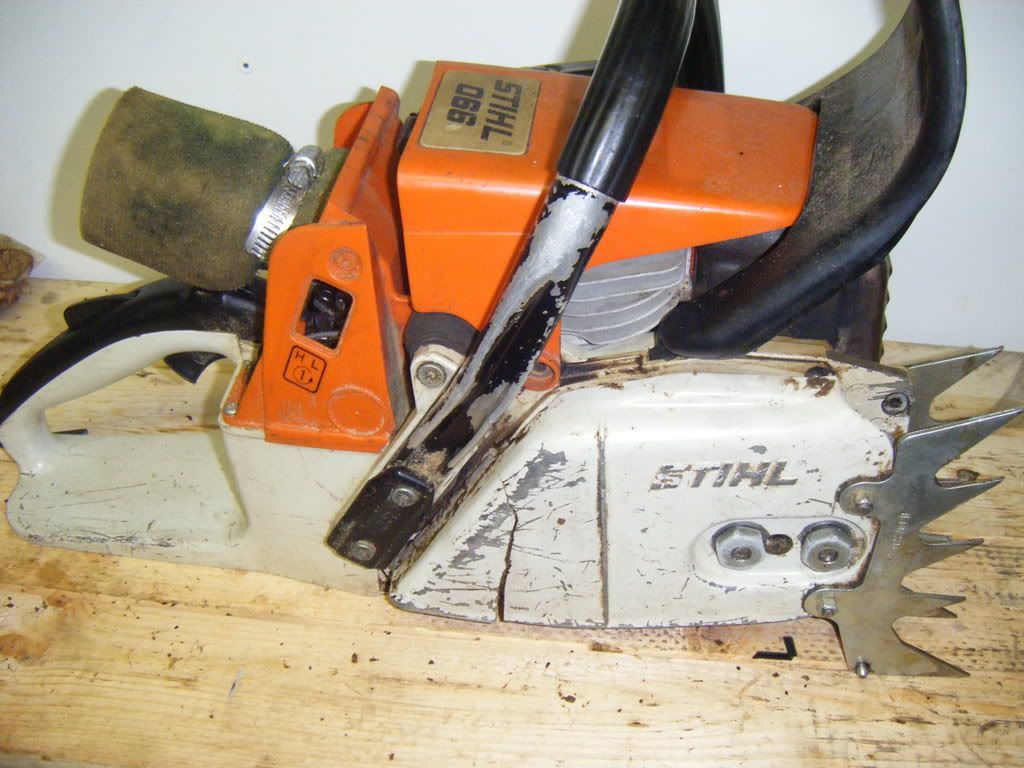
degreeingmy066BB002.jpg

undo the spark plug wire and remove the top cover
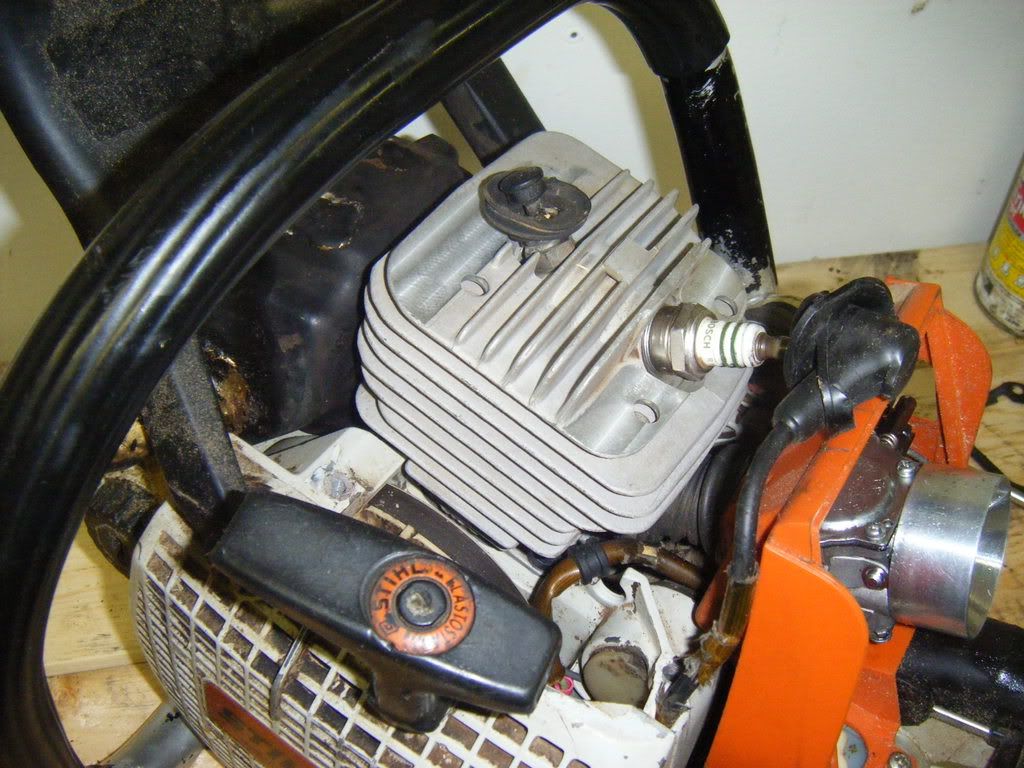
degreeingmy066BB003.jpg

remove the 4 bolts holding on the handlebar and remove it
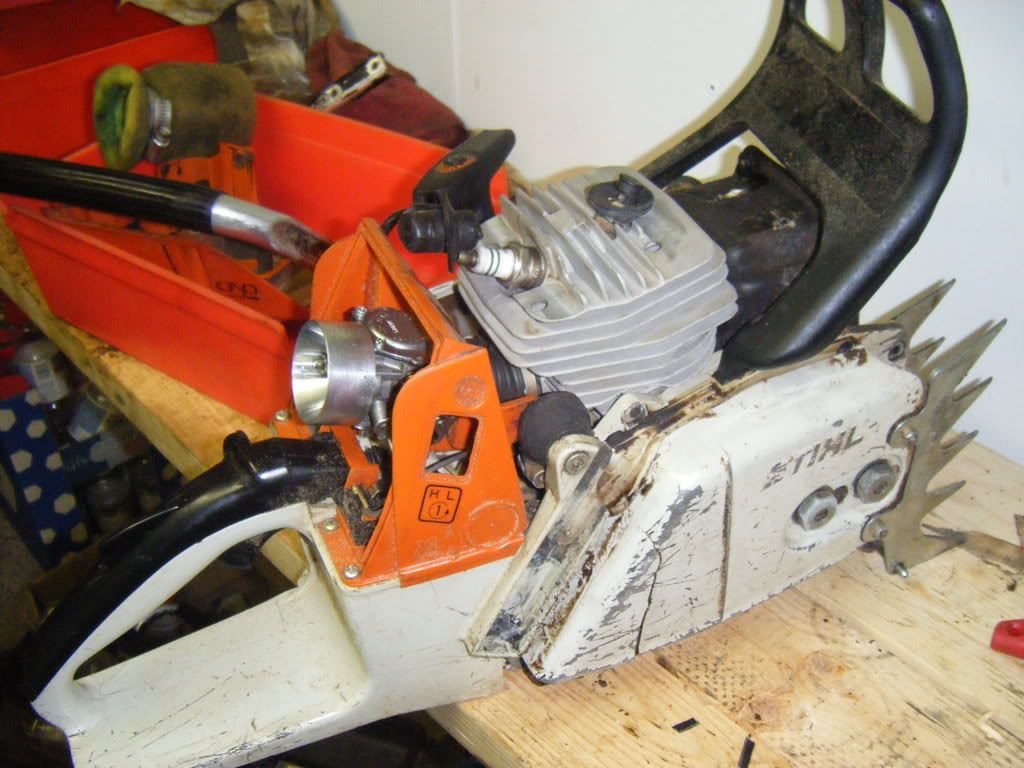
degreeingmy066BB006.jpg

remove the 4 bolts holding the muffler cover and the 2 bolts holding the muffler to the cylinder
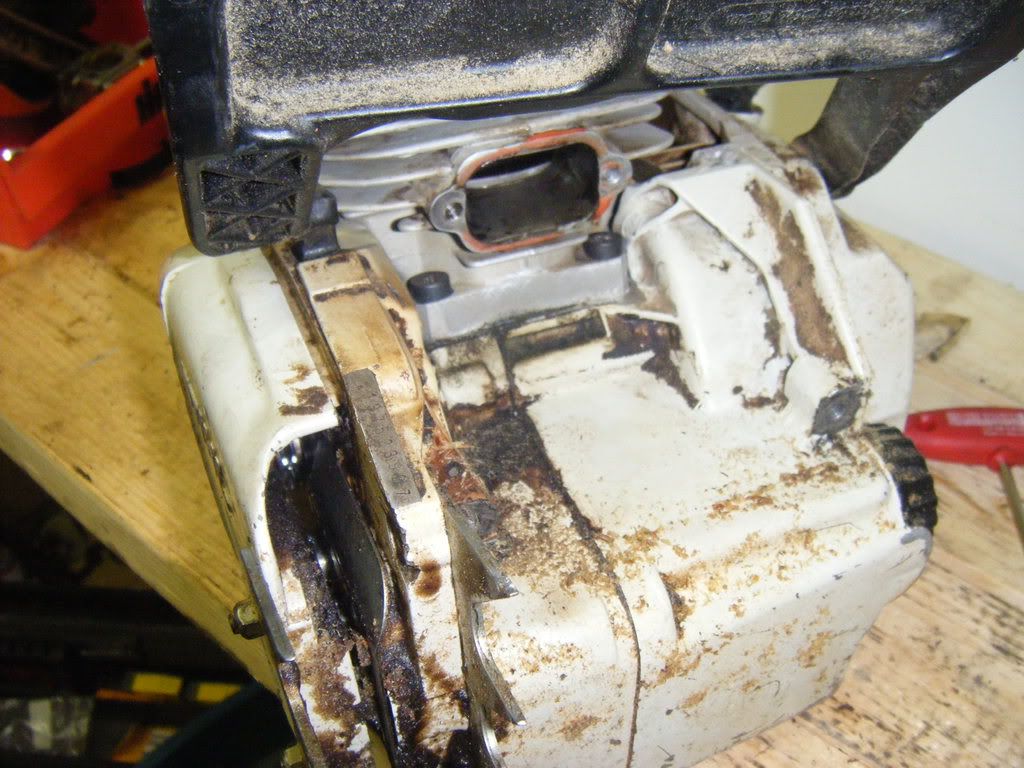
degreeingmy066BB010.jpg

remove the velocity stack(not on stock saws-usually use an 8mm t-handle but it won't fit, so i have to us an 8mm socket)
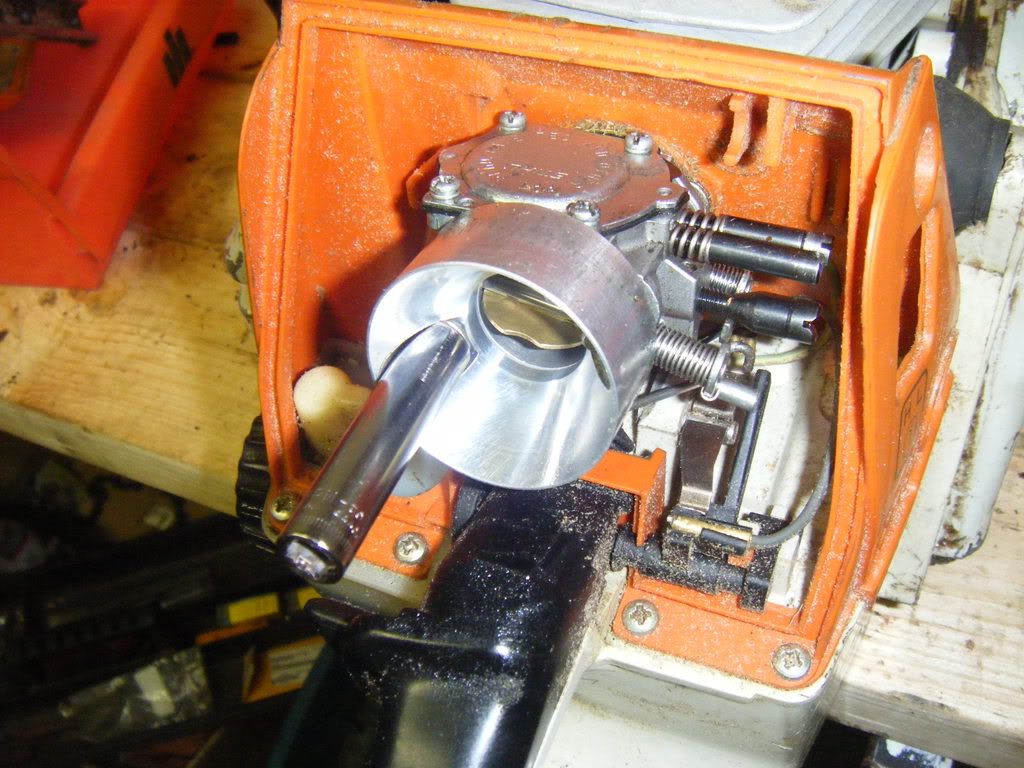
degreeingmy066BB008.jpg

if you have one on your saw(should) remove the carb grommet and stick and finger inside the hole and crack the throttle open a bit, just enough to allow you to get the linkage free, and then remove the fuel line and pull the carb off(be carefull because the impulse line is still attached at the bottom rear) also i have learned to lean the saw on the side and crack the fuel cap to relieve pressure before i take the fuel line off so it doesn't shoot fuel out(the best bet would be to drain the tank)
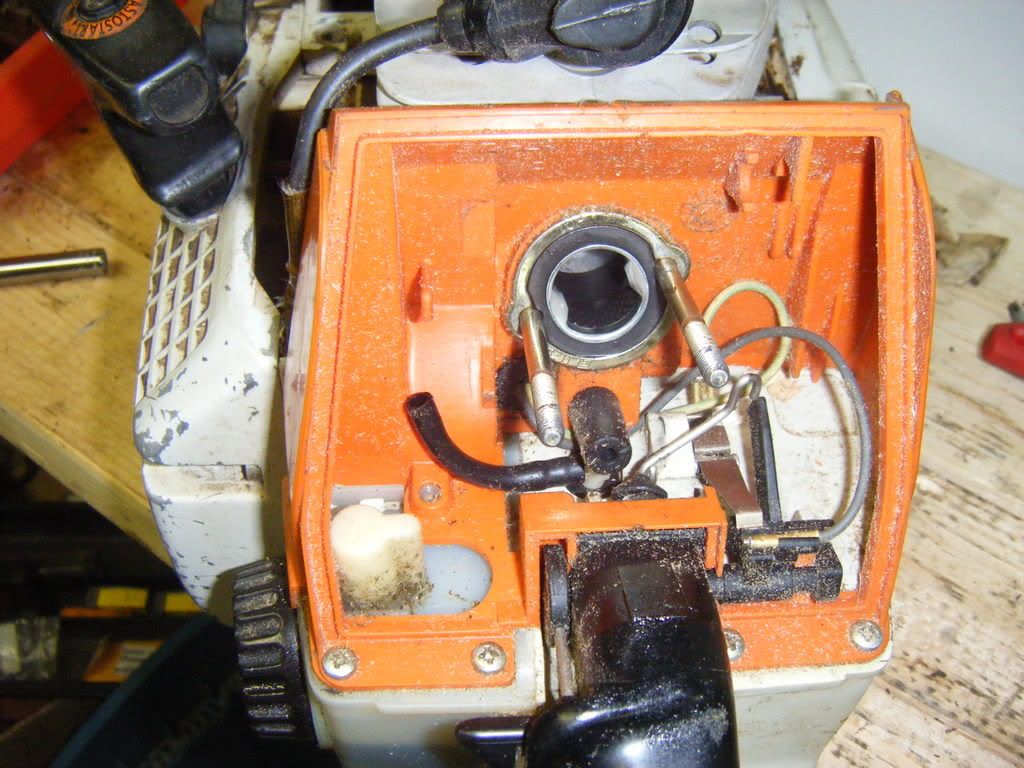
degreeingmy066BB009.jpg

Next unclip the kill switch wires and push the rubber grommet out the back of the fuel tank(small screwdriver) and fish the wires out of the back of the tank)
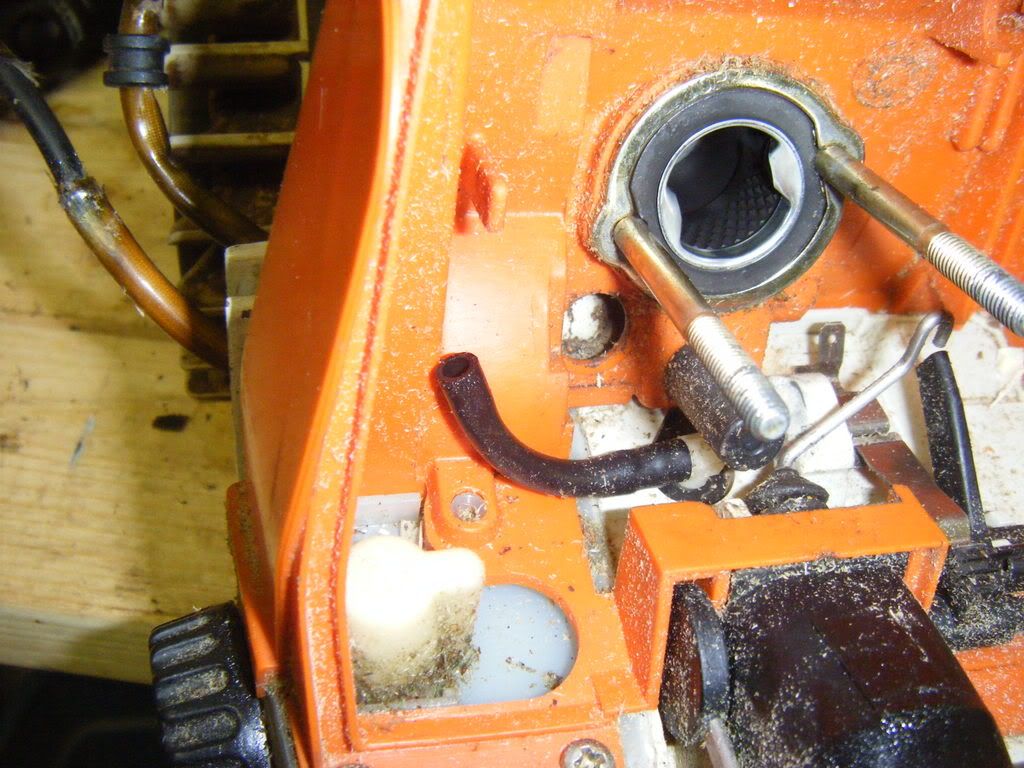
degreeingmy066BB013.jpg
 
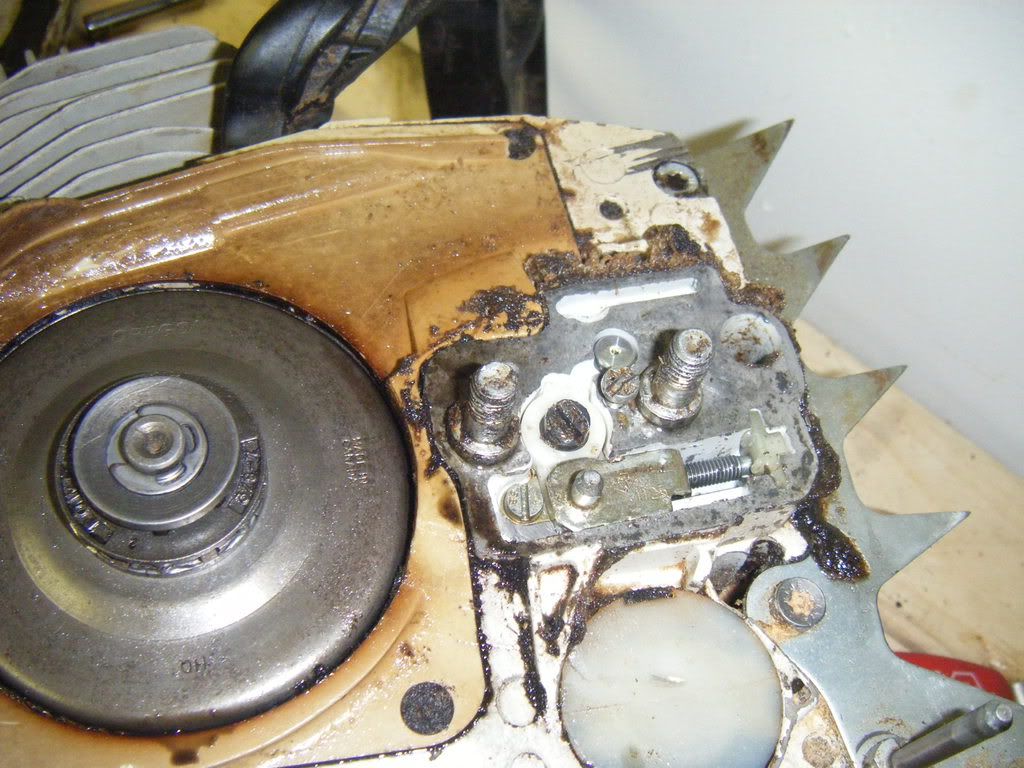
remove the clutch cover, and remove the bolt that holds on the bar guide shim(the shiny piece of metal behind the bar) i'd recommend rethreading the little bolt back into the hole do you don't loose it, next pop out the plastic plugs that cover up the anti-vide bolts(2 on the clutch side)
degreeingmy066BB011.jpg

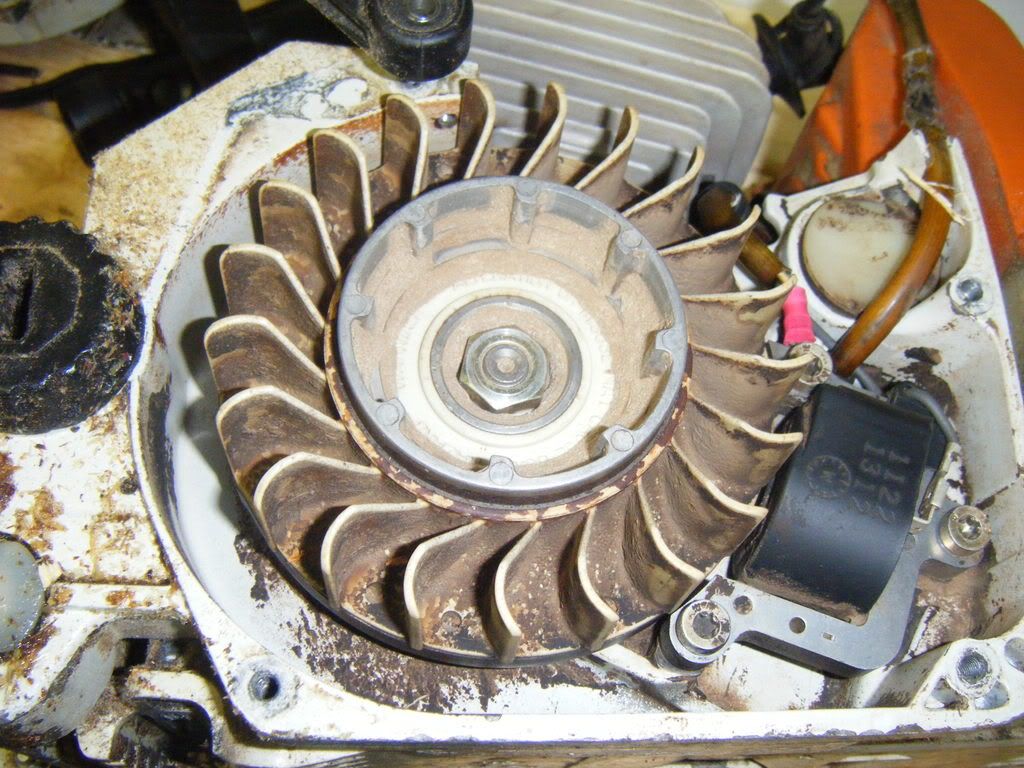
remove the recoil
degreeingmy066BB012.jpg

next remove the anti-vibe bolts (2 on the flywheel side, 3 on the clutch side)
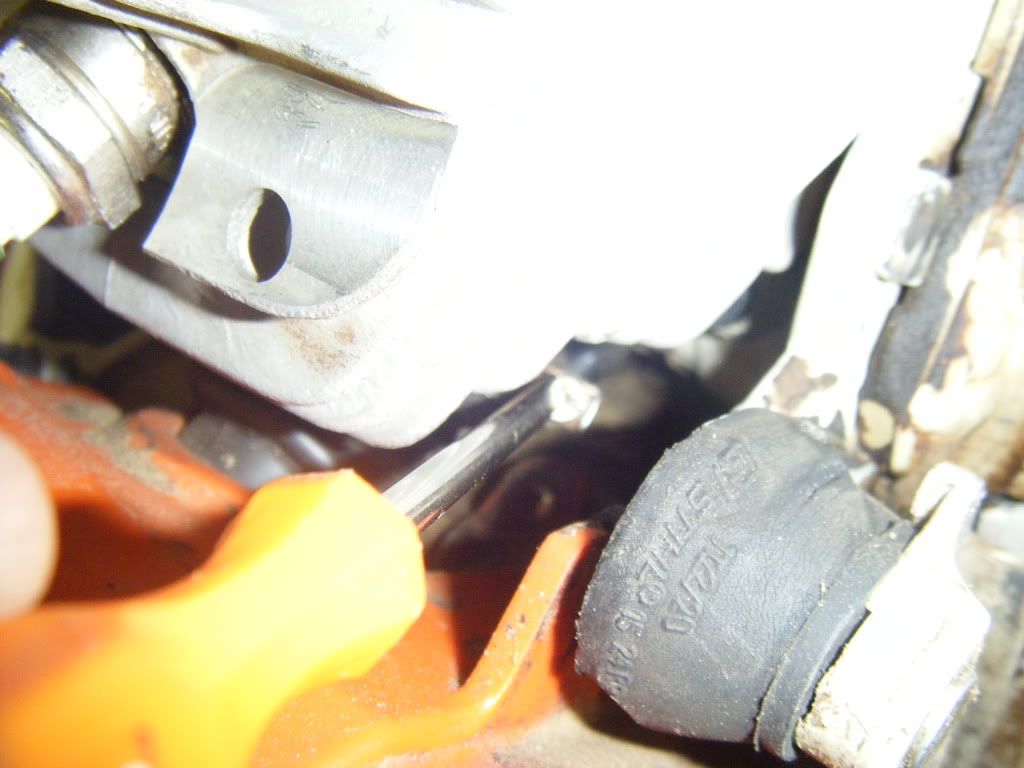
loosen the clamp that holds on the intake manifold, and easy it back with a screwdriver(or you can remove the inner and outer holding ring off of the carb studs and ease it out of the fuel tank)
degreeingmy066BB007.jpg

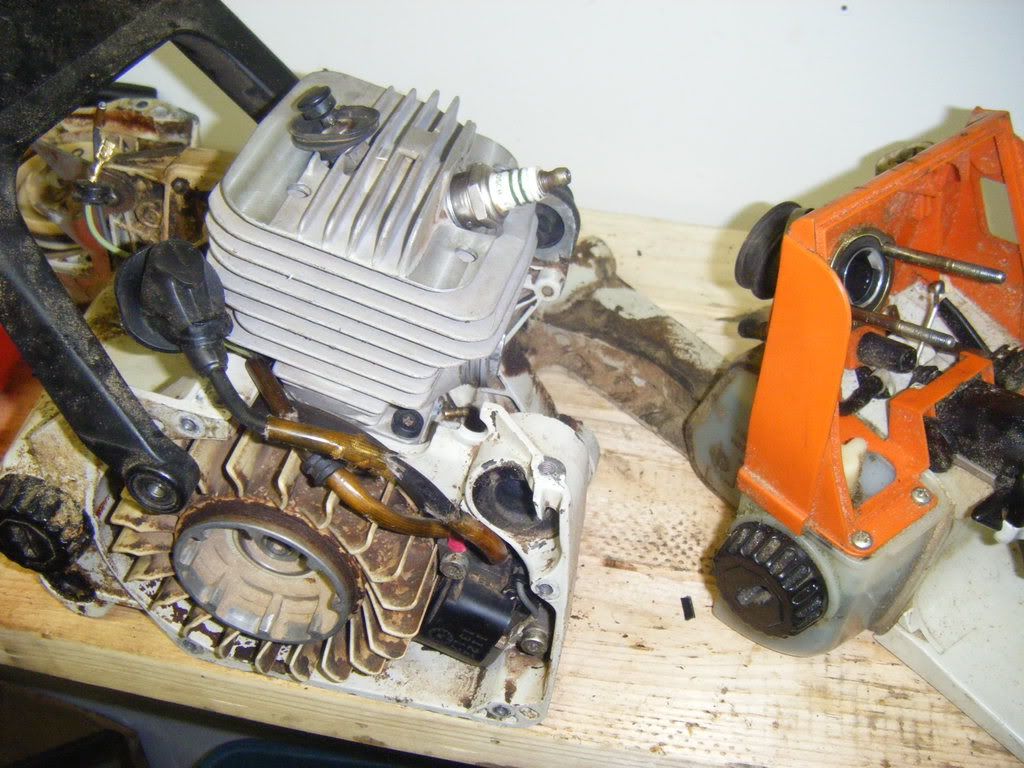
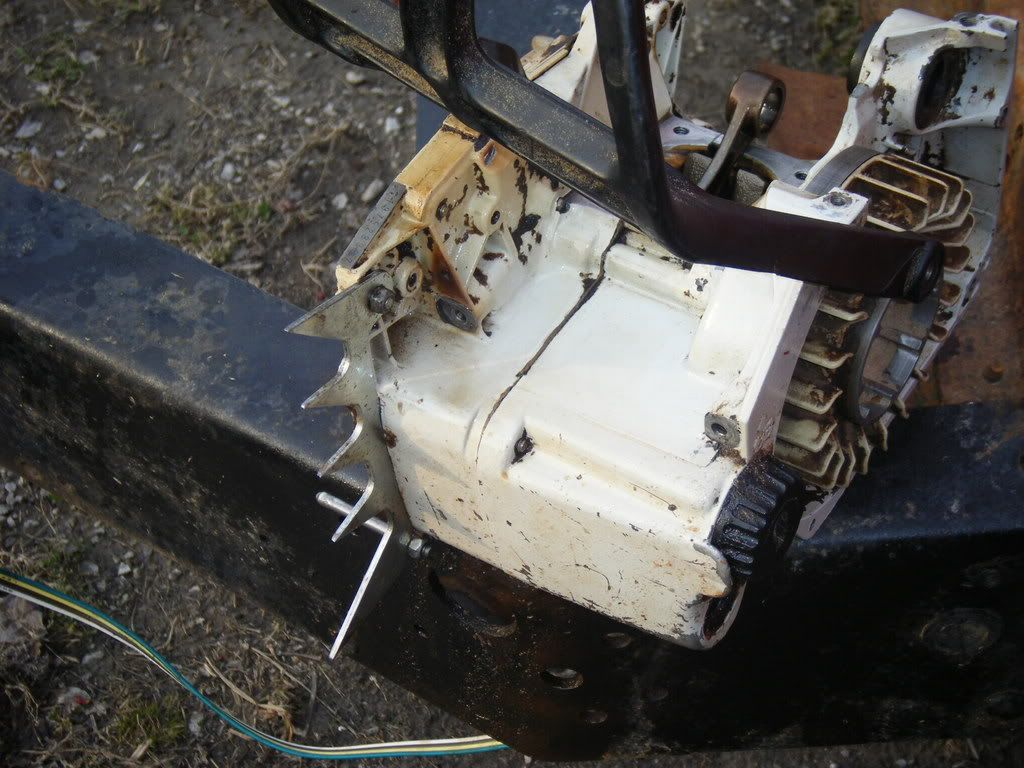
Now...you are ready to start easing the fuel tank away from the crankcase---DON'T GO YARDING ON IT!!..the impulse hose is still attached...easy the two pieces apart-this may take some gentle prying and moving here and there but it shouldn't take much...when you get some clearance, ease the impulse hose off of the crankcase with a screwdriver....seperate the crankcase and fuel tank
degreeingmy066BB014.jpg
 
as for now this is as far as i'm going with this...but the only thing left to remove the P&C would be the 4 T27 torx bolts that are holding it down.

total time up to this point was 14 minutes...including a trip into the house to get the 8mm socket that i forgot.

total tools required (19mm scrench, T27 torx, long shanked straight screwdiver, 8mm socket&ratchet)

i think i pretty well got everything that needs to be said...if anybody sees anything that i missed chime in..

i know this is an 066..but it is basically the same in most forms for the large displacement stihl saws..so it can be retrofitted for them as well

hopefully this will help some people:cheers:
 
Last edited:
wow love the pics. this site definatly needs more members like yourself who have the know how ot post threads like this one. step by step instructions like these are a must for those of us who dont have the confidence to completly tear into a saw. frankly im rather suprised that the admins here dont do more to encurage their members to create more tutorials
i hope to see more threads like this one from you in the future... keep up the good work.
 
Hey sILlogger where abouts do you live in Southern Il. I'm about 30 mile North of Evansville, IN and I'm flood bound to... Great picture post!!
 
sILlogger, you get rep. I've been through this process and was too busy learning what to do I didn't even think of taking pictures. Thanks for sharing.
 
Last edited:
Yup the fuel thing is good advice. Wonder how many of us have found out how well that tank holds pressure the hard way.

sometimes you can get some pretty good distance you of that fuel if the saw has been shaken around quite a bit.

this story is going to get taken further in the future...i remembered that i have to fix some threads(cylinder bolt&cover) therefore this is gonna be a step by step all the way to the piston

Ive worked on quite of few of these things...its the porting that im trying to learn now....they just need more power!!
 
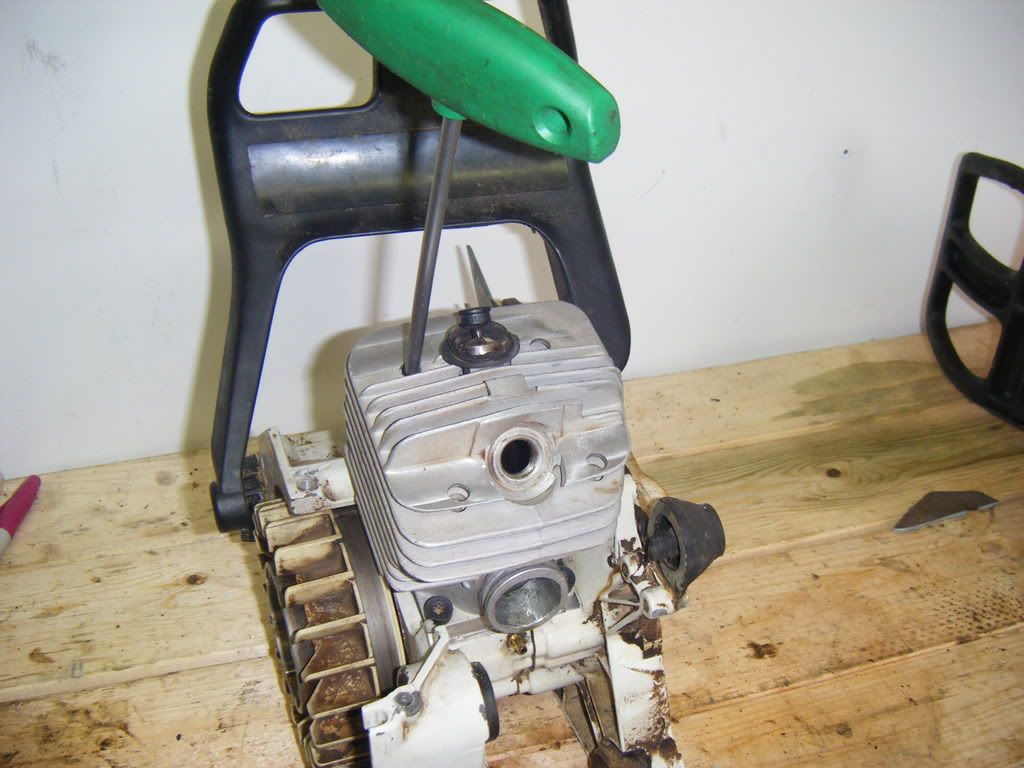
alright...so now for further disassembly
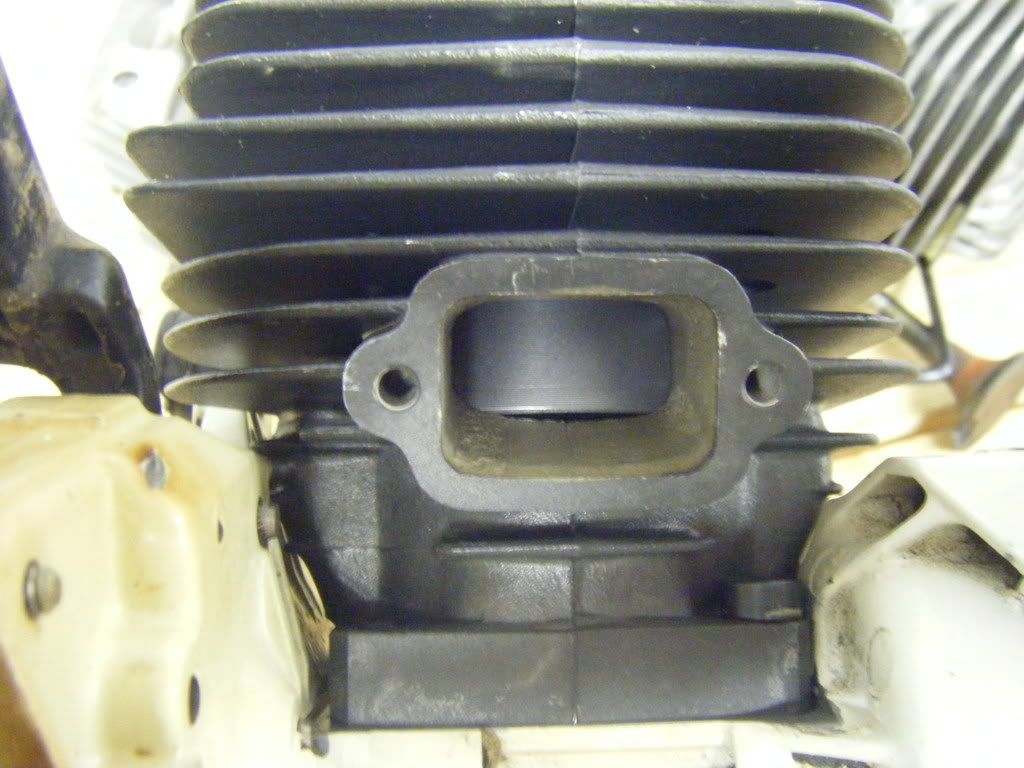
T27 torx..remove the 4 bolts holding down the cylinder..i typically clean around the base of the cylinder to make sure nothing goes down inside it when i remove it...
degreeingmy066BB016.jpg

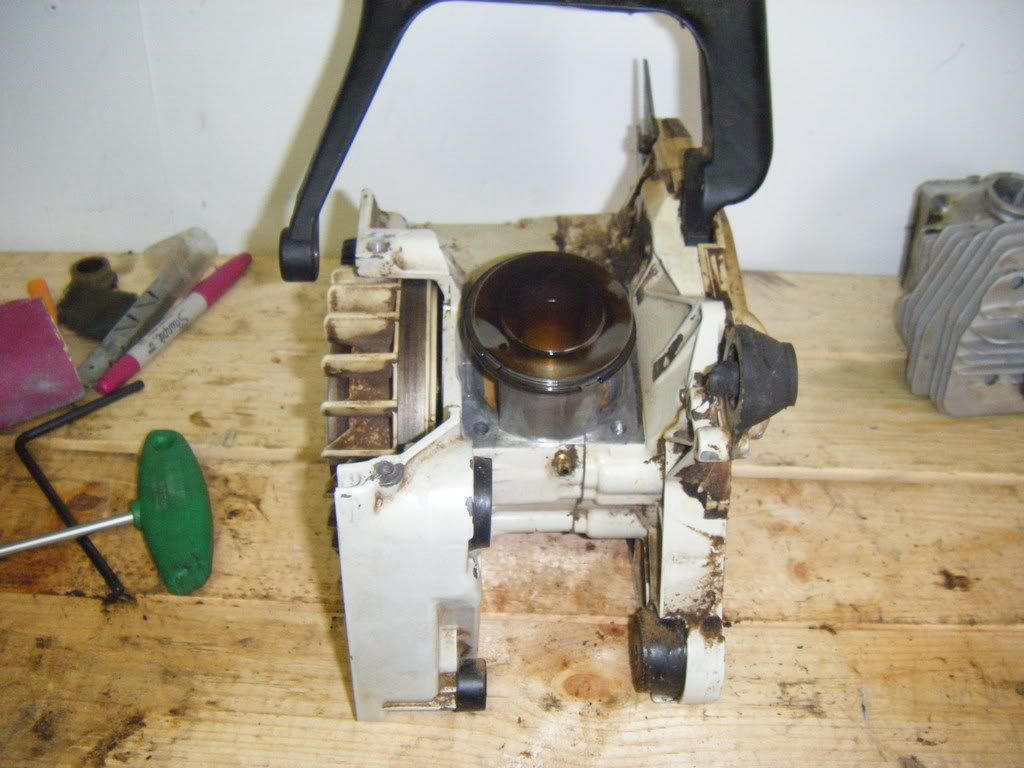
cylinder removed...
degreeingmy066BB017.jpg

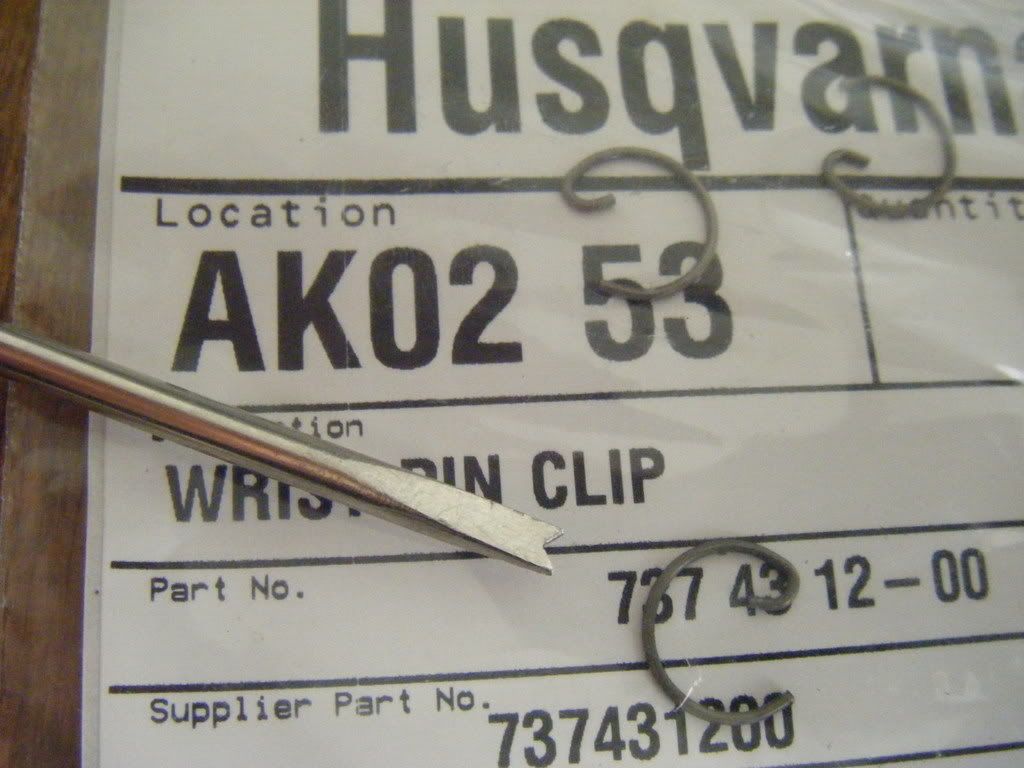
now use a modified screwdriver to remove one of the wrist pin clips. be careful..they well prolly shoot across the room..
Koles046build013.jpg

once that is done you can push out the wristpin (i use my 8mm t handle and tap it with a hammer)

Now clean up around the crankcase and remove any dirt that you won't typically be able to get to...and i always flush the crankcase with some premix while im at it
degreeingmy066BB018.jpg

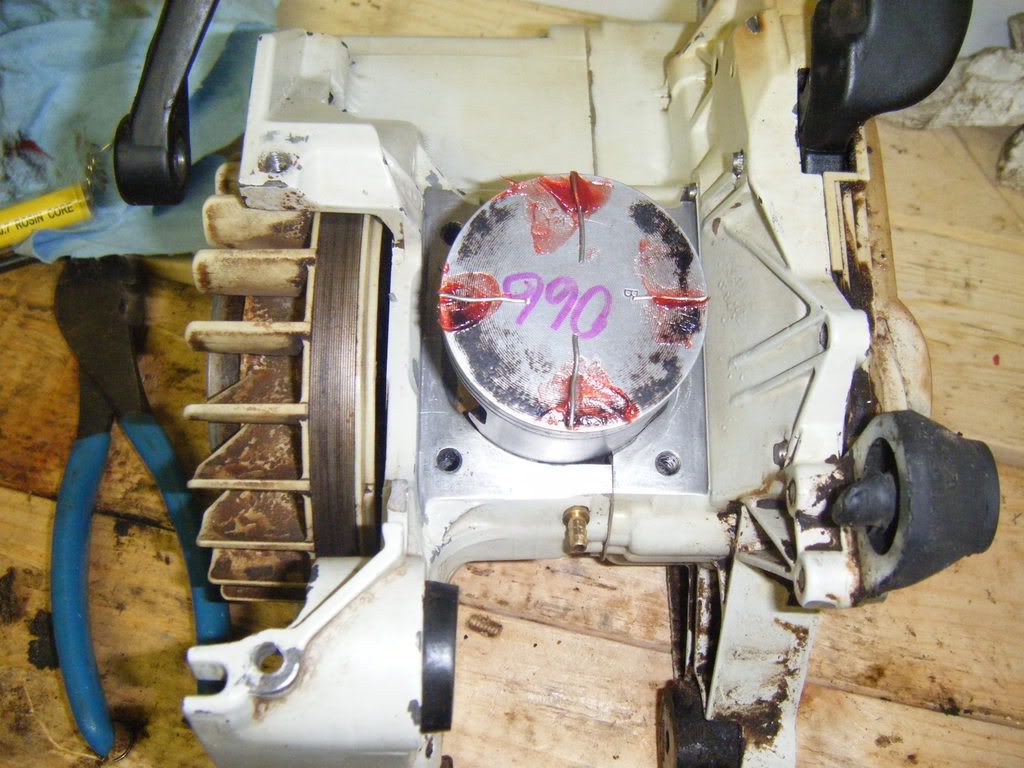
well..this saw had a ported BB P&C before...but im going back stock..so i threw on a oem 066 piston (from a buddies saw that im working on) so that i could get a rough idea of what my squish will be-it will vary slightly since i will actually be using a different P&C...but i just wanted to get an idea...cut my solder and used grease to hold it in place, removed the cylinder, squish w/o gasket was .010".
degreeingmy066BB019.jpg

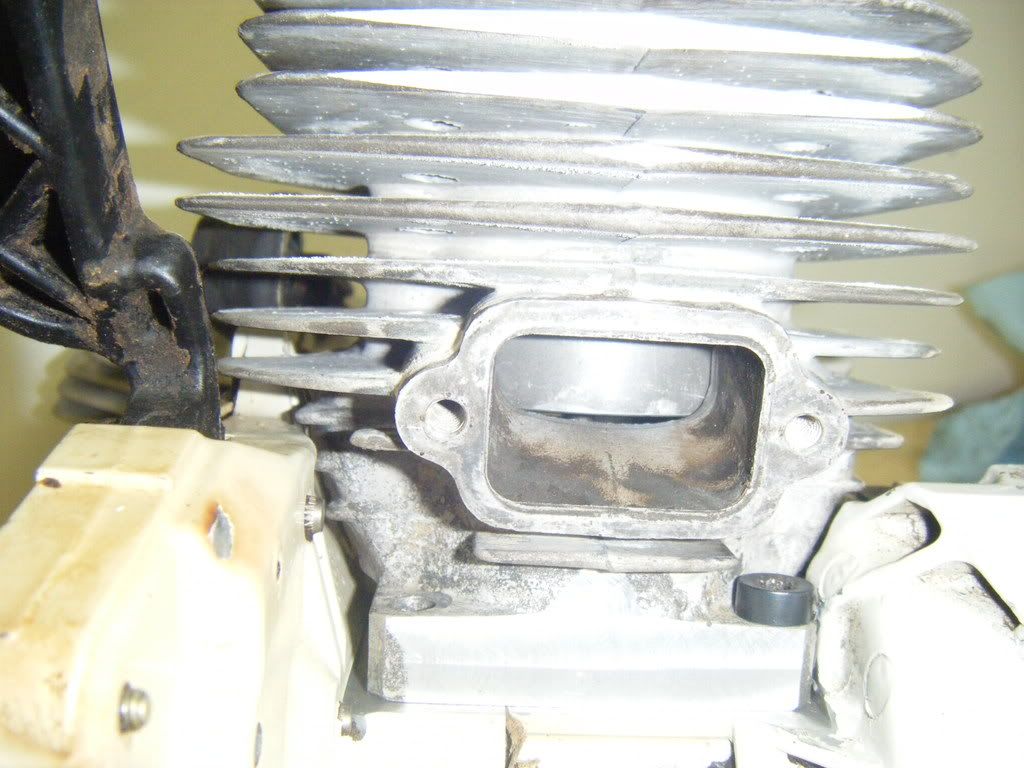
i cleaned up the piston and reinstalled the cylinder and took a sharp pencil and made a port map of the exhaust at TDC, there is about ~.050" of skirt below the exhaust port...so that will allow me to do the milling to the cylinder that i want
degreeingmy066BB021.jpg

and the intake at roughly mid-stroke
degreeingmy066BB020.jpg
 
I'll be at a standstill with this saw until the weekend..gotta get back up to the farm for some parts and tools...got a couple threads to fix with time-serts..i'll be sure to get pics of that..and then i'll be off to the machine shop for some milling and porting..
 
Piston skirt length

I'm done some investigating/measuring and determined a problem (or one of them) with the BB

piston skirt measurments (in mm) taken at the Ex & In respectively

OEM: 43.05, 43.05
GEN I BB: 41.15, 41.14
GEN II BB (NiSi coated): 40.73, 40.73

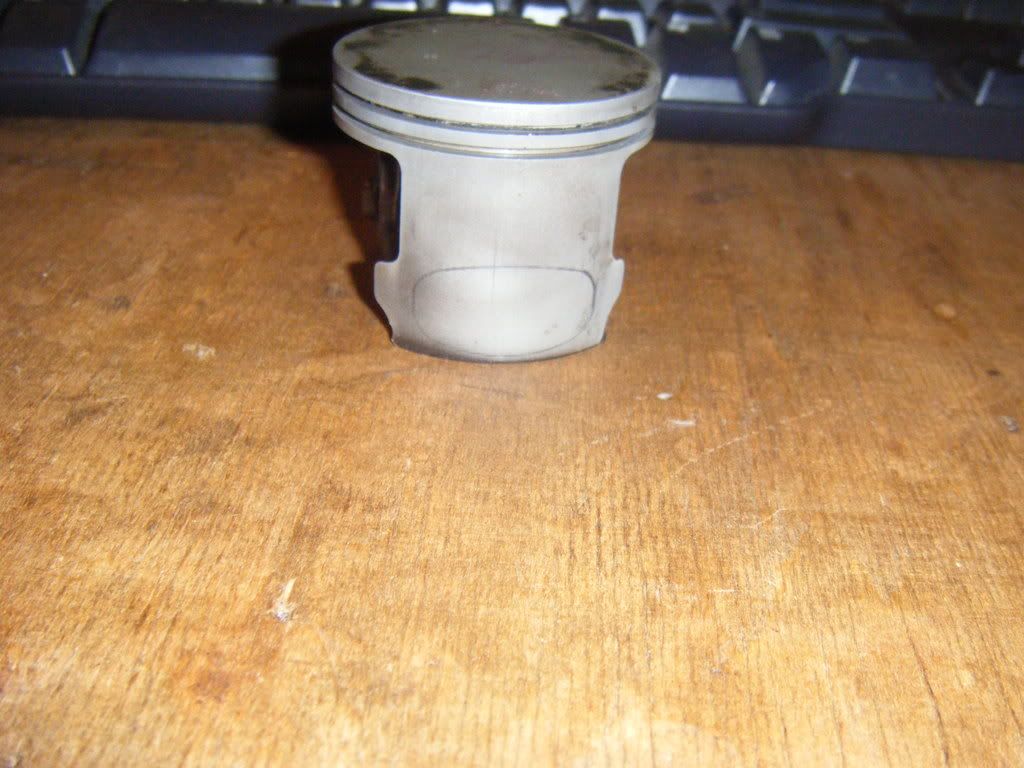
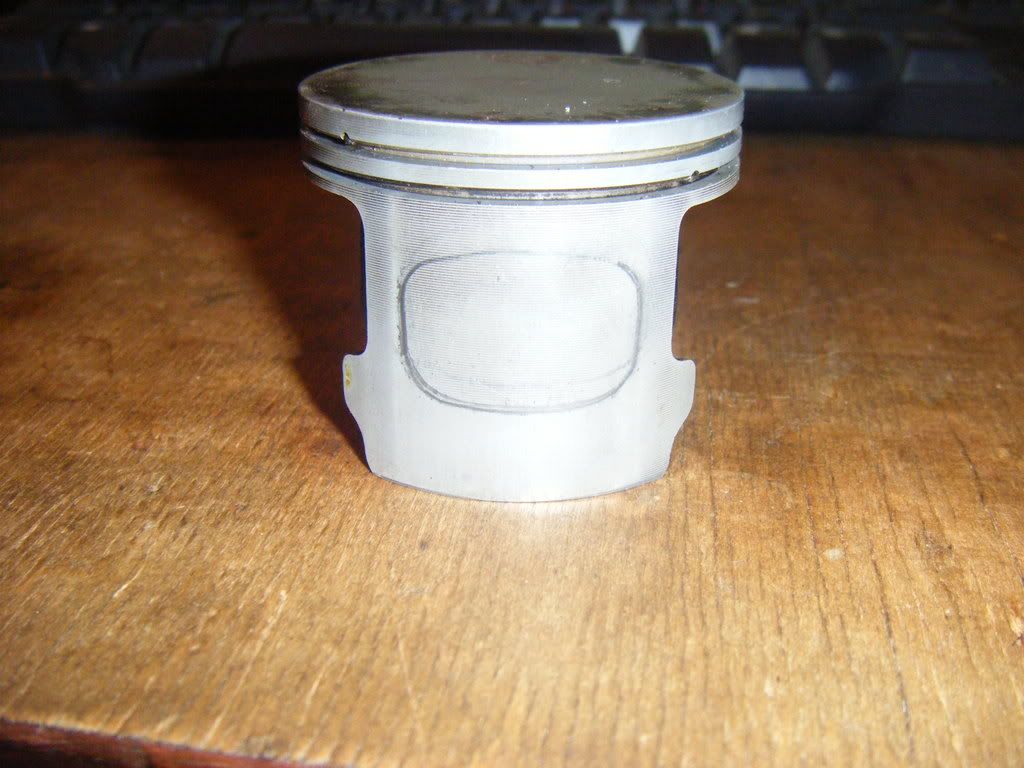
the exhaust port was "freeporting" when the cylinder was at TDC because the piston skirt is too short. it was doing this before the cylinder was milled. it was causing erratic idling and spitback. The only reason that i can figure that the skirt is shorter was the fitment issues that were taking place with the BB piston skirts hitting the crackcase, so the skirts were shortened-not good for milling cylinders
 
the exhaust port was "freeporting" when the cylinder was at TDC because the piston skirt is too short. it was doing this before the cylinder was milled. it was causing erratic idling and spitback. The only reason that i can figure that the skirt is shorter was the fitment issues that were taking place with the BB piston skirts hitting the crackcase, so the skirts were shortened-not good for milling cylinders

That's how they sell them????
 
That's how they sell them????

don't quote me on that yet...give me 10 minutes...i'll run outside and throw them on the saw and see if they are freeporting..(i'm almost positive they will be)


here are the P&C's in stock form..without base gasket-wouldn't make enough of a difference anyway

here is the earlier GEN I P&C
degreeingmy066BB022.jpg

this is the latest GEN II NiSi Coated P&C
degreeingmy066BB023.jpg
 
Last edited:
it is because we got 10+" of rain between tuesday morning and wednesday evening..and im rained out..
It's alright the Red Oak and Hard Maple(saw log) prices are in the dump! The Hard Maple veneer is ok but The Red oak veneer market is null. good thread
 
It's alright the Red Oak and Hard Maple(saw log) prices are in the dump! The Hard Maple veneer is ok but The Red oak veneer market is null. good thread

just out of curiousity what is your role in the timber industry? log buyer, mill worker? logger, etc.

there is gonna be alot more to this thread...so hang on!!
 
Rain & stuff

Illinois is a crazy state! From north to south there can be such a huge difference in the weather. We've been missing all the bad stuff here in the middle. Oh man, I shouldn't have said that...we're expecting some pretty good rain in the next few days.

Thanks for this post. Its cool to see someone do this in the correct sequence. When I started taking this one I'm working on apart I just took off whatever I could that came off and didn't affect anything else in logical steps, oh yeah and I kept some notes on wires etc. I unfortunately didn't keep my bolts as organized as I should, but with the ipl to refer to, I don't think It'll be too bad (I did keep them in groups at least).

Nice to see the squish explained too. My piston was hitting without the gasket, but I have a new P&C and my new gasket appears thinner (metal as opposed to paper?).

Thanks again,
I'll be watchin for more.

yea the metal gasket is .5mm or ~.019" and the paper one(i don't use them) is 1mm. this saw is gonna get put back together w/o a gasket most likely..so that i won't have to mill as much off of the cylinder and it won't change my port timing as drastically

the paper one would prolly end up pretty close to the metal one by the time that is is squished down....but i'm pretty sure on them being .5 and 1mm respectively

yup
part # 1122 029 2301=.5mm metal gasket
part # 1122 029 2306=1mm paper gasket "low compression" as the ipl calls it
 
Last edited:
Back
Top