Basic stihl pro saw step by step dissassembly w/pics

Arborist Forum

Help Support Arborist Forum:

This site may earn a commission from merchant affiliate links, including eBay, Amazon, and others.
I'm sorry, I didn't mean it to come out like that. I am just enjoying this thread, I have disassembled a few of these saws myself. Carry on.:popcorn:

and i wasn't trying to be a smartazz about it either...some people just find humor in things that others don't..no biggie...:cheers: this weekend will prolly begin the modding process
 
Great thread.
I have two 066 hulks yet to deal with. Both need bearings and seals.
Both came in a box.
Am learning a lot here.:popcorn:

well..in the near future i'm gonna have another one...i've got a good bare 066 crankcase..and a 660 case with a whollered out clutch side bearing mount and good internals....so i'm gonna do a complete switch over to the good 066 case(as long as it isn't one of the earliest models-i hope not) and that will be a pictorial as well

I'm thinking that this weekend when im at the machine shop i'm gonna make some press arbors the the crank seals and bearings..a socket works..but i want something a bit better
 
Last edited:
well..in the near future i'm gonna have another one...i've got a good bare 066 crankcase..and a 660 case with a whollered out clutch side bearing mount and good internals....so i'm gonna do a complete switch over to the good 066 case(as long as it isn't one of the earliest models-i hope not) and that will be a pictorial as well

I'm thinking that this weekend when im at the machine shop i'm gonna make some press arbors the the crank seals and bearings..a socket works..but i want something a bit better


Hmmmmm.........Whole running or parts saw........Fiber FW or Alum??
 
Great thread! Tried to rep ya..........the mag is empty.

The pix and commentary are excellent, keep it up. If you don't mind post a few representitive pix from the machine shop too. Tool production interests us as well.;)

One of these days I'm going to have to get my hands on one of the big dogs to tear into.......
 
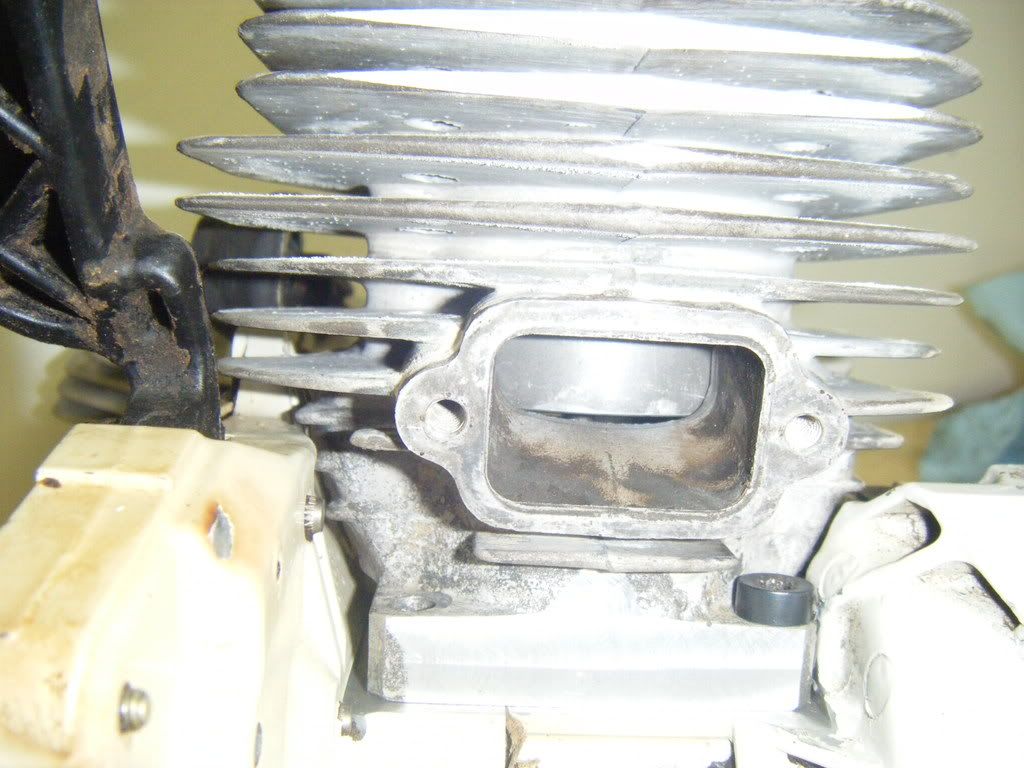
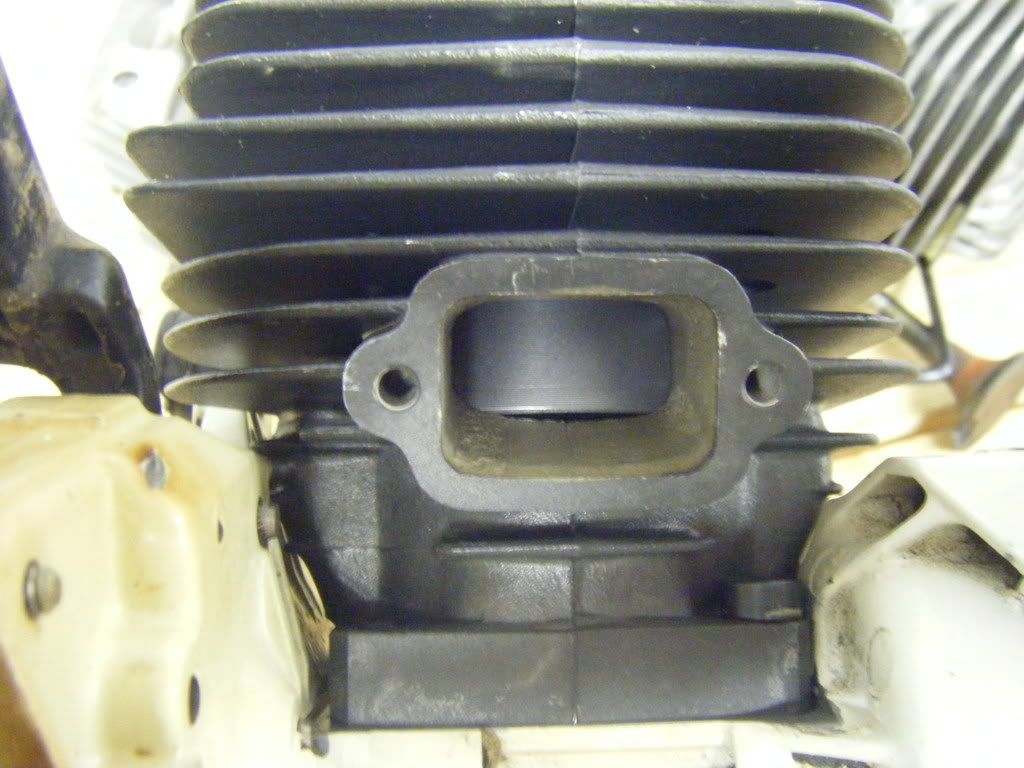
So let me get this straight. You have concluded that the 066/660 BB kit from Baileys has a free ported exhaust without any mods. The last pic you took was a Gen 2 unmodded BB P&C? I don't see how they can sell them that way or how modders can use them. I was told that Dean prefers the BB kit. Hmm. It just doesn't make sense. A phone call to WHS and Baileys may be in order. Thanks for the pics. You may have saved me a lot of trouble. I suppose that's what this is all about , ehh? Keep them coming.
 
blsnelling said:
You have concluded that the 066/660 BB kit from Baileys has a free ported exhaust without any mods.

Hmm...I've installed five of the 1st generation kits and 2 of the 2nd generation kits and never had that problem. Which gasket are you using again?
 
Just a thought

Why don't you pop the bearing cage out and take out the rollers then remove the inner race from the crank?
 
Hmmmmm.........Whole running or parts saw........Fiber FW or Alum??

Ive got a complete 660 that has a spun clutch side bearing...but ive got a good 066 crankcase (it has the lower inner spike bolt wholler out-i'm gonna bore it out and put in a sleeve-mount the spike, determine where the bolt needs to be and tap it) i still need to run the #'s and make sure that it isn't one of the earlier crankcases with the smaller crank (pretty sure there was anyway) but if it all checks out im gonna swap all the internals over with new bearings, seals, and piston

So let me get this straight. You have concluded that the 066/660 BB kit from Baileys has a free ported exhaust without any mods. The last pic you took was a Gen 2 unmodded BB P&C? I don't see how they can sell them that way or how modders can use them. I was told that Dean prefers the BB kit. Hmm. It just doesn't make sense. A phone call to WHS and Baileys may be in order. Thanks for the pics. You may have saved me a lot of trouble. I suppose that's what this is all about , ehh? Keep them coming.

Hmm...I've installed five of the 1st generation kits and 2 of the 2nd generation kits and never had that problem. Which gasket are you using again?

I typically use the .5mm metal gasket. but those pics where taken w/o a gasket...but even if there had been the .5mm or even the 1mm gasket there still would have been a gap at the bottom of the piston skirt

earlier model, and then the lastest version of the BB kit both in unmodded form
degreeingmy066BB022.jpg

degreeingmy066BB023.jpg
 
Last edited:
I'm gonna try to get something lined out with the BB kits...but this saw is going back to a OEM cylinder.

but before then i have a few things to work on. got a couple stiped holes that need repaired. 1 cylinder bolt hole, and 2 top cover bolt holes.

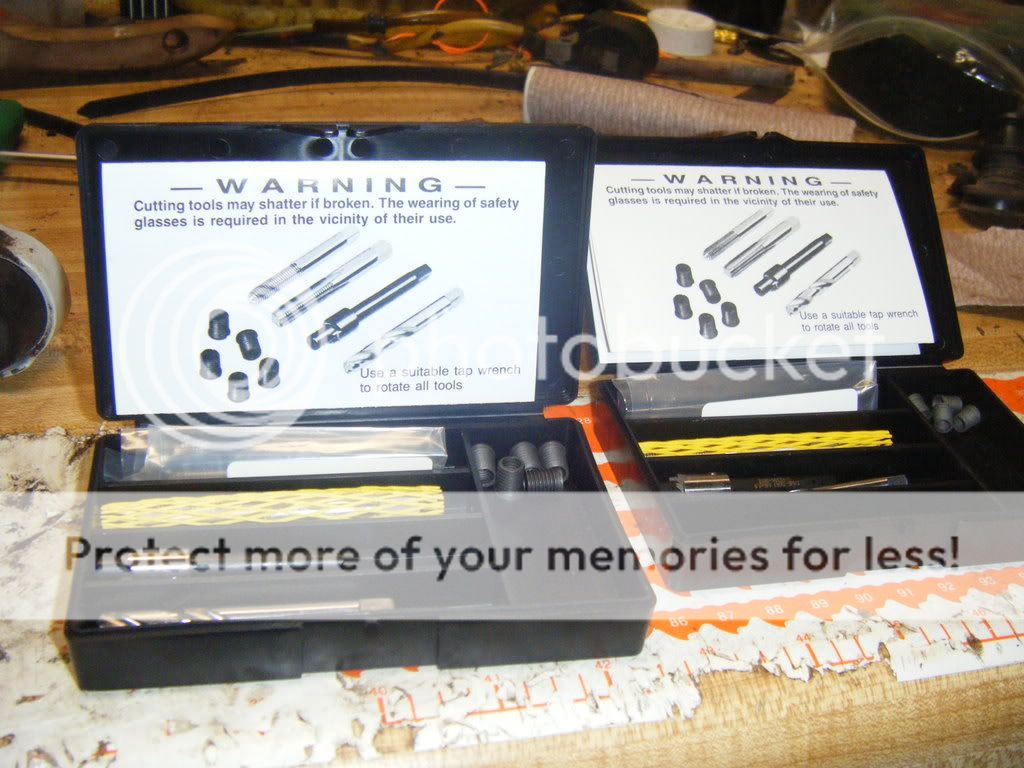
i purchased the 2 Time-sert its to repair these...and what can i say they seam to work great. easy to use and seem like a sturdy repair

the kits
013jpg.jpg

this is where i'm starting at
012jpg.jpg


now for the hole repairs. most of this can be determined from the instructions but i thought this might help some of the people that were looking into these kits and want to know that steps involved. I had the shop vac sitting next to me and when i was cutting the metal i had it one to suck up any of the metal shavings
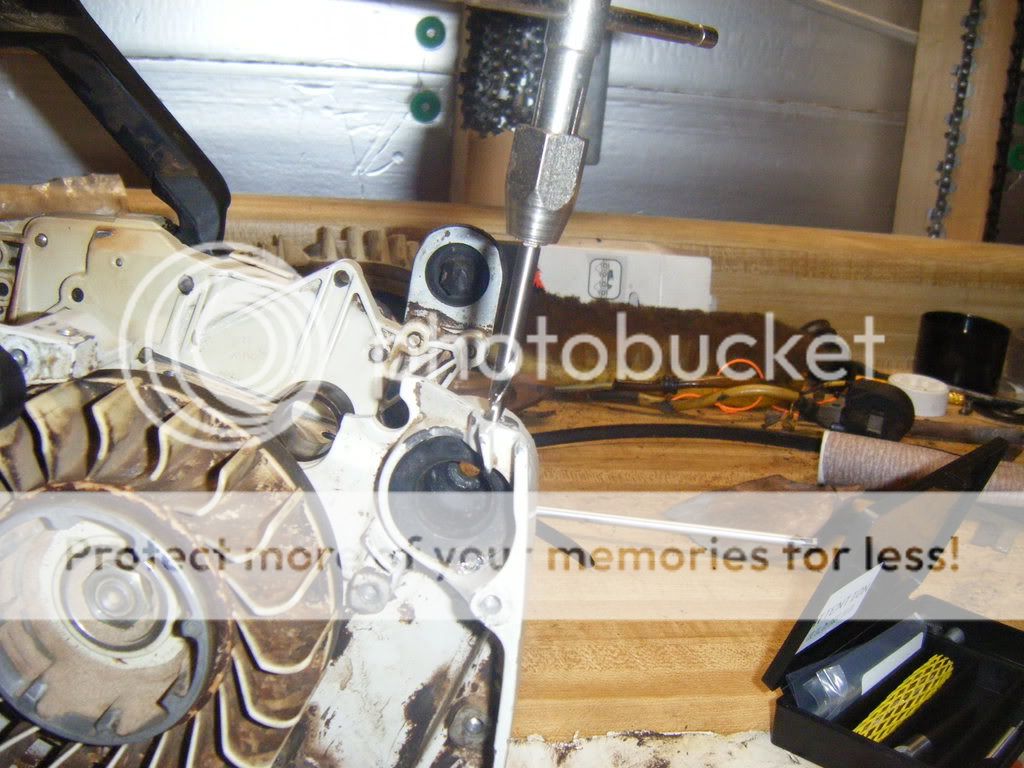
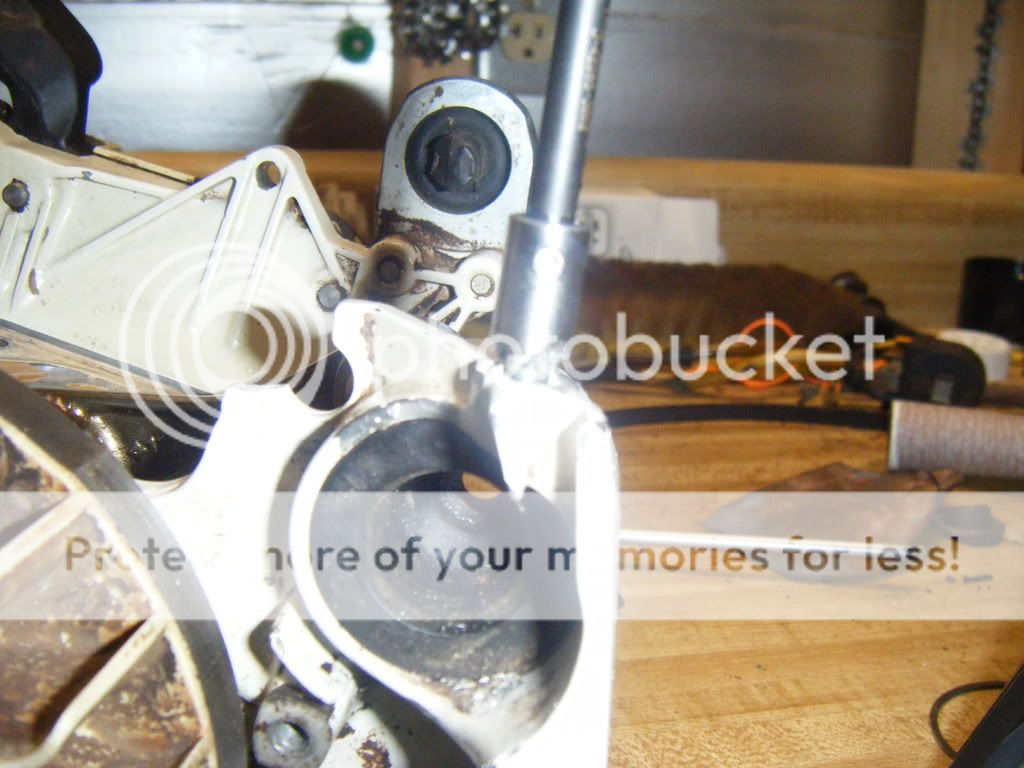
first drill out the original hole with the bit provided. make sure that the hole is square....drill out the hole-the metal doesn't take much force so you can most likely do it by hand (a T handle out of a tap & die set works good)
014jpg.jpg

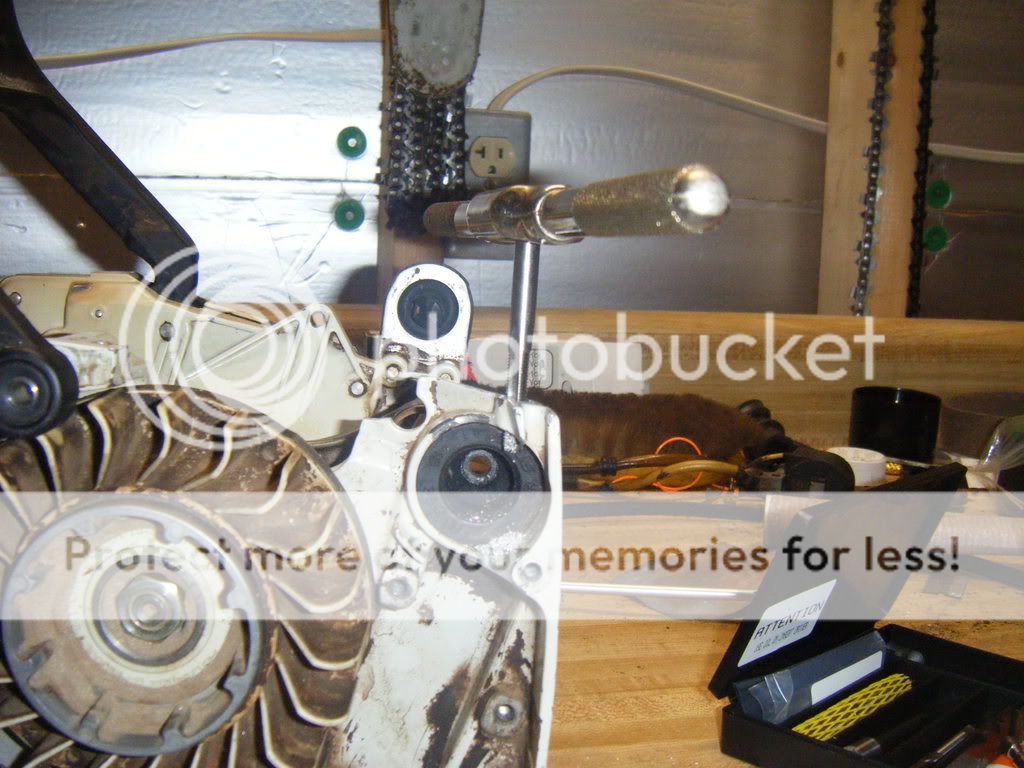
next counterbore the hole so that the insert can recess down into it
015jpg.jpg

tap in the new threads using the tap provided
016jpg.jpg

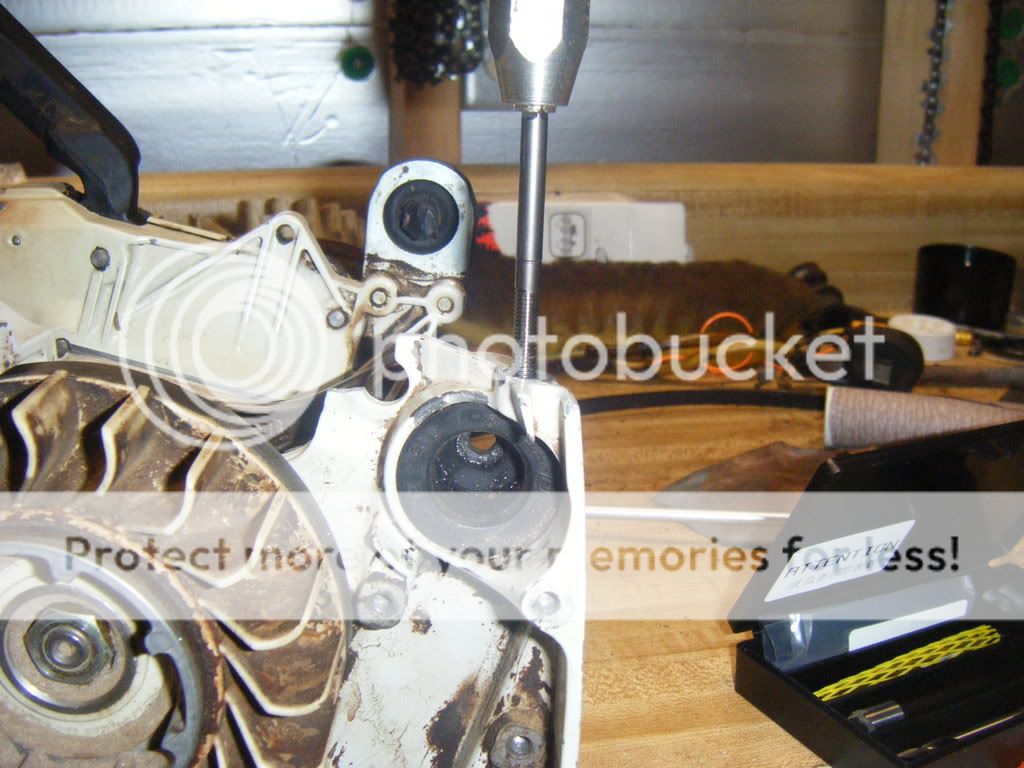
clean up the hole, squirt some oil on the new insert and get it started by hand...and then run it in with the insert driver. it will tighten up and then turn it just a tad more to flare out the end of it to hold it in place
017jpg.jpg

i actually ended up rethreading all three of the top cover bolts..and it ended up being a couple minute job per thread after the first one
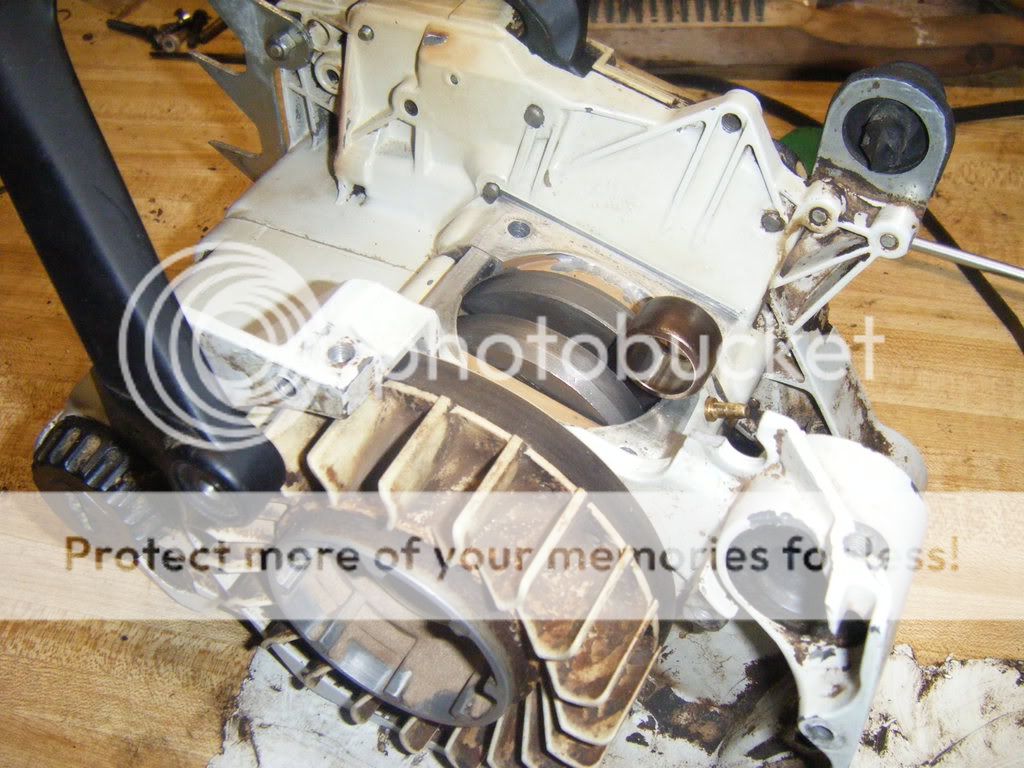
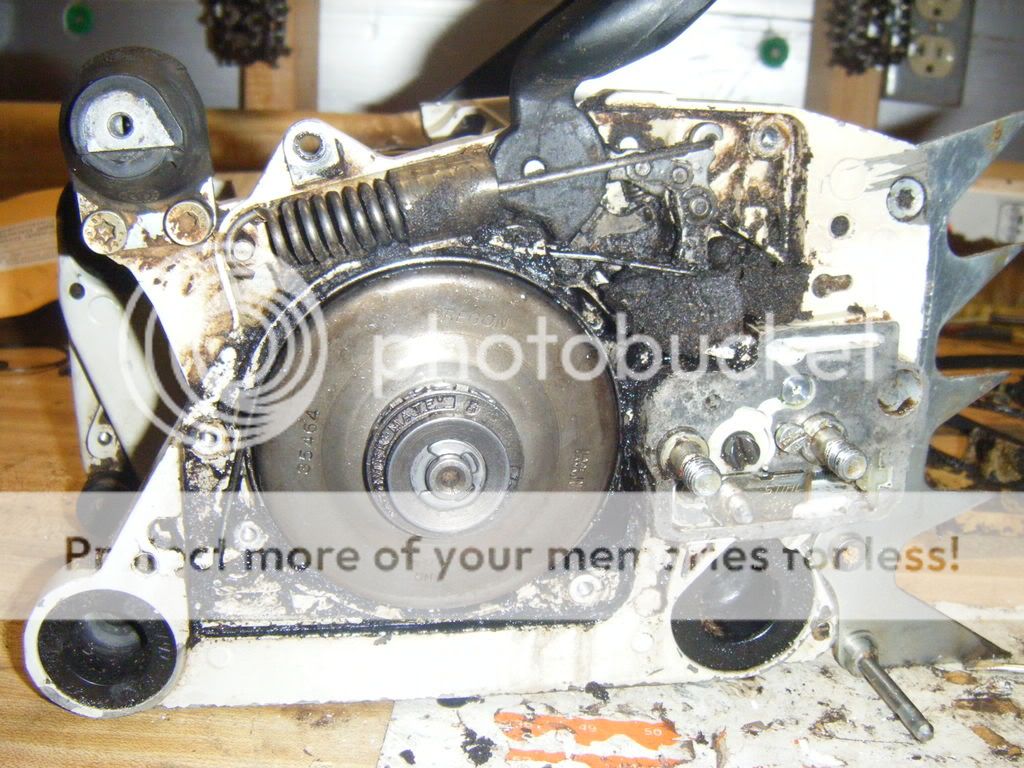
I had to remove the chainbrake in order to get clearance to fix the cylinder bolt thread..and this is what i found....DIRTY!!
019jpg.jpg
 
fuel tank welding

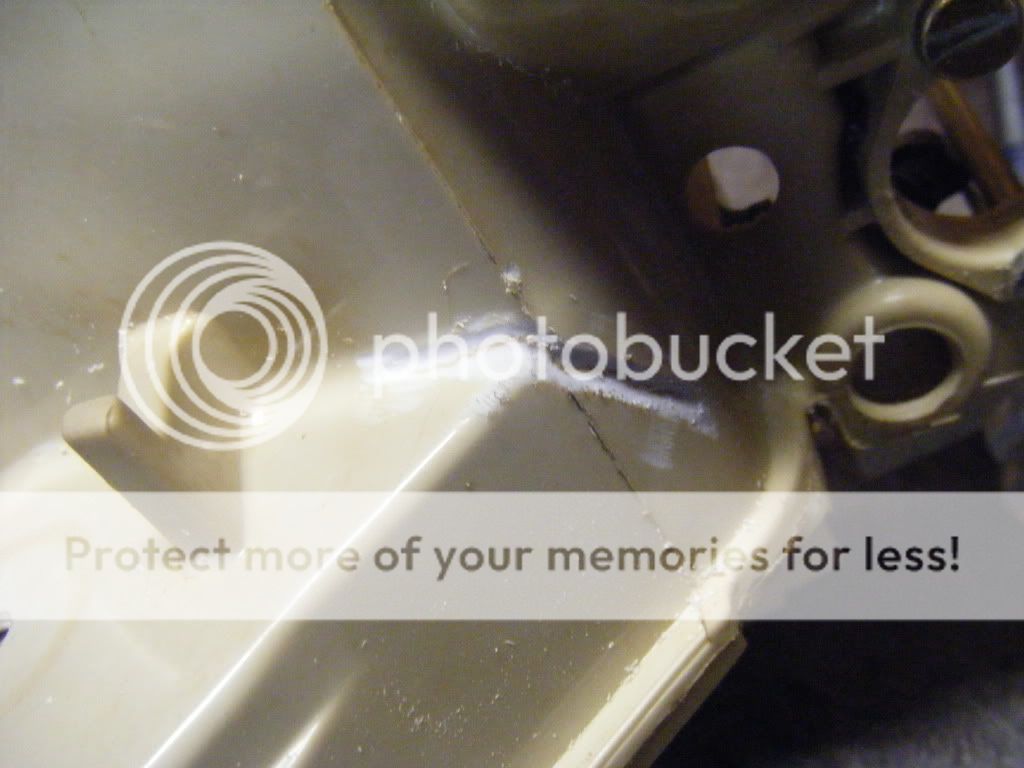
this wasn't on this saw..but it pertains to the subject.. this was for a 460 that i'm building for a guy from a bunch of parts..this was the best fuel tank that he had..i cleaned it up and found a crack...i don't know if it would have leaked..but im not gonna put the saw all the way back together and find out...so its time for a bit of fuel tank repair!!

alright..i got the pics..

do this is a well ventilated area..the plastic fumes will give you a headbuzz!!

first clean up and identify the crack..i then used a dremel tools with a carbide burr on it to bevel out the crack so as to get deeper into the broken material. clean up the area and decrease it
025jpg.jpg

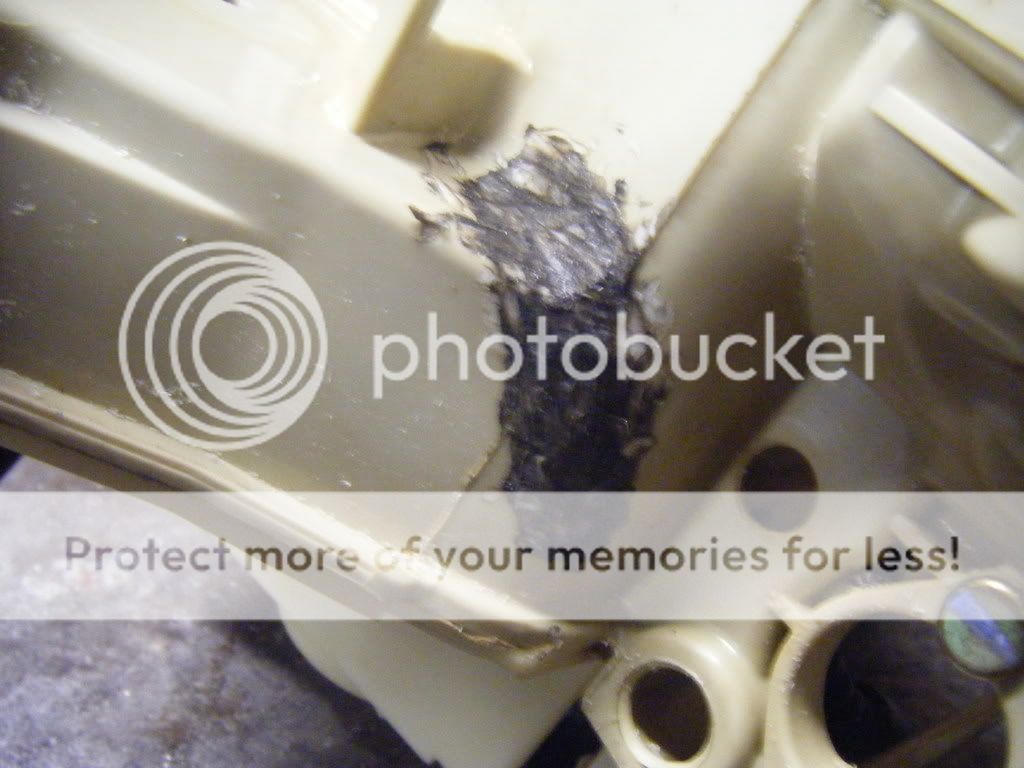
I cut a strip off of an old fuel tank(so that to have the same type of plastic so they would bond close to the same) and used a soldering iron the "weld" the plastic and to seal up the crack..i typically lay it on pretty thick so that i can come back and smooth it up, looks a bit rouch but you won't be able to see it
026jpg.jpg

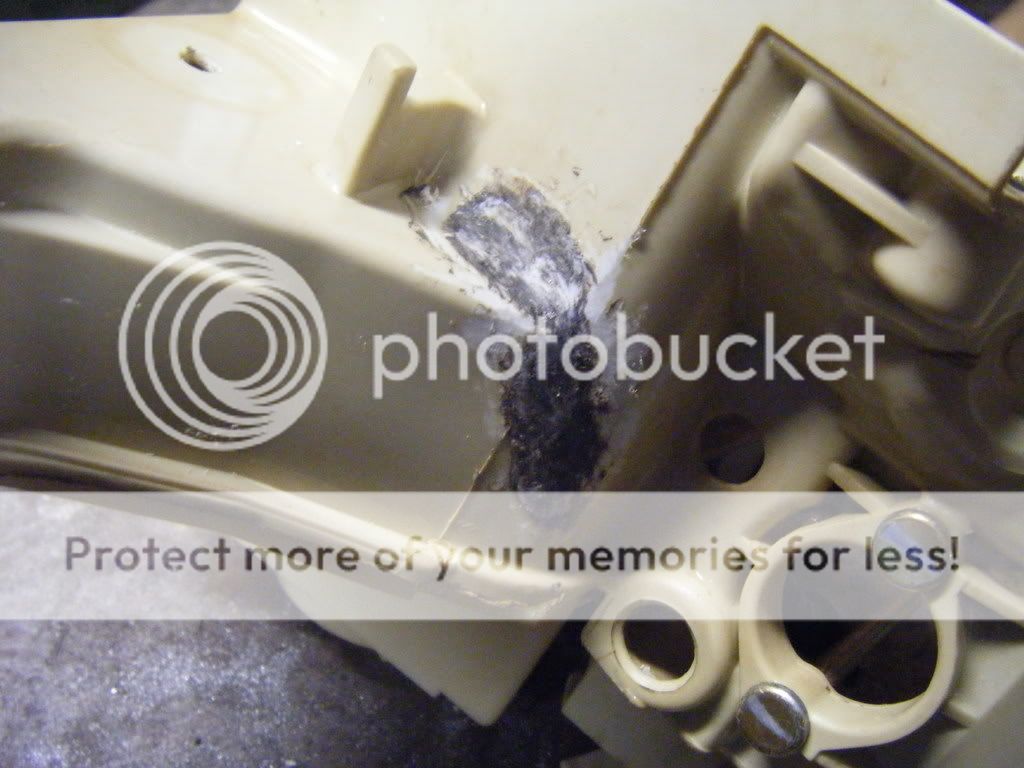
next i came back in with the dremel and knocked it down and smoothed it up..took some sandpaper too it and leveled it out..should make for a fuel tight and structurally sound tank. not as pretty as unbroken..but not terrible. i dressed it up a bit more after the pic and got it looking pretty decent
027jpg-1.jpg
 
Last edited:

Latest posts

Back
Top