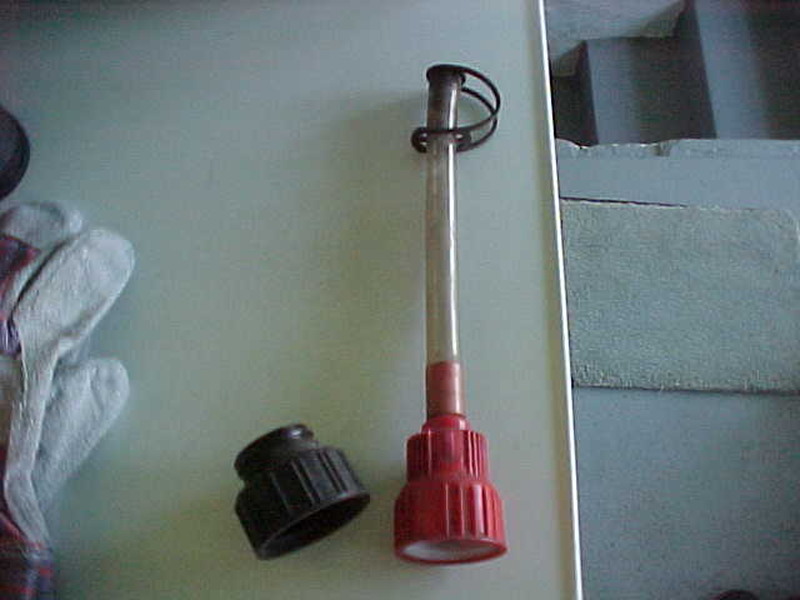
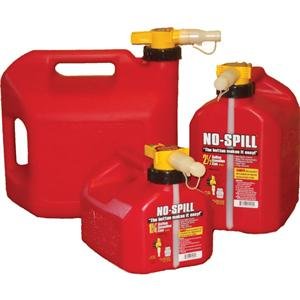
If you are like me, I can not stand the new safety gas cans. From making it take 3 times longer than it should because you wait for the gurgle, to needing 3 hands to operate the safety valve, it gets old VERY fast. I can honestly say that I have spilled more with the safety equipped cans than I EVER did with the old ones. Typical government required irony once again. Address a problem and make it worse.
Here is a way to restore your sanity, save the environment and gain the time wasted holding a gas can for no good reason waiting for it to empty.
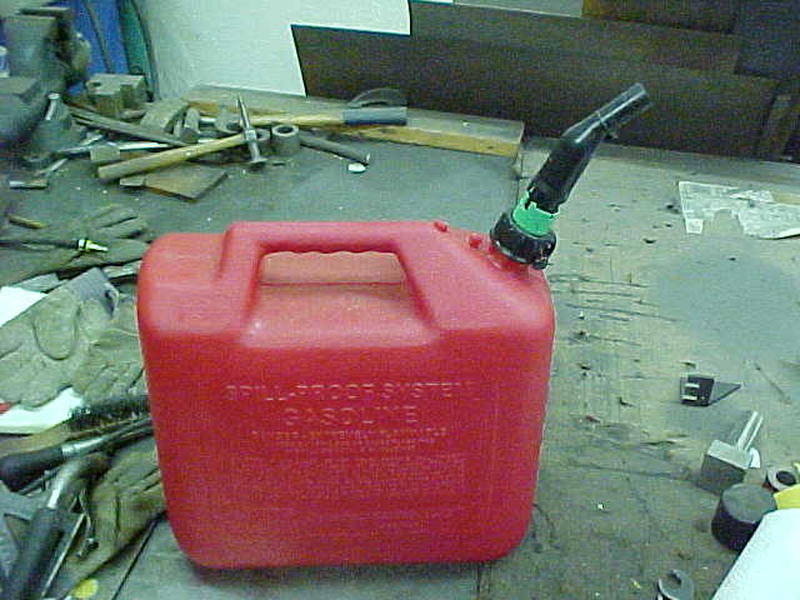
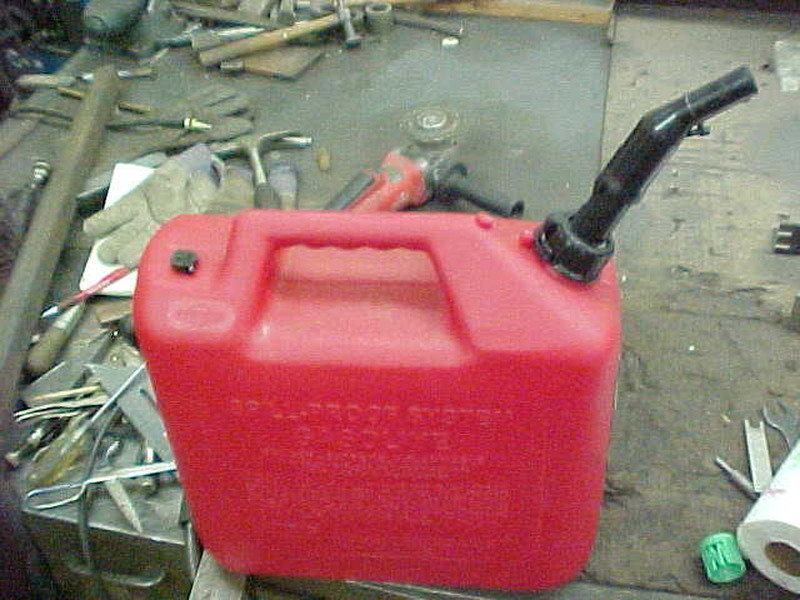
Here is the culprit. This is a Briggs and Stratton branded can but others can be done in a similar manner.
The green safety is a pain to use. You have to twist and push down at the same time and it has to go.
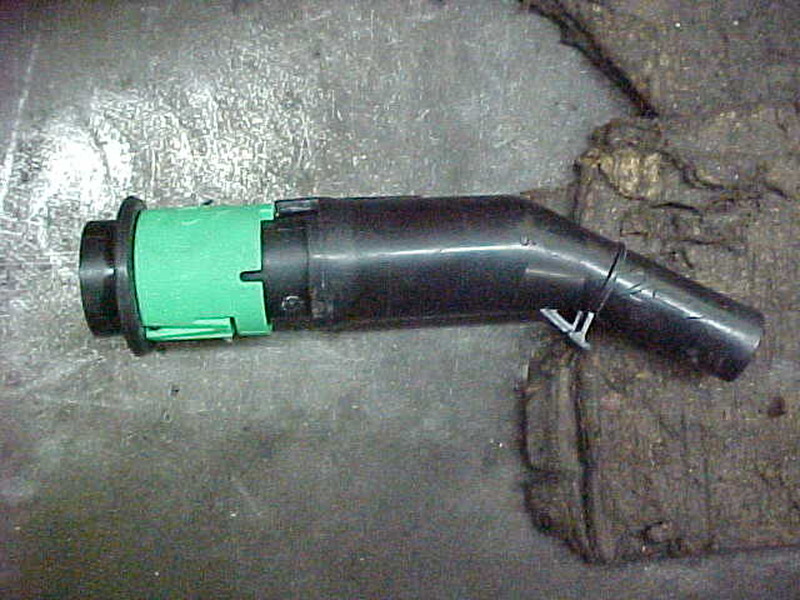
Take the threaded collar off first as you would if you were putting the filler neck into the can for transport.
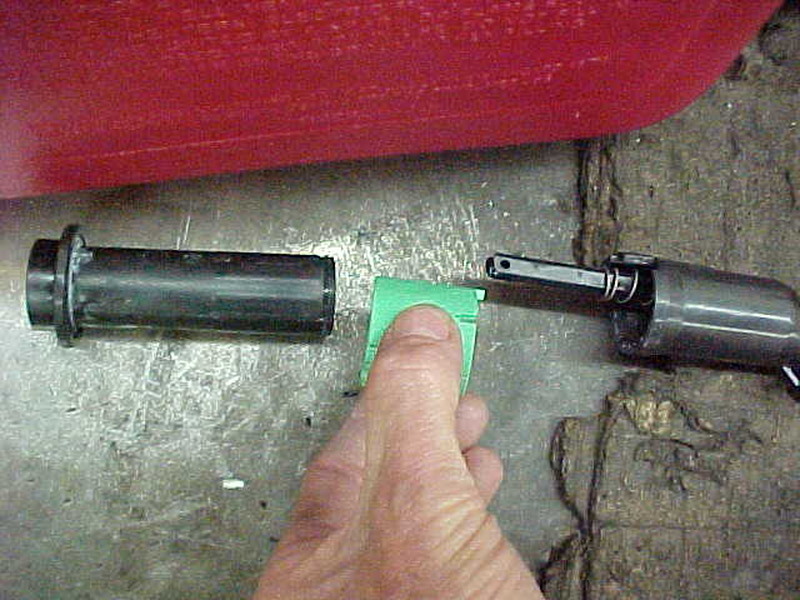
Then pull the 2 halves apart. You can push down and open the flapper valve and pry the keeper apart but it's easier to just pull. It is made with plastic pins that are tapered for a locking system on the shaft on the top part. I've done this on all the ones I have with no issues. After apart, slide the green collar off. You can cut it off with a knife too without taking apart but it is tough plastic. I've found pulling it apart is easier.
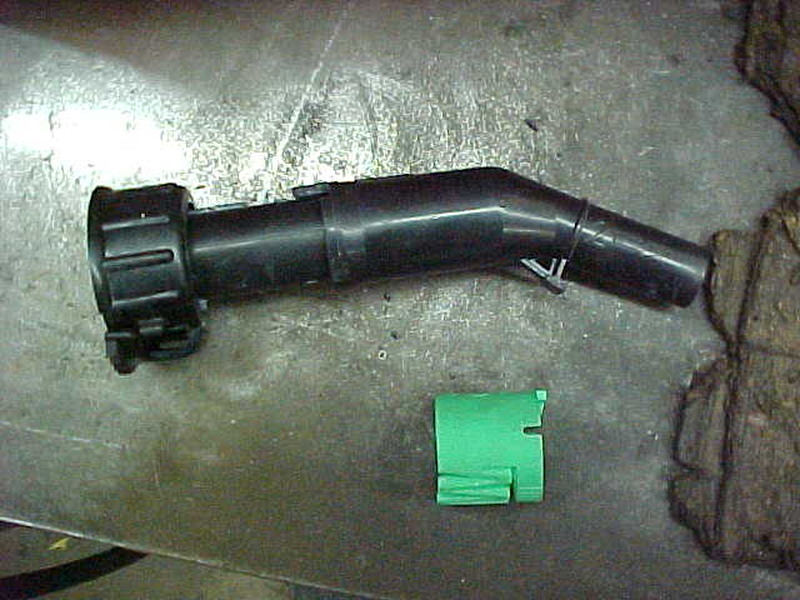
Then just align it again and push in. It'll snap back into the locked position. Now we have a one hand closing valve. The valves can be handy and "can" save spilling. It just doesn't need the 3 hand feature when trying to hold a can.
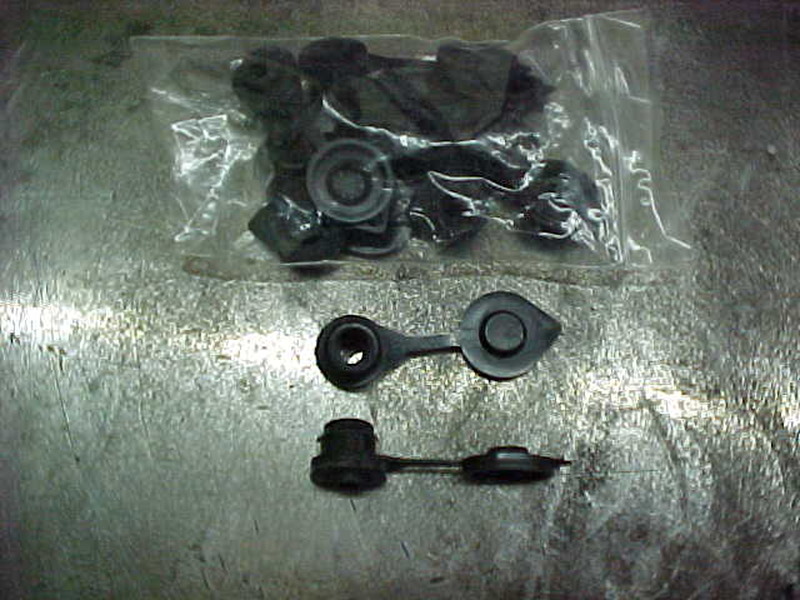
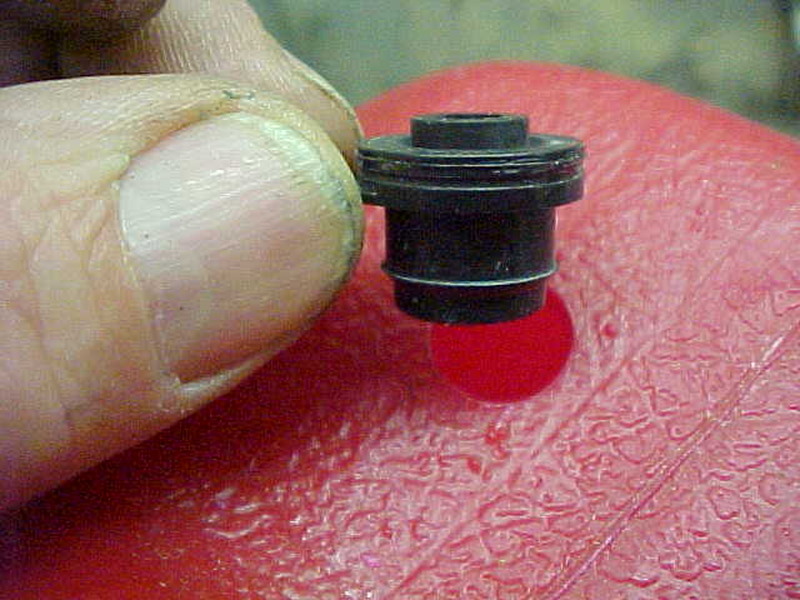
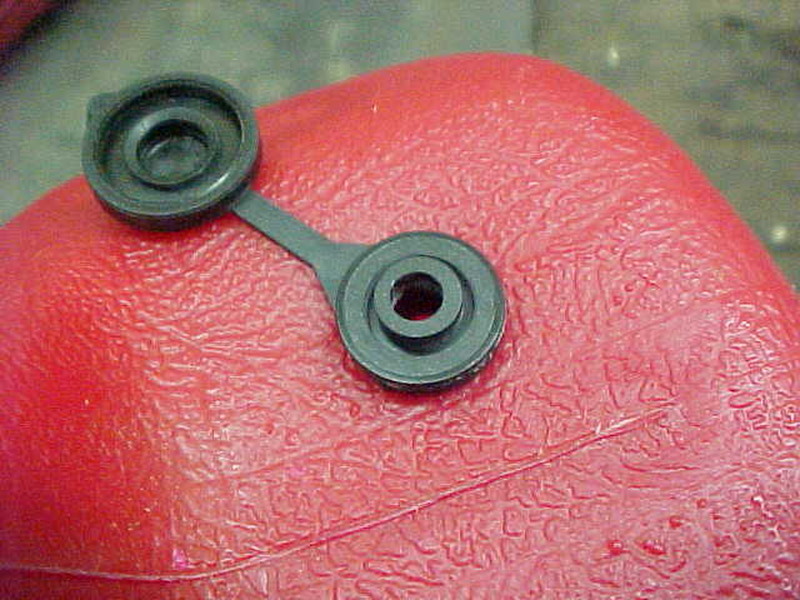
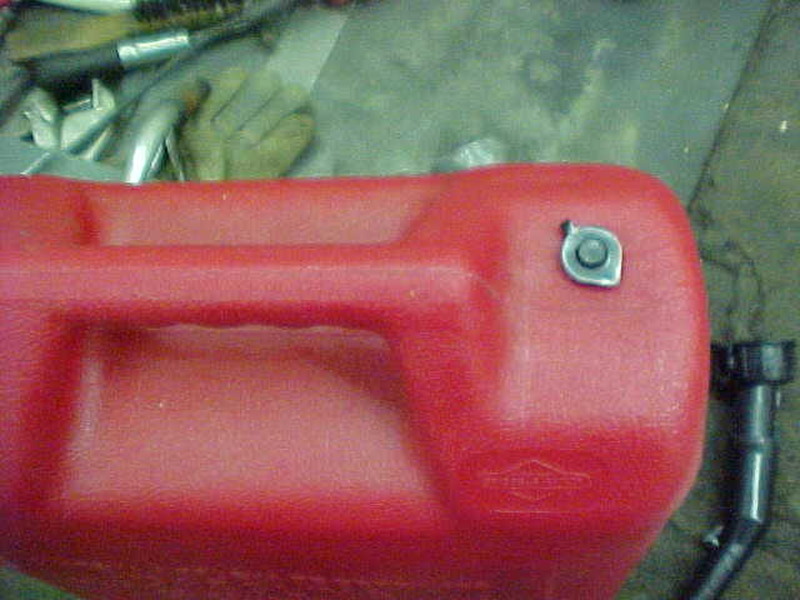
Now to fix the venting. First, make sure the can is empty and dry. You can stick an air hose in there and let it blow at a low pressure to insure that if you wish. I saw where some use a valve core but some of those won't hold up to fuel over time. They are also a little hard to install as you have to fish a wire through to pull it in. I've found these are WAY easier to use. You can get them from several Ebay suppliers and I'll attach a link to the style I got. Don't know the seller but $5.00 shipped to your door is fine by me!
http://www.ebay.com/itm/10-black-Fu...823172?hash=item417c82d4c4:g:OmAAAOxyVaBS9Q~e
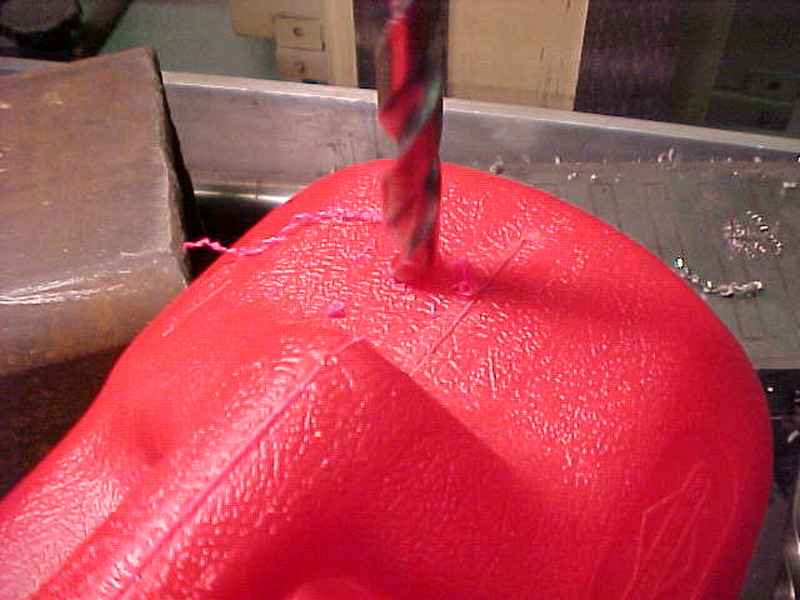
For these you need to drill a .500 inch hole. I'm using a drill press but a hand drill can also be used. One tip is to make sure you avoid drill in a seam or thicker area of the can. Notice I'm off to the side some here as the center is where it was joined to together. Being too thick or irregular in thickness can cause leak issues. Another tip is to make sure to hold down on the tank well. Once you break through, the can wants to walk up the drill and thread itself. Holding it down tight and going slow will prevent that. that is why I like the drill press. Going slow also will bring most all the shavings out and prevent them from going inside the can. Doing it the way I suggest will basically allow you to have no shavings to get out of the can. I do still blow some air through and look to make sure.

This is what you are looking for. A nice clean hole with no burrs. If you have burrs, trim them out and try to prevent them from falling in.

Close up with no clean up.
Here is a way to restore your sanity, save the environment and gain the time wasted holding a gas can for no good reason waiting for it to empty.

Here is the culprit. This is a Briggs and Stratton branded can but others can be done in a similar manner.
The green safety is a pain to use. You have to twist and push down at the same time and it has to go.

Take the threaded collar off first as you would if you were putting the filler neck into the can for transport.

Then pull the 2 halves apart. You can push down and open the flapper valve and pry the keeper apart but it's easier to just pull. It is made with plastic pins that are tapered for a locking system on the shaft on the top part. I've done this on all the ones I have with no issues. After apart, slide the green collar off. You can cut it off with a knife too without taking apart but it is tough plastic. I've found pulling it apart is easier.

Then just align it again and push in. It'll snap back into the locked position. Now we have a one hand closing valve. The valves can be handy and "can" save spilling. It just doesn't need the 3 hand feature when trying to hold a can.

Now to fix the venting. First, make sure the can is empty and dry. You can stick an air hose in there and let it blow at a low pressure to insure that if you wish. I saw where some use a valve core but some of those won't hold up to fuel over time. They are also a little hard to install as you have to fish a wire through to pull it in. I've found these are WAY easier to use. You can get them from several Ebay suppliers and I'll attach a link to the style I got. Don't know the seller but $5.00 shipped to your door is fine by me!
http://www.ebay.com/itm/10-black-Fu...823172?hash=item417c82d4c4:g:OmAAAOxyVaBS9Q~e

For these you need to drill a .500 inch hole. I'm using a drill press but a hand drill can also be used. One tip is to make sure you avoid drill in a seam or thicker area of the can. Notice I'm off to the side some here as the center is where it was joined to together. Being too thick or irregular in thickness can cause leak issues. Another tip is to make sure to hold down on the tank well. Once you break through, the can wants to walk up the drill and thread itself. Holding it down tight and going slow will prevent that. that is why I like the drill press. Going slow also will bring most all the shavings out and prevent them from going inside the can. Doing it the way I suggest will basically allow you to have no shavings to get out of the can. I do still blow some air through and look to make sure.

This is what you are looking for. A nice clean hole with no burrs. If you have burrs, trim them out and try to prevent them from falling in.

Close up with no clean up.


