044 rebuild

Arborist Forum

Help Support Arborist Forum:

This site may earn a commission from merchant affiliate links, including eBay, Amazon, and others.

NHRA1877

ArboristSite Operative
Joined
Nov 14, 2013
Messages
280
Reaction score
72
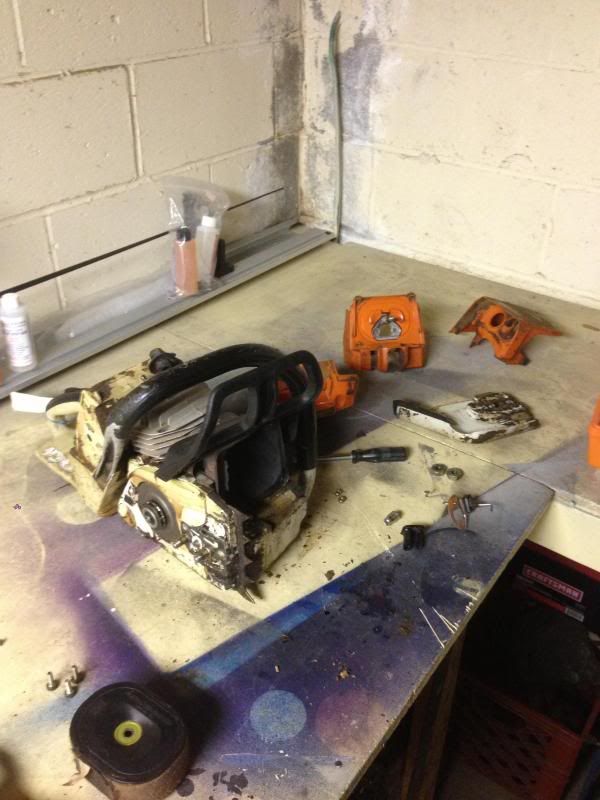
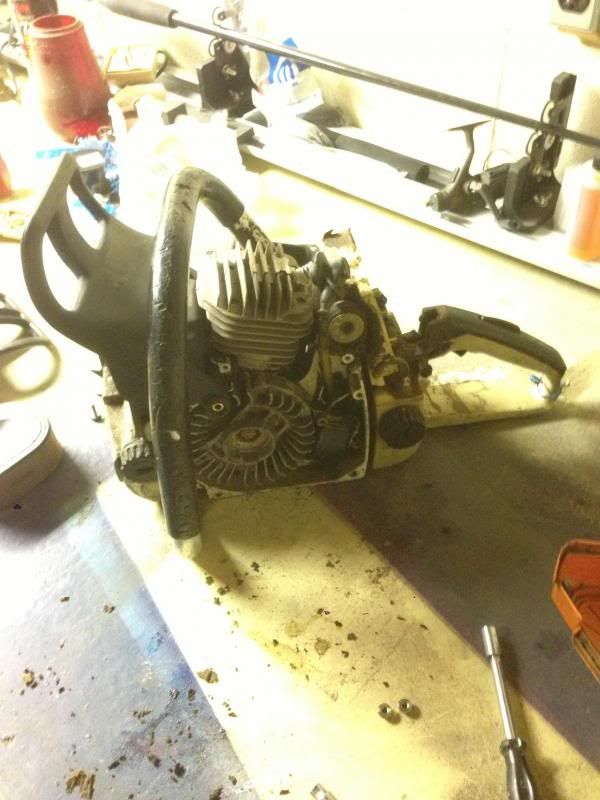
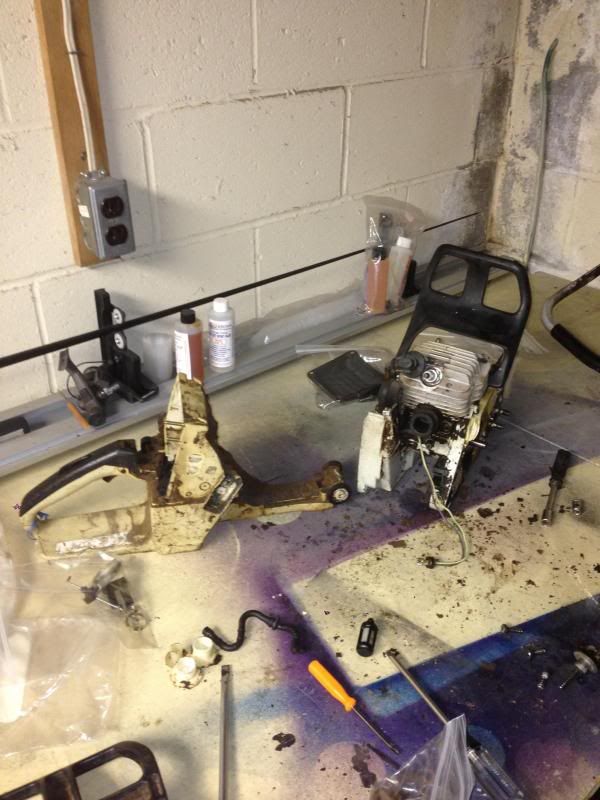
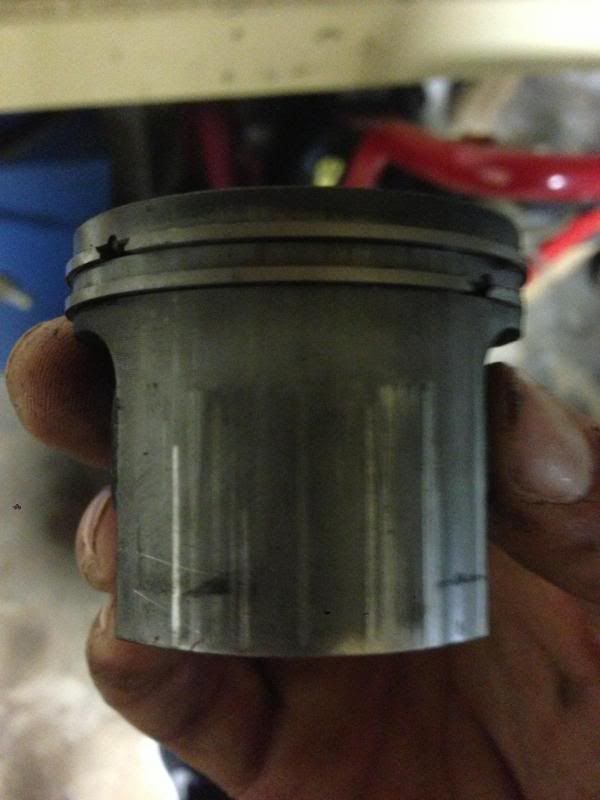
I had a thread going and I was going to sell my 044 vs rebuilding and keeping. After alot of feedback I was convinced to rebuild and try the saw for a whole to see how I like it. I got this saw from a buddy who told me it had a chain brake issue but had good piston. I paid 100$ for the saw and after I put a new brake handle on and found it worked fine, I saw the piston was shot. My buddy felt so bad he gave me a 036 pro saw with a bad piston to make up for it.

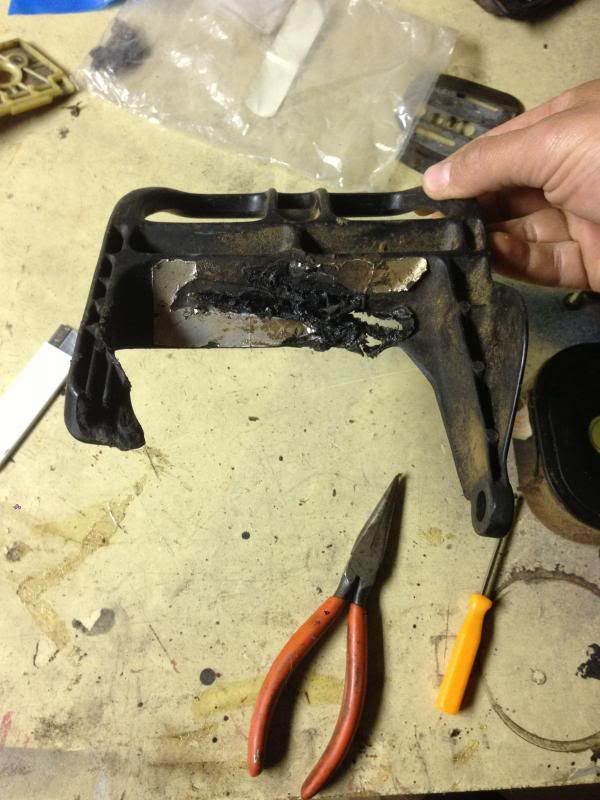
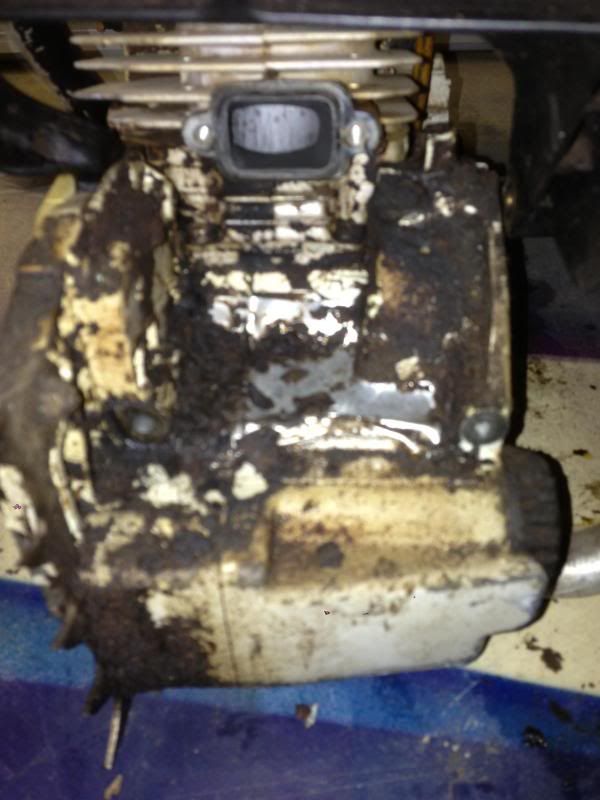
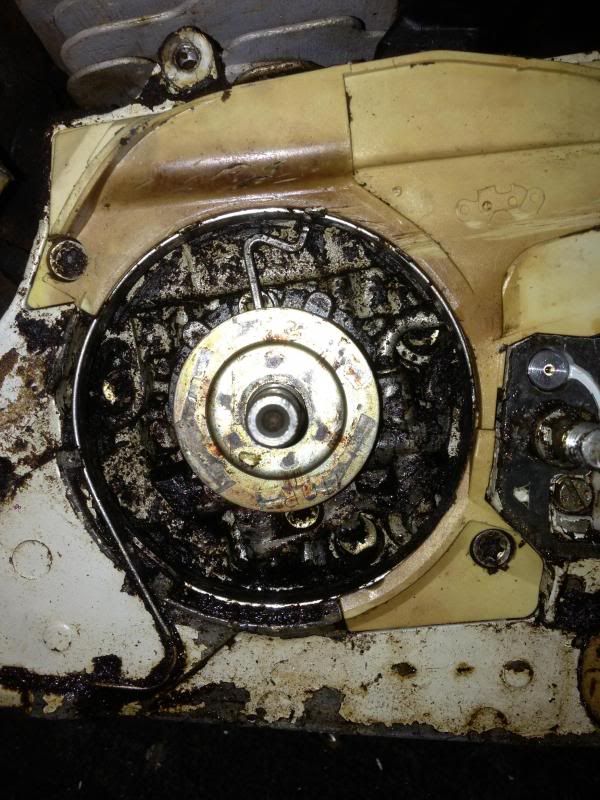
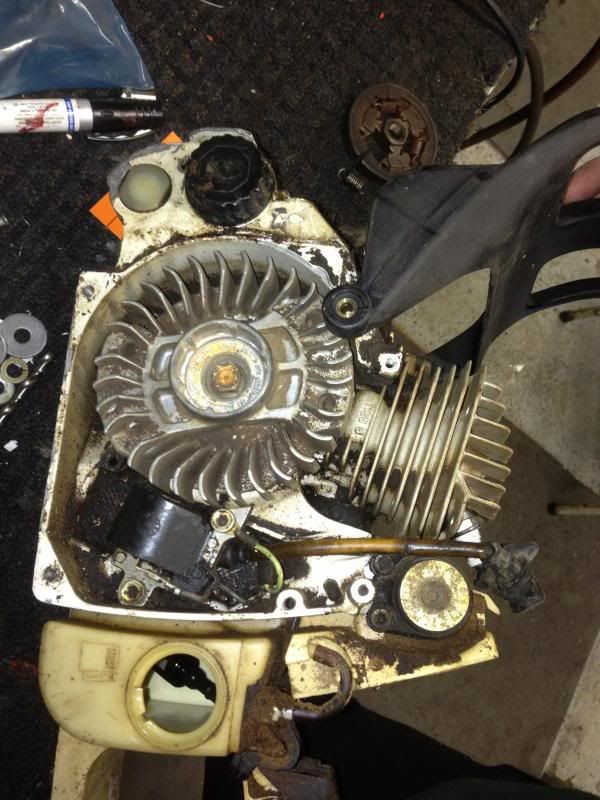
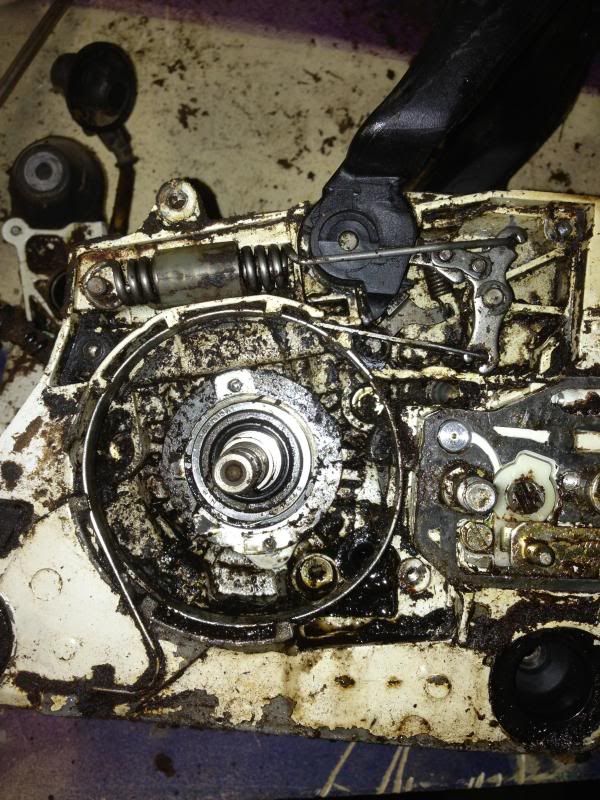
So that's the back round of the saw. I like threads with alot of pictures so here it goes. The brake handle was melted off, I'm not sure what caused this but the handle has been replaced and I want to make sure it doesn't happen again. Under the muffler there was a aluminum style tape, is this factory or is it something I can remove when cleaning.

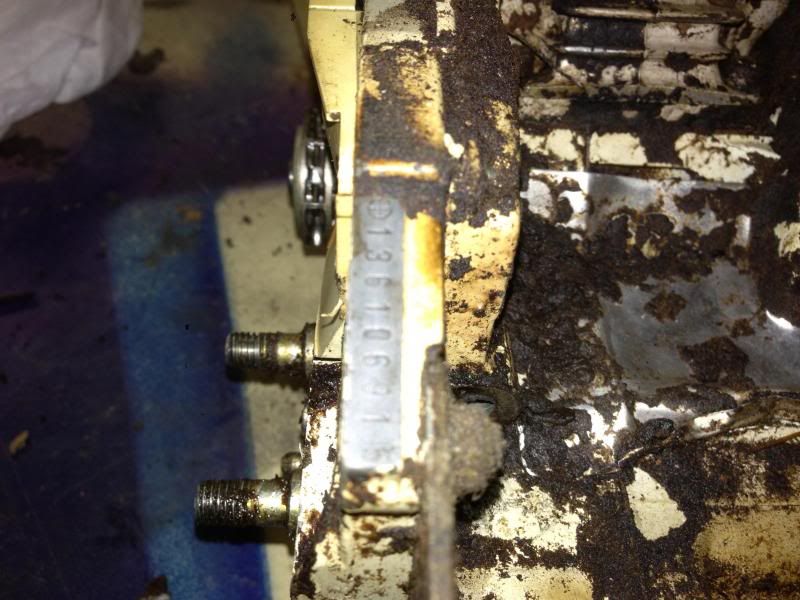
I need to borrow my friends flywheel puller and than ill be taking the cyl off. Is anyone able to tell from the serial if this saw would be a 10 or a 12mm?
 
Sorry guys it wouldn't let me keep typing for some reason.

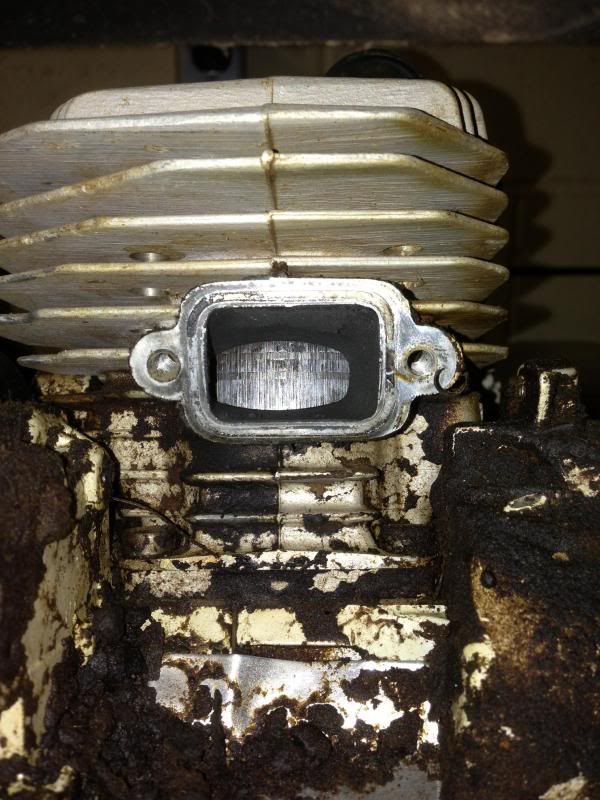
I plan to just replace the piston, hopefully clean the cyl, new seals fuel and impulse line and carb kit. Don't really want to split the case for the bearings if I don't need to


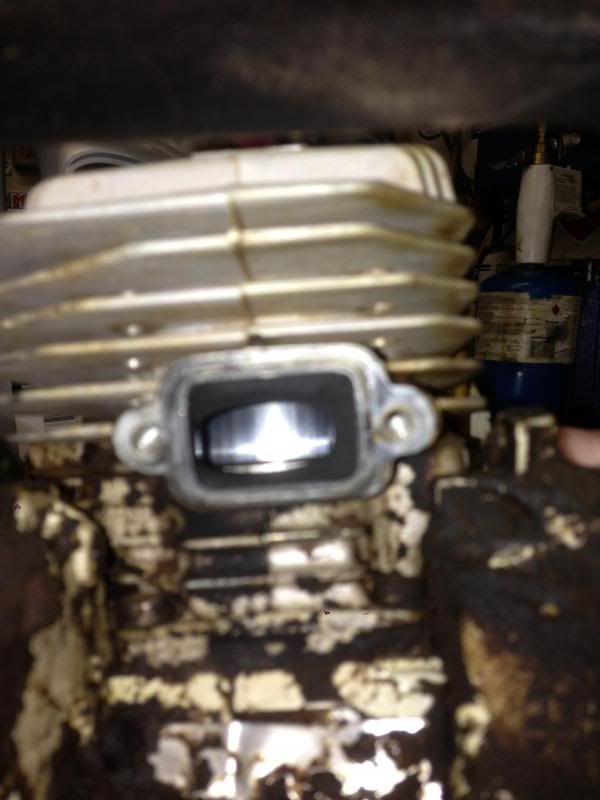
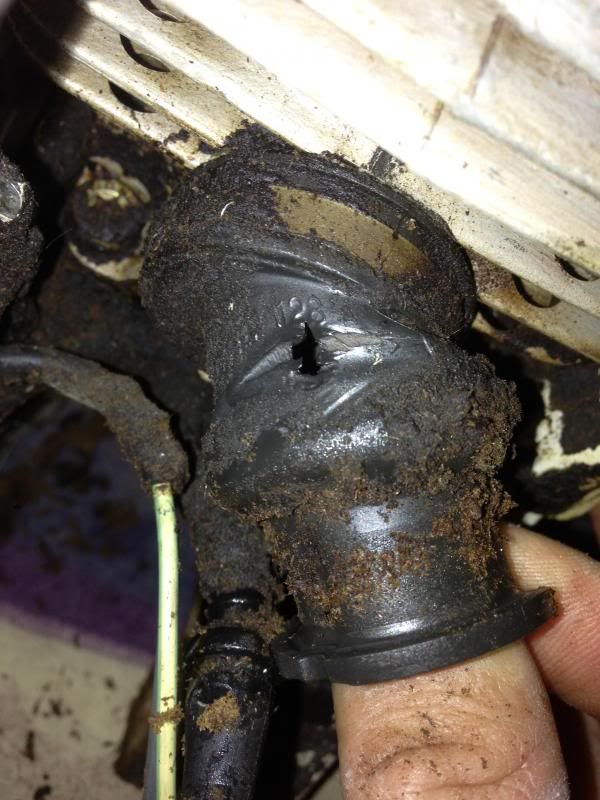
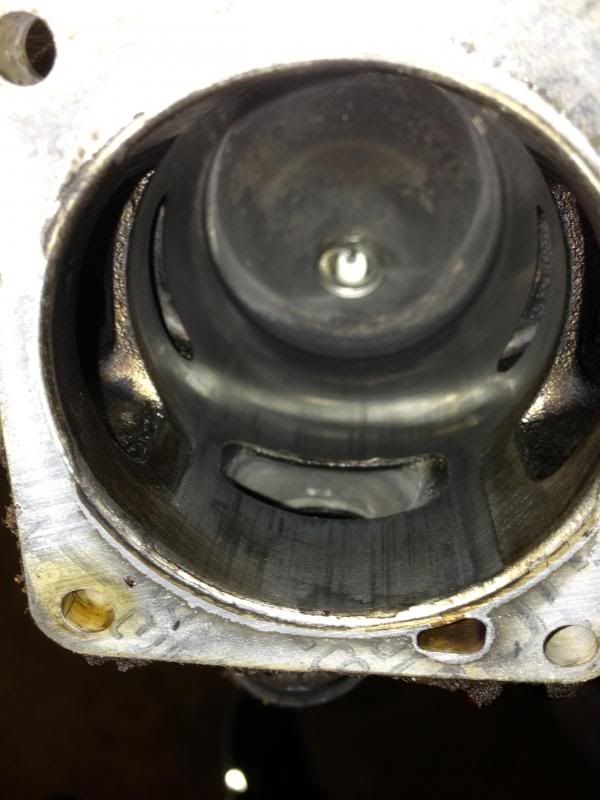
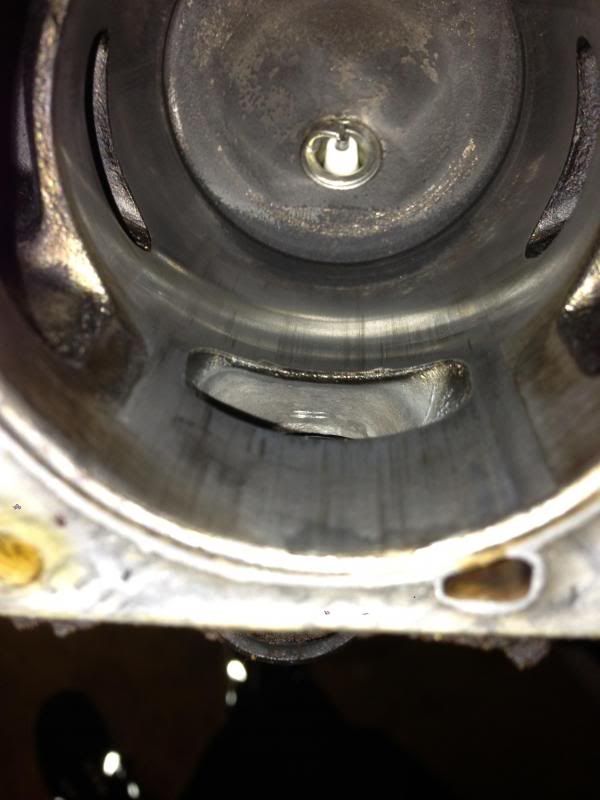
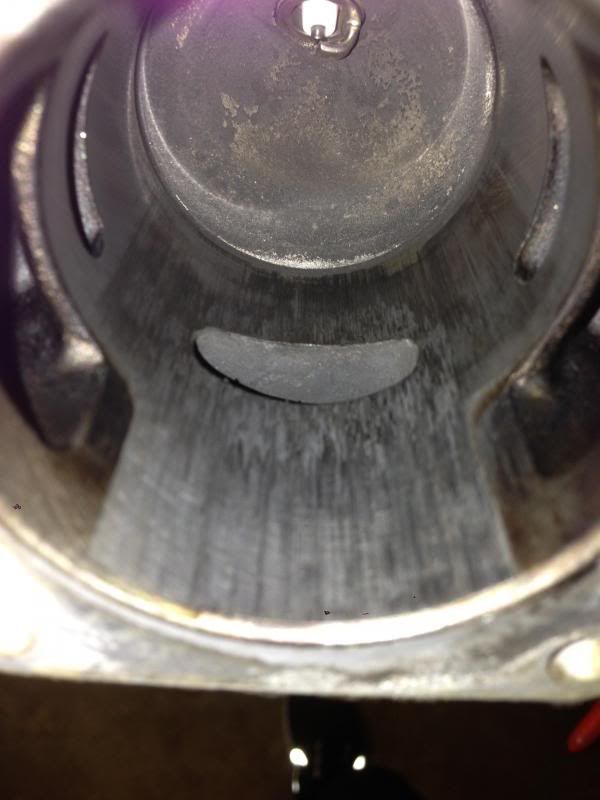
Looks to me like the torn intake boot was the reason the saw lean seized the piston. That saw(044) is really bad about about breaking the rear handle. Sometimes tough to find a good used one...watch closely. Whats the inside of the cylinder look like ? Once you get the jug off and piston off, spin the bearings very carefully and feel/listen for rough spots on the bearings. If none noticed, clean the cylinder with muratic acid and q-tips, then put a meteor piston in it. Great saw when it runs well.
 
That saw would get split to the cases and rebuilt if it were mine.

I'm guessing the front cover of the muffler was loose and melted the CB...the top cover has likely been replaced.

I bought a roll of this for the underside of top covers-

http://www.ebay.com/itm/Cool-It-The...r_Truck_Parts_Accessories&hash=item27dddb5908

the adhesive backing holds well.

I use the reflective aluminum tape the air conditioning guys use for sealing duct. Works well under the top covers and it's cheap(free to me). Yours may withstand heat better.
 
I use the reflective aluminum tape the air conditioning guys use for sealing duct. Works well under the top covers and it's cheap(free to me). Yours may withstand heat better.

I've used that too, but the adhesive tends to break down under the heat of a muffler. This stuff seems to stay put very well.
 
So I should replace that heat tape when I rebuild?
The top cover says 044 on it so I don't know if it's the 440 top, did 044's come with a decomp button?
The girl friend is in Florida for business for the week so I snuck the parts in the dish washer while I could. Worked great!!

I haven't decided yet but I may throw bearings in it since I don't know the background of this saw. That and I would hate to take the chance of rebuilding and have a leaking case gasket. But if they feel good I may keep them so I don't have to deal with the oil line if its the same style as the 036?
 
Yes, I use a razor knife.

Thanks nmurph....I will try a roll. I fired up my 044 yesterday to fell a 24" dead live oak and noted the adhesive was soft when I cleaned it. I thought it was just the outside heat(90 here) but I bet the muffler heat softened the adhesive. Good tip ! Cheers.
 
I bet you are right...12mm wristpin saw. He will have the piston off ....he can mic it to verify.
i have been told you can run the early 10mm jug with the 12 mm piston ,but the other way around ,the ring pins are in a different spot so it may catch a ring in a port ,from what i have also seen if it has the black kill switch ,it is generally a 12 mm saw ,this has the back switch ,there are exceptions ,but most of the time the kill switch color will point in general direction if it has not been swapped out

quick way i check the pin size is with an open end wrench ,10mm wrench 10mm pin 12mm wrench 12 mm pin
 
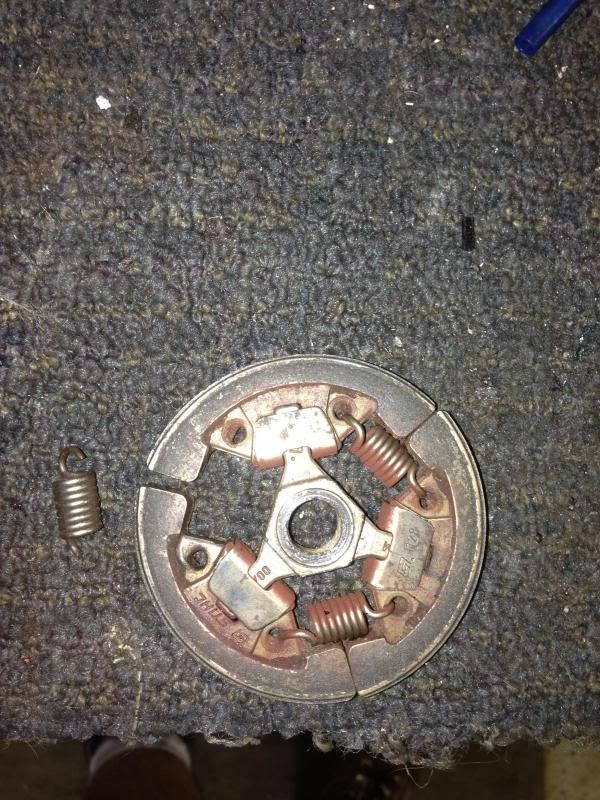
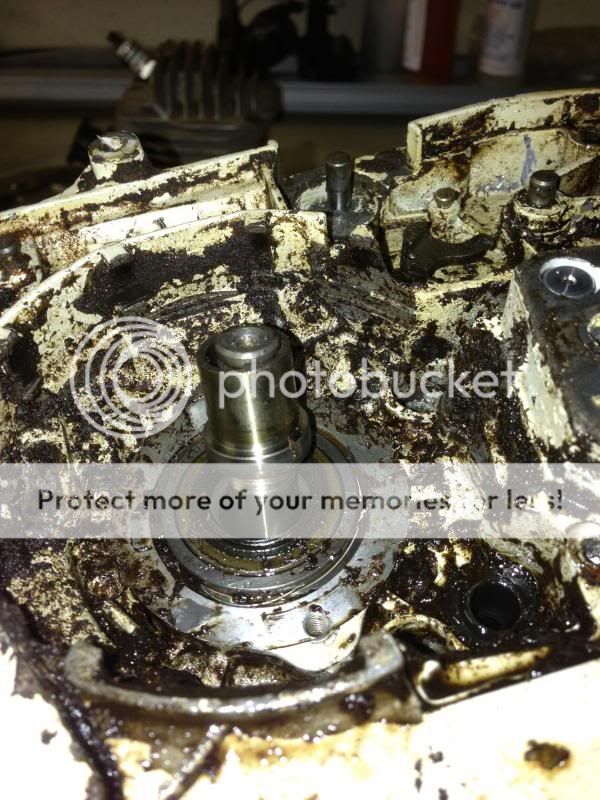
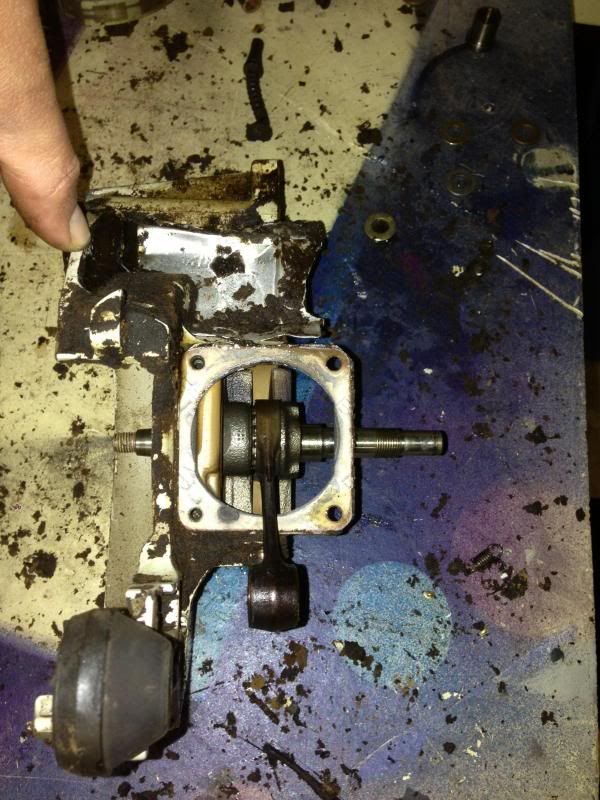
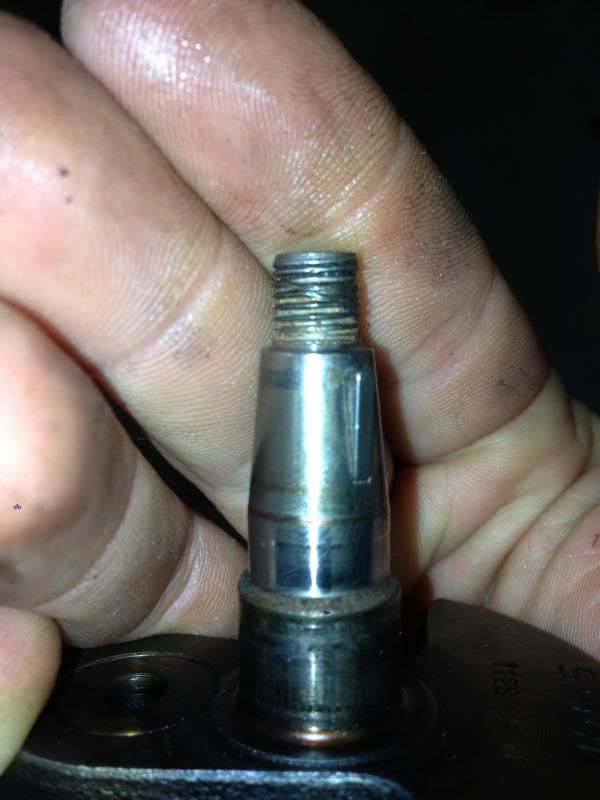
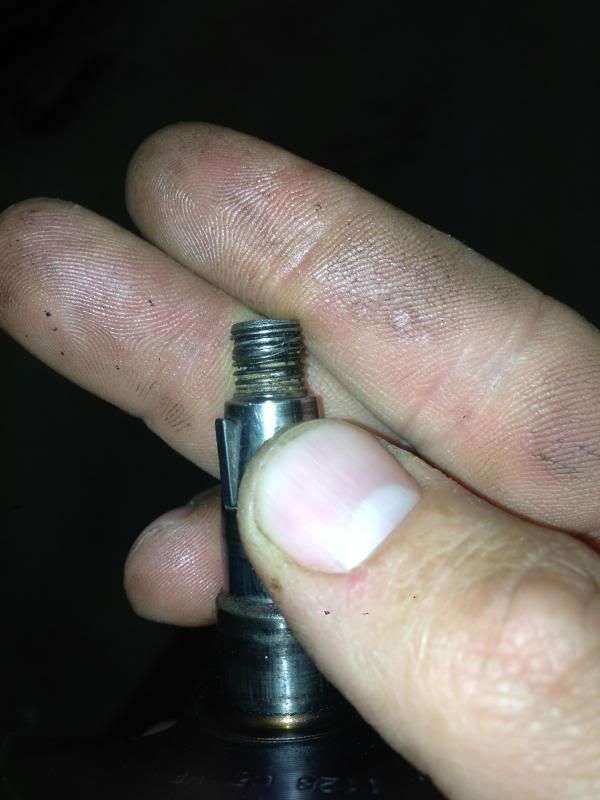
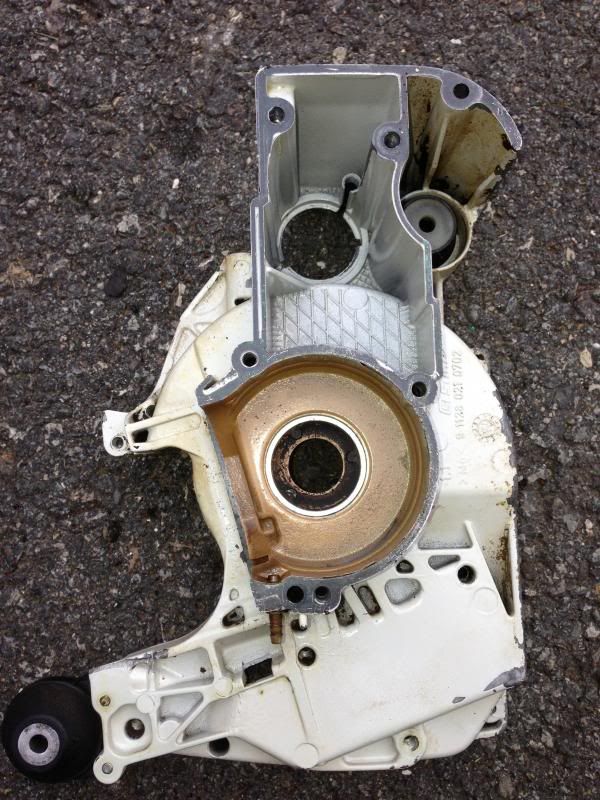
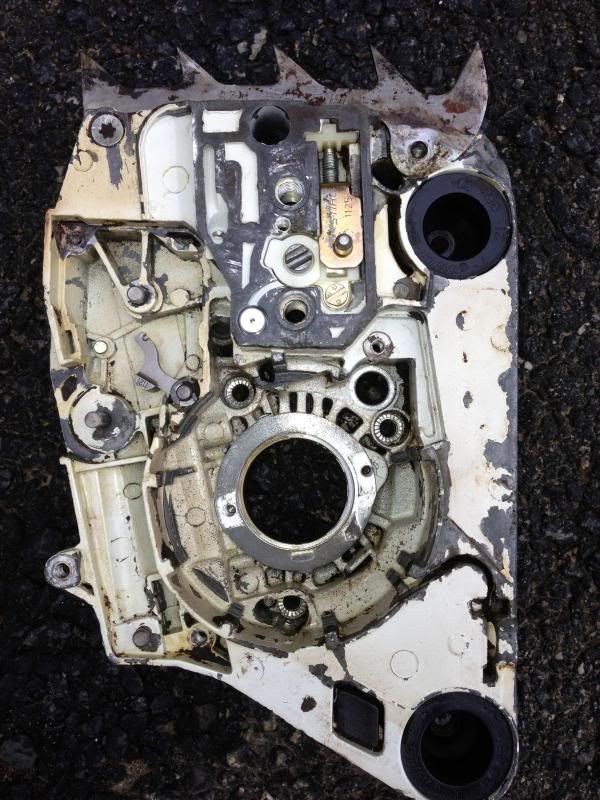
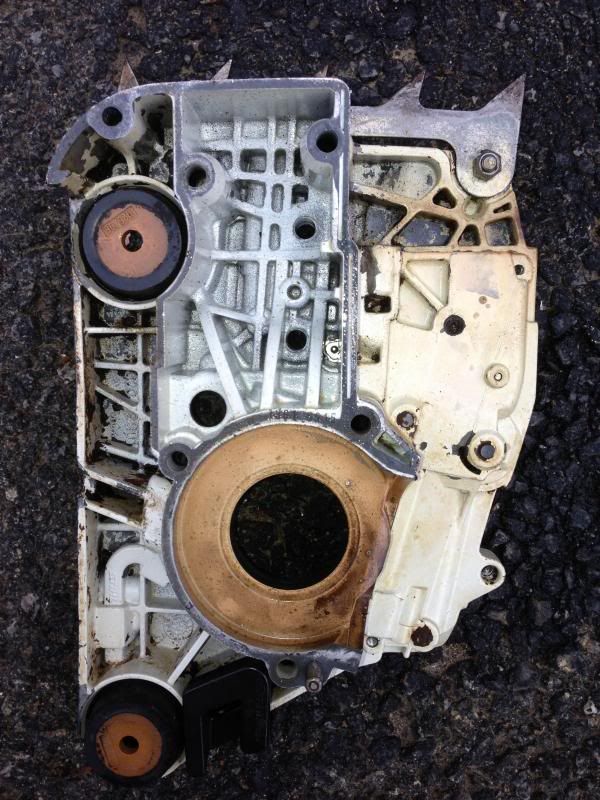
Ok guys so I was able to work on the saw tonight. I decided since I am most likely keeping this saw I might as well do it right, plus it would drive me crazy if I put it together dirty. I pulled the jug and piston off and you guys were correct, it is a 12mm pin. The jig in my opinion looks like I can clean it up but please let me know what you guys think. I tried to use my friends home made puller but it didn't work out, so I went with the controversial way of vice grips and a brass punch.... Well I guess I didn't have the but on enough and it bent and buggered up the threads a little, I'm hoping I can clean them up. Does anyone know what die I could try to clean them up or should I just get a new nut and try that? I got the case separated and now just need to clean everything up


Ok finally got the thing all cleaned up and the rebuild process is next. I'm going to try the aftermarket bearings from weedeaterman, groundbreaking to try an after market oil line and was thinking of trying the weedeaterman gasket and seal kit. Has anyone used any of this and what success have you had with it?


Latest posts

Back
Top