You are using an out of date browser. It may not display this or other websites correctly.
You should upgrade or use an alternative browser.
You should upgrade or use an alternative browser.
044 rebuild
- Thread starter NHRA1877
- Start date

Help Support Arborist Forum:
This site may earn a commission from merchant affiliate
links, including eBay, Amazon, and others.
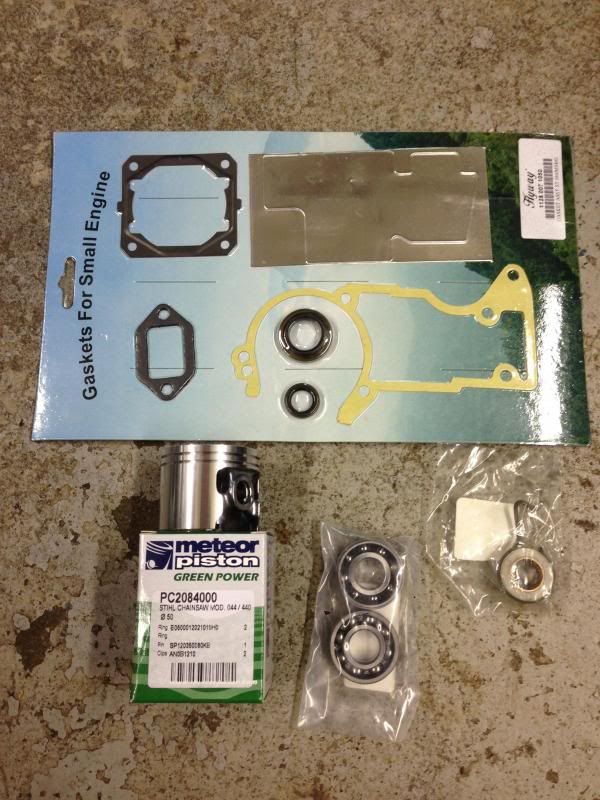
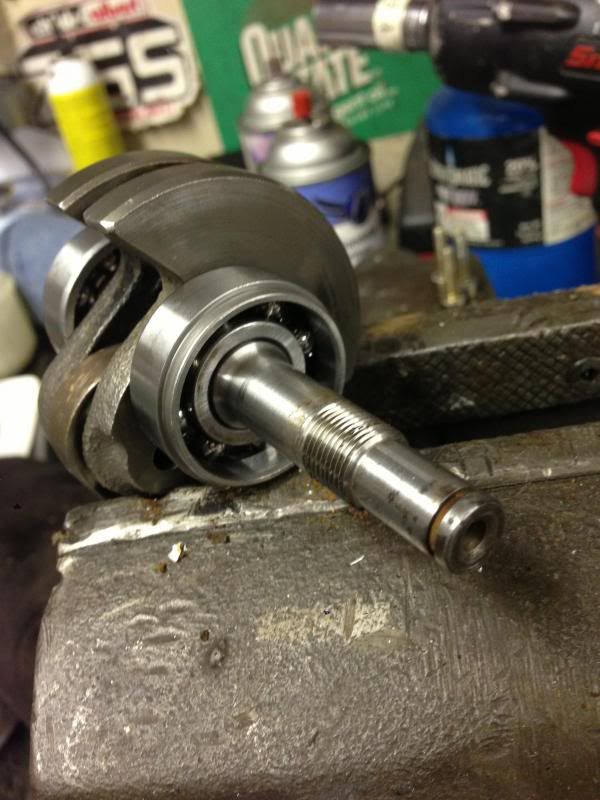
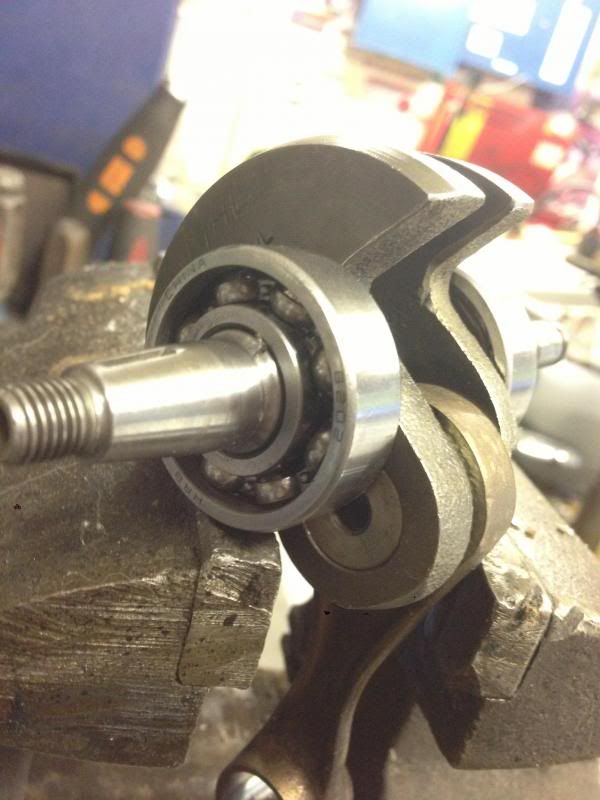
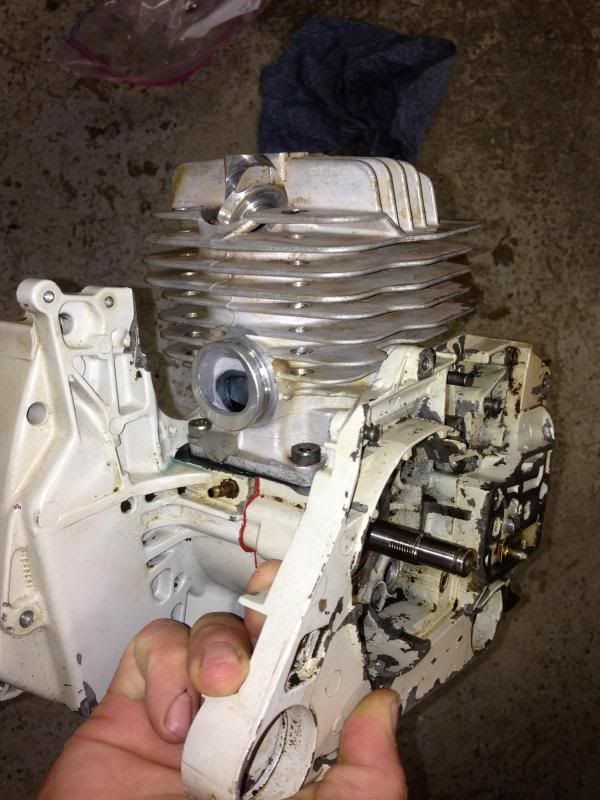
So a parts delivery came yesterday and I got a few minutes between a Sunday BBQ to play a little. I heated the bearings to 225 degrees in the oven for 10 mins, the flywheel side bearing literally fell right into place with no force applied. The clutch side needed three light taps from a hammer to go on. Tomorrow I will be heating the case halfs and putting the halfs together and starting the rebuild process. Still need to pick up a carb kit and find a recoil assy to complete the saw
Adirondackstihl
Flyz, Fuel & Fotos
Ummmmm....
Bearings go in the case first bro
Bearings go in the case first bro
Adirondackstihl
Flyz, Fuel & Fotos
You'll want to put the oil pump on and seat the bearing against the pump. This is explained in the shop manual that I assume you don't have?
That is correct. Seat the bearing against the oil pump.
Adirondackstihl
Flyz, Fuel & Fotos
In my opinion, those bearings need to come off the crank and be installed in the cases. But I'm not sure how to remove them from the crank without damaging them at this point.
frogdaddy
ArboristSite Operative
+frog I mean +1
I am going to try installing the bearings the way it was outlined in the link below. Seems to be no problems with it from what I have read and seems to be the best way to do it to me. Tomorrow the clutch side case half with dummy oil pump installed will be heated to 250 degrees and the crank with bearing already installed will be driopped in, after that, gasket with locktite 518 will be installed and the flywheel side will go into the oven and that's when the half will be pushed on then tightened with the case bolts
http://www.arboristsite.com/community/threads/installing-crank-bearings-using-heat.131284/
http://www.arboristsite.com/community/threads/installing-crank-bearings-using-heat.131284/
Adirondackstihl
Flyz, Fuel & Fotos
That method may be great for old school iron and the occasional saw here and there, it is not the proper method of installing the bearings on an 044.I am going to try installing the bearings the way it was outlined in the link below. Seems to be no problems with it from what I have read and seems to be the best way to do it to me. Tomorrow the clutch side case half with dummy oil pump installed will be heated to 250 degrees and the crank with bearing already installed will be driopped in, after that, gasket with locktite 518 will be installed and the flywheel side will go into the oven and that's when the half will be pushed on then tightened with the case bolts
http://www.arboristsite.com/community/threads/installing-crank-bearings-using-heat.131284/
If you do not seat the bearing firmly against the oil pump, you will have issues with the bushing & crank seal seat. Those that have done 044's/440's before... know exactly what I'm talking about.
Now you can either head my warning and continue to assemble the way you FEEL is correct or you can stop now and do it the RIGHT way!
It's you're saw....not mine.
I just hate to see someone fark up a good saw
frogdaddy
ArboristSite Operative
In my experience the only way to get them off is by heating the inner race and I would hate to do that to new bearings.
Adirondackstihl
Flyz, Fuel & Fotos
Exactly.In my experience the only way to get them off is by heating the inner race and I would hate to do that to new bearings.
But I wouldn't have chosen to install them in the manner that the OP has done. Not saying it won't work.....but I think he might run into trouble sooner than later
I know exactly what your talking about, I did my 036 the traditional way. I read through all 5 pages of the post I linked and as far as I'm aware he mentioned using this method on these saws before, as long as the bearing is seated against the pump there shouldn't be an issue if I'm correct. I'm building this saw to last, if things go as it has been described it seems to me to be just another way to accomplish the same goal. When you install the bearing into the case you are heating the case and dropping the the bearing in maybe tapping it to assure its seated against the oil pump. The only difference I see between this and that is less side stress applied when pulling the halfs together. Correct me if I'm wrong?
It's easier to pull the case halves together with the crank going through the bearings. I've done it both ways and won't do it bearings on the crank first again. If you have a heat gun or hair dryer you may be able to warm the bearing up if it's metal cage and get them off.
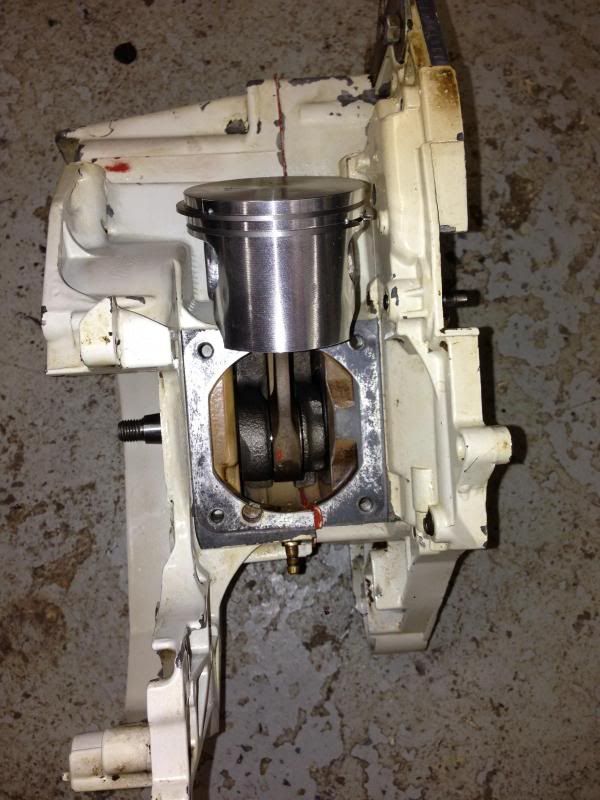
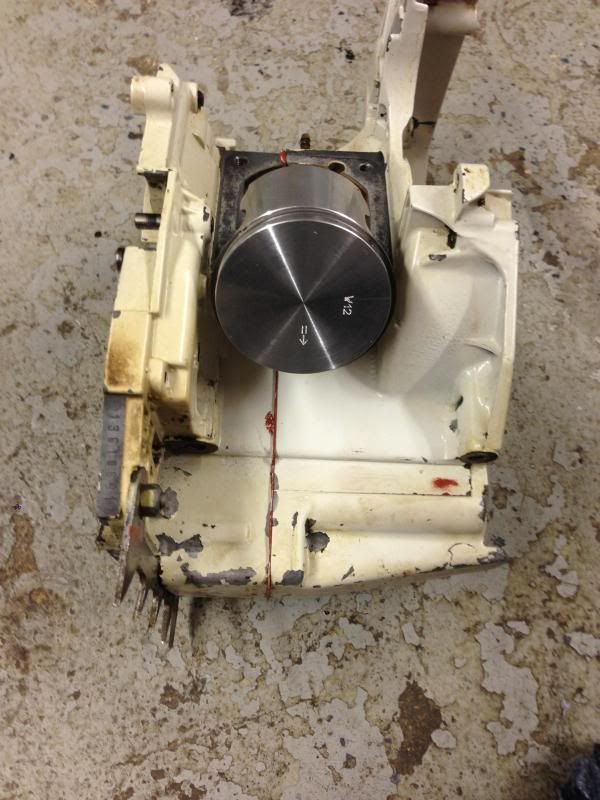
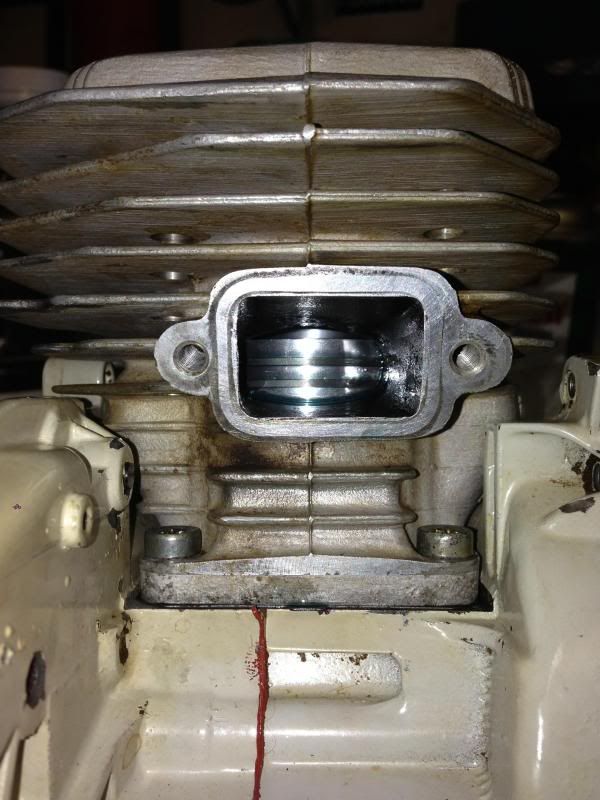
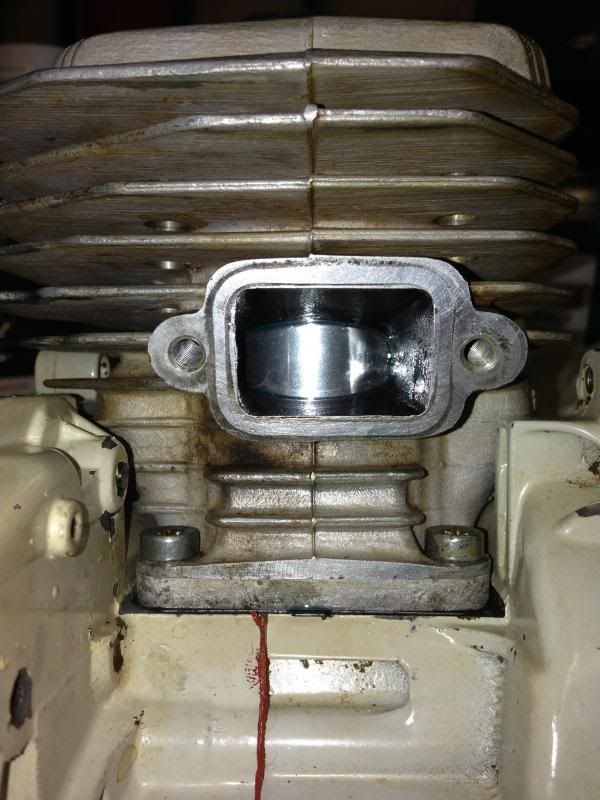
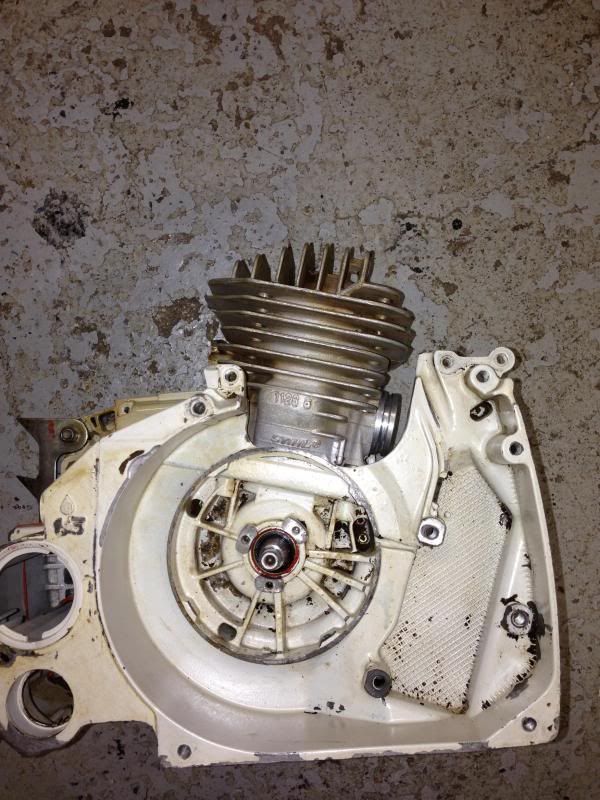
Ok so today is the day I have been waiting for! Got the case halfs together, tapped the crank to center and got a little nervous as it was still real tight, drank a cup of coffee and walked away, came back and two more wraps on the crank and she spun beautifully. So I began to install the seals. Put the flywheel side in and it worked perfect. I put the clutch side on and it went in well also. The inner part of the seal isn't touching the crank but I'm assuming that's because of the little shim/bushing that goes on before the oil pump? Ill be working on the piston and cyl next.
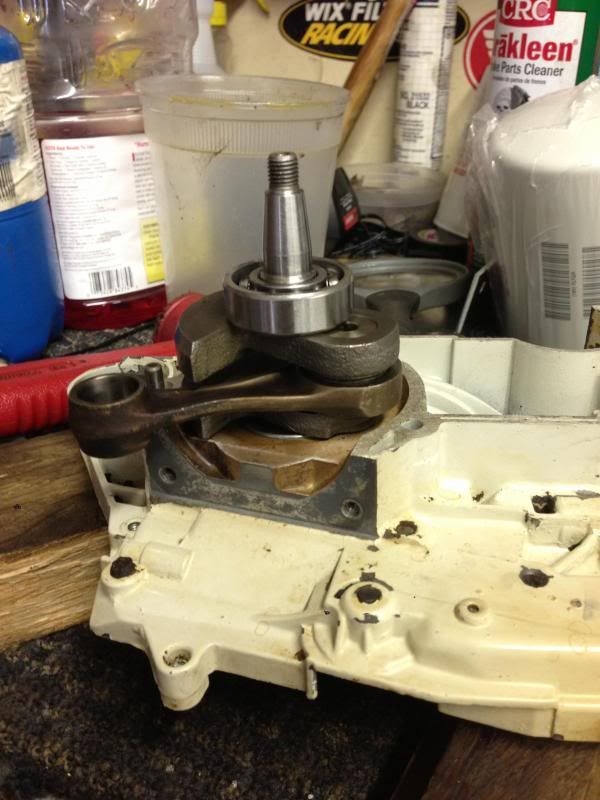
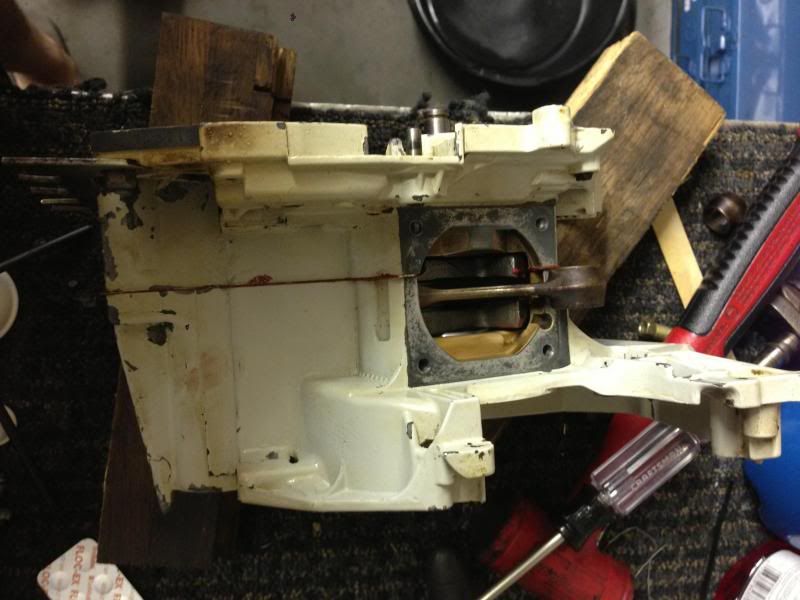
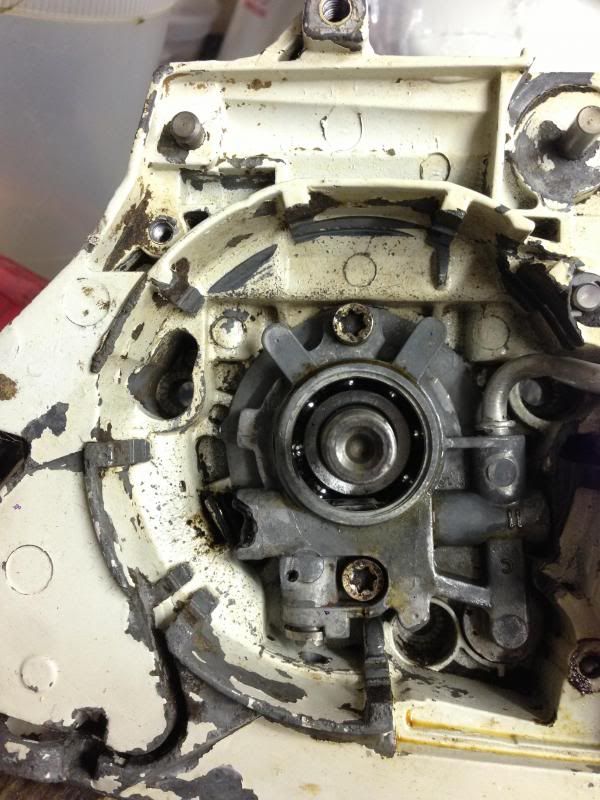
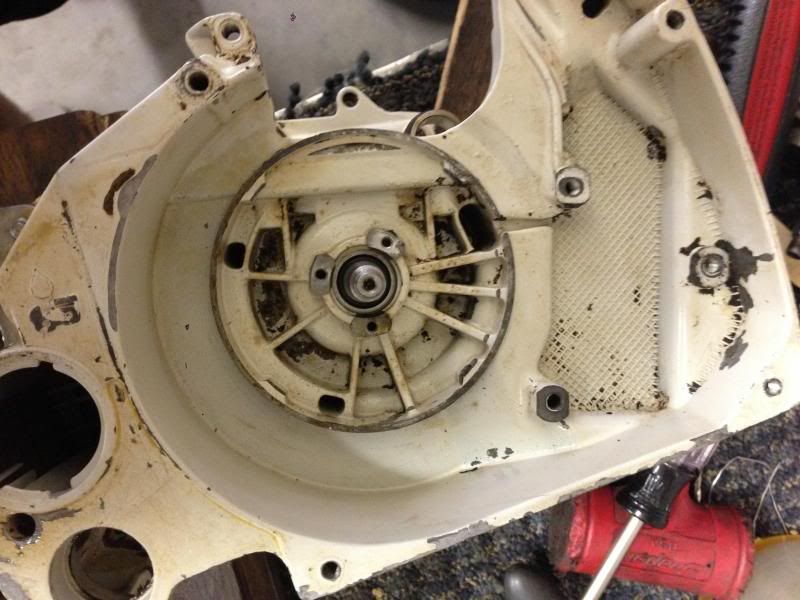
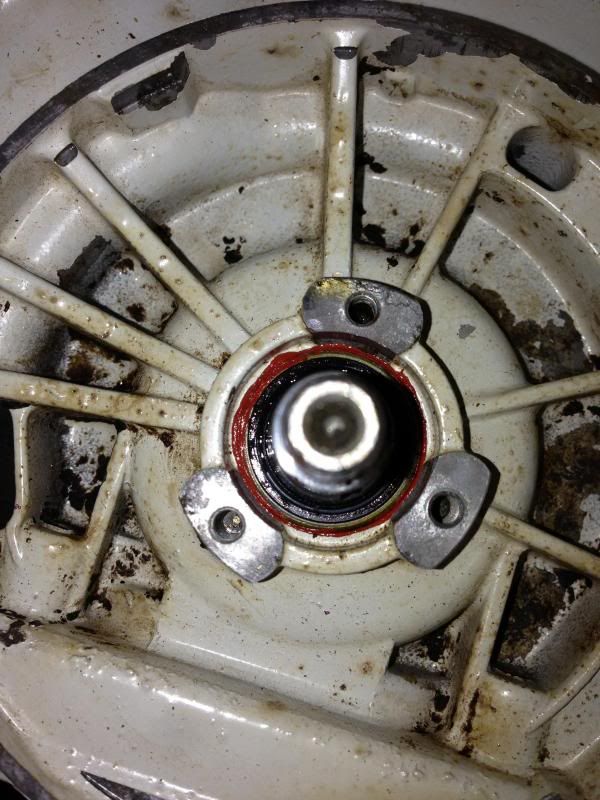
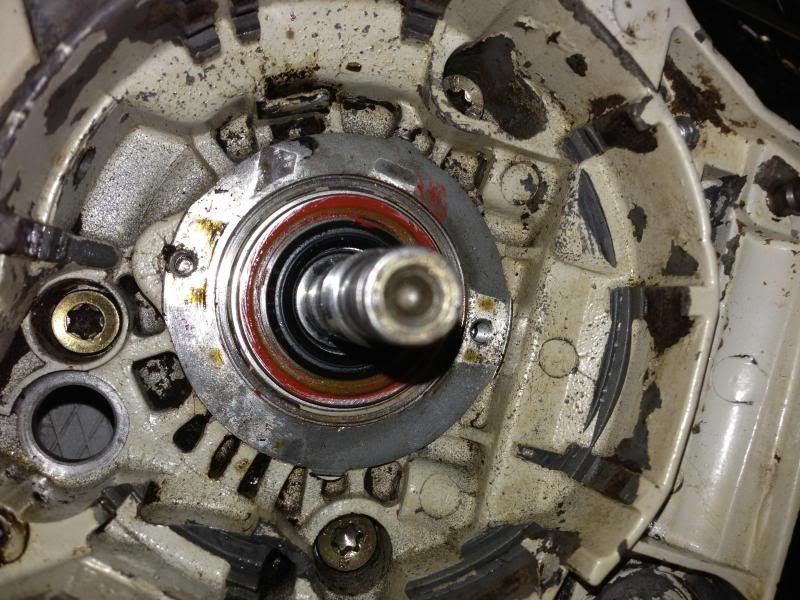
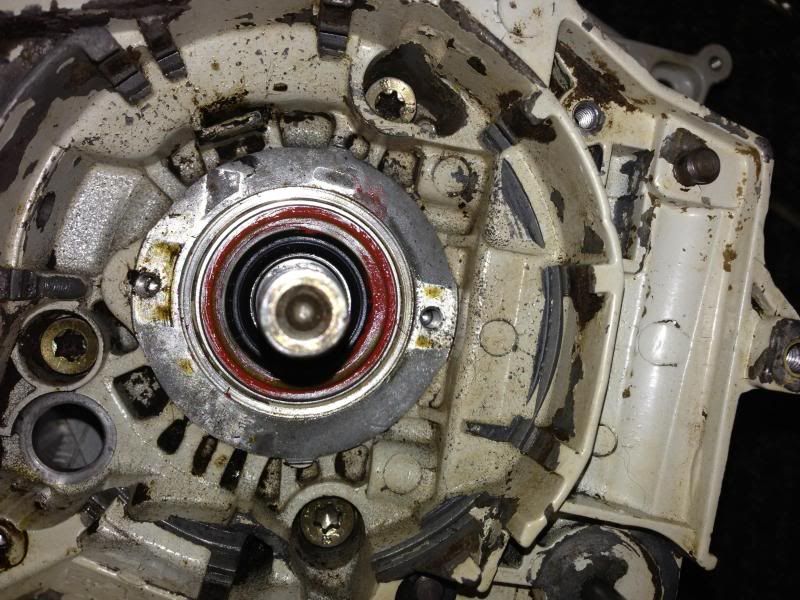


Trx250r180
Saw polisher
Make sure when slide the bushing over the crank on the oil pump side it is on the seal all the way ,just a tiny bit off the saw will have an air leak ,i also run an o-ring under the bushing like the early saws did ,just because it seems like something besides grease or oil should be sealing air
Mike from Maine
Read that the ms362 is awesome!!!
Very nice, fun is it not?
Mike from Maine
Read that the ms362 is awesome!!!
I picked up a o44 with a 10mm piston running a topend from a 12mm saw.i have been told you can run the early 10mm jug with the 12 mm piston ,but the other way around ,the ring pins are in a different spot so it may catch a ring in a port ,from what i have also seen if it has the black kill switch ,it is generally a 12 mm saw ,this has the back switch ,there are exceptions ,but most of the time the kill switch color will point in general direction if it has not been swapped out
quick way i check the pin size is with an open end wrench ,10mm wrench 10mm pin 12mm wrench 12 mm pin
Similar threads
- Replies
- 3
- Views
- 357
Latest posts
-
-
Hi from Florida recent Chainsaw injury experience with my son
- Latest: Breckinridge Elkins
-
-
-
-
-


