Axe restoration thread

Arborist Forum

Help Support Arborist Forum:

This site may earn a commission from merchant affiliate links, including eBay, Amazon, and others.
Wholly cow, I have not been getting my alerts on this thread, missed over a dozen posts! Everything looks good, fellas, great work, and good to see the enthusiasm in these old tools. Makes me feel like less of a junkie, ha ha.

As to cutting the wood proud of the steel, I agree with @dancan — I've noticed it in the Scandinavian makers for a while now, and if you look, all of the quality axe makers are doing the very same thing. If done right, the proud wood will fan out thus adding more pressure on the only point the steel can leave the haft. I think the old timers would cut it flush to keep the wood from getting chipped off from use, which can still happen... Chamfering the wood edges around the eye helps some.
 
Arrived at the cabin tonight. Need to pick a few splitting tools to bring home so I can refurb the handles. Maybe start with the axe of my great grandparents that I rehung last summer. Strip the clear varnish and maybe do a darker Watco or something.
 
While I was reading the USDA article on hanging an ax, I found a page that showed a lot of the ax patterns, and then a page of makers marks. I'm guessing there were at least 50 makers marks on that page. Now I can't find it. Has anyone ever seen that? While I was in the shed yesterday, I found my favorite maul from the late 60's, early 70's, and on the bottom I saw 3 makers marks and I recognized one from that page. That maul with original handle was around 40 years old. It had chunks nicked out of it from splinters and was getting soft at the eye. If it got stuck you could see the handle would probably break if you pushed on it. So, I kept an Oak limb handy to tap it out. My nephew came over and wanted to help split wood, he was driving so he wasn't a little kid. He grabbed my maul and I yelled at him to get his hands off that ax, it was almost as old as me. He laughed and said he knew how to split with a maul. He swung one time, over shot the block by a foot, and snapped the head off. I don't know how, but, he managed to survive. I also found a handle I got for it years ago leaning on another shed, all the finish gone and grey as a bone. I might hang it today between grinding on the Plumb, Joe.
 
While I was reading the USDA article on hanging an ax, I found a page that showed a lot of the ax patterns, and then a page of makers marks. I'm guessing there were at least 50 makers marks on that page. Now I can't find it. Has anyone ever seen that? While I was in the shed yesterday, I found my favorite maul from the late 60's, early 70's, and on the bottom I saw 3 makers marks and I recognized one from that page. That maul with original handle was around 40 years old. It had chunks nicked out of it from splinters and was getting soft at the eye. If it got stuck you could see the handle would probably break if you pushed on it. So, I kept an Oak limb handy to tap it out. My nephew came over and wanted to help split wood, he was driving so he wasn't a little kid. He grabbed my maul and I yelled at him to get his hands off that ax, it was almost as old as me. He laughed and said he knew how to split with a maul. He swung one time, over shot the block by a foot, and snapped the head off. I don't know how, but, he managed to survive. I also found a handle I got for it years ago leaning on another shed, all the finish gone and grey as a bone. I might hang it today between grinding on the Plumb, Joe.
I saw something similar somewhere...for the life of me cannot remember where.
 
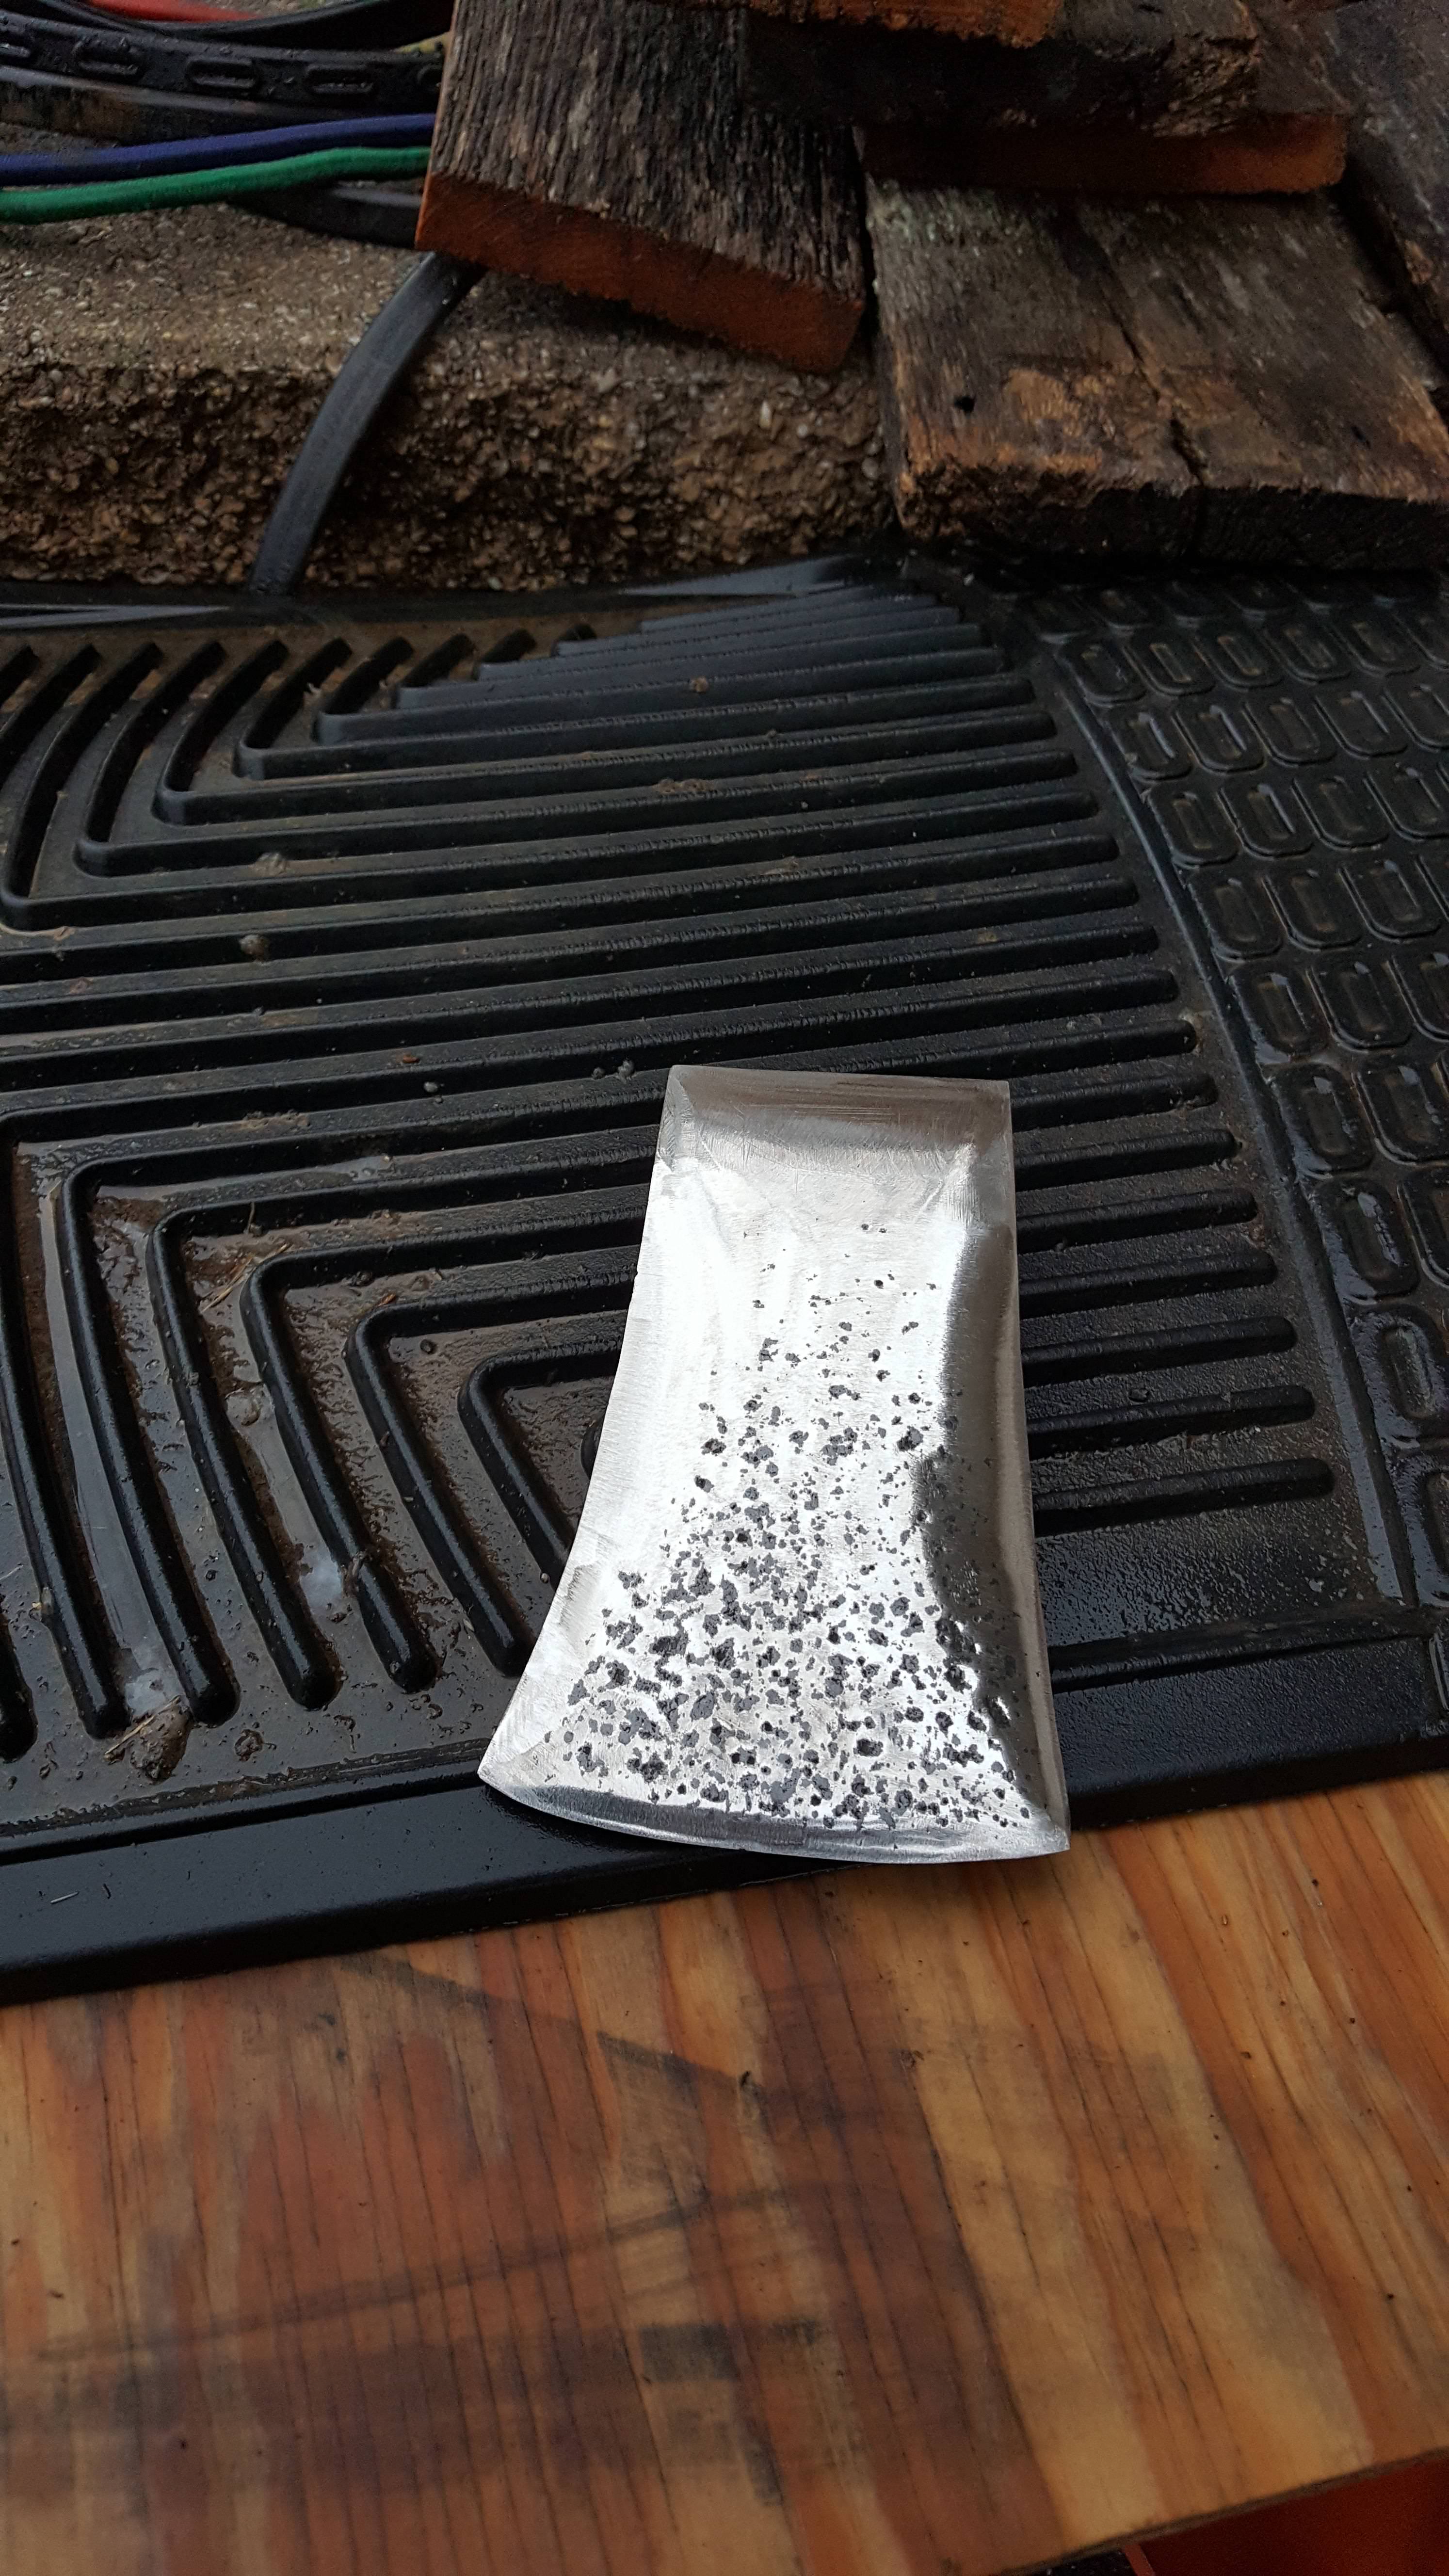
Daily update. I'd say I've got 10-12 hours and about $40 dollars in sanding belts and discs. I've ground about 4 ounces off. This was the worse side rust wise. But, the other side has the Plumb logo, so it will be the hardest. Then I'll have to try and match the thickness too, Joe.
baqLi3o.jpg
 
Daily update. I'd say I've got 10-12 hours and about $40 dollars in sanding belts and discs. I've ground about 4 ounces off. This was the worse side rust wise. But, the other side has the Plumb logo, so it will be the hardest. Then I'll have to try and match the thickness too, Joe.
baqLi3o.jpg


Joe, that looks incredible - just look at those cheek bevels!

I mean, wow, that cleaned up very well. The bit profile radius looks good, you shouldn't need to do much work there, but when you go to sharpen it you'll want to take more material off of the center where the cheek swells out. I'll go into more detail here in a minute, going to make an informative post on an early restoration axe I did that just wasn't "cutting" it. Worked on it and your Plumb cruiser this afternoon...
 
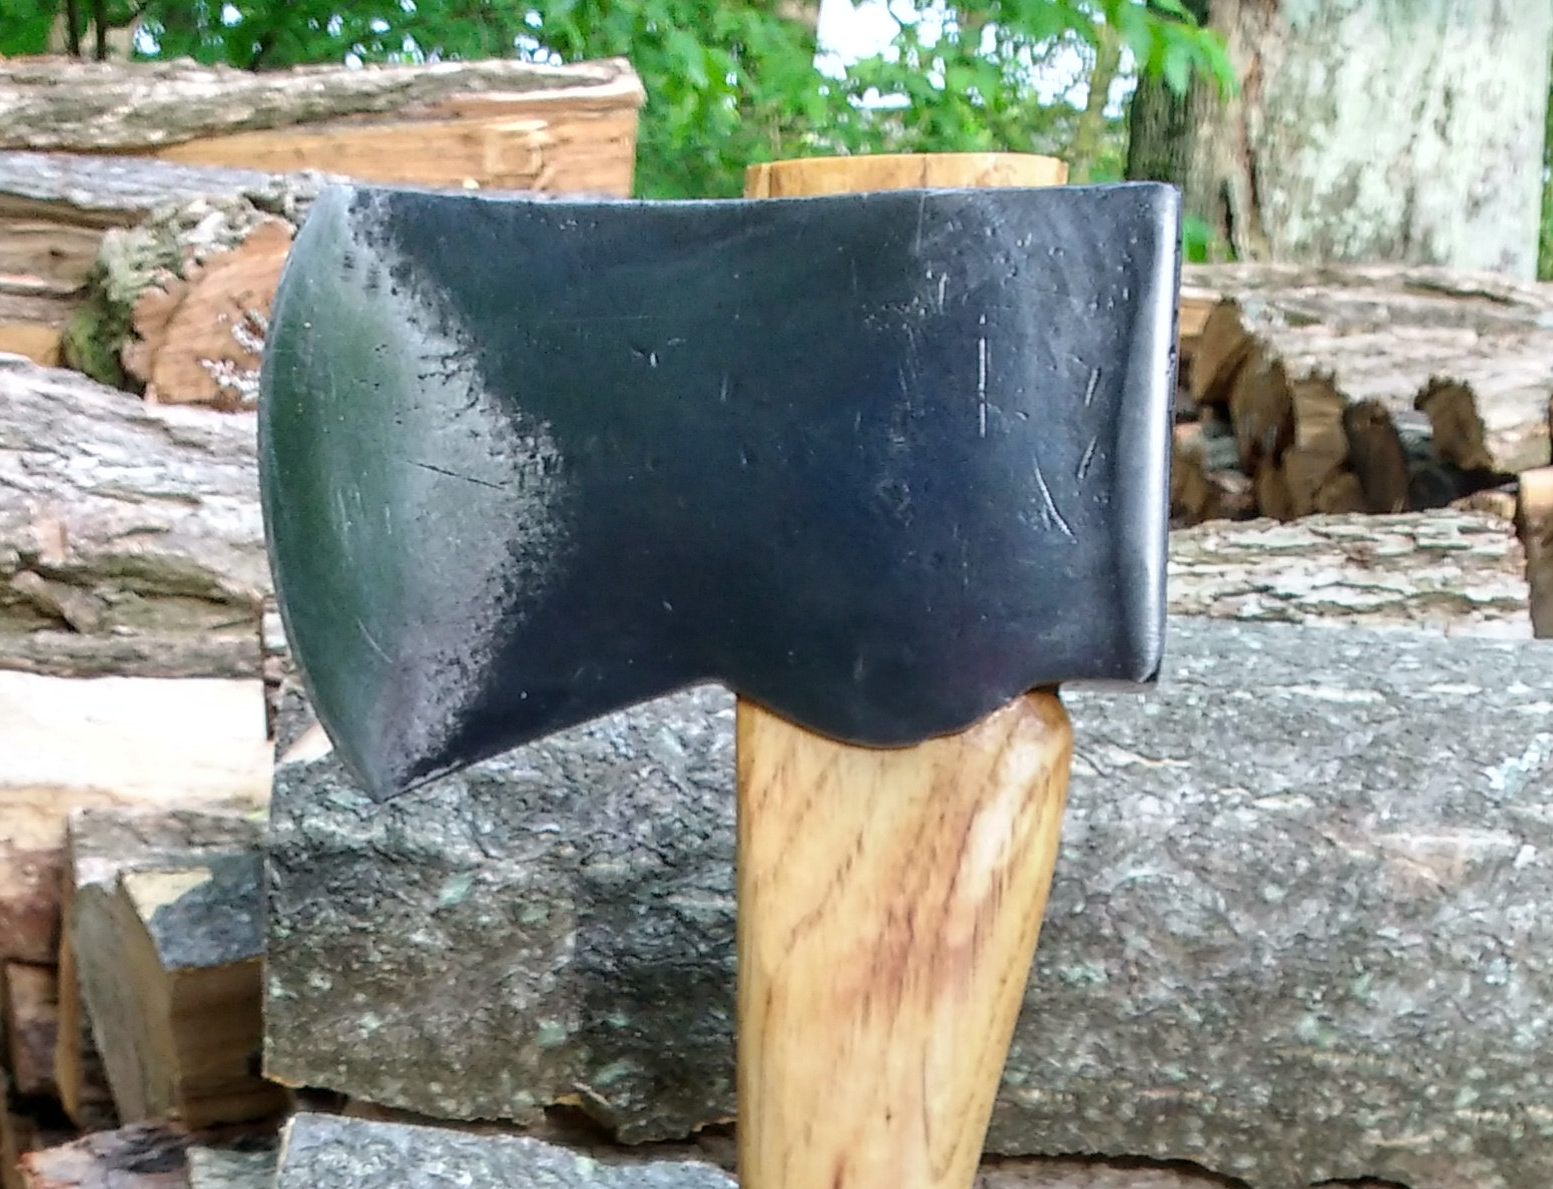
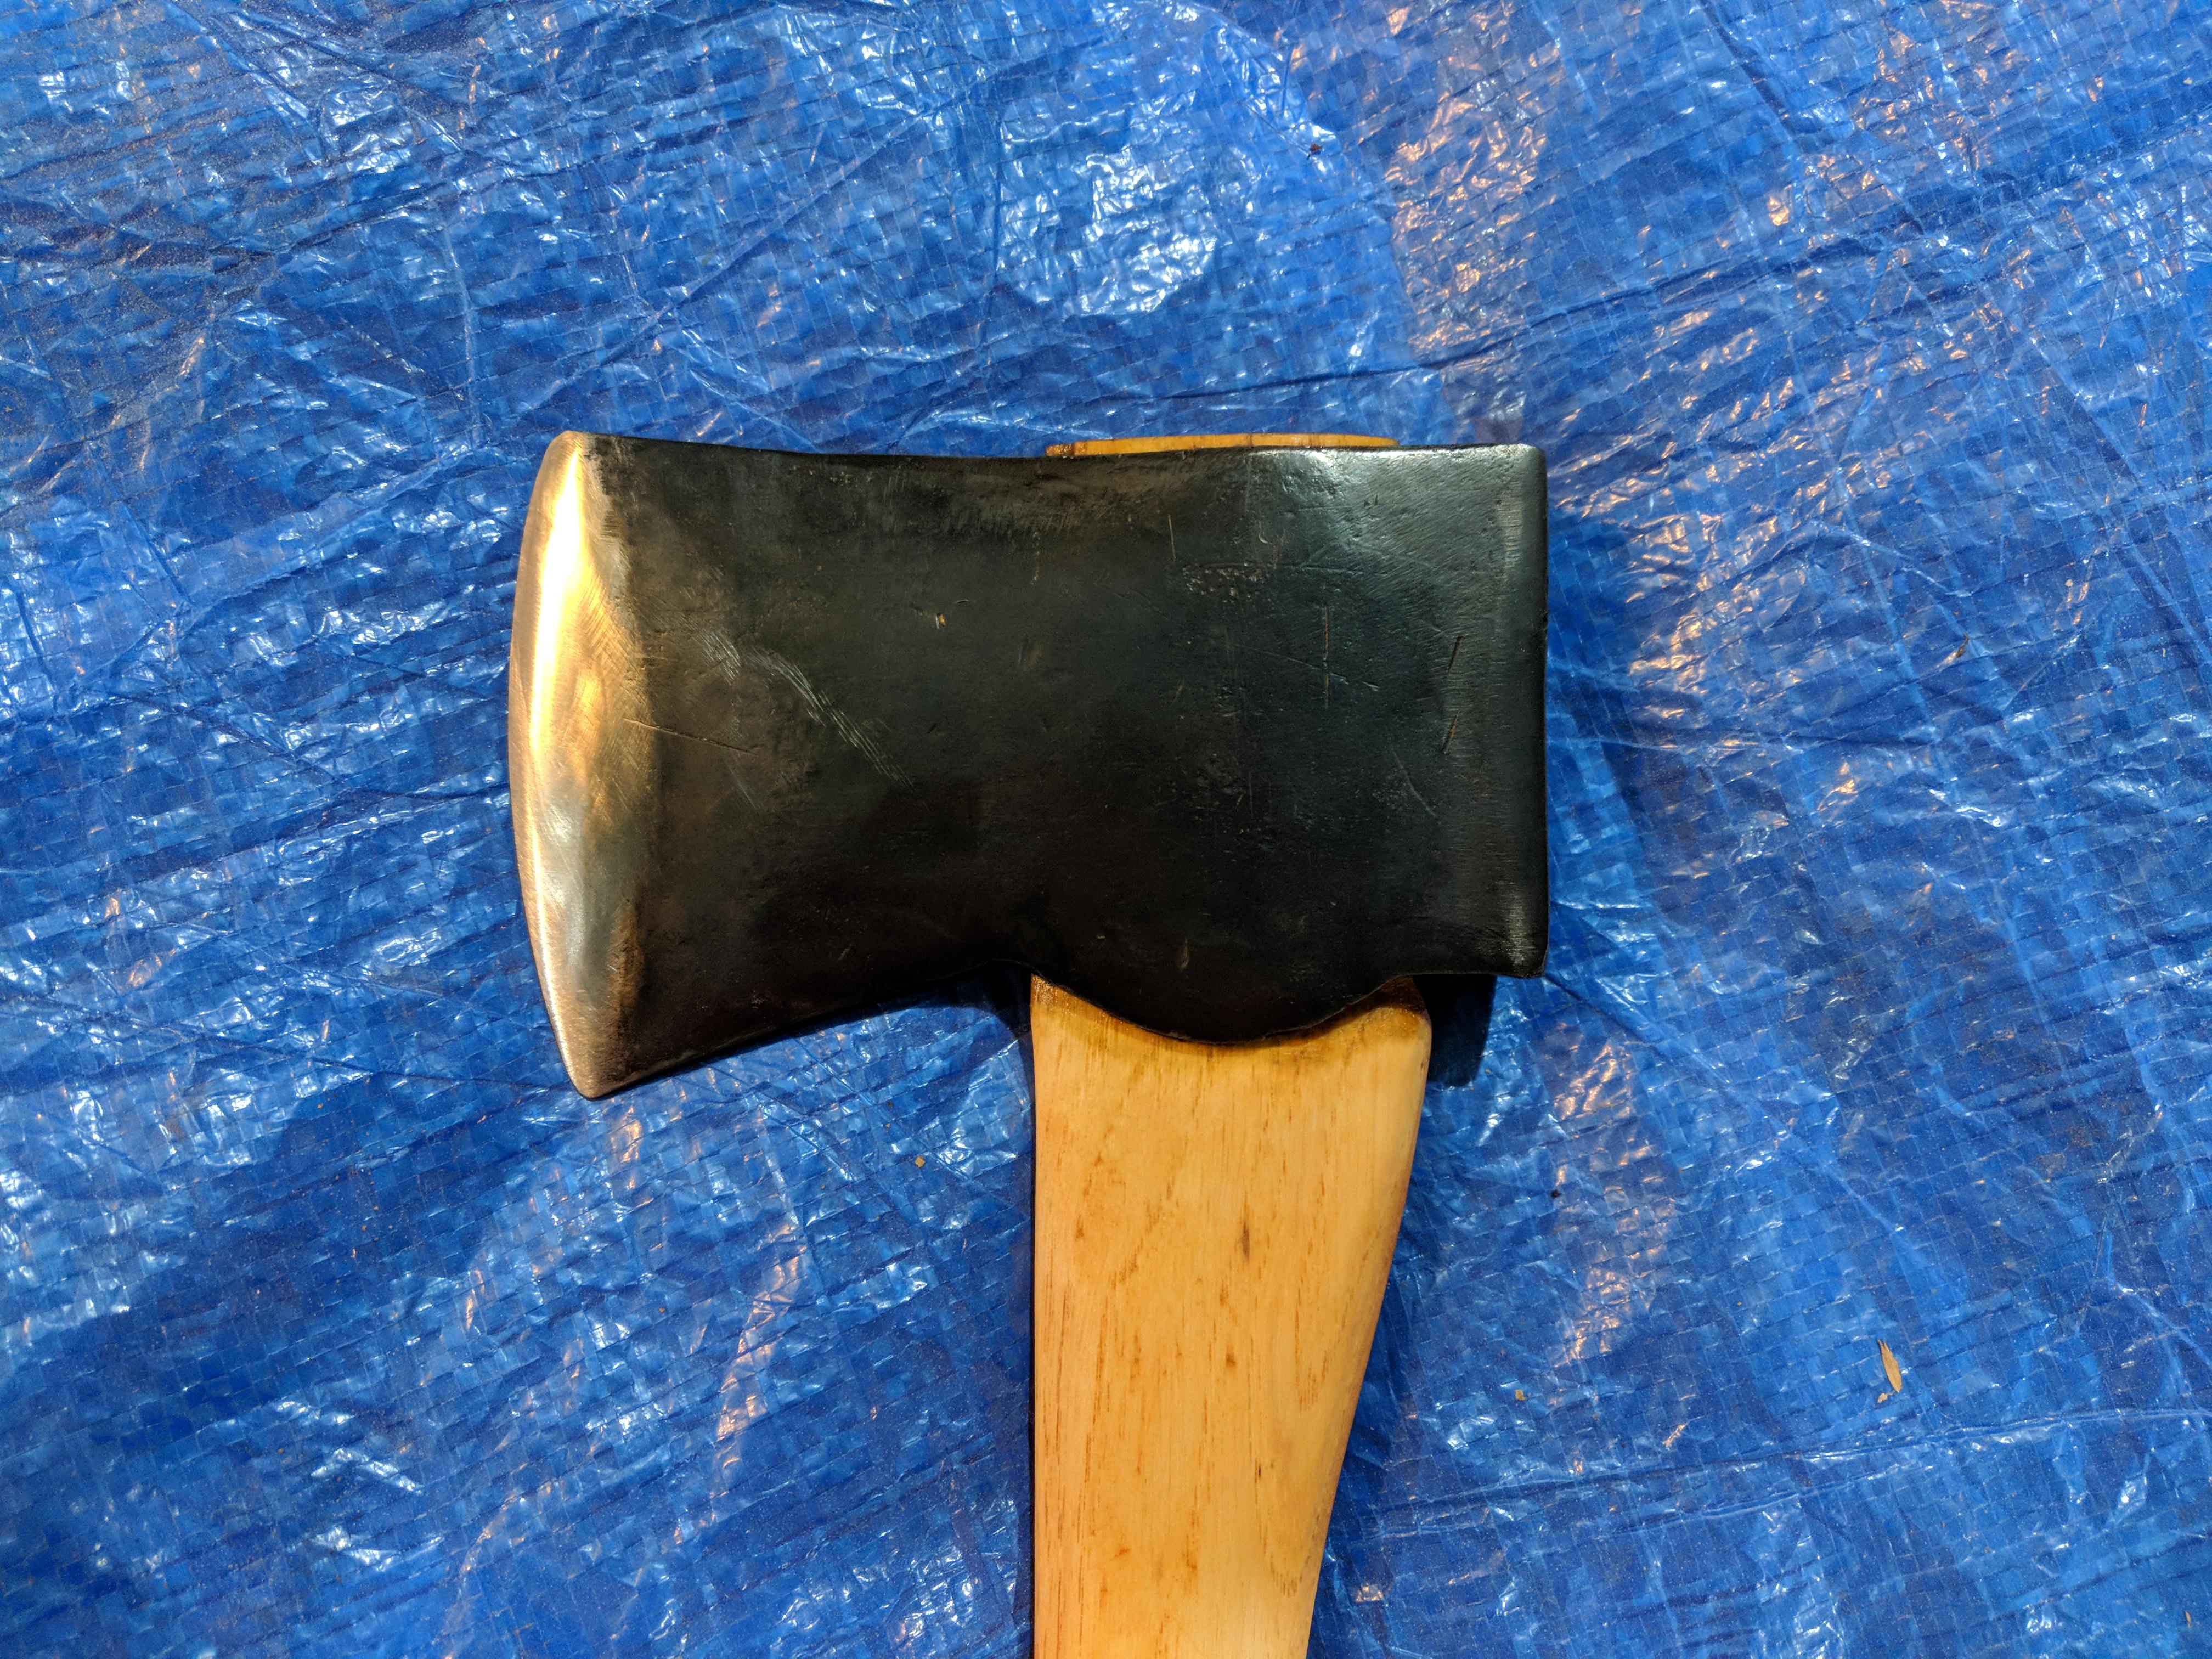
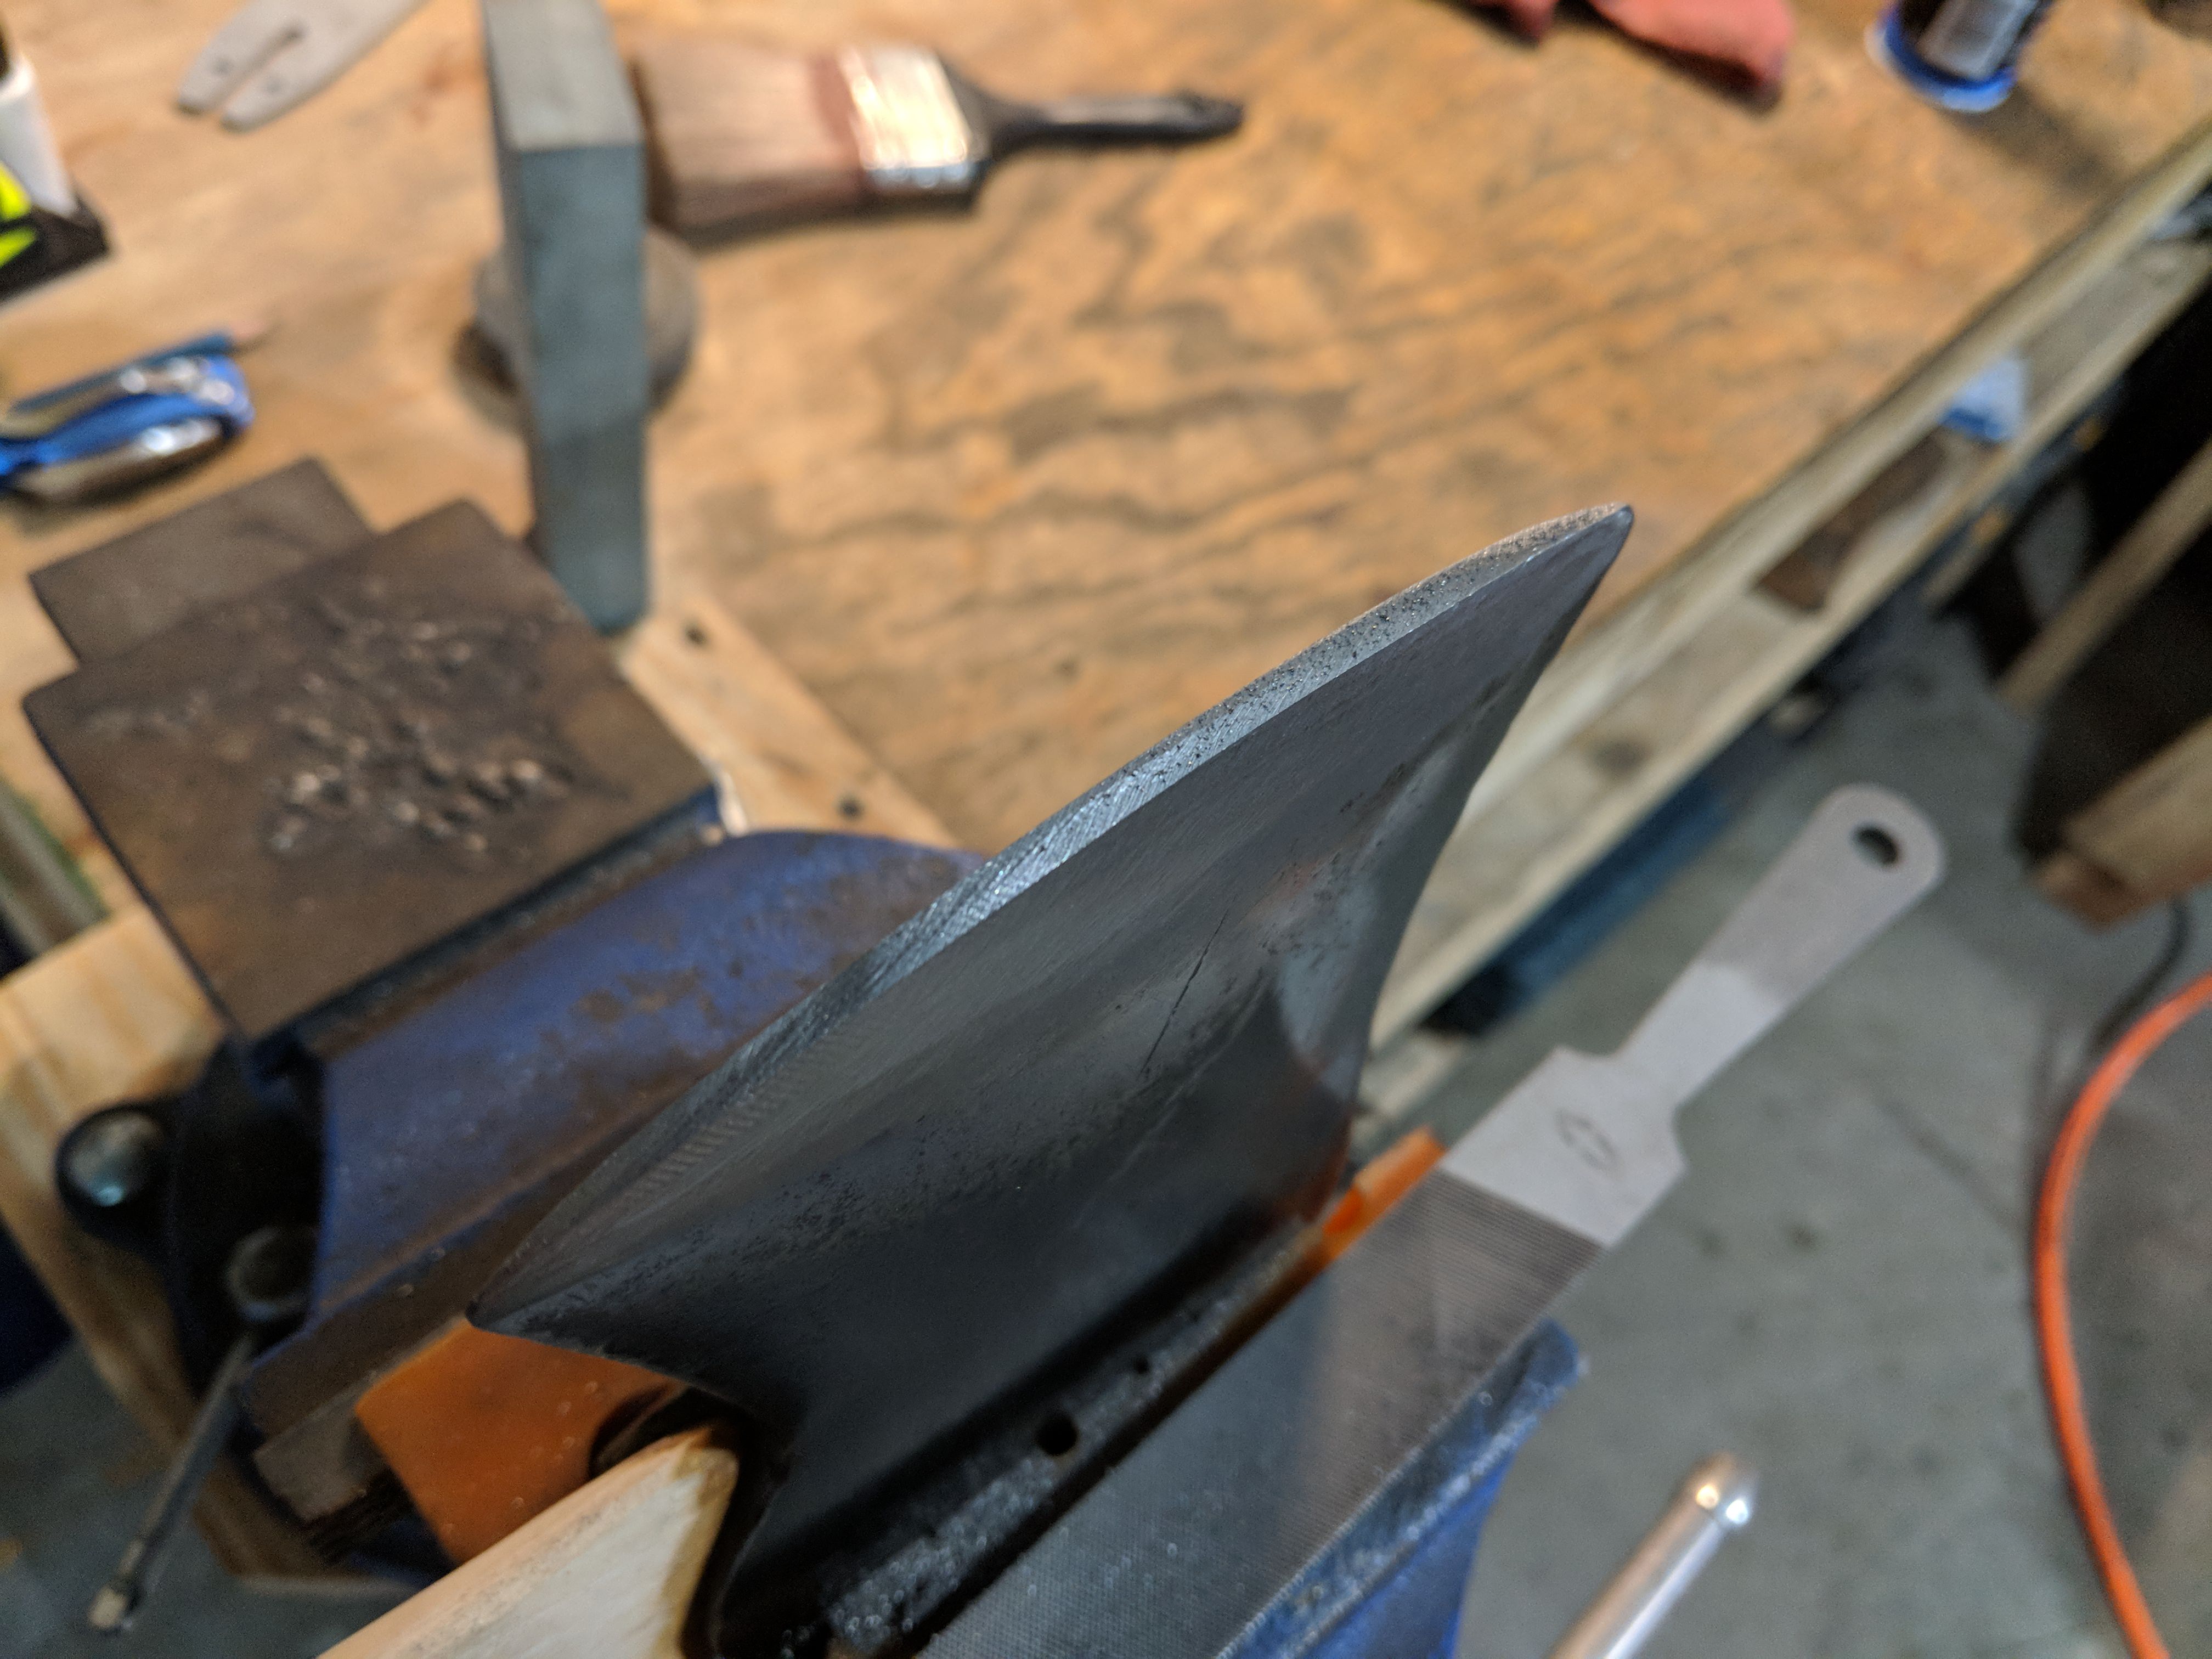
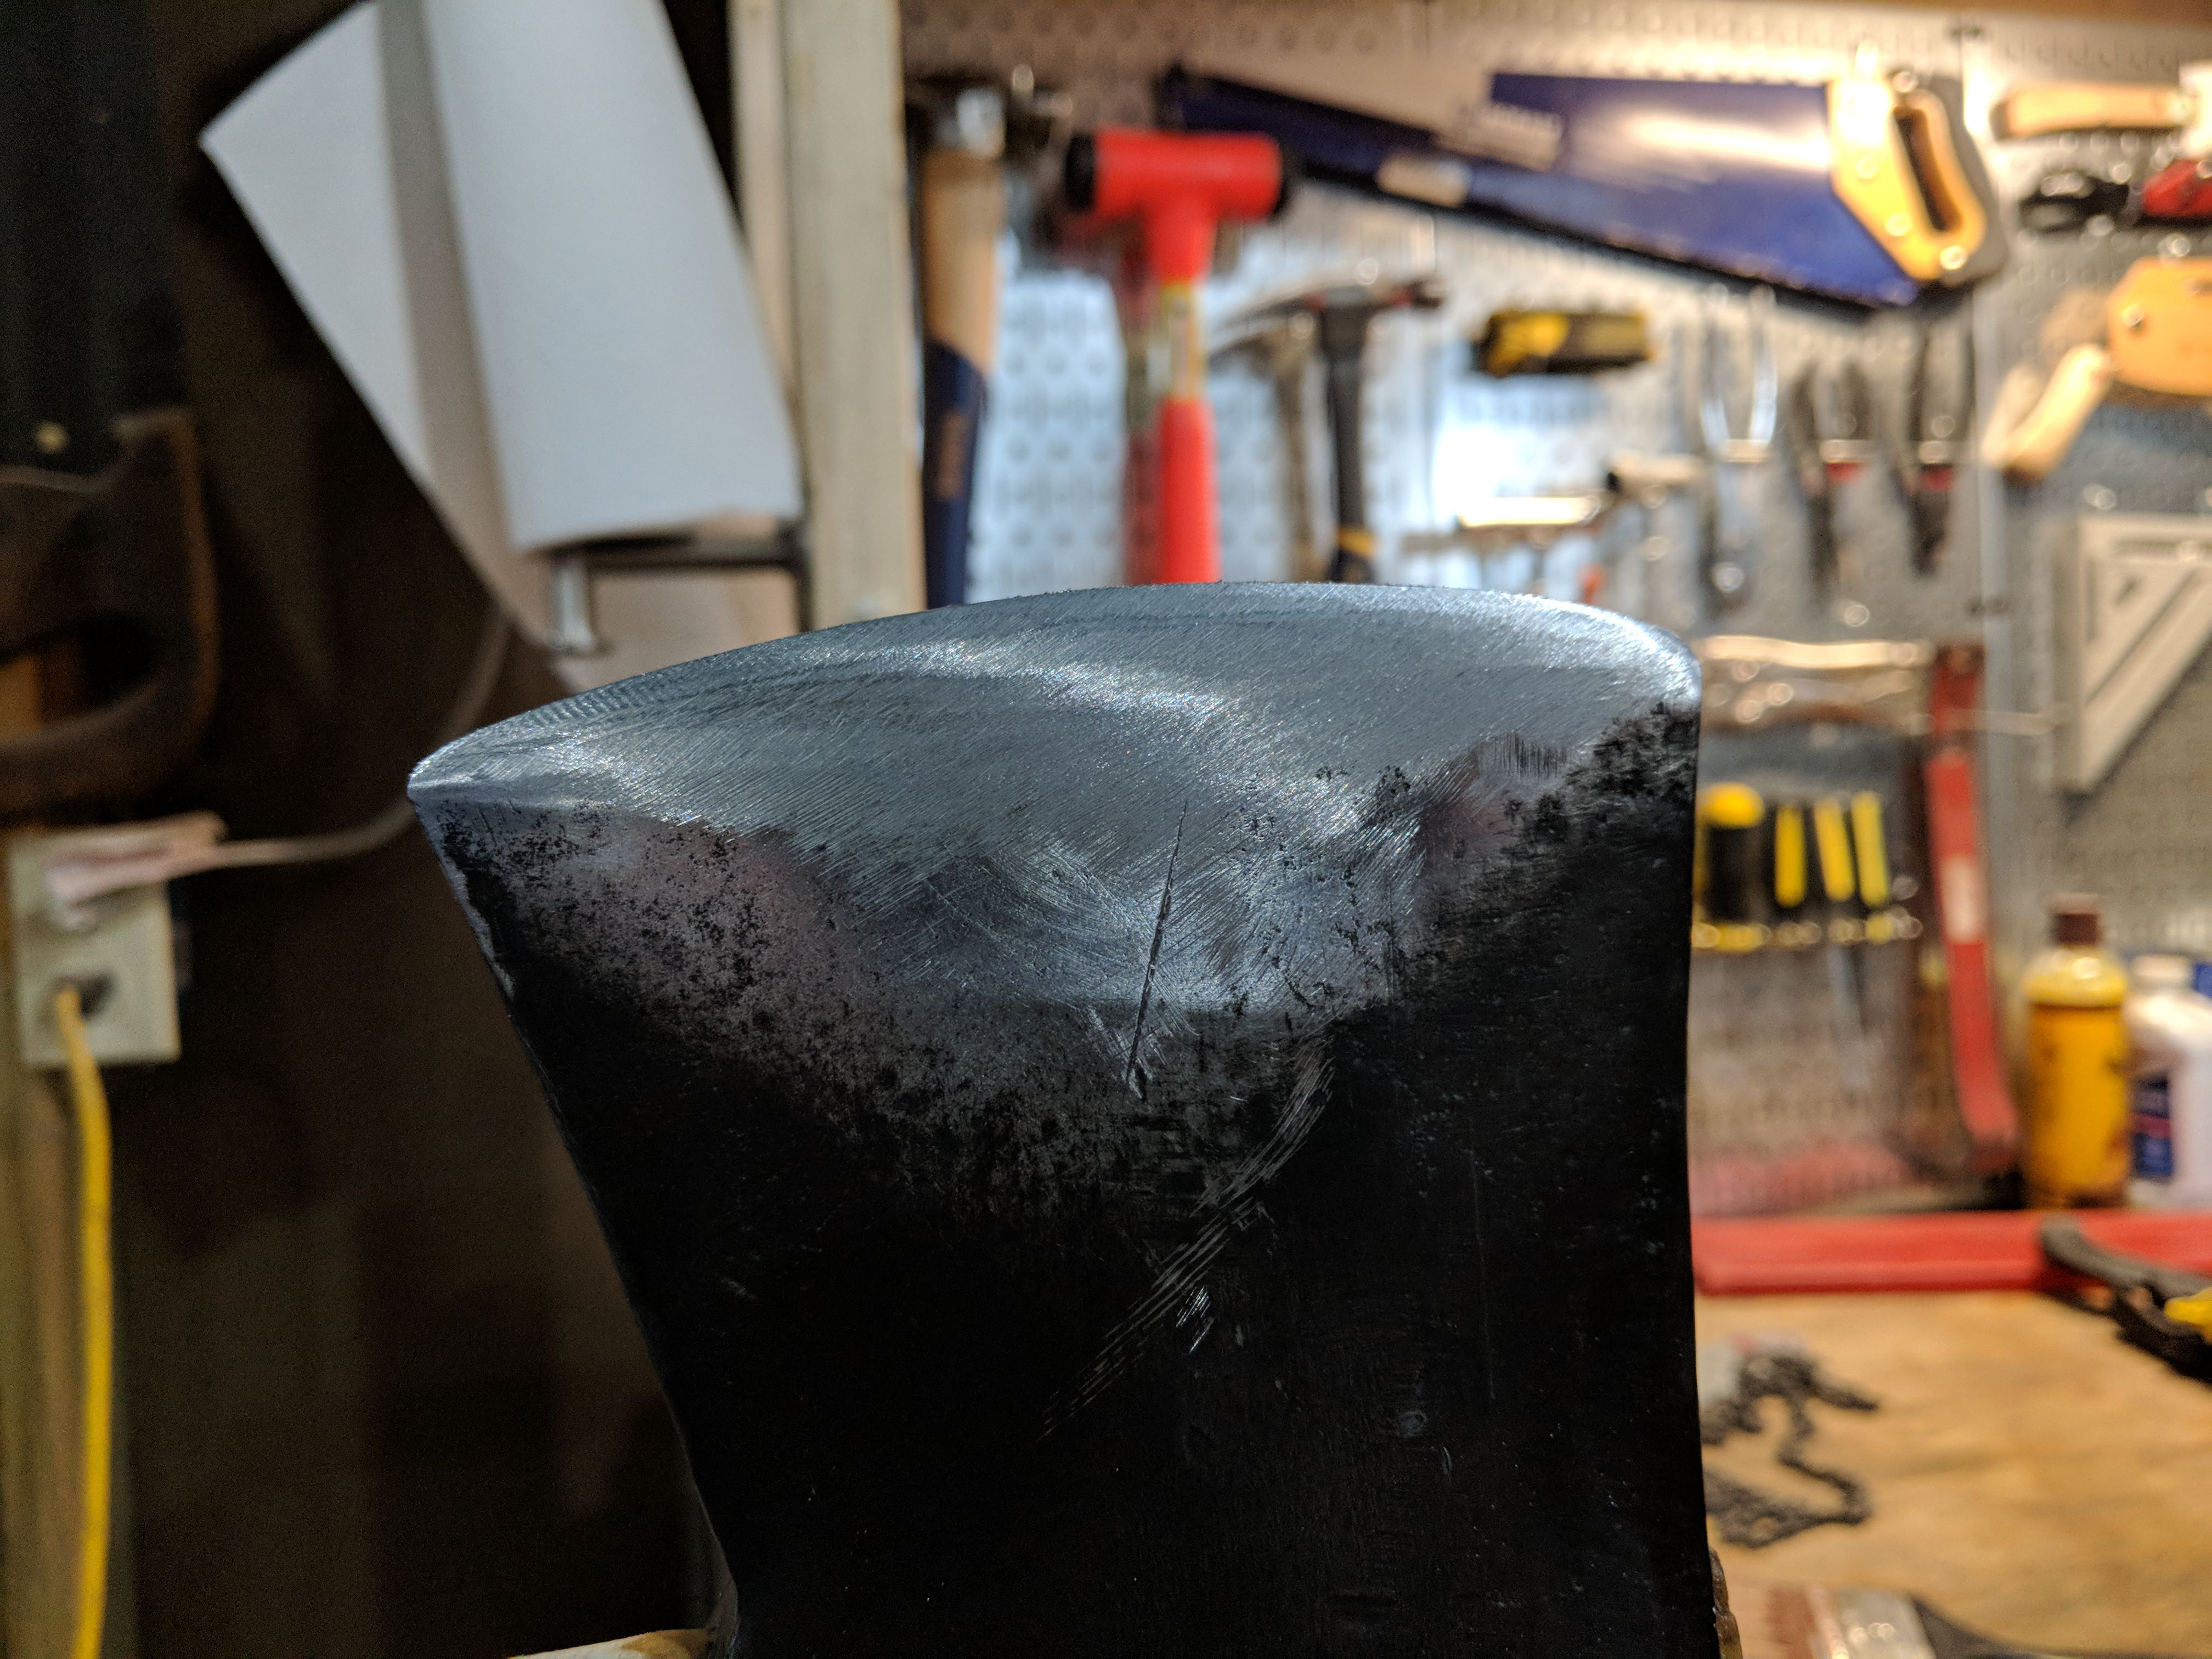
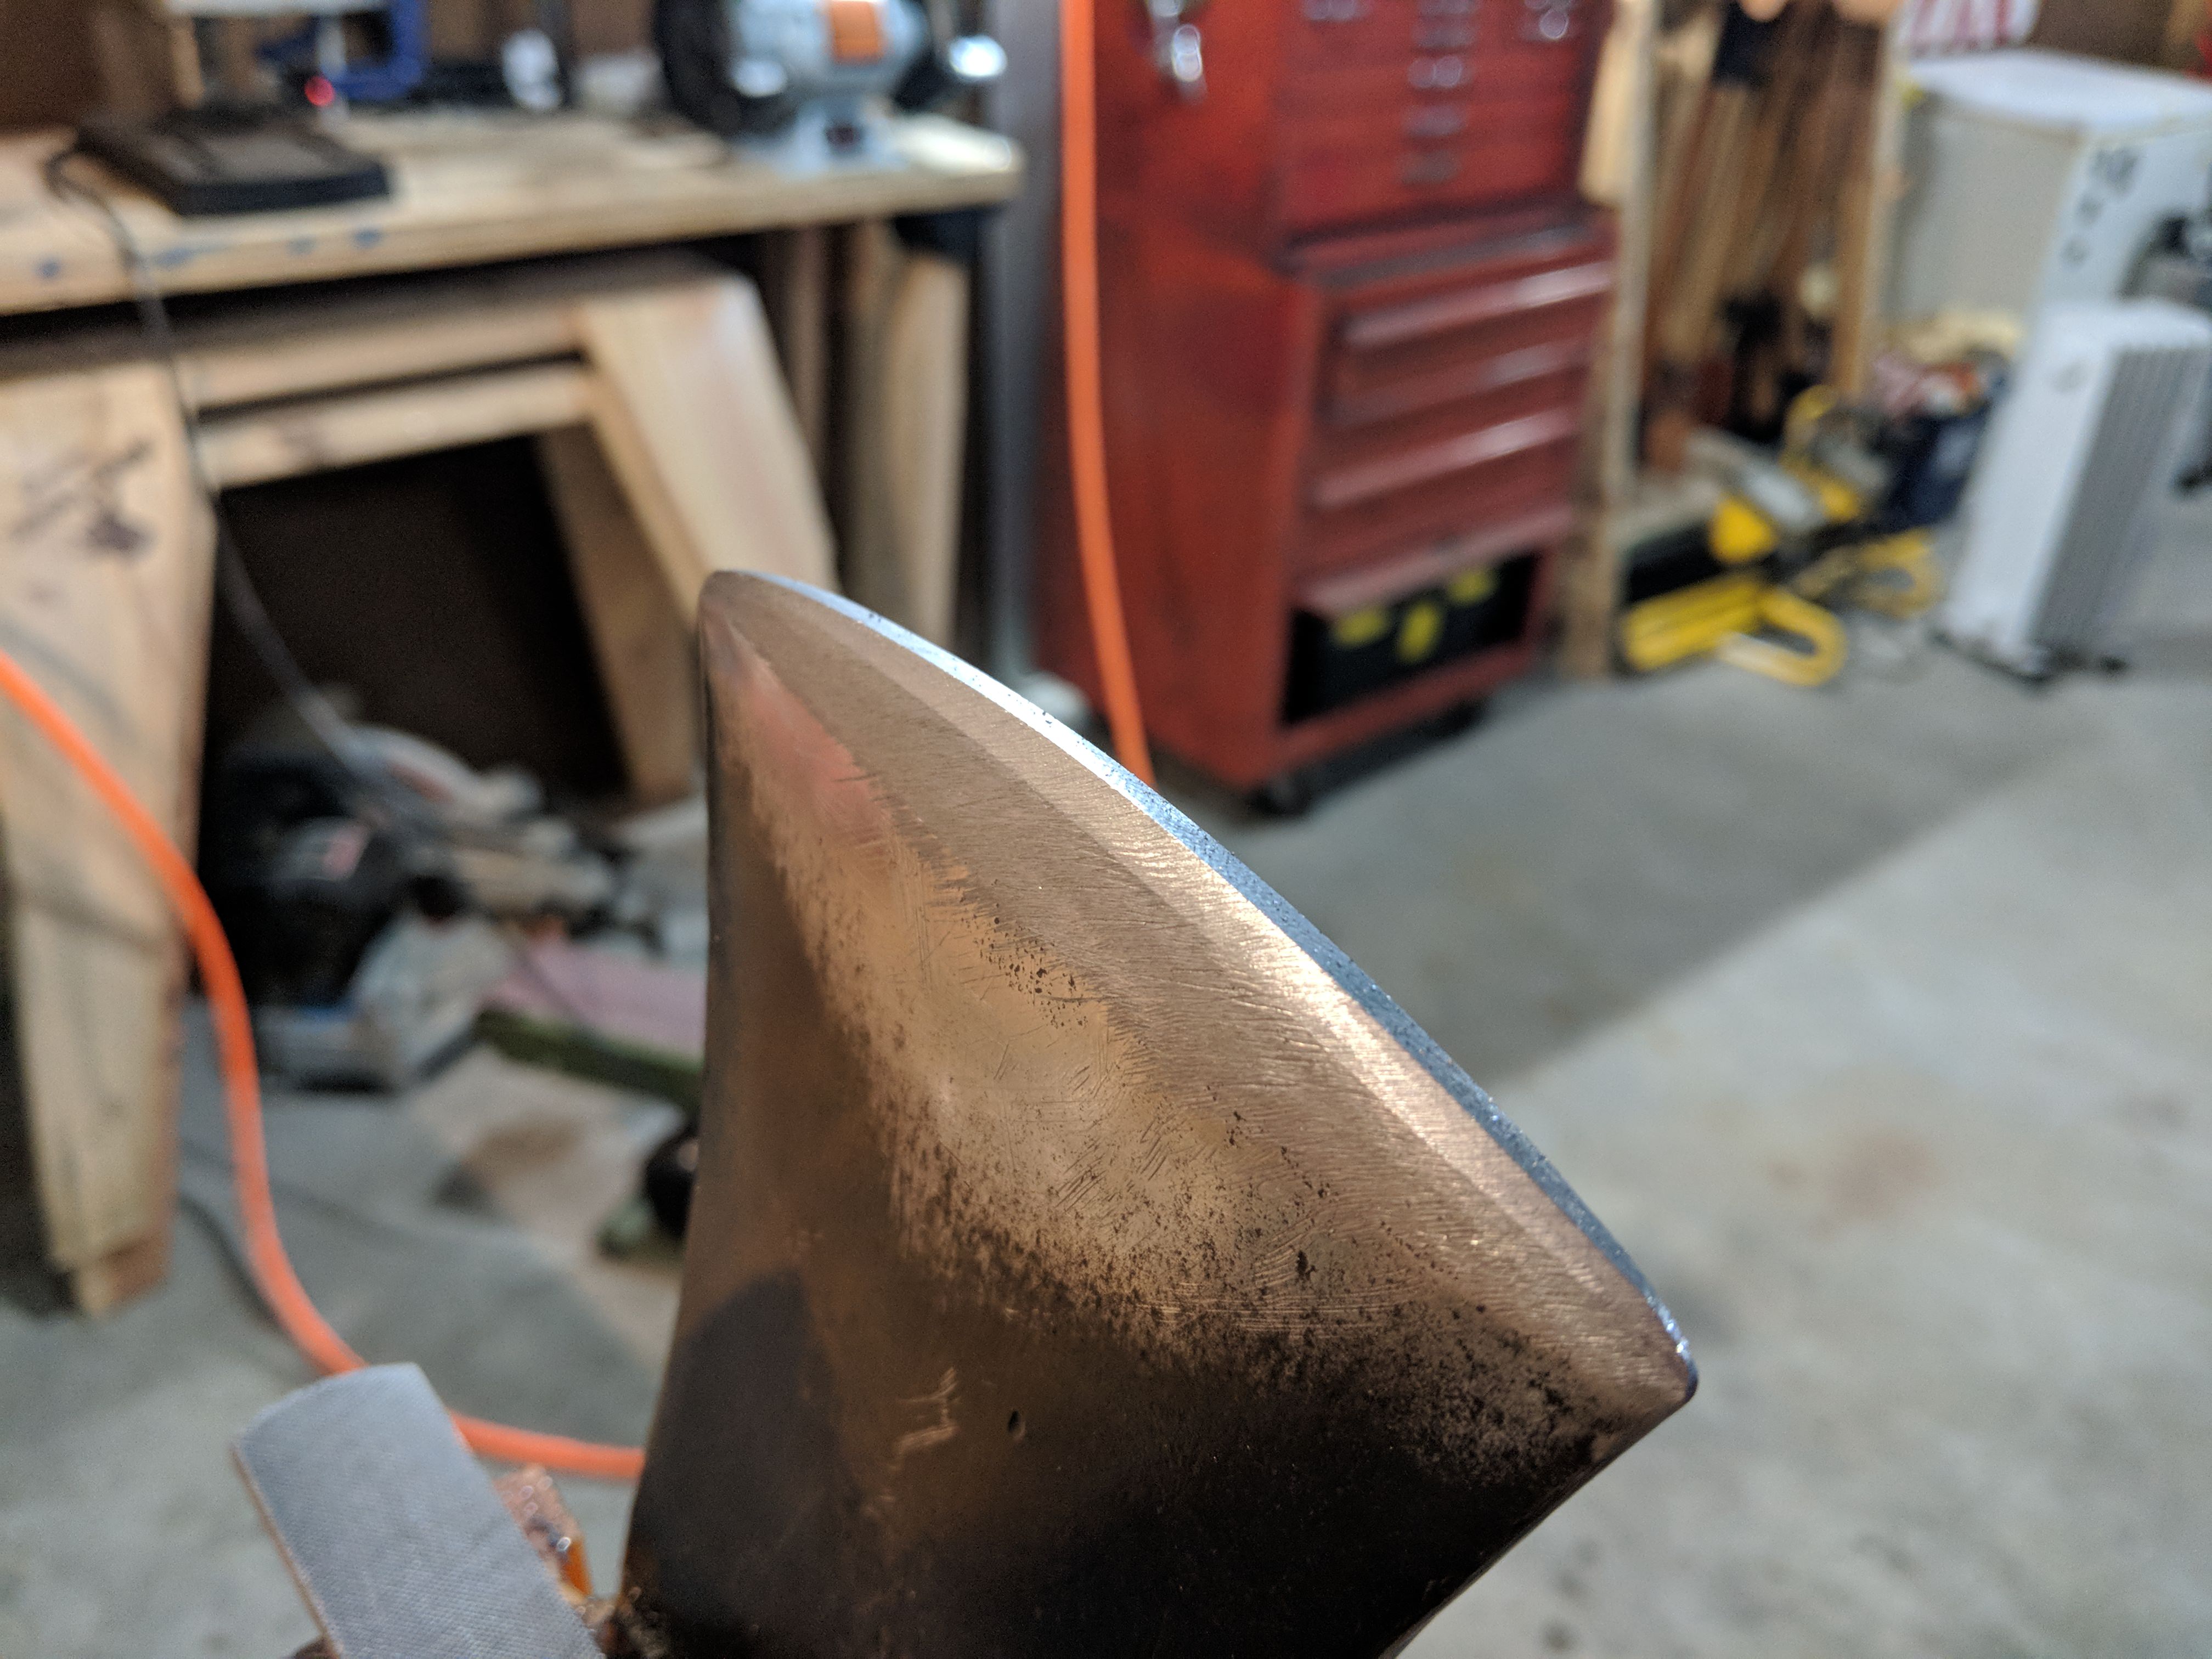
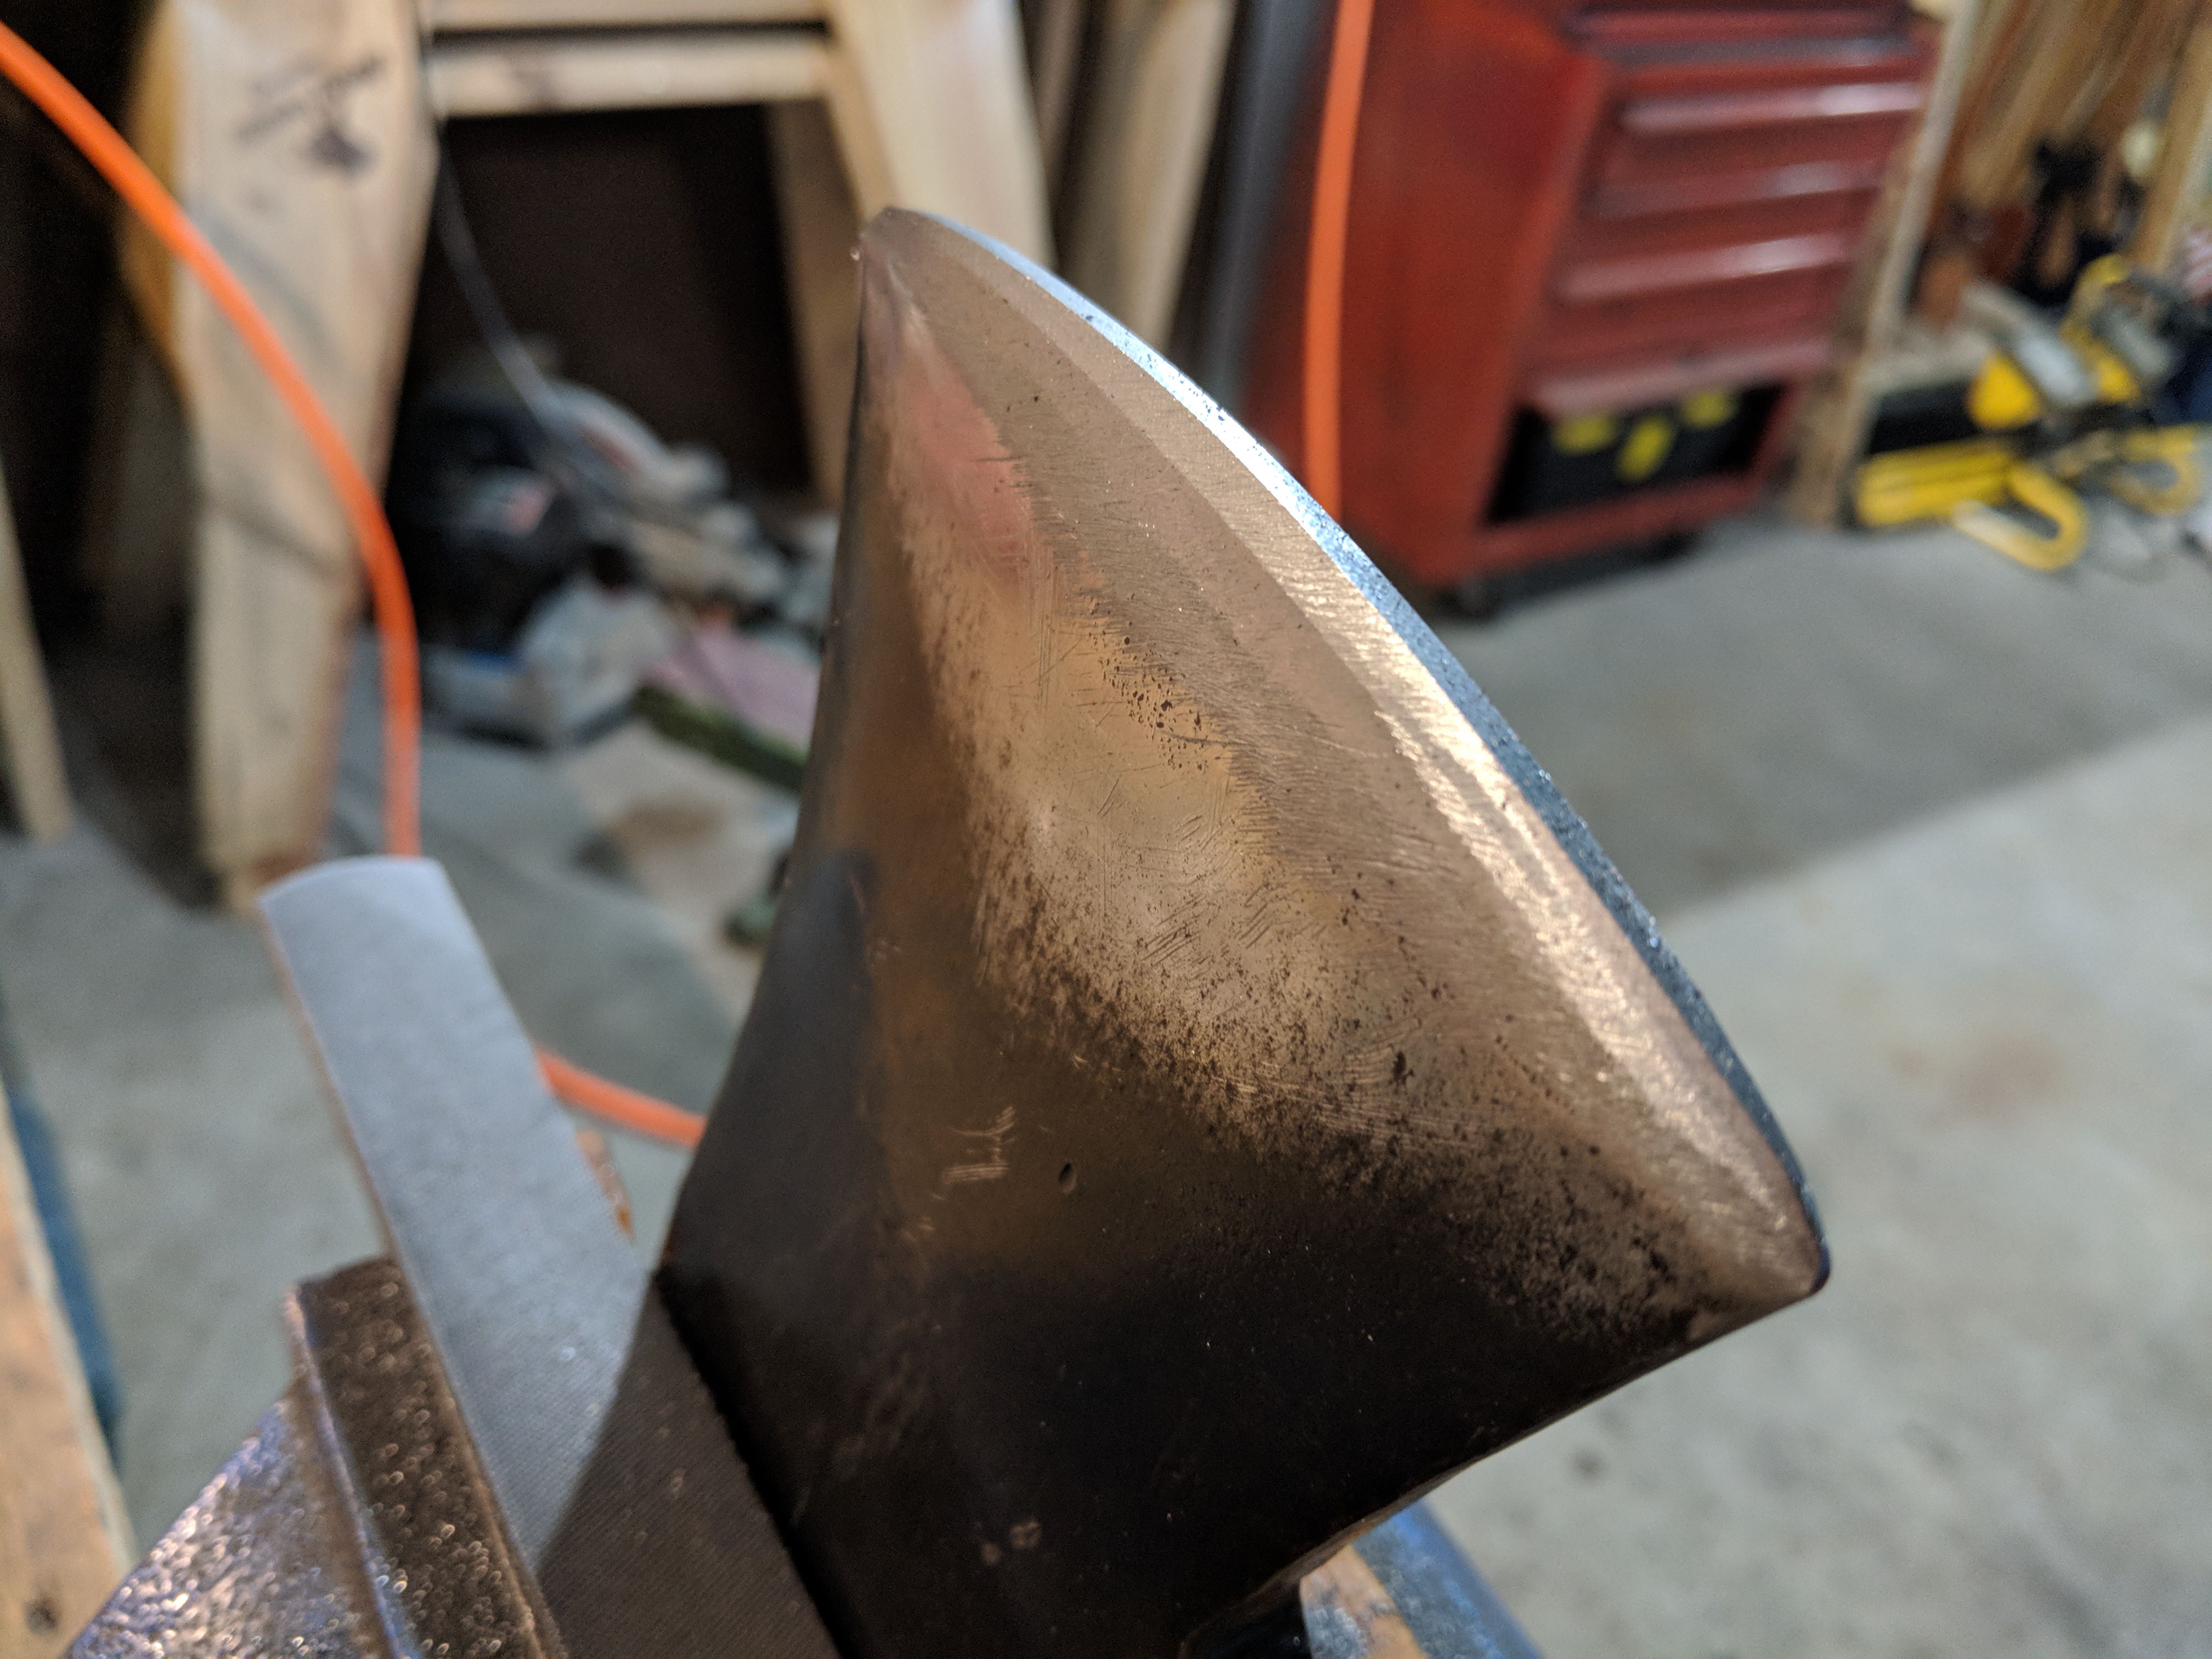
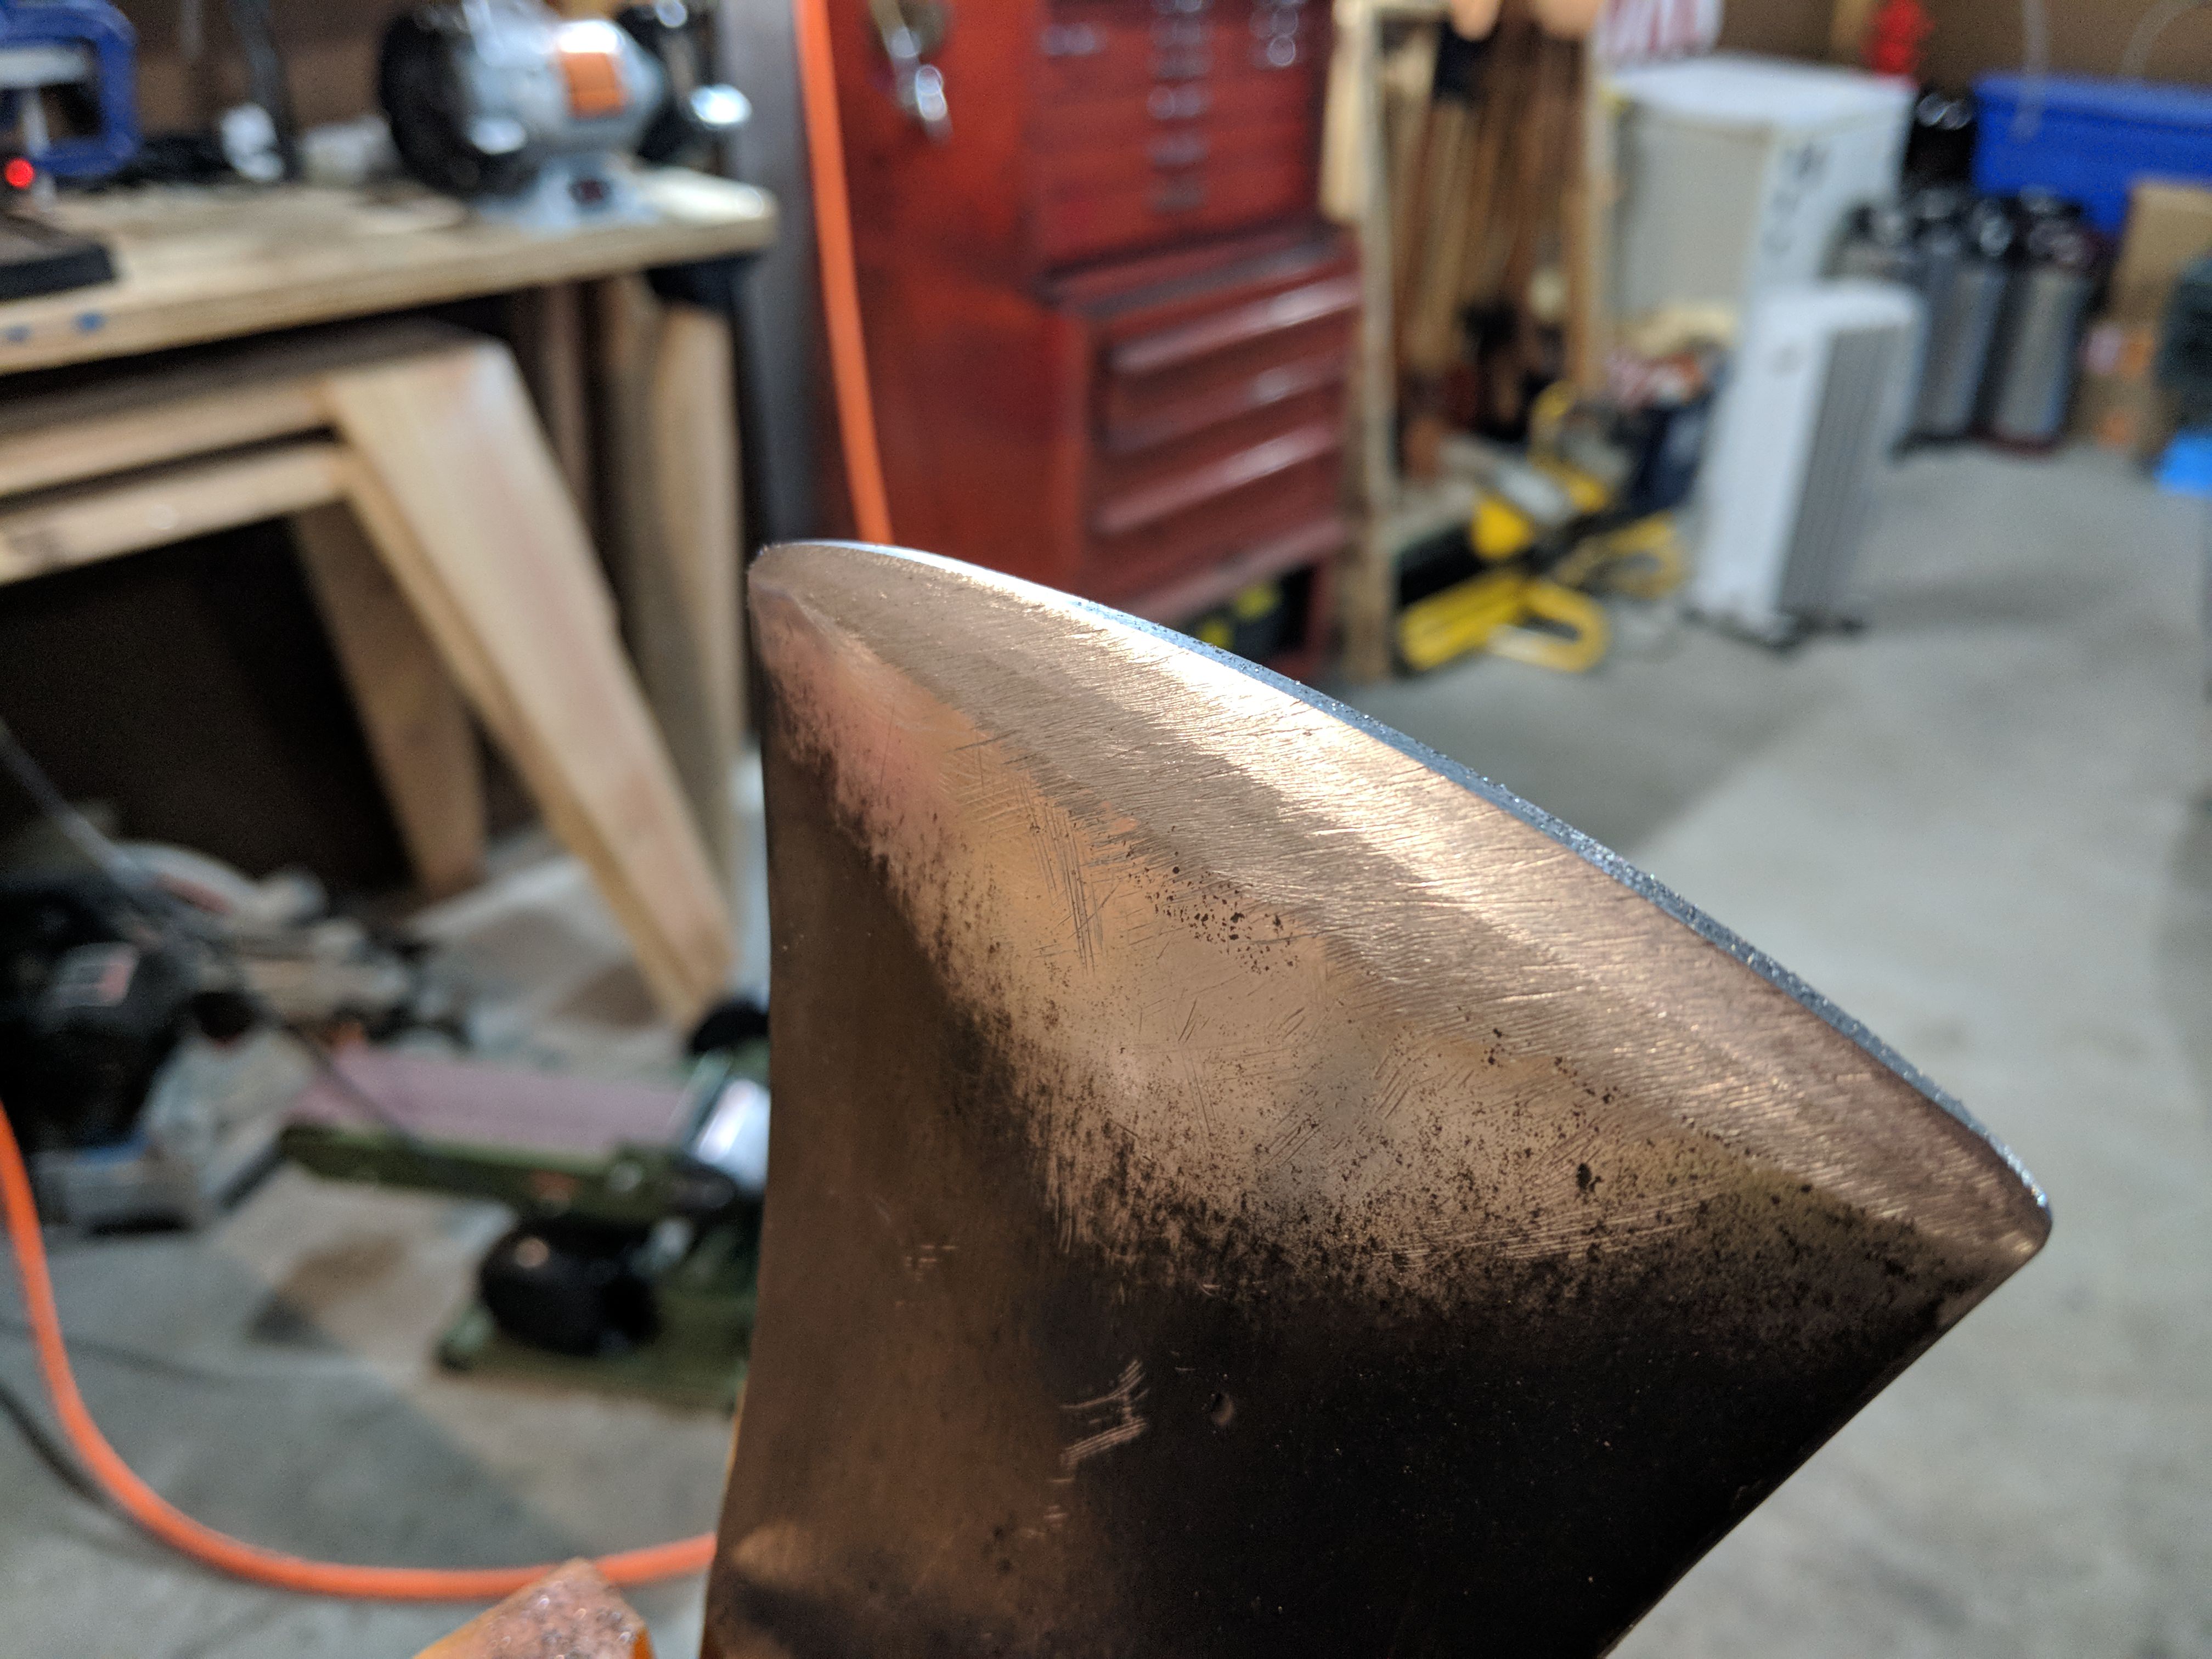
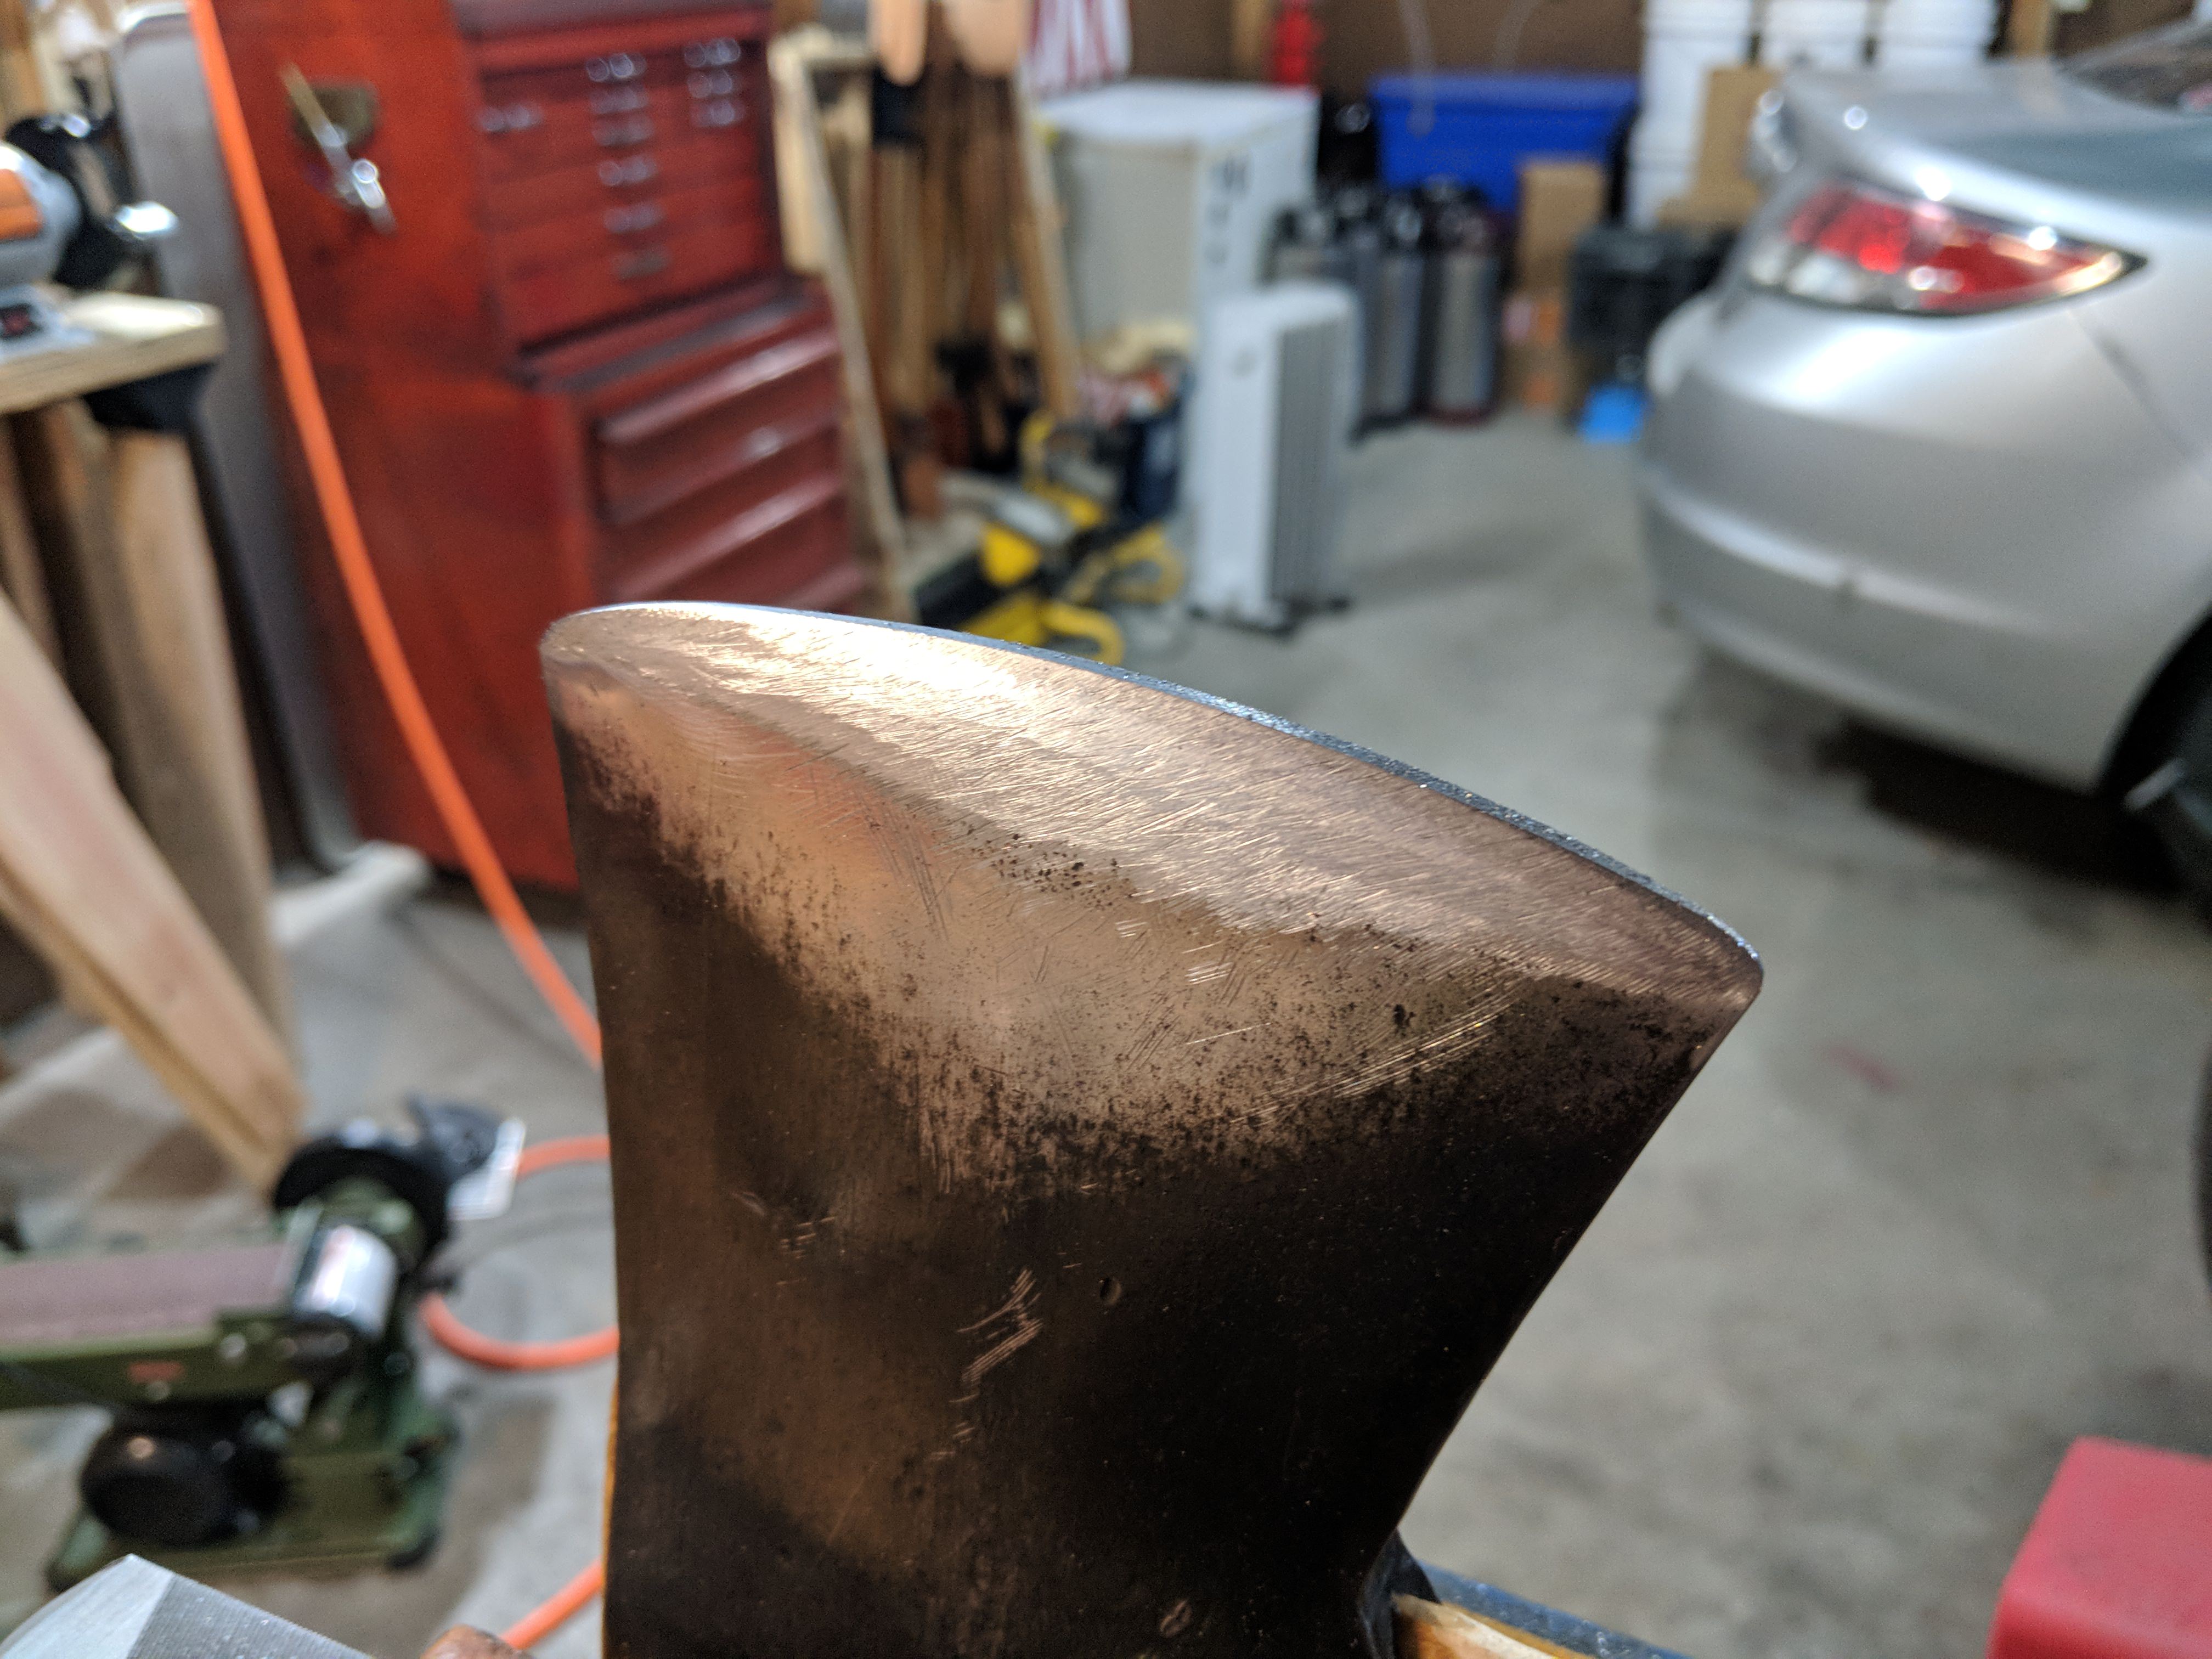
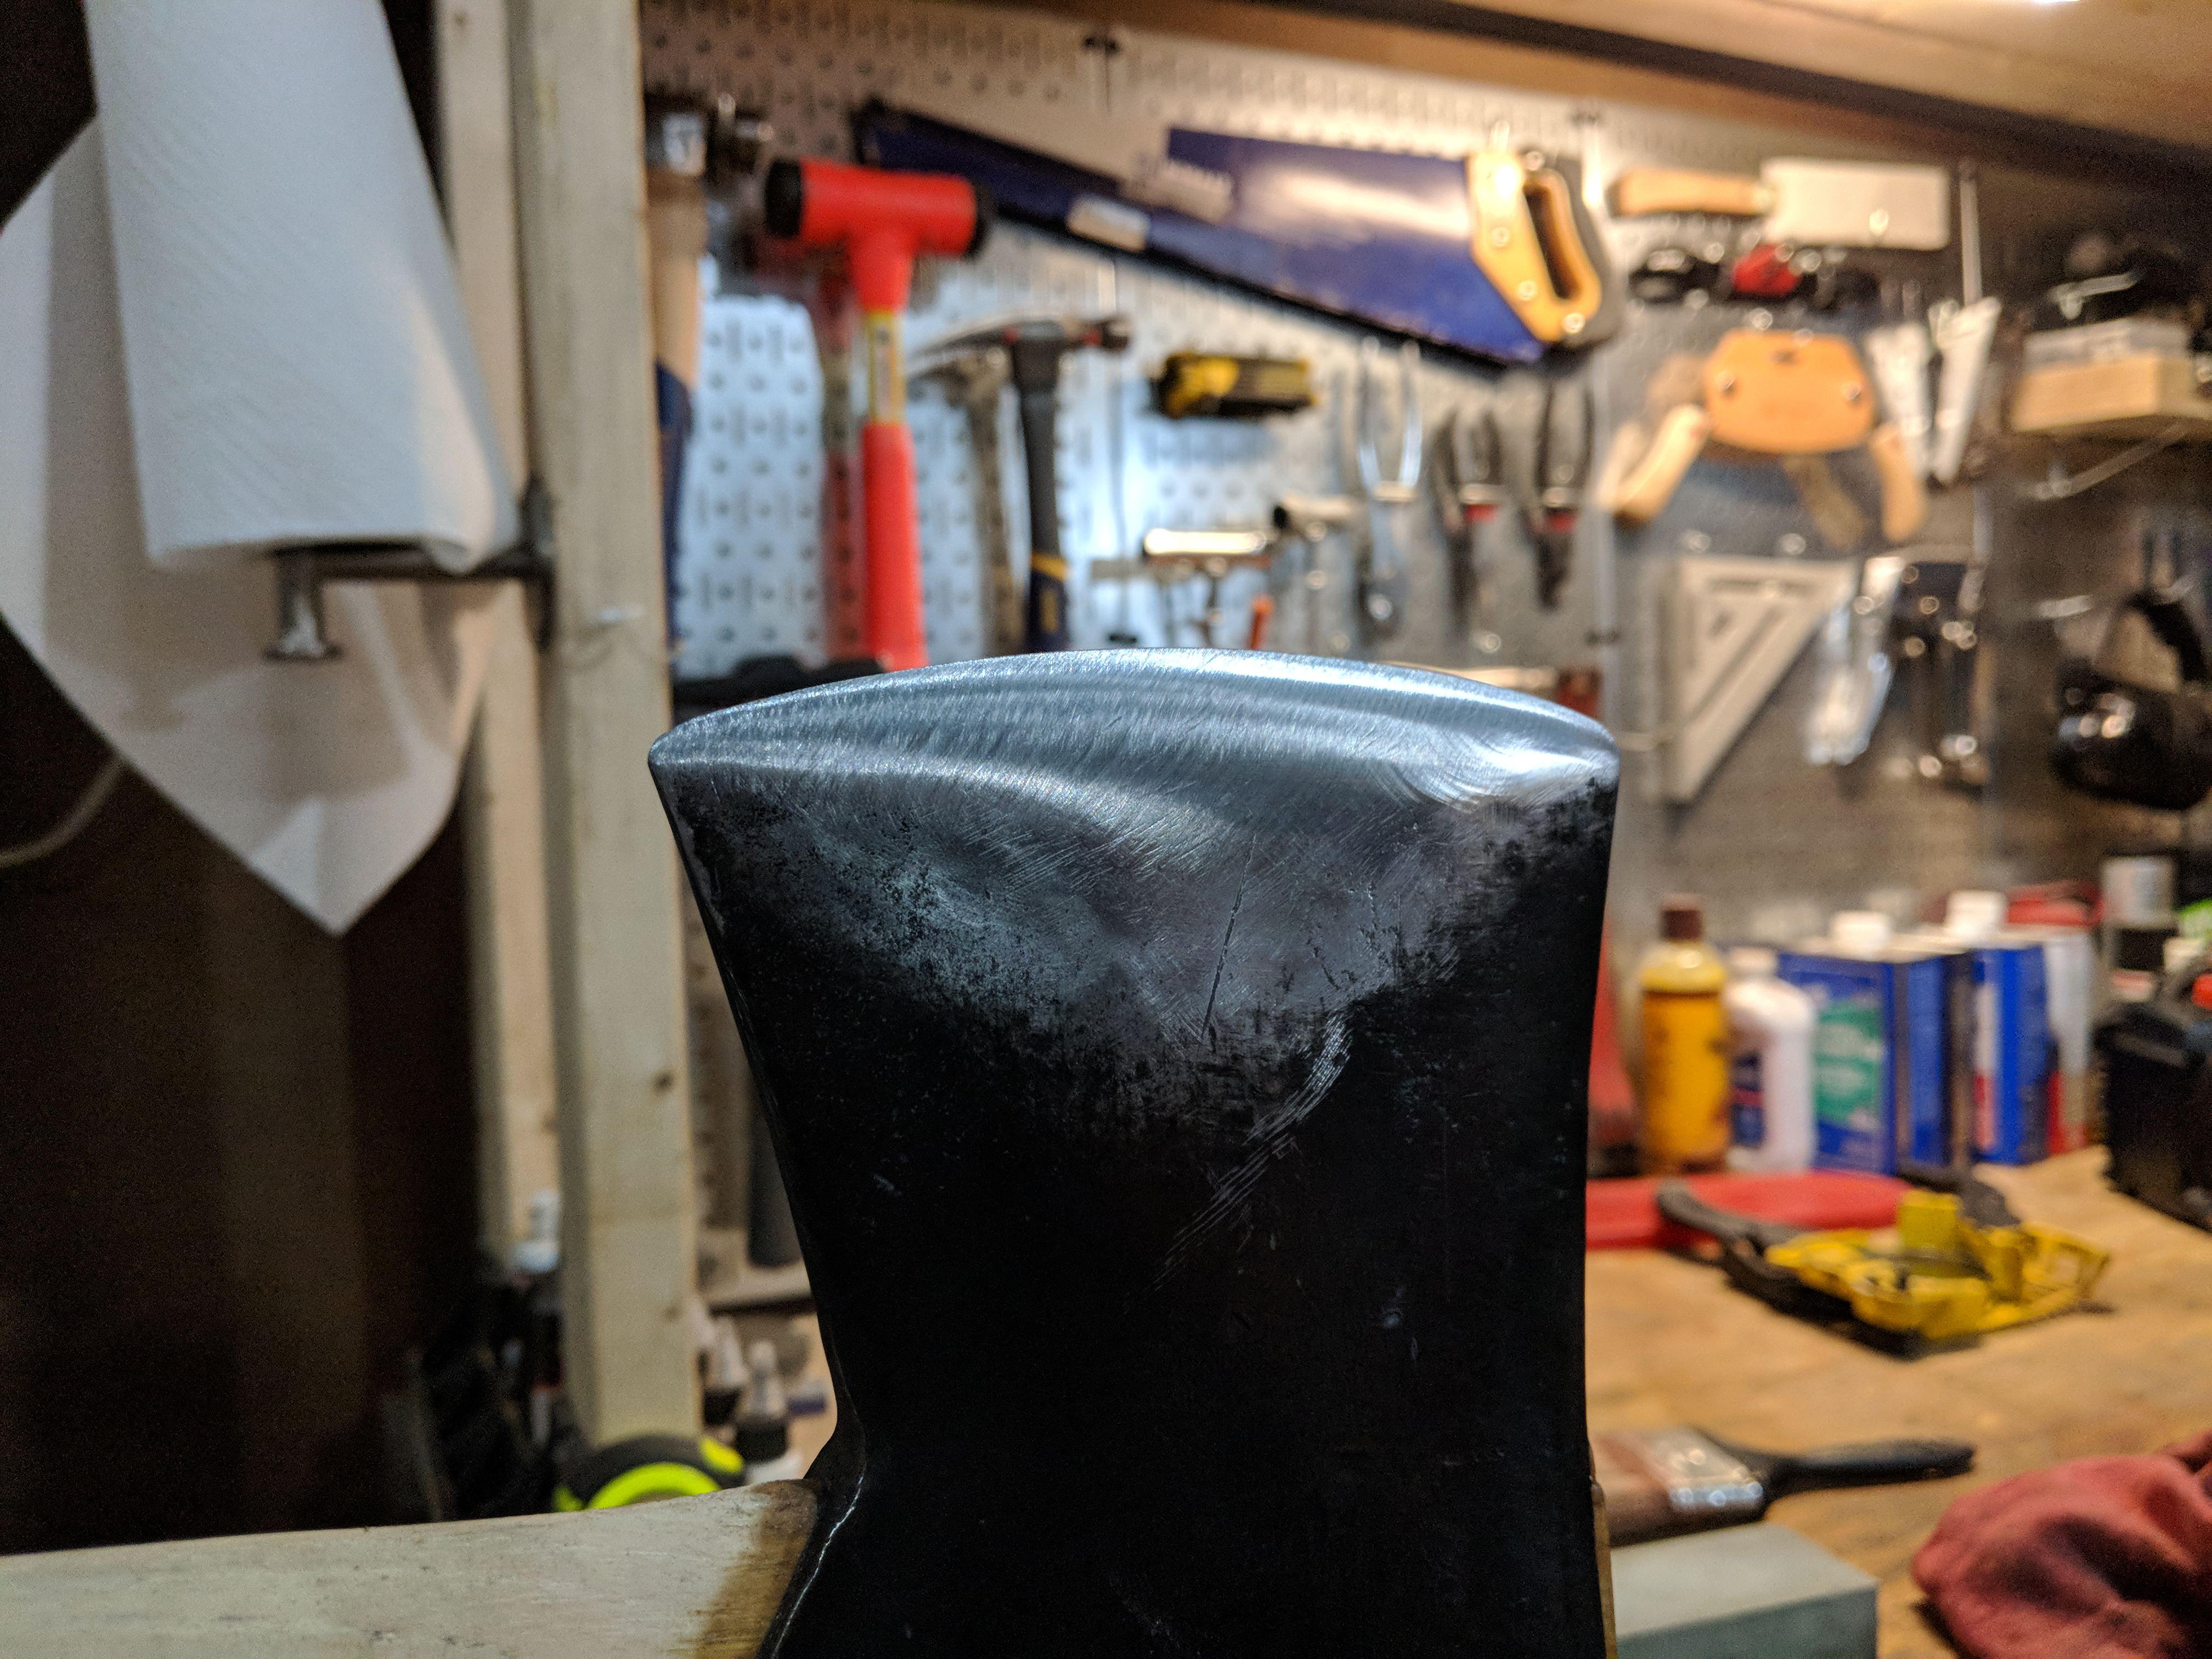
OK, this is something that I've been meaning to do for a while now - a tutorial on how to re-profile an axe that has either been damaged or improperly ground. In this case, it is an improper grind from an old axe. This old Shapleigh Hardware Diamond Edge was one of my earlier restorations, and while I like the axe, I do not like using it. Its handle is way too thick, and needed to be thinned out and sculpted to my grip, and the bit profile was improperly ground. You see this a lot on older axes that were used extensively. What happens, particularly with American axes which have swelled cheeks, is that re-sharpening over time causes a semi-circular shape in the grind. It will cut, but is more likely to get stuck, and if it is very extreme, only subjects a portion of the cutting edge to the work, as opposed to the full cutting edge. Not very effective for throwing chips and removing wood with strikes. Axe work is tasking, so making sure the tool works as efficiently as possible is paramount. Keeping it in serviceable condition facilitates this.

Here is the hemispherical grind on my old Shapleigh Hardware 4.5 lb felling axe:
s2hW0SN.png


Here it as after I corrected it:
1S5PsvJ.jpg


In order to correct the radius, you'll have to remove a substantial amount of material, essentially destroying the edge. As a rule of thumb, the radius should not exceed 1/4"-3/8" (6.35-9.52 mm) in difference from heel-to-toe to the apex of the arc. Doing so will remove a lot of material, and you'll notice the varying thickess in the bit from the heel/toe and the center where the cheeks swell:
iRhoLJO.jpg


The idea is to evenly thin out the bit taking more material away from the center cheeks, keeping the corrected and desired bit profile radius intact. Here is another view afer a few passes with the ******* file:
F4pKH74.jpg


To achieve this you need to file in a fashion where you remove more material from the center cheeks, cutting towards the back of the cheeks but feathering it outward to the heel and toe of the bit. This typically results in a "half-moon" or "banana" shape from the filing cuts (Again, speaking in terms of American pattern axes). The cheeks have more material removed to evenly thin out the bit which is feathered out to the heel and toe and creates this shape. You can see this here as I'm just starting to work on the grind:
C4xQmqN.jpg


To do this, here is how I approach it. First start in the center of the bit, where you want to remove more of the material (remember, the heel and toe are thinner, so if you file on them first or more often, it will create that hemispherical shape to the bit) -start near the center and work your angle until it is established, then spread it out to the heel and toe like so:
MFAQgVy.jpg


Next, start to file below the angle you just did starting near the center of the bit again and feather it out to the heel and toe. This creates a secondary bevel, thus smoothing out the the 'corner' of the angle you just filed. It's hard to tell, but you can sort of see it here:
zj3iYQC.jpg


From there you'll again file below the second bevel you just did, and in the same principal will round out the edge geometry rather than having it angular. Here it is after smoothing out a third bevel and pass with the file:
fBkA4J3.jpg


After this, or even a fourth pass, you can start to feather out the the grind starting in the center and going out towards the heel and toe of the bit, doing so will create the "half-moon" or "banana" shape as seen here:
5avcDNP.jpg


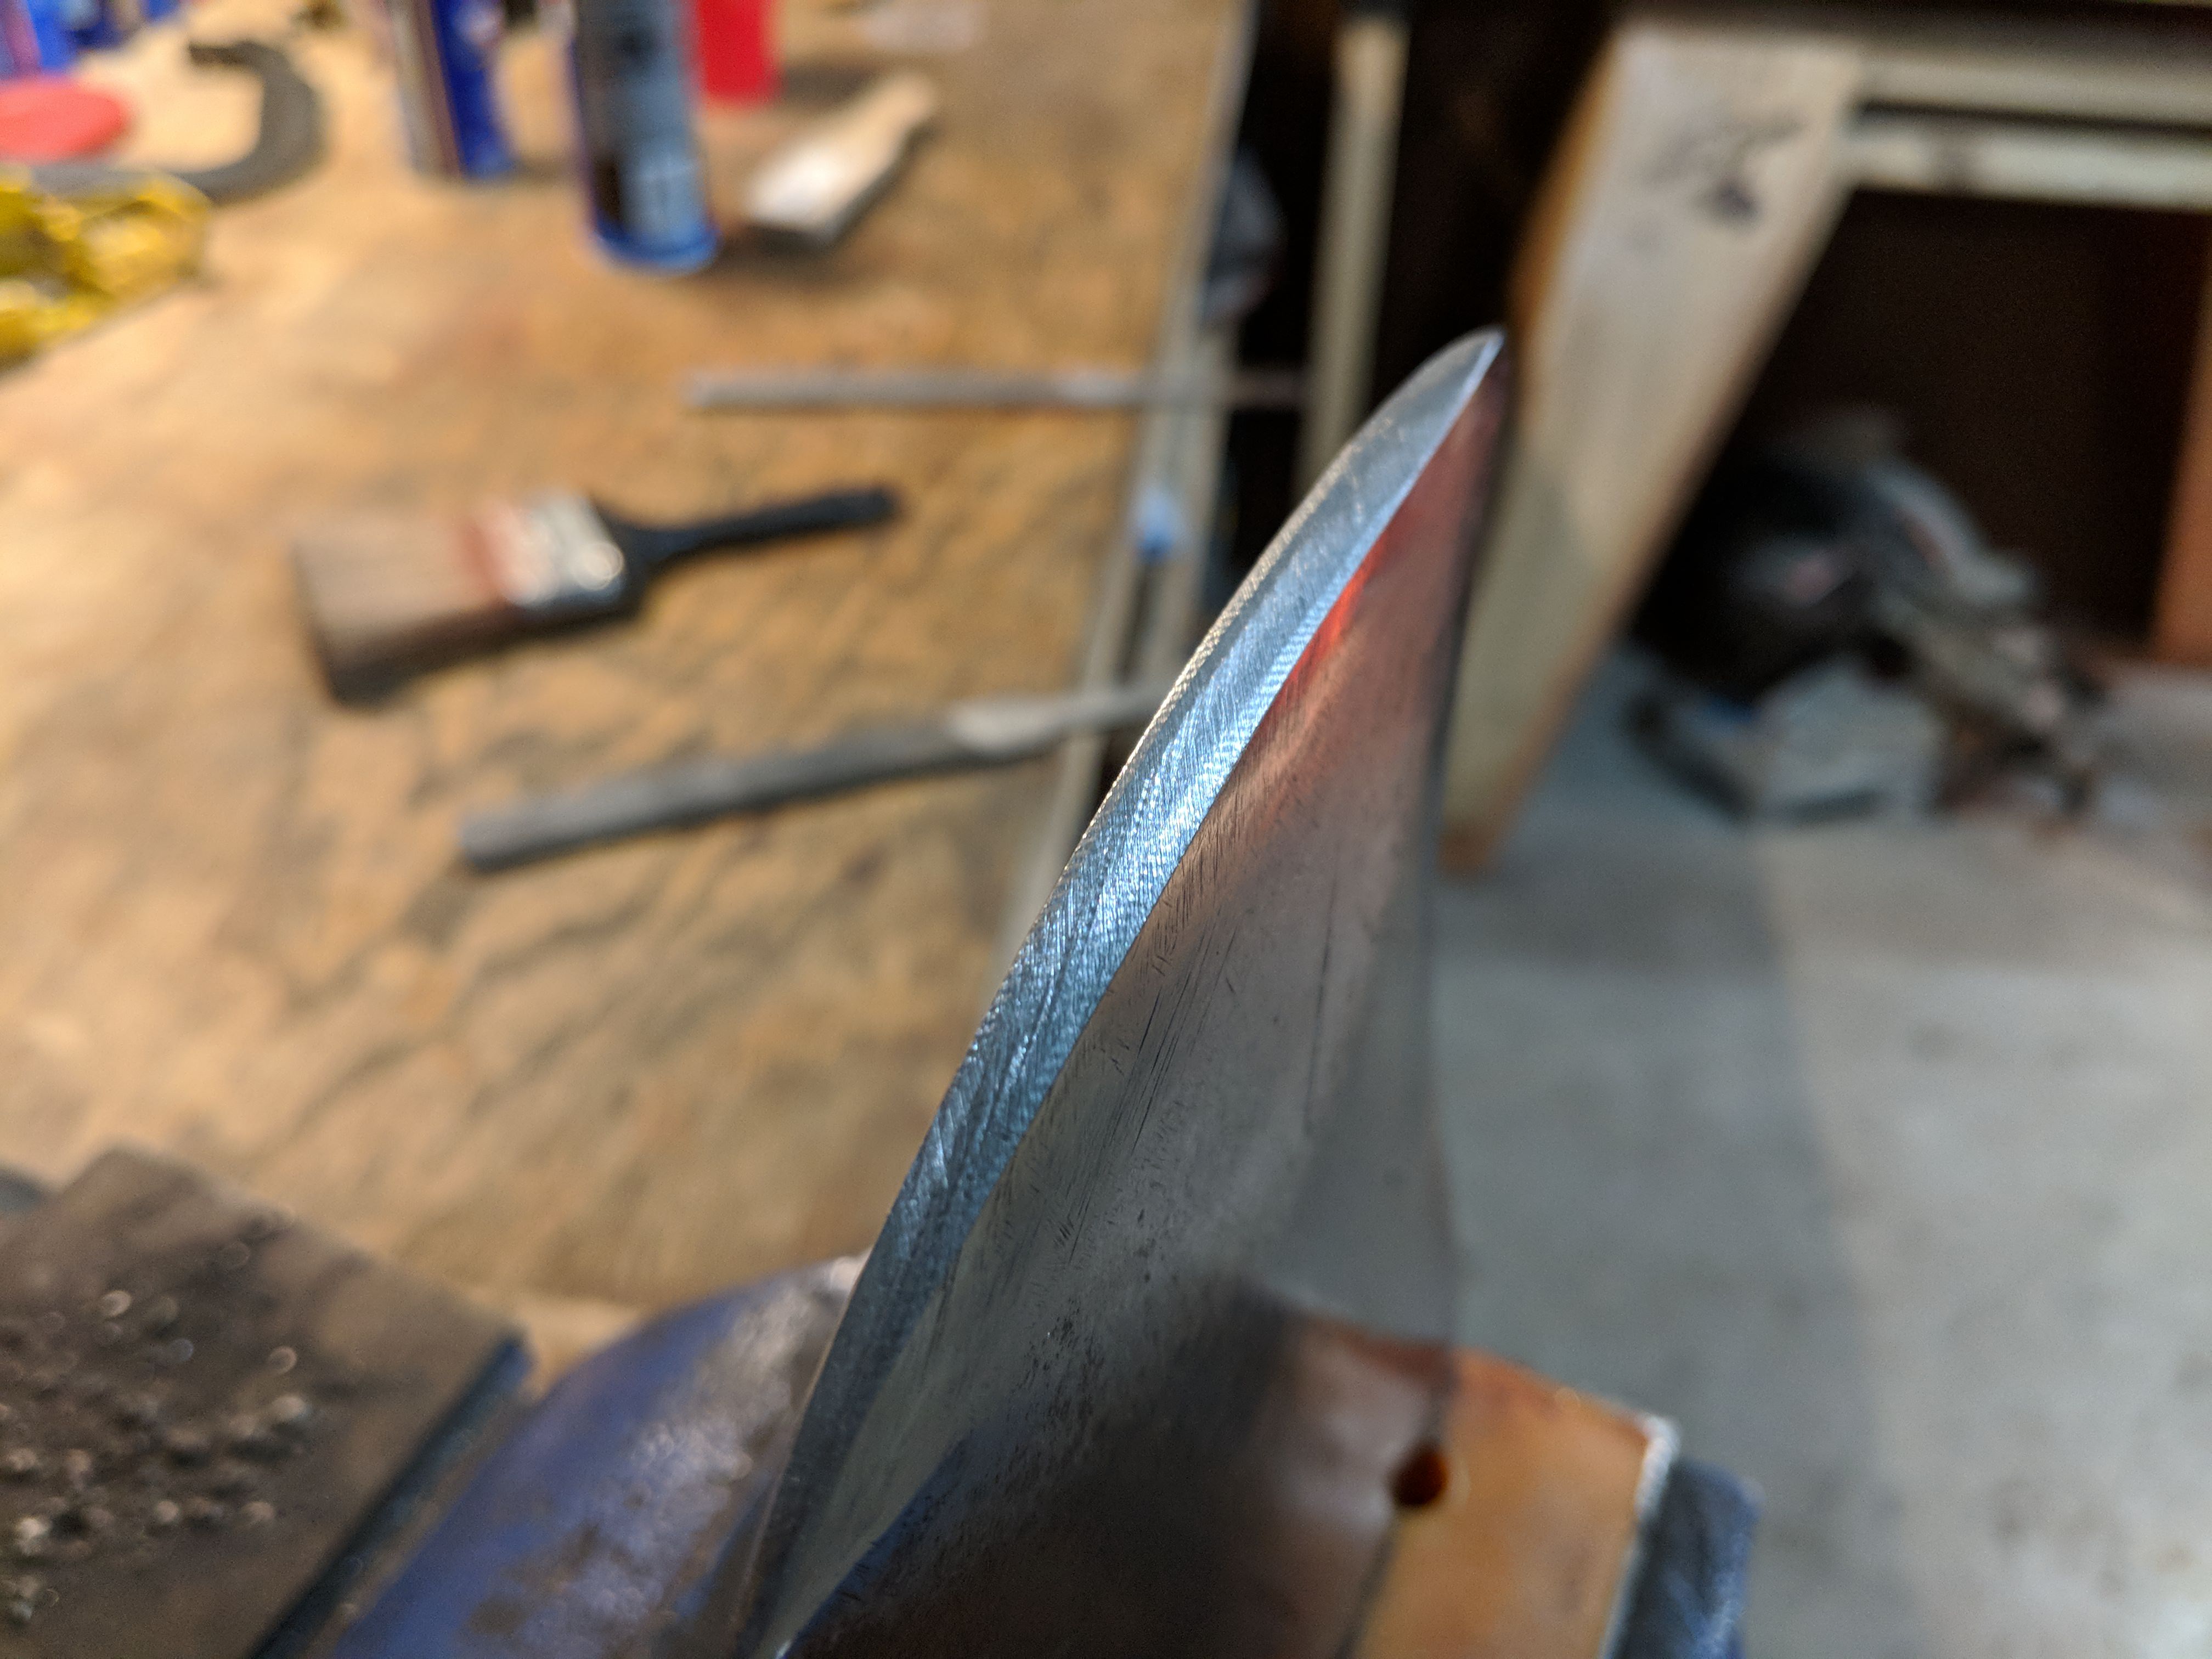
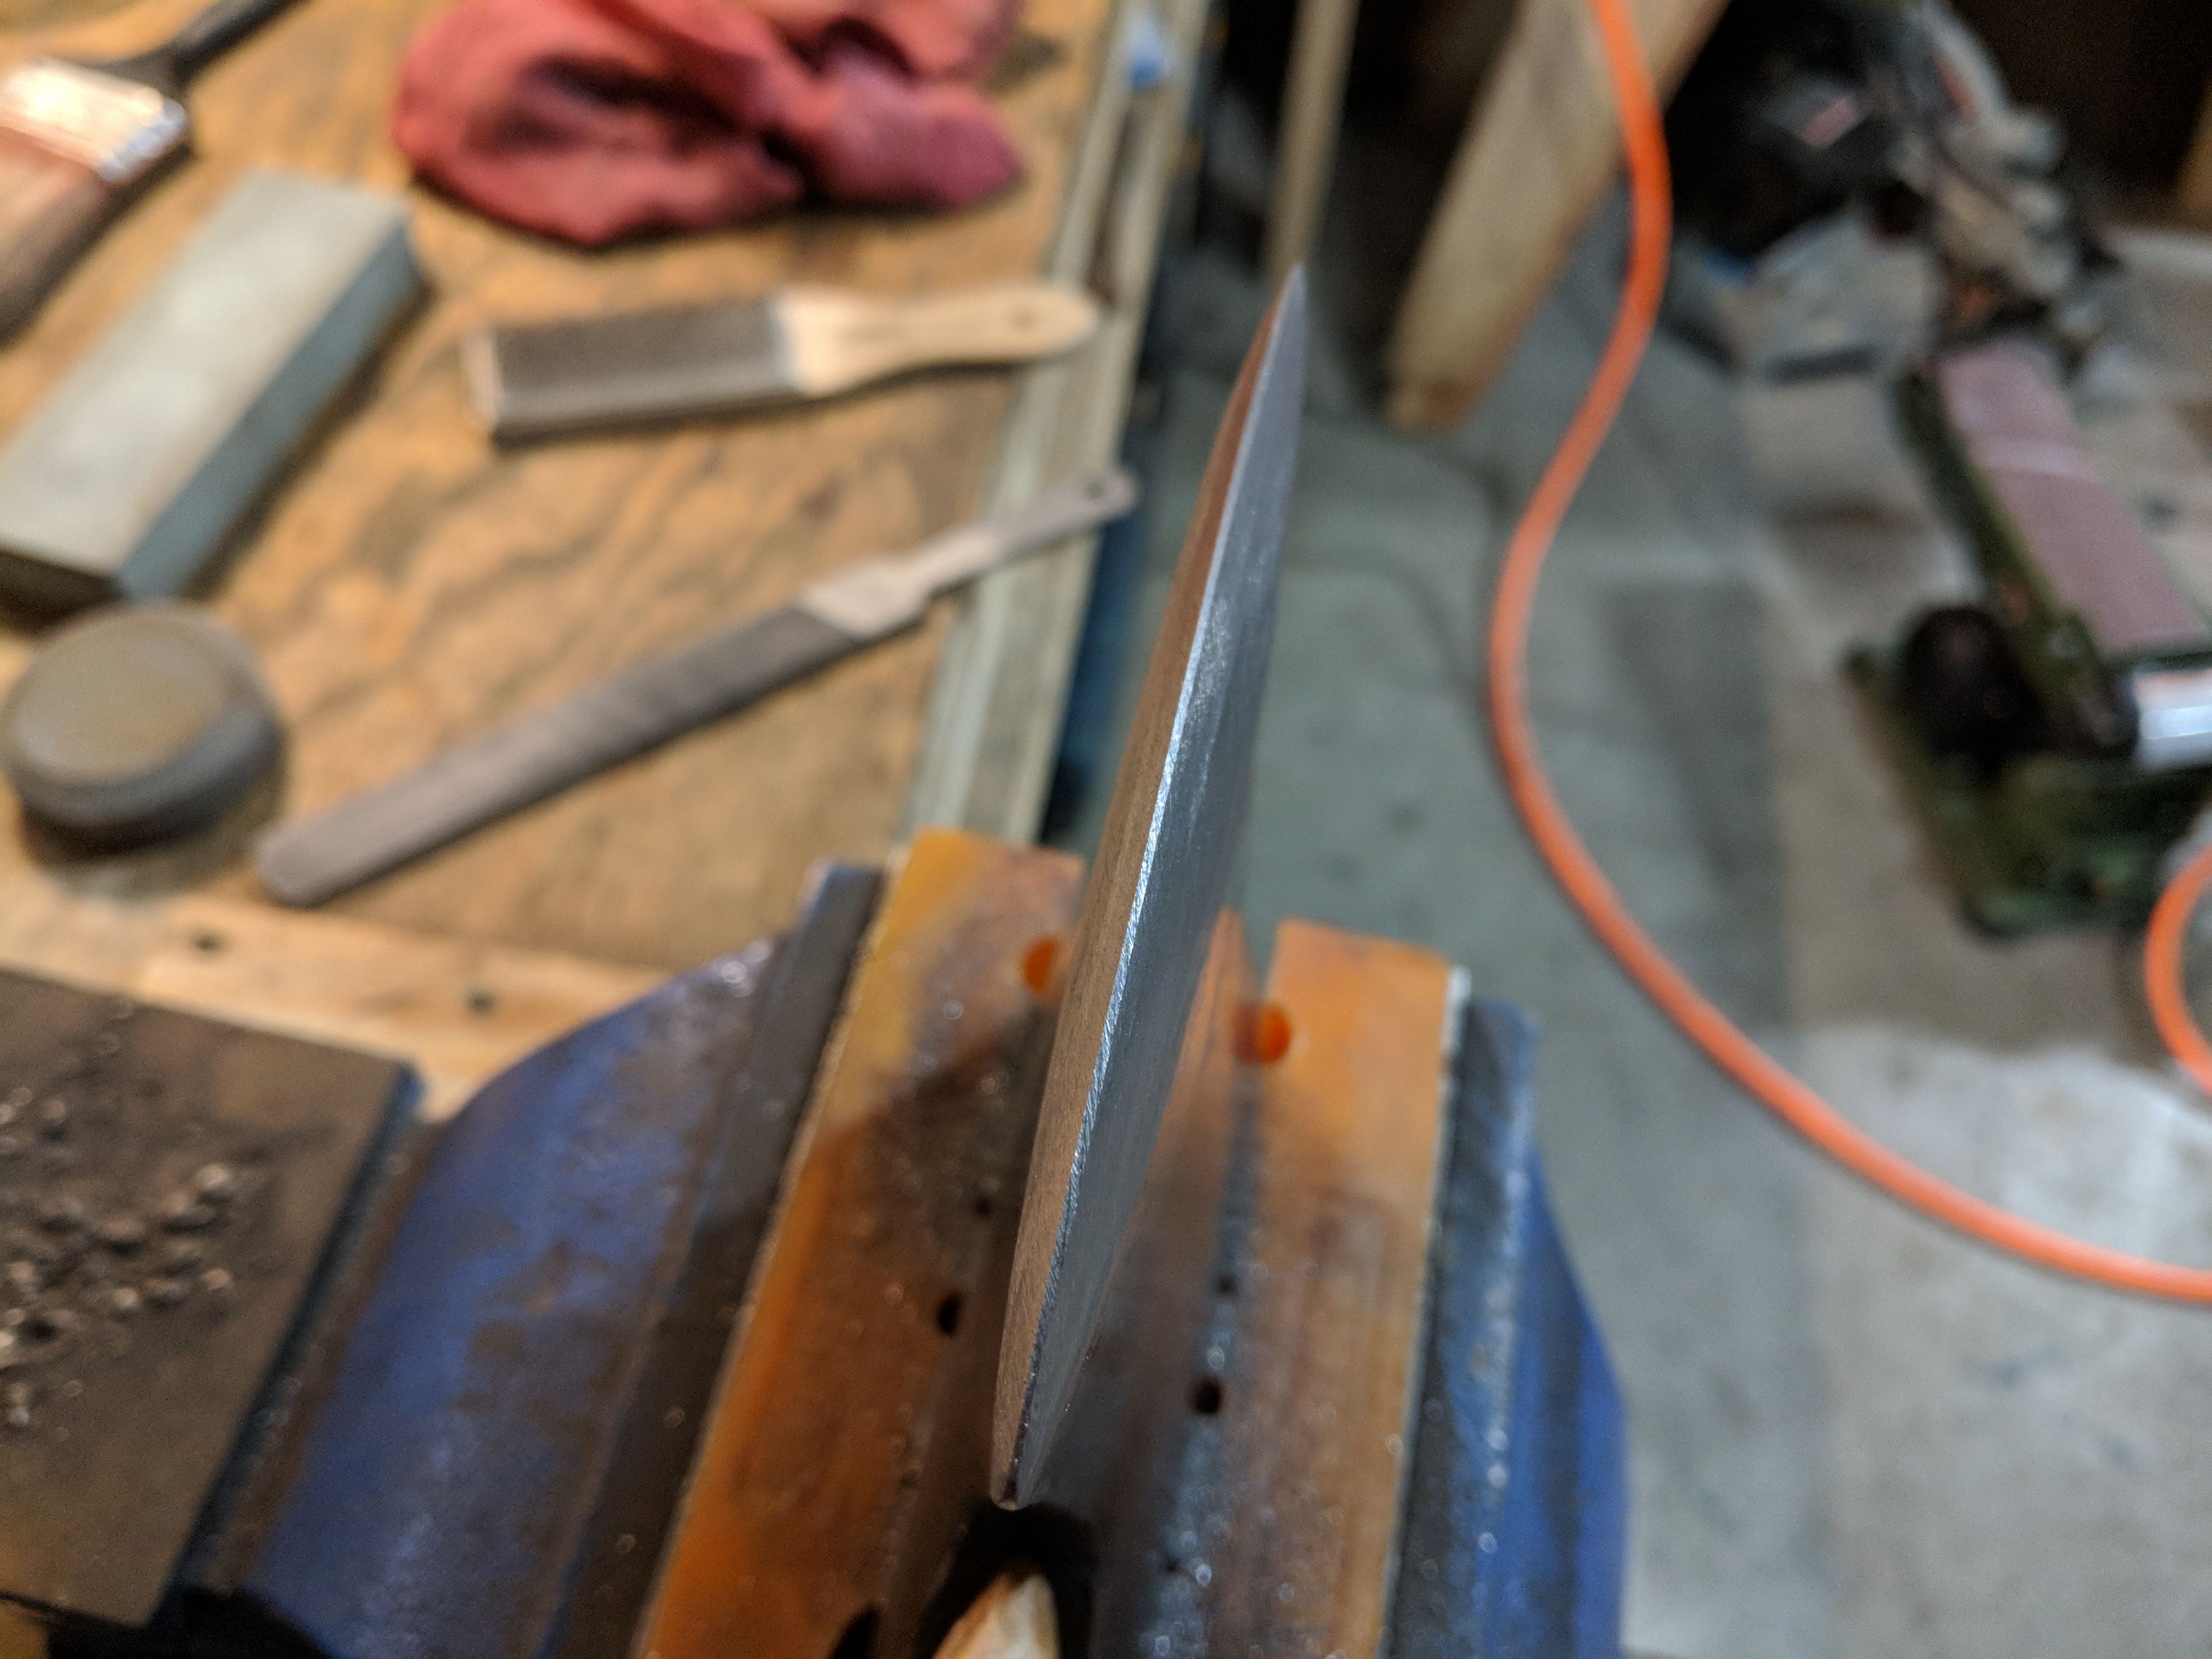
After several passes, and believe me, this can take a while, you'll evenly close the thickness of the bit to where both sides will converge without any overlap (notice how thin and even the edge is). This is near that point, but I have stopped here for re-profiling and will clean up the file marks. From this point on the profile is now set and it is ready to sharpen:
2gLZ5ea.jpg


Here it is with the file marks cleaned up and smoothed way with a pneumatic die grinder:
qNMUe64.jpg


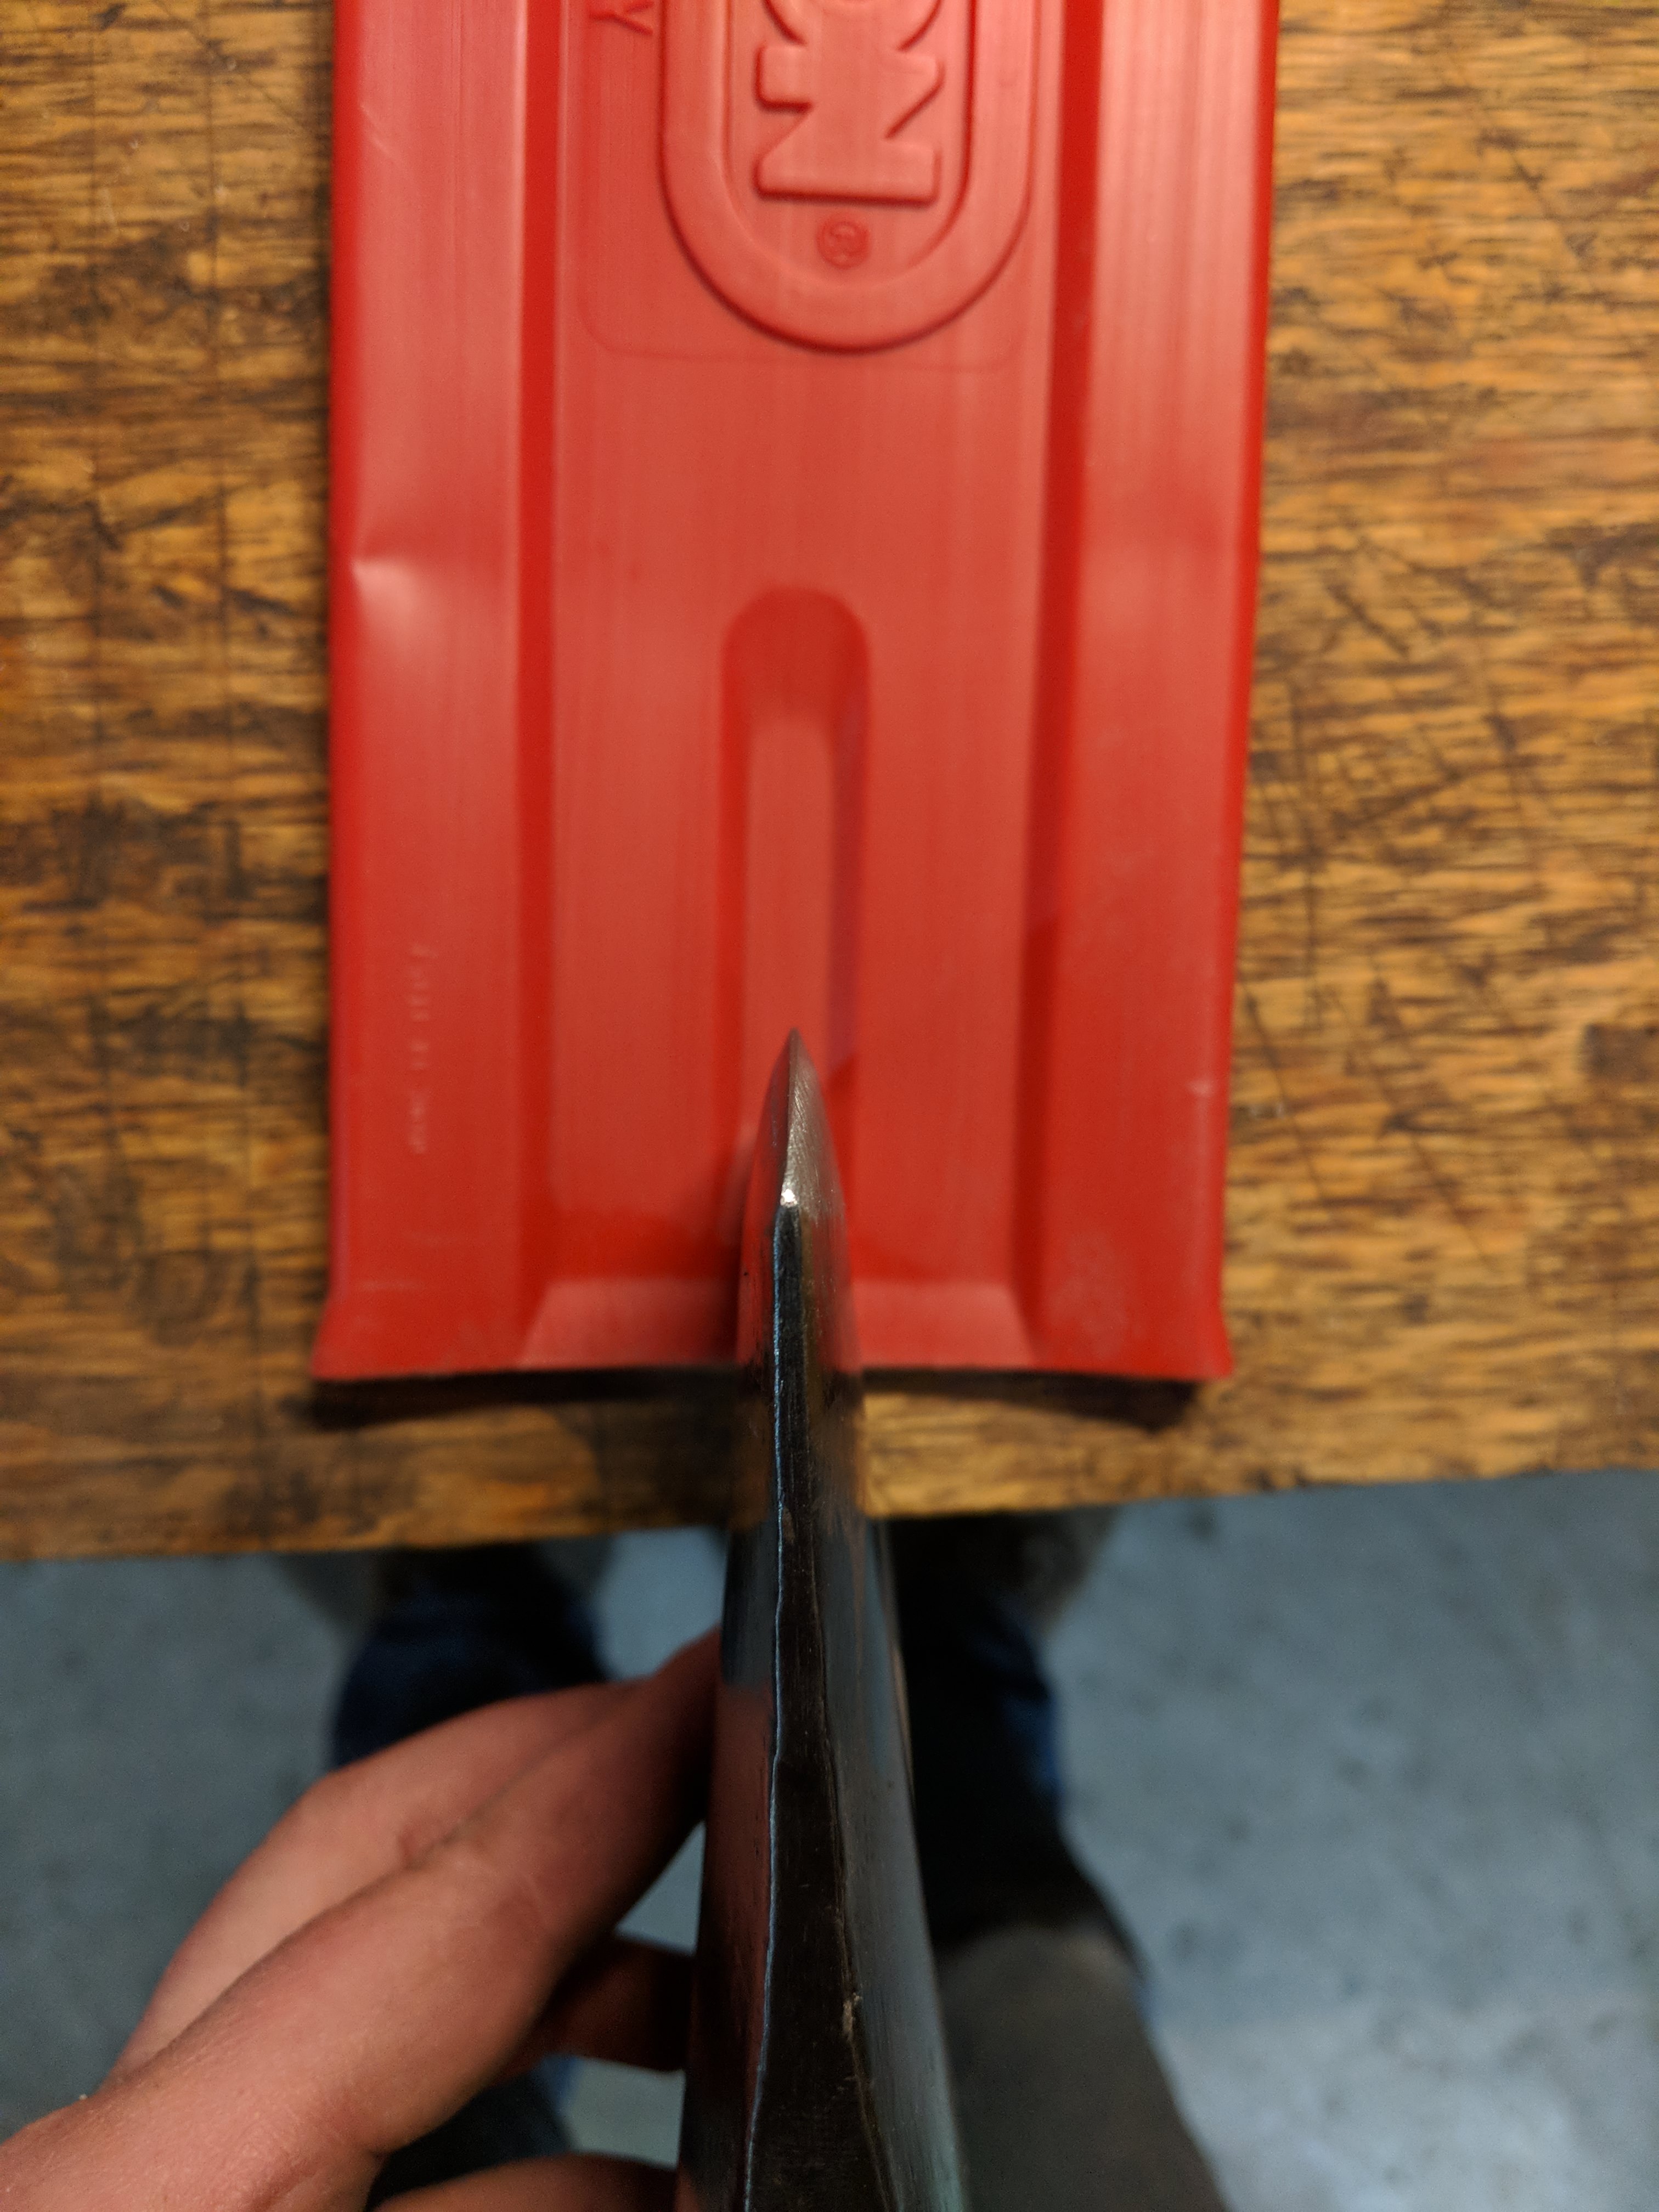
Here is the edge geometry, as you can see there is no singular, secondary, or tertiary bevel, it is a continuous smooth curved shape which converges to the cutting edge. Ideally, the edge geometry should resemble a bullet shape rather than a 'V' shape.
5yiQ5bd.jpg


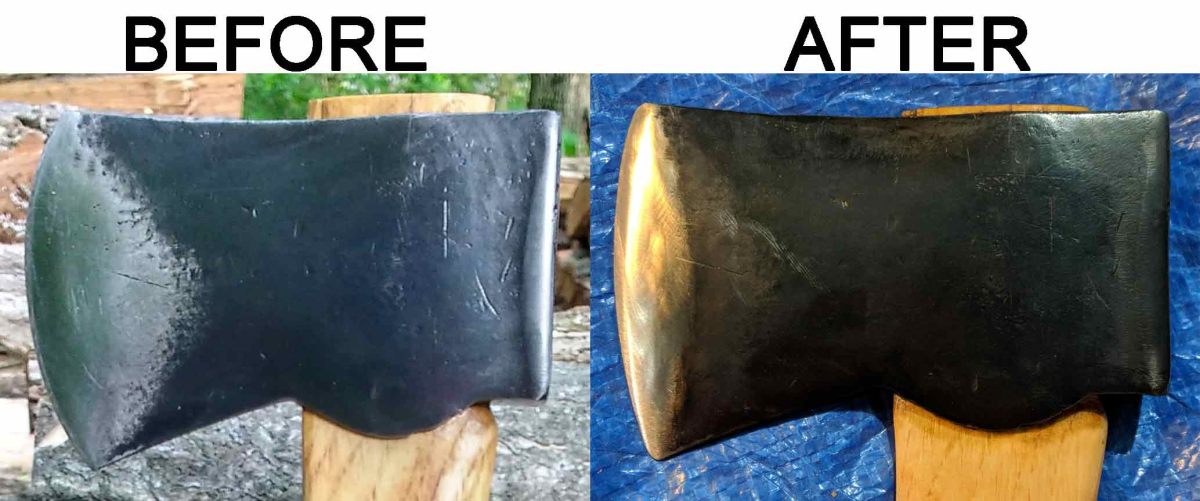
Before and after:
FoxOlEA.png


Hope this helps some, this principal doesn't just apply to American axes per se, only the grinding heavily on the cheeks for American patterns. The same practices can be used for other axes that were not ground properly and need to be corrected. The key is to evenly remove material for a consistent grind without too much curvature on the bit. For Scandinavian axes, the primary>secondary>tertiary bevels can be discarded; although some Swedish manufacturers use a "rolled" cutting geometry. Your milage may vary, but remember, your sharpening job is only as good as the grind, so pay it some mind as well!

Cheers!
 
OK, this is something that I've been meaning to do for a while now - a tutorial on how to re-profile an axe that has either been damaged or improperly ground. In this case, it is an improper grind from an old axe. This old Shapleigh Hardware Diamond Edge was one of my earlier restorations, and while I like the axe, I do not like using it. Its handle is way too thick, and needed to be thinned out and sculpted to my grip, and the bit profile was improperly ground. You see this a lot on older axes that were used extensively. What happens, particularly with American axes which have swelled cheeks, is that re-sharpening over time causes a semi-circular shape in the grind. It will cut, but is more likely to get stuck, and if it is very extreme, only subjects a portion of the cutting edge to the work, as opposed to the full cutting edge. Not very effective for throwing chips and removing wood with strikes. Axe work is tasking, so making sure the tool works as efficiently as possible to paramount. Keeping it in serviceable condition facilitates this.

Here is the hemispherical grind on my old Shapleigh Hardware 4.5 lb felling axe:
s2hW0SN.png


Here it as after I corrected it:
1S5PsvJ.jpg


In order to correct the radius, you'll have to remove a substantial amount of material, essentially destroying the edge. As a rule of thumb, the radius should not exceed 1/4"-3/8" (6.35-9.52 cm) in difference from heel-to-toe to the apex of the arc. Doing so will remove a lot of material, and you'll notice the varying thickess in the bit from the heel/toe and the center where the cheeks swell:
iRhoLJO.jpg


The idea is to evenly thin out the bit taking more material away from the center cheeks, keeping the corrected and desired bit profile radius intact. Here is another view afer a few passes with the ******* file:
F4pKH74.jpg


To achieve this you need to file in a fashion where you remove more material from the center cheeks, cutting towards the back of the cheeks but feathering it outward to the heel and toe of the bit. This typically results in a "half-moon" or "banana" shape from the filing cuts (Again, speaking in terms of American pattern axes). The cheeks have more material removed to evenly thin out the bit which is feathered out to the heel and toe and creates this shape. You can see this here as I'm just starting to work on the grind:
C4xQmqN.jpg


To do this, here is how I approach it. First start in the center of the bit, where you want to remove more of the material (remember, the heel and toe are thinner, so if you file on them first or more often, it will create that hemispherical shape to the bit) -start near the center and work your angle until it is established, then spread it out to the heel and toe like so:
MFAQgVy.jpg


Next, start to file below the angle you just did starting near the center of the bit again and feather it out to the heel and toe. This creates a secondary bevel, thus smoothing out the the 'corner' of the angle you just filed. It's hard to tell, but you can sort of see it here:
zj3iYQC.jpg


From there you'll again file below the second bevel you just did, and in the same principal will round out cutting geometry rather than having it angular. Here it is after smoothing out a third bevel and pass with the file:
fBkA4J3.jpg


After this, or even a fourth pass, you can start to feather out the the grind starting in the center and going out towards the heel and toe of the bit, doing so will create the "half-moon" or "banana" shape as seen here:
5avcDNP.jpg


After several passes, and believe me, this can take a while, you'll evenly close the thickness of the bit to where both sides will converge without any overlap (notice how thin and even the edge is). This is near that point, but I have stopped here for re-profiling and will clean up the file marks. From this point on the profile is now set and it is ready to sharpen:
2gLZ5ea.jpg


Here it is with the file marks cleaned up and smoothed way with a pneumatic die grinder:
qNMUe64.jpg


Here is the edge geometry, as you can see there is no singular, secondary, or tertiary bevel, it is a continuous smooth curved shape which converges to the cutting edge. Ideally, the edge geometry should resemble a bullet shape rather than a 'V' shape.
5yiQ5bd.jpg


Before and after:
FoxOlEA.png


Hope this helps some, this principal doesn't just apply to American axes per se, only the grinding heavily on the cheeks for American patterns. The same practices can be used for other axes that were not ground properly and need to be corrected. The key is to evenly remove material for a consistent grind without too much curvature on the bit. For Scandinavian axes, the primary>secondary>tertiary bevels can be discarded; although some Swedish manufacturers use a "rolled" cutting geometry. Your milage may vary, but remember, you sharpening job is only as good as your grind, so pay it some mind as well!

Cheers!
Wow ! Good read man.

Sent from my SM-G900V using Tapatalk
 
If you're wondering about the materials, for the above Hults Bruk finish, I needed a gallon of hydrogen peroxied (0.89 USD per 32oz bottle x 4 = 3.56 USD), and standard 26 oz canister of salt (1.25 USD), and then 1-2 gallons of distilled water (0.89 USD per gallon x 2 = 1.78 USD). So it costs me about 6-7 USD to do this effectively, not including sales tax or propane. I'm sure someone could get buy with just what they have around the house, but it's such a small cost for me so I don't mind paying for enough materials to get right the first time.
@ Multifaceted :numberone: :clap:. Now for a couple of tanks that wood contain six foot wip saws. I do have a couple broad axe heads and a couple hatchet heads of the same design. Must be close to Spring with these motivation juices flowing.
Stay safe and warm Folks
 
OK, this is something that I've been meaning to do for a while now - a tutorial on how to re-profile an axe that has either been damaged or improperly ground. In this case, it is an improper grind from an old axe. This old Shapleigh Hardware Diamond Edge was one of my earlier restorations, and while I like the axe, I do not like using it. Its handle is way too thick, and needed to be thinned out and sculpted to my grip, and the bit profile was improperly ground. You see this a lot on older axes that were used extensively. What happens, particularly with American axes which have swelled cheeks, is that re-sharpening over time causes a semi-circular shape in the grind. It will cut, but is more likely to get stuck, and if it is very extreme, only subjects a portion of the cutting edge to the work, as opposed to the full cutting edge. Not very effective for throwing chips and removing wood with strikes. Axe work is tasking, so making sure the tool works as efficiently as possible is paramount. Keeping it in serviceable condition facilitates this.

Here is the hemispherical grind on my old Shapleigh Hardware 4.5 lb felling axe:
s2hW0SN.png


Here it as after I corrected it:
1S5PsvJ.jpg


In order to correct the radius, you'll have to remove a substantial amount of material, essentially destroying the edge. As a rule of thumb, the radius should not exceed 1/4"-3/8" (6.35-9.52 cm) in difference from heel-to-toe to the apex of the arc. Doing so will remove a lot of material, and you'll notice the varying thickess in the bit from the heel/toe and the center where the cheeks swell:
iRhoLJO.jpg


The idea is to evenly thin out the bit taking more material away from the center cheeks, keeping the corrected and desired bit profile radius intact. Here is another view afer a few passes with the ******* file:
F4pKH74.jpg


To achieve this you need to file in a fashion where you remove more material from the center cheeks, cutting towards the back of the cheeks but feathering it outward to the heel and toe of the bit. This typically results in a "half-moon" or "banana" shape from the filing cuts (Again, speaking in terms of American pattern axes). The cheeks have more material removed to evenly thin out the bit which is feathered out to the heel and toe and creates this shape. You can see this here as I'm just starting to work on the grind:
C4xQmqN.jpg


To do this, here is how I approach it. First start in the center of the bit, where you want to remove more of the material (remember, the heel and toe are thinner, so if you file on them first or more often, it will create that hemispherical shape to the bit) -start near the center and work your angle until it is established, then spread it out to the heel and toe like so:
MFAQgVy.jpg


Next, start to file below the angle you just did starting near the center of the bit again and feather it out to the heel and toe. This creates a secondary bevel, thus smoothing out the the 'corner' of the angle you just filed. It's hard to tell, but you can sort of see it here:
zj3iYQC.jpg


From there you'll again file below the second bevel you just did, and in the same principal will round out the edge geometry rather than having it angular. Here it is after smoothing out a third bevel and pass with the file:
fBkA4J3.jpg


After this, or even a fourth pass, you can start to feather out the the grind starting in the center and going out towards the heel and toe of the bit, doing so will create the "half-moon" or "banana" shape as seen here:
5avcDNP.jpg


After several passes, and believe me, this can take a while, you'll evenly close the thickness of the bit to where both sides will converge without any overlap (notice how thin and even the edge is). This is near that point, but I have stopped here for re-profiling and will clean up the file marks. From this point on the profile is now set and it is ready to sharpen:
2gLZ5ea.jpg


Here it is with the file marks cleaned up and smoothed way with a pneumatic die grinder:
qNMUe64.jpg


Here is the edge geometry, as you can see there is no singular, secondary, or tertiary bevel, it is a continuous smooth curved shape which converges to the cutting edge. Ideally, the edge geometry should resemble a bullet shape rather than a 'V' shape.
5yiQ5bd.jpg


Before and after:
FoxOlEA.png


Hope this helps some, this principal doesn't just apply to American axes per se, only the grinding heavily on the cheeks for American patterns. The same practices can be used for other axes that were not ground properly and need to be corrected. The key is to evenly remove material for a consistent grind without too much curvature on the bit. For Scandinavian axes, the primary>secondary>tertiary bevels can be discarded; although some Swedish manufacturers use a "rolled" cutting geometry. Your milage may vary, but remember, you sharpening job is only as good as your grind, so pay it some mind as well!

Cheers!
Wow. That's an incredible write up. You honestly maybe should start a new thread for this!
 
@ Multifaceted :numberone: :clap:. Now for a couple of tanks that wood contain six foot wip saws. I do have a couple broad axe heads and a couple hatchet heads of the same design. Must be close to Spring with these motivation juices flowing.
Stay safe and warm Folks

These old tools need some love, lest they be forgotten and the heritage with them.

Wow. That's an incredible write up. You honestly maybe should start a new thread for this!

Yes I agree and would like to see more of that type of stuff.

Well, I thought about at first, but figured that this thread would be the best place for it to be viewed, however; if more budding axe junkies are interested I'll consider making a dedicated thread to restoration and maintenance techniques. I suppose that my intentions were that I didn't want to detract attention way from this thread, it's pretty active already and I think that's really cool! Don't want to mess with the organic success...
 
These old tools need some love, lest they be forgotten and the heritage with them.


Well, I thought about at first, but figured that this thread would be the best place for it to be viewed, however; if more budding axe junkies are interested I'll consider making a dedicated thread to restoration and maintenance techniques. I suppose that my intentions were that I didn't want to detract attention way from this thread, it's pretty active already and I think that's really cool! Don't want to mess with the organic success...
If you do start another thread can you let us know here so we can find it? Here or another thread don't matter none to me btw. Thanks for sharing the info.
 
Clarence, I may have screwed up on the Plumb. After I saw how shiny it was getting my goal was to get all the pits out. I was watching the top of the eye to make sure I didn't get it too thin. Sitting here with my first cup of coffee, I was turning it in my hand, and saw I've got the bottom of the eye so thin, I think I'd be afraid to strike anything with it. So, it might just be an experiment in polishing and browning, and a pretty wall hanger. I'll show it to you when you get a chance to pick up the little brown jug, Joe.
 
Daily update. I'd say I've got 10-12 hours and about $40 dollars in sanding belts and discs. I've ground about 4 ounces off. This was the worse side rust wise. But, the other side has the Plumb logo, so it will be the hardest. Then I'll have to try and match the thickness too, Joe.
Ain't you leaving any of the patina on that axe head?
baqLi3o.jpg
 
GVS, don't know why it didn't quote your question? But, no, no patina on this one. If you saw the before pic it looks like a total loss. When I started sanding it and got to the bright shiny steel I decided to polish this one to a mirror finish and then "Brown" it. Now that I see how thin I got the bottom of the eye on one side I probably won't go much further. So, there will be some pitting left. I also collect pre WWII Savage 99's. When we refer to "patina" it's the natural brownish, grayish color the steel turns as it ages, not 1/32 inch deep rust pits. This has just turned into a lesson in polishing steel. I wish I would have found this one before it got lost in time. There wasn't a dent on the poll and it looked like it may never have been sharpened. It would have been a spectacular little ax. Here's the before pic again, this is the good side with the Plumb logo, the other side was rusted way more, Joe.

gsoPI0j.jpg


Yes , he rambles a bit but like he says , get an old head , 5 to 10 bucks and handle it yourself or get a cheap axe , don't get caught in the gear race .
Having said that , the big Arvika is next on my list lol


Yes, I have watched this video.

I can get behind the message, but I don't have a problem with spending some coin on an axe I like, just like any other tool I covet. To me, what is most important is that whichever axe you get be it old or new - just use it! My restored axe collection far outweighed the four new axe purchases... Among them are the big ol Arvika!

I still need to get a proper grind on that thing, spending too much time on old axes.
 

Latest posts

Back
Top