Craftsman project saw - need help

Arborist Forum

Help Support Arborist Forum:

This site may earn a commission from merchant affiliate links, including eBay, Amazon, and others.

joecool85

Addicted to ArboristSite
Joined
Oct 10, 2007
Messages
1,354
Reaction score
119
Location
Maine
Hey guys, I just bought a 2.1 ci 14" Craftsman on eBay. It came in today, says it's 36cc. Model #358.351040

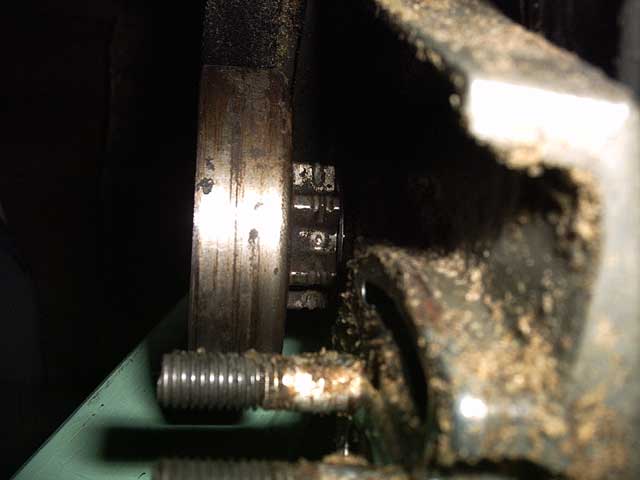
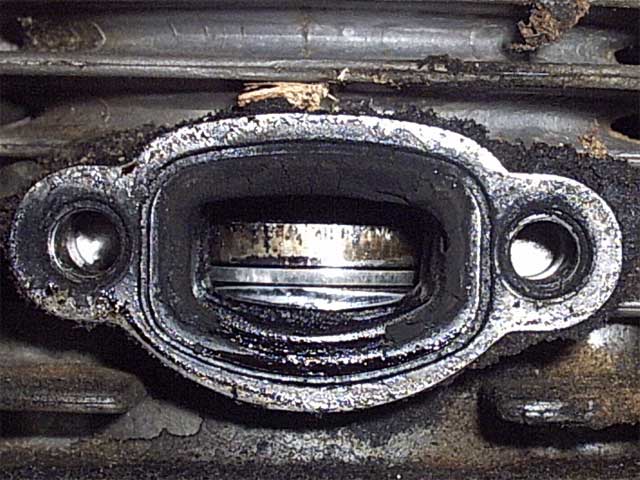
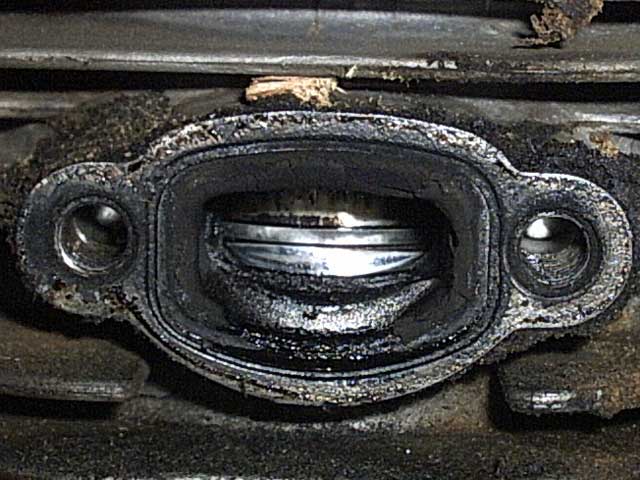
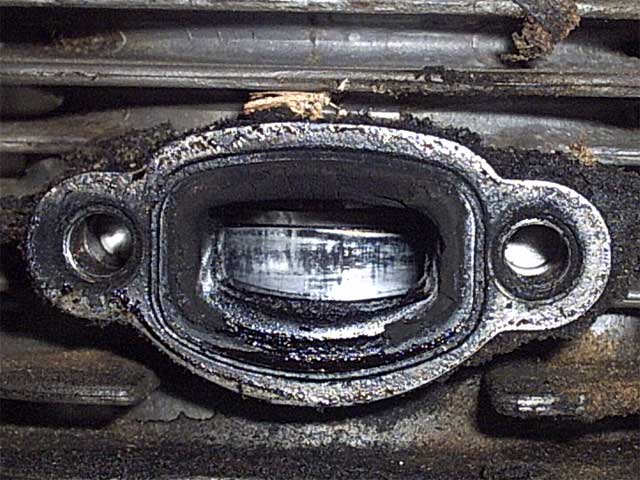
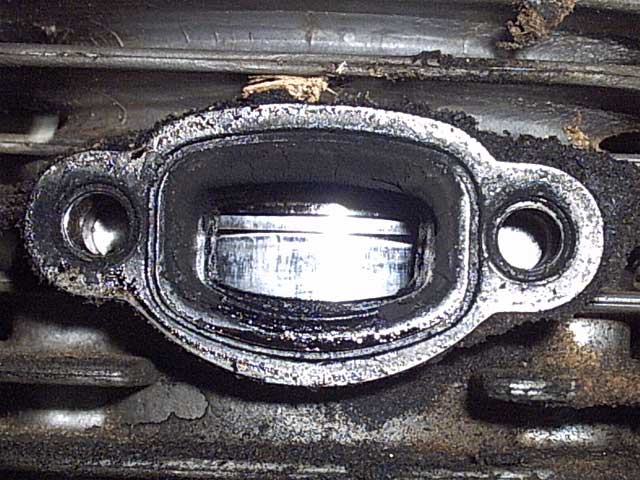
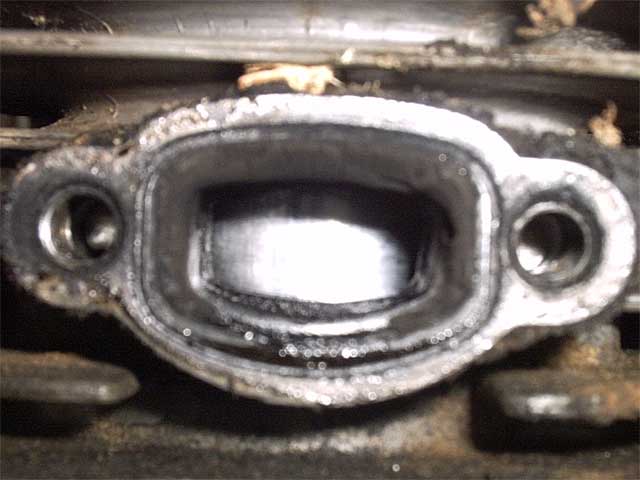
This thing has been beat! The side cover was FULL of dirt, wood, weeds, you name it. The bar is worn heavily on the bottom left rail, the rest seems fine. It will get a new bar/chain as soon as I finish the rest. The chain drive sprocket is worn pretty heavily, the primer bulb is gone (looks like the guy ripped it out), it leaks gas when tipped on it's side (from somewhere below the carb it looks like), the safety interlock doesn't work because the safety doesn't have any spring action anymore so it stays down all the time, it came without an airfilter (so I'm thinking it was run like this for a while) and it's just dirty everywhere. The good news is that when I took off the exhaust the insides seemed pretty ok. Also, it started right up after filling it up with 32:1. And to top it all off, I want to put on a chainbrake because I don't like operating saws without one.

So, I need to know what model Poulan this matches up with so I can get a few parts. Any way I can find out for sure?

Also, how would I know if this saw isn't worth putting a little time into? I'm not worried about making money on it, it's just a project, but I don't want to put $40-50 into it and then have the little guy blow up. I'm assuming since it started right up and looked pretty ok to me on the insides that the engine is fine despite it's abuse, am I right in thinking so?
 
Last edited:
Here are some pics:

saw_sprocket.jpg


saw_engine1.jpg


saw_engine2.jpg


saw_engine3.jpg


saw_engine4.jpg


saw_engine5.jpg
 
I think it is either a PP220 or a 2250.
 
Last edited:
Joe , if the color of the chainbrake assembly does not matter to you then a green , gold , maroon , or gray would probably work .

Yeah, color doesn't really matter. I'll probably order one for a 2150 as it has the same clutch part number as my saw.
 
So I guess my big questions for you guys are: Does the sprocket look like it's ok or do I need to replace it asap? If I decide not to mess with the primer (since it started right up anyway) how should I go about doing that? Should I just leave it as is, or take it off and plug both gas lines that go to it? And a biggie, do you guys think this saw will last a while if I fix it up? By a while I mean 75-100 hours of usage or so.
 
Ok, I have no idea how the primer was suppose to be hooked up. This is what I found:

- 2 hookups on carp
- One has a gas line coming from tank going straight to carb
- The other has 1" of line on it plugged up, I would assume this use to go to the primer.

So did the gas line coming from the tank use to have a T in it or something? I'm ok with it not having a primer, it started right up anyway, but is that a problem to just leave a line plugged on the carb? Also, I saw no pulse line, how's this thing work?
 
So I guess my big questions for you guys are: Does the sprocket look like it's ok or do I need to replace it asap? If I decide not to mess with the primer (since it started right up anyway) how should I go about doing that? Should I just leave it as is, or take it off and plug both gas lines that go to it? And a biggie, do you guys think this saw will last a while if I fix it up? By a while I mean 75-100 hours of usage or so.
Joe , your sprocket looks worn out to me .
 
Ok, I have no idea how the primer was suppose to be hooked up. This is what I found:

- 2 hookups on carp
- One has a gas line coming from tank going straight to carb
- The other has 1" of line on it plugged up, I would assume this use to go to the primer.

So did the gas line coming from the tank use to have a T in it or something? I'm ok with it not having a primer, it started right up anyway, but is that a problem to just leave a line plugged on the carb? Also, I saw no pulse line, how's this thing work?

Joe , here is how my PP220 primer is hooked up . http://www.arboristsite.com/showpost.php?p=767533&postcount=17
 
If it's like a 2150. I just got one of those at a yard sale. The primer was busted, blah, blah, blah. But, here's how to hook up the fuel lines properly. You need a large and small diameter line, about 2 feet or so of the small and about a foot of the large diameter. Tygon fuel line is good, so I'm told on here.

1. Large diameter through the tank with a little valve fitting of some sort inside the tank. Should be able to use existing fitting if you have one. This line runs out of the inside of tank and to the primer with the fitting sitting almost to the top of the tank at the hole. I've seen a couple of different primer bulbs. One has a distinctive large or small connection and the other actually says in very small writing near the connections which one goes to tank and which goes to carb. Done with the large diameter fuel line.

2. The small diameter fuel lines, one connects to the other inlet of the primer and goes to the carb. There are 2 connections on the carb. Both of mine, the 2150 and 210, have connections on the right side of the carb looking from behind. I want to say the one on the top is for the primer. Sorry, on vacation and can't see them right now. Try it that way first. If it doesn't work, just swap them. Had to do this trial and error myself. PIA to swap them at this juncture, so I hope my memory serves me well.

3. The other small diameter fuel line runs from the other carb connection through the tank with enough slack to put the fuel filter/pickup on while outside the tank. Not too much. Basically, just enough to make you mad that you didn't leave more line to make that connection outside the fuel filler hole. Push the fuel filter in the tank and you're done.

Hard part for me was getting the fuel lines through the tank. PIA. Tip. Spray a little WD40 or something similar in the hole to give it some lube right before you put the line through. Other tip. I used a small length of 28 gauge wire and poked a hole through the fuel line on the end and shoved the wire through the hole and also had a 45 degree cut on that end and wrapped my wire around the point very tightly, sent it up through the hole in the fuel filler tank, not down from the top. Slight tug to get through enough to grab with fingers and gently pull through until you have enough for connections. Hope this helps. Good luck.
 
Ok...so I'm confused. There are two things going into the tank, both the line with the filter, and another line with a valve on it going to the primer? Is there any reason I can't junk the primer and just plug any holes needed? It was running like that when I got it, but it seemed to be leaking fuel. If I'm right, it would be leaking from the hole that goes to the tank from the primer. There was only one piece of gas line and it went from the carb to the tank w/filter on it. Then the primer hookup on the carb was capped off.
 
Ok...so I'm confused. There are two things going into the tank, both the line with the filter, and another line with a valve on it going to the primer? Is there any reason I can't junk the primer and just plug any holes needed? It was running like that when I got it, but it seemed to be leaking fuel. If I'm right, it would be leaking from the hole that goes to the tank from the primer. There was only one piece of gas line and it went from the carb to the tank w/filter on it. Then the primer hookup on the carb was capped off.

Joe , maybe your carb does not need a primer , does it have the second nipple for the primer ?
 
Joe , maybe your carb does not need a primer , does it have the second nipple for the primer ?

Yes. The second nipple had a piece of hose on it plugged with a screw.

I also noticed today that the fuel line attatched to the filter is bigger than the line going to the carb. The way it had been put together was the smaller line going to the carb was slipped into the line coming from the filter. Surely this isn't how it is suppose to go together?

And I noticed that there is no pulse line, the carb gets pulse from a hole on it's body leading to a hole on the carb adapter plate.
 
Last edited:
Take a pic of your fuel lines and carb area.
Here is some old pics from last winters project saw for fun. Maybe something there in the pics will help. If it dont maybe after you post your carb area pics and that dont get you help, I could take a pic of the project saws carb area. I have some extra stuff from the project too.
http://www.arboristsite.com/attachment.php?attachmentid=42225&d=1166908378
http://www.arboristsite.com/attachment.php?attachmentid=42226&d=1166908469
http://www.arboristsite.com/attachment.php?attachmentid=42228&d=1166908589
http://www.arboristsite.com/attachment.php?attachmentid=42224&d=1166908307
 
I can take some pics later, but there are no lines hooked up anymore. Here is the situation as I see it:

- The carb has two hookups, one for gas in and one for primer.
- There is only one hole going to the gas tank from the carb area
- The primer takes two lines (one big, one small) neither of which came with the saw
- The primer is broken

So, that means that the large line coming from the primer must vent to atmosphere? I don't see where it could go into the tank...

Also, I thought the tank had some sort of fitting where the gas line comes through, but it looks more like some sort of glue or something. Are you suppose to use any sort of adhesive after routing the new gas line through the hole in the tank?
 
I think that is two lines, it looks like the one all the way to the right is actually the throttle linkage.

Bawhahahahah on me, I looked closer and yep that be what it is. Smacks the forehead. :hmm3grin2orange: :biggrinbounce2: :bowdown:
 

Latest posts

Back
Top