Making a depth gauge/raker grinding fixture

Arborist Forum

Help Support Arborist Forum:

This site may earn a commission from merchant affiliate links, including eBay, Amazon, and others.
MVC-010S_3.JPG


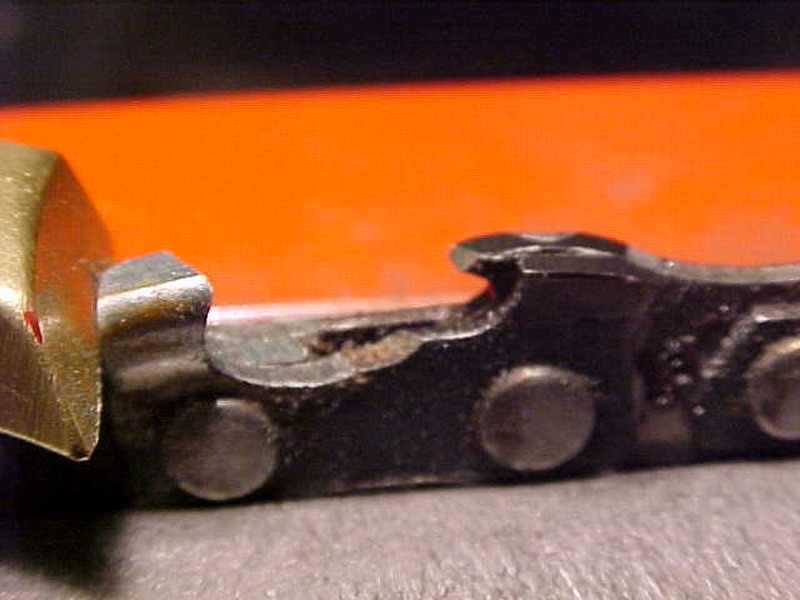
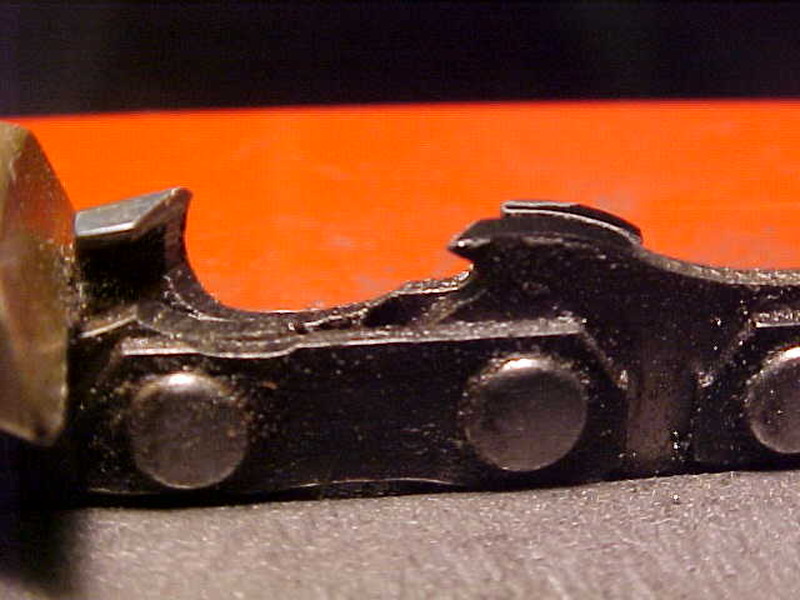
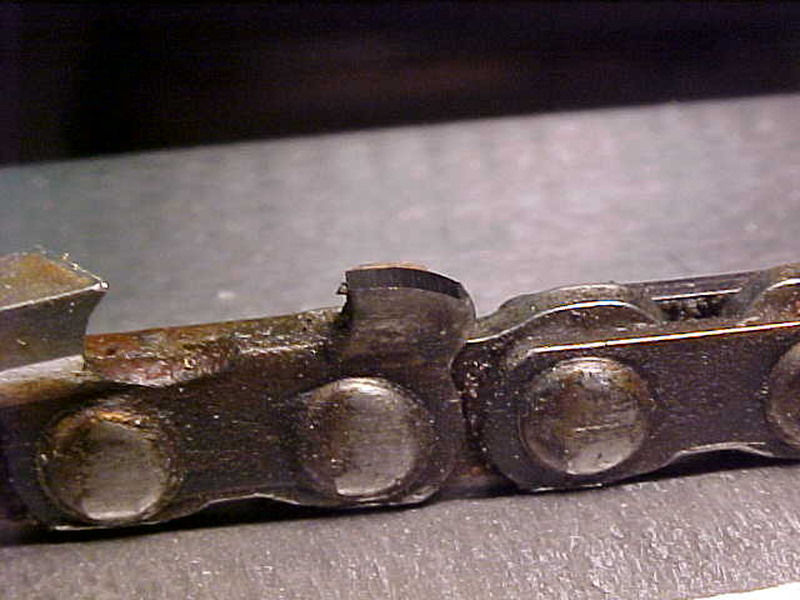
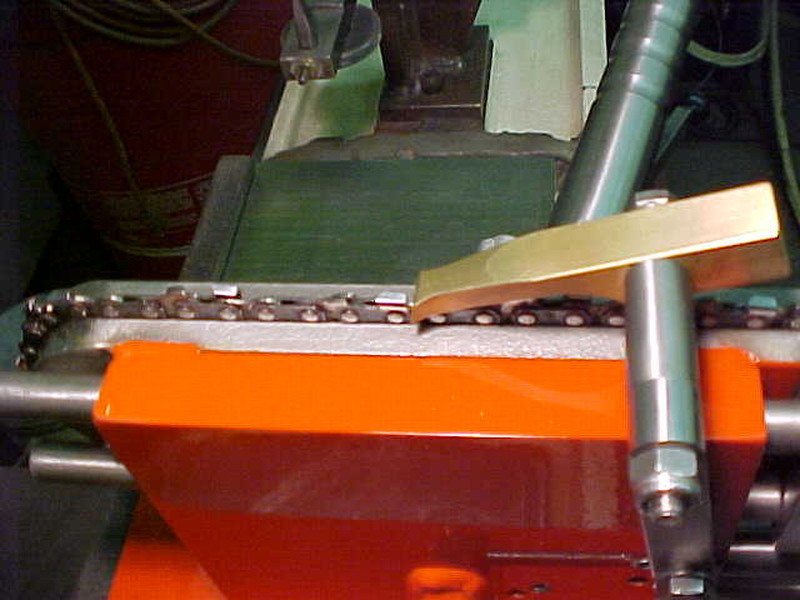
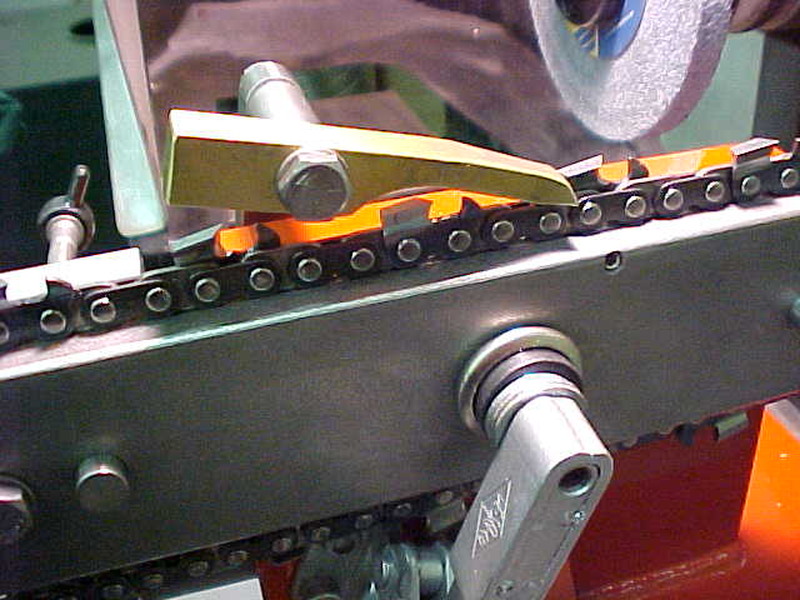
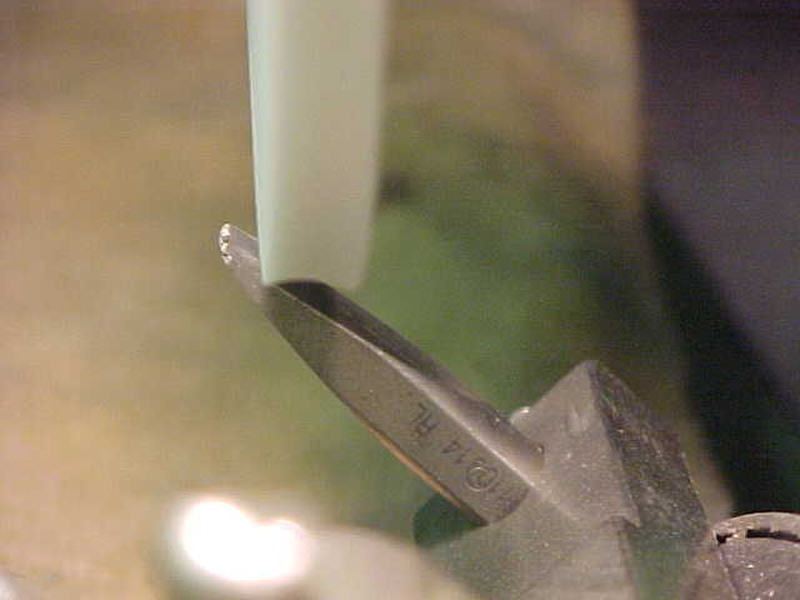
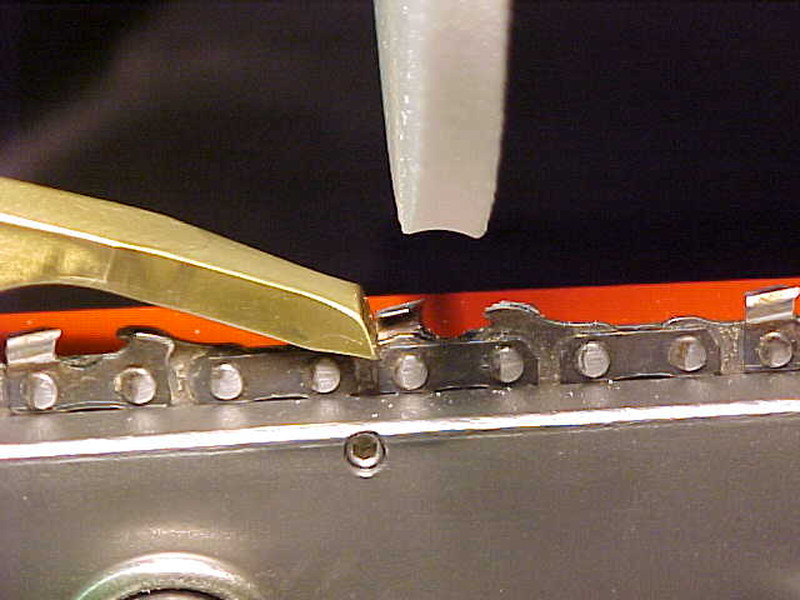
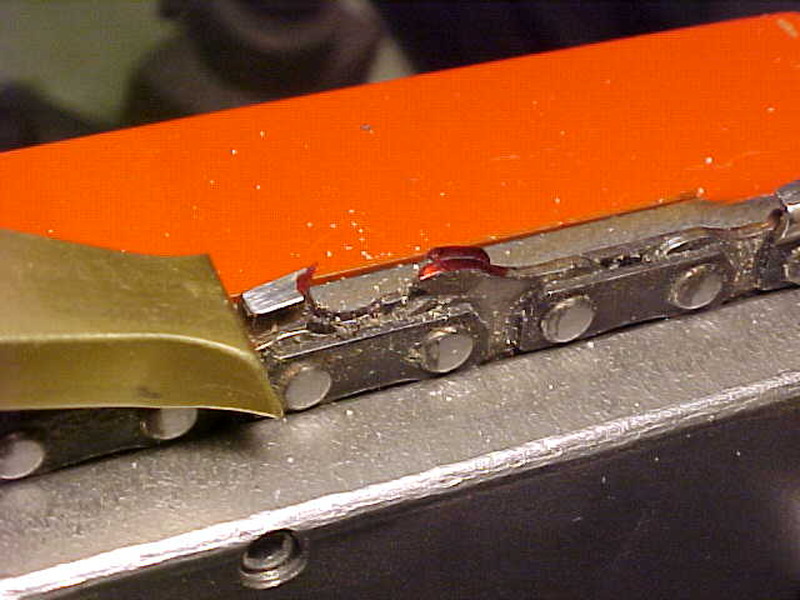
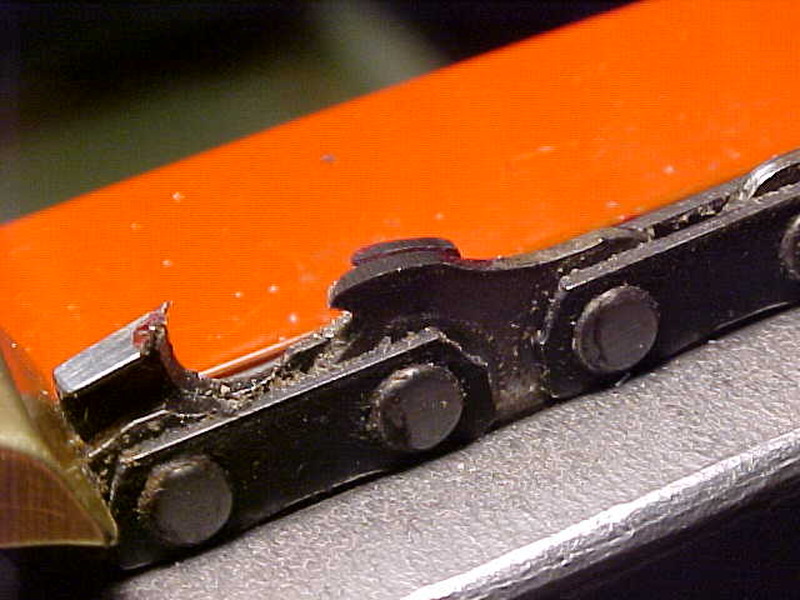
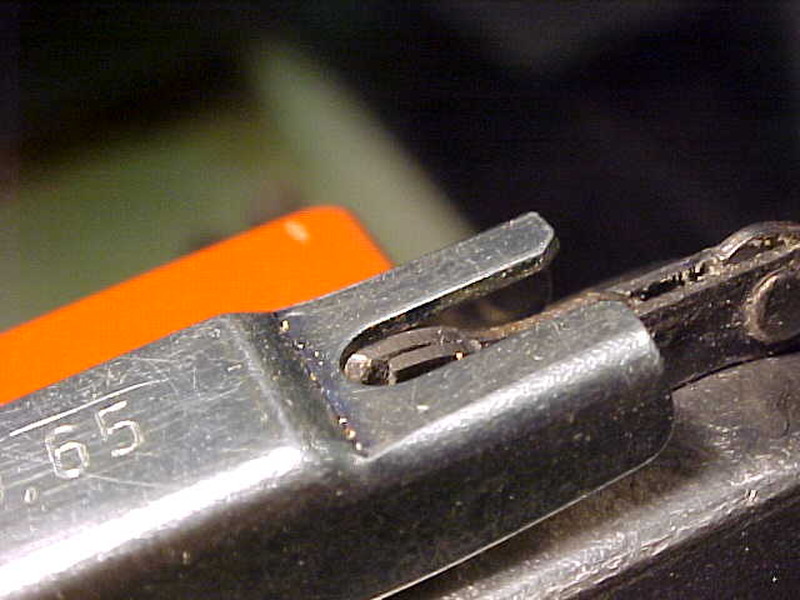
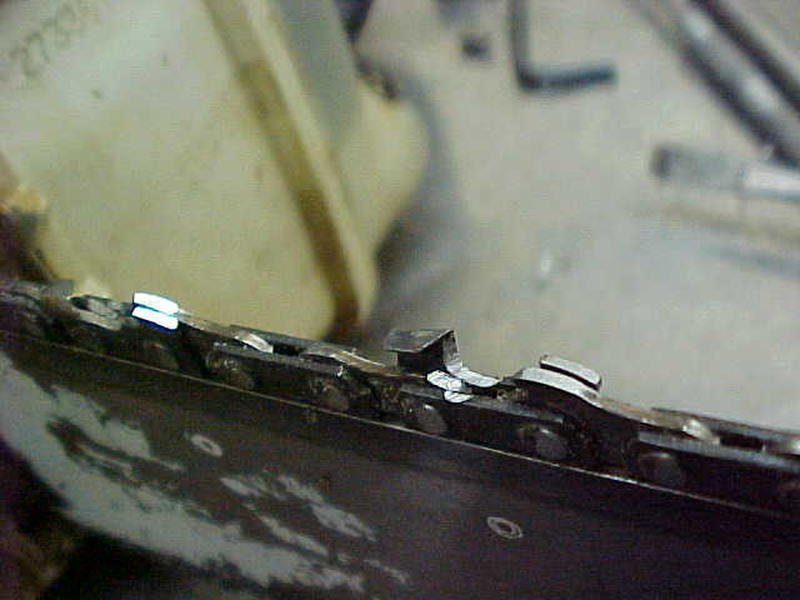
Here it is after. Quite a difference. It was VERY telling on how much it varied as I went around the chain and did them all. Some didn't touch so when I put it back on I don't know how much of a change I'll see. This chain has been sharpened a lot. I need to get a first time sharpened chain that had hard damage or something to where a lot of the tooth was take down at once.

MVC-011S_3.JPG


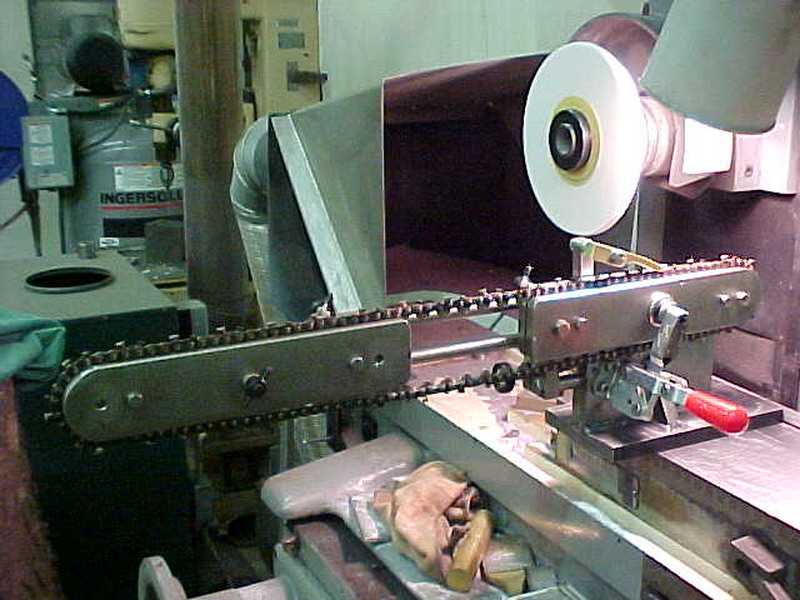
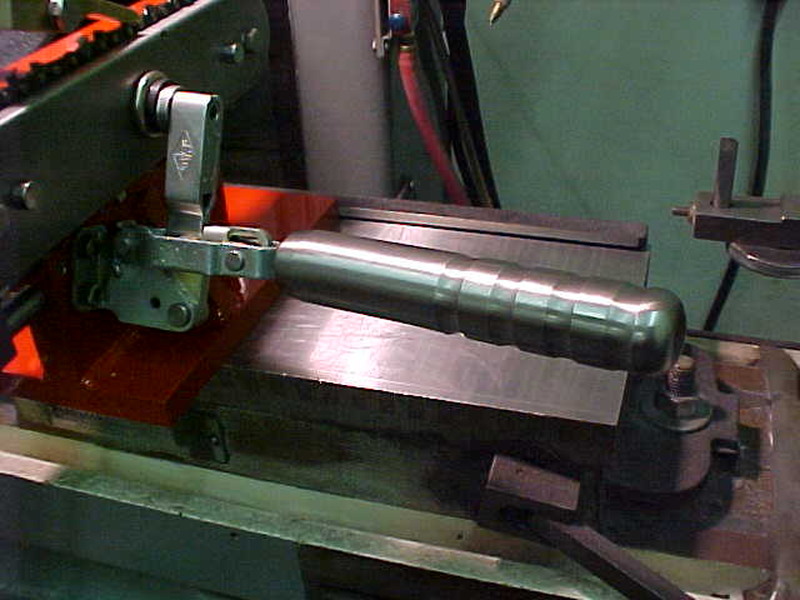
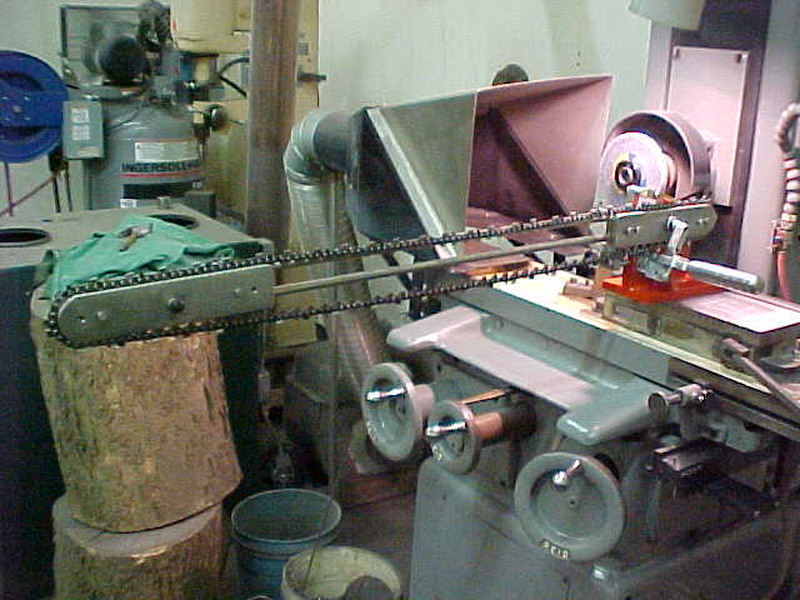
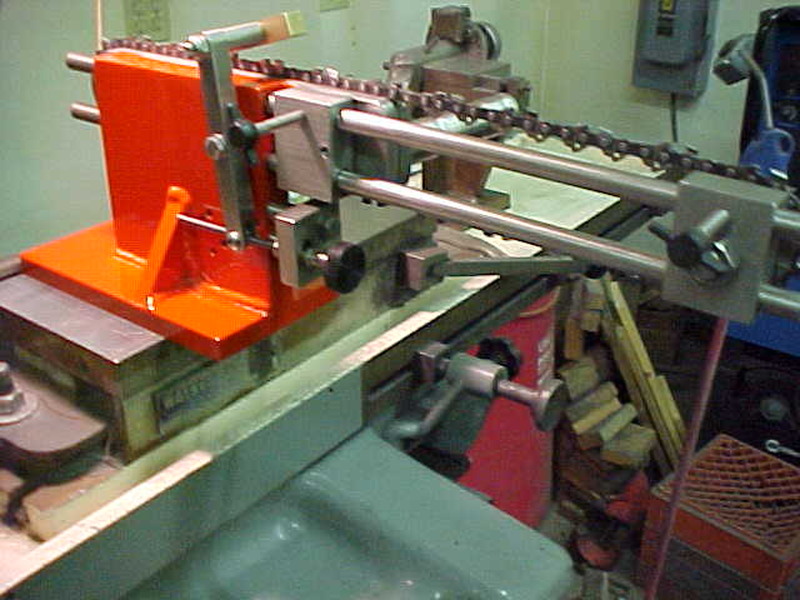
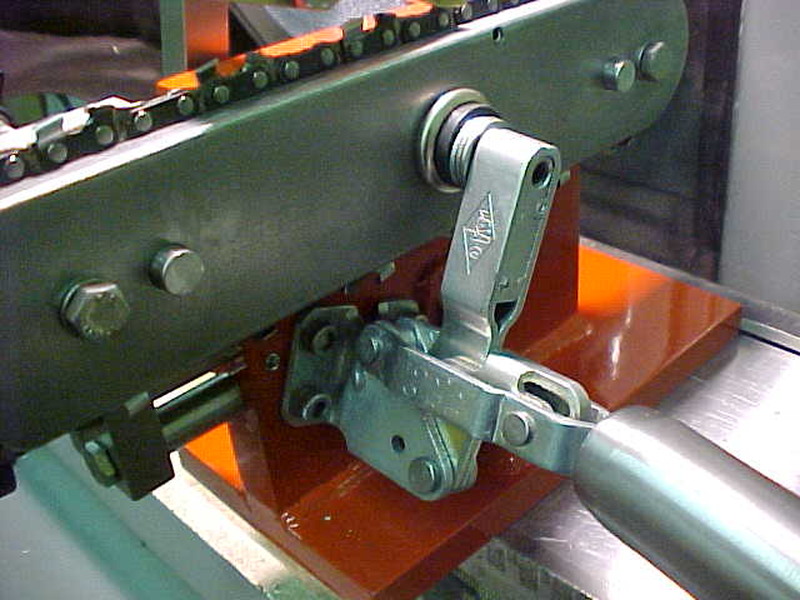
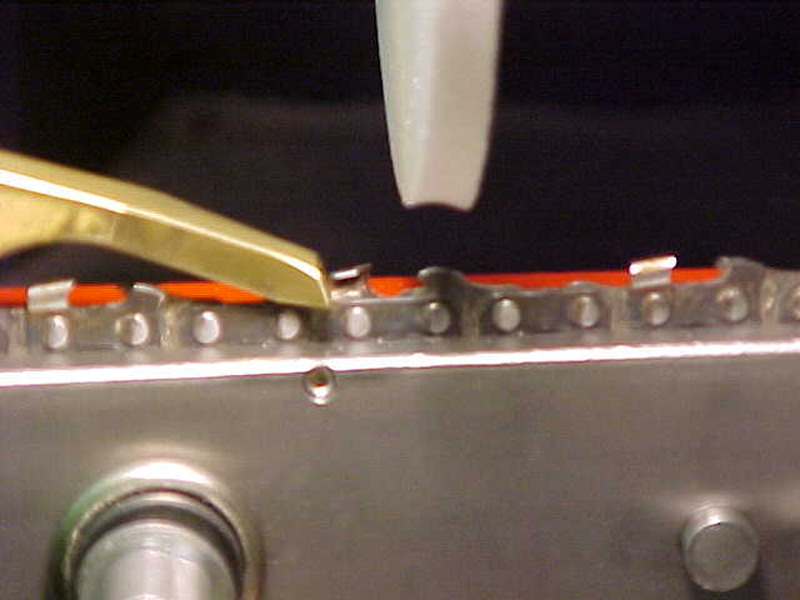
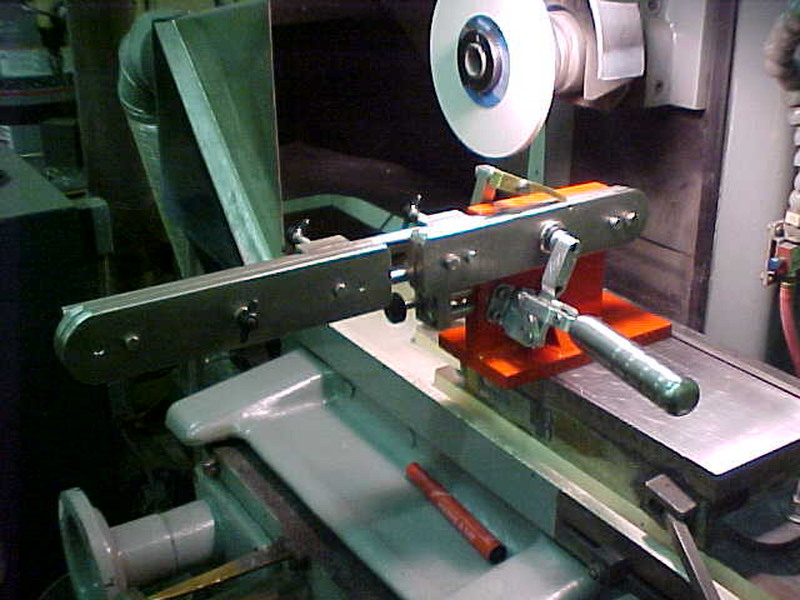
This is the set up for an 18" chain. Went really smoothly

MVC-004S_8.JPG


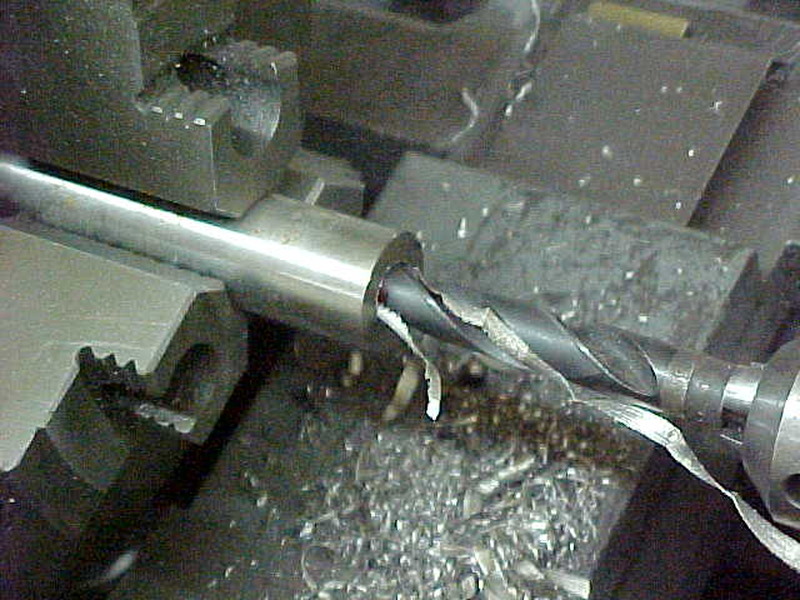
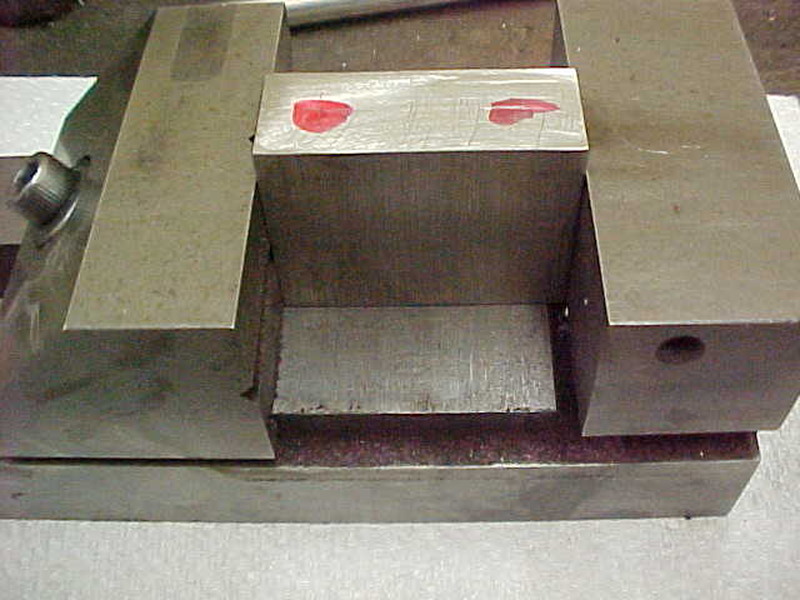
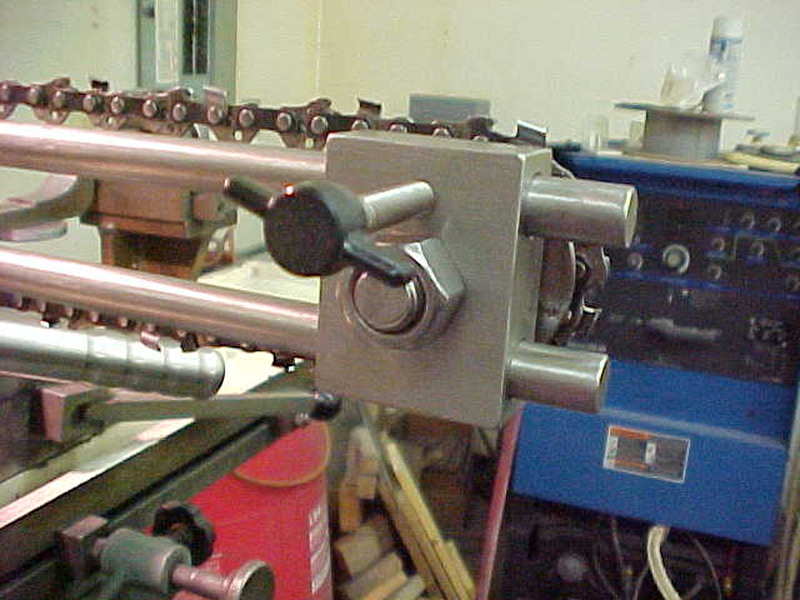
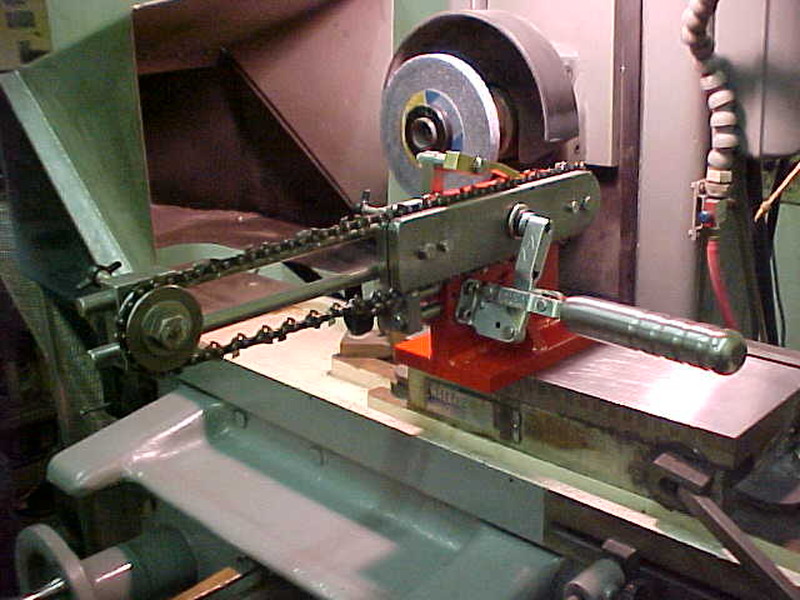
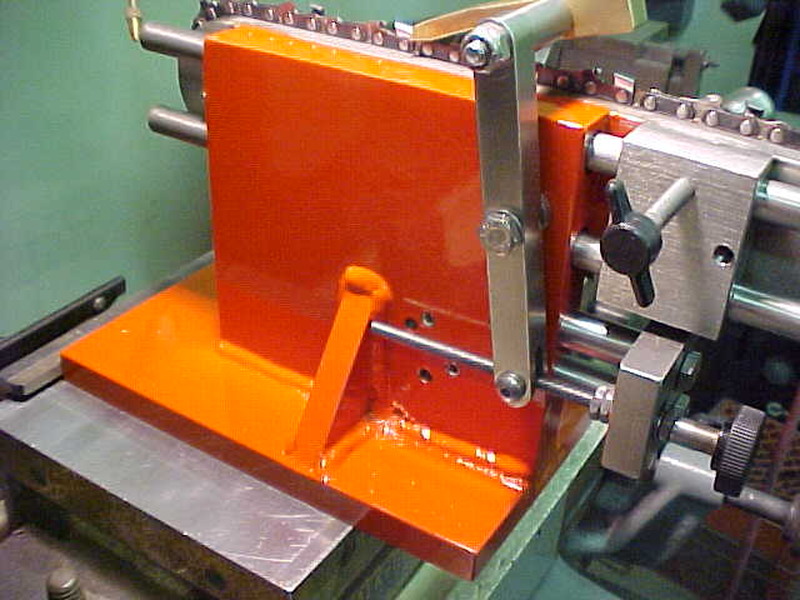
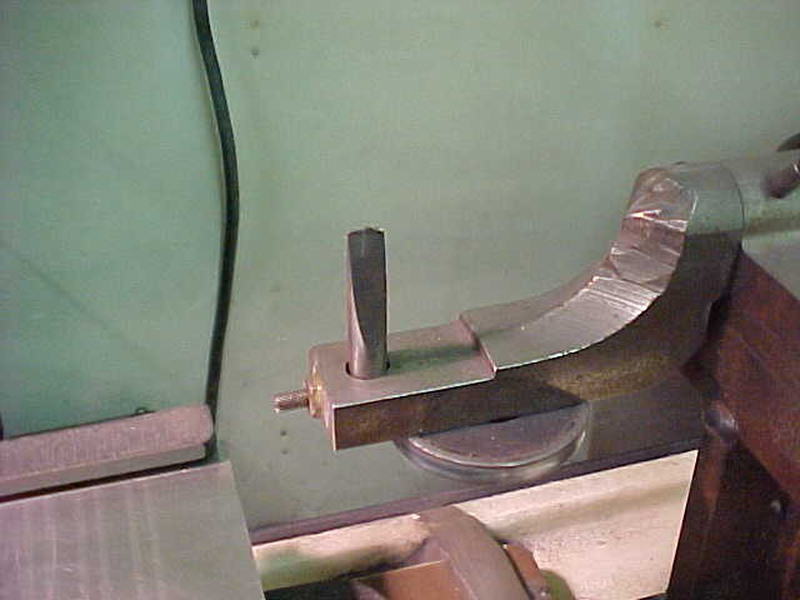
Decided I wanted a little bigger handle for the snap clamp. the clamps do wear out so I'll make the handle so I can reuse it. Drilling it here to slip over the rectangular shaped end.

MVC-005S_6.JPG


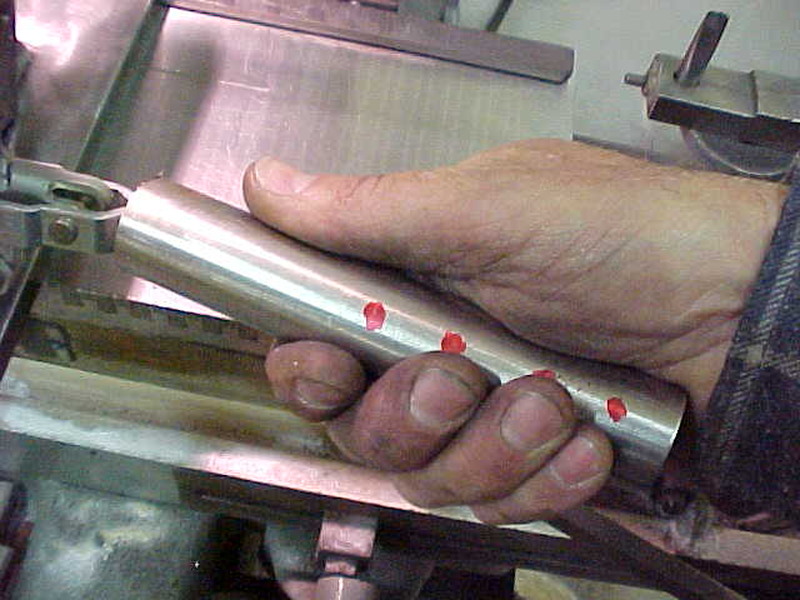
Slipped it over that and marked where my fingers normally would be. I marked those and will recess some there for a grooved type grip.

MVC-006S_7.JPG


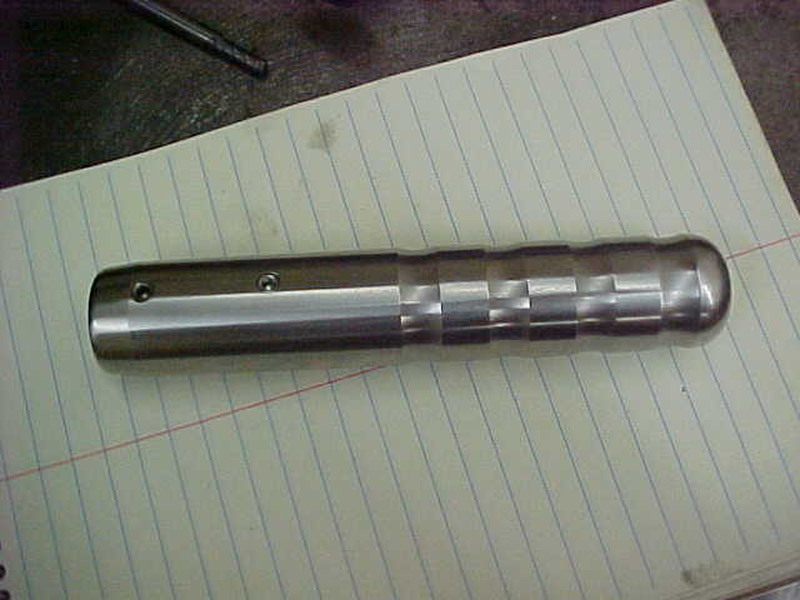
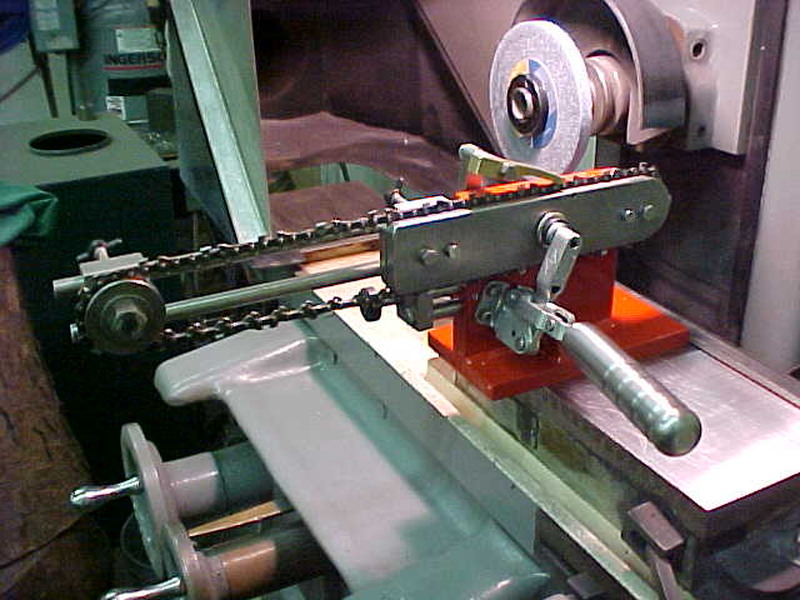
Drilled and tapped for a couple set screws to hold it on and rounded /angled the ends as well.

MVC-014S_2.JPG


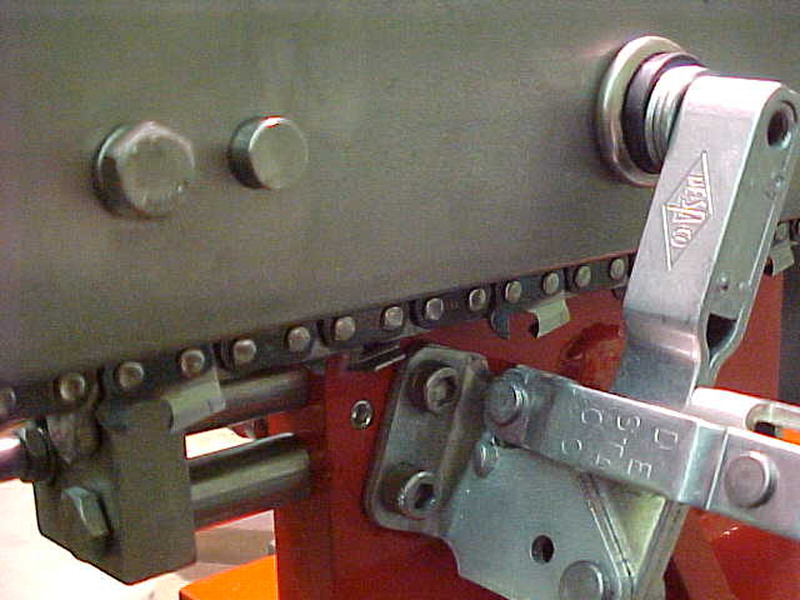
Handle makes it have a nicer feel too.

MVC-007S_6.JPG


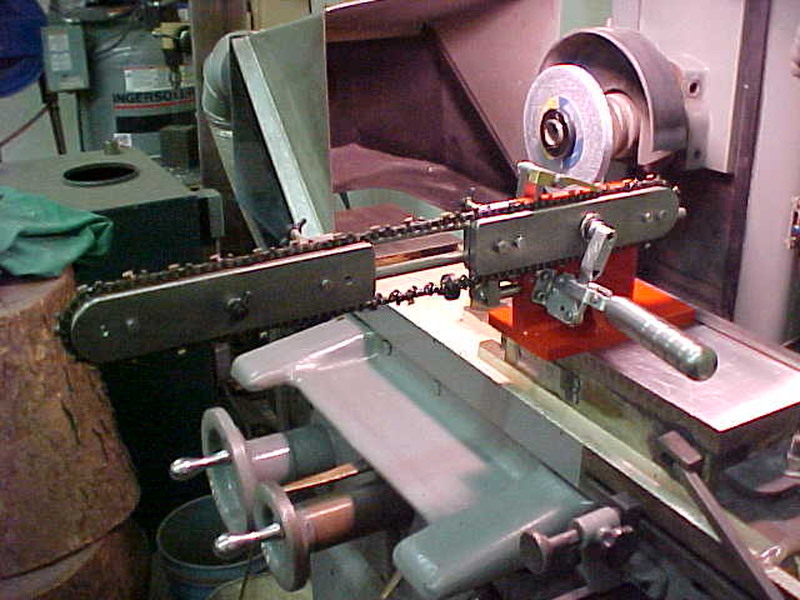
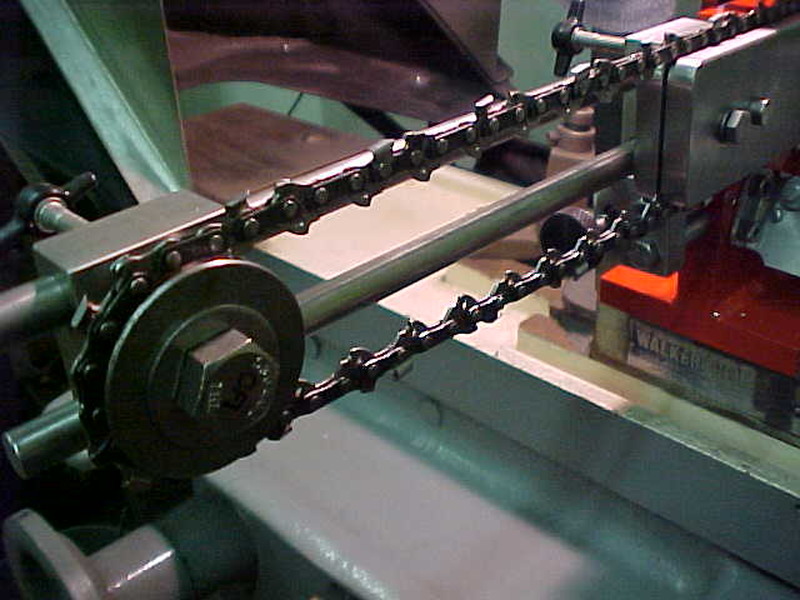
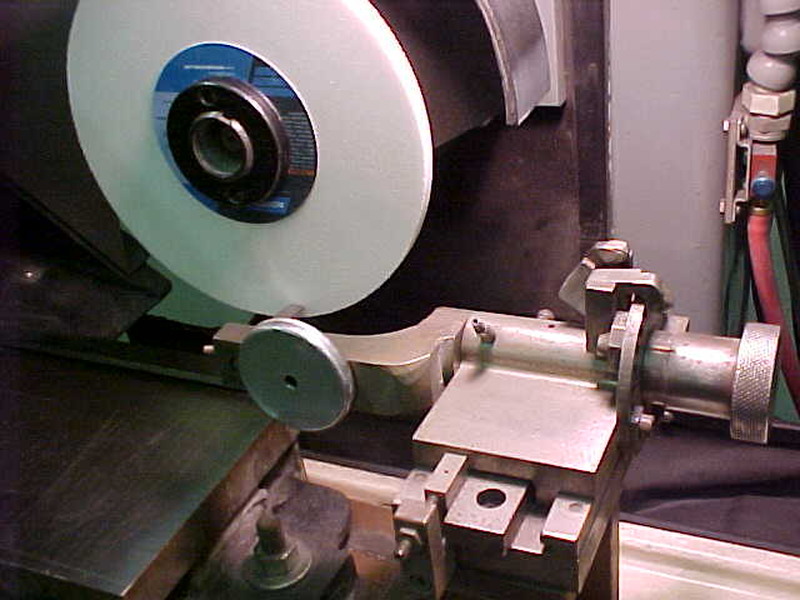
For short loops I thought I'd just let them hang but it is so much nicer to have them taught ads it indexes easier. Going to make up a roller assembly for those. Started by duplicating another slide block from the same bar as before.

MVC-008S_5.JPG


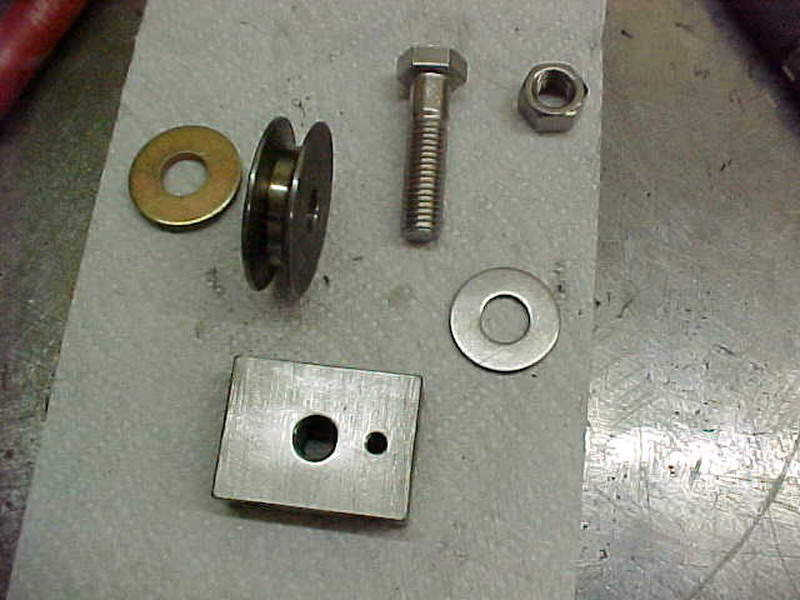
Found an old belt pulley with a .500 center hole. I drilled and tapped for a slide bar hold, then drilled and tapped for a 1/2 course thread. This way I can thread it in and use a single nut to lock it on, allowing the pulley to spin freely.
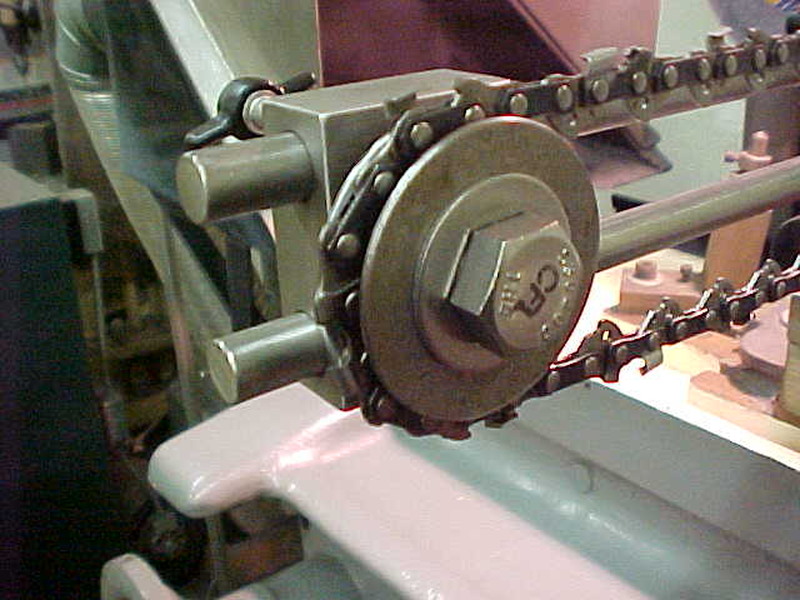
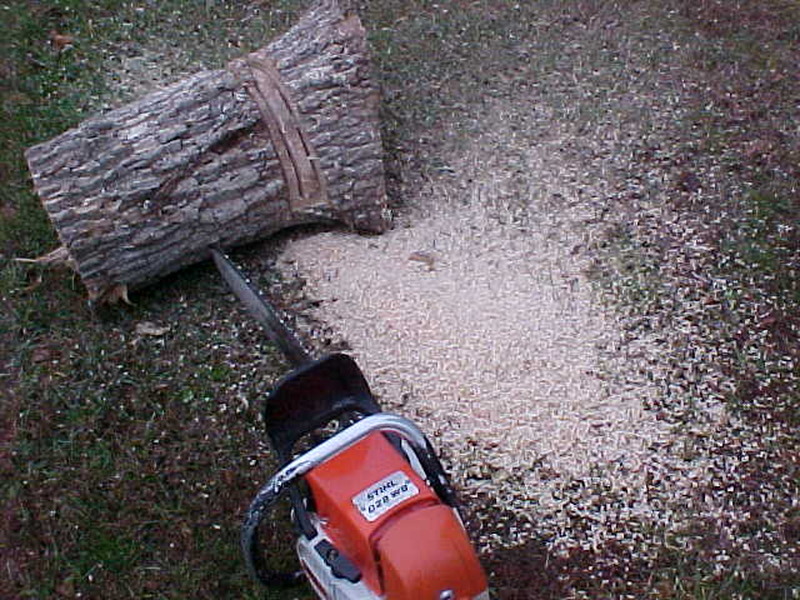
MVC-009S_6.JPG


Works like a charm
 
Over-the-top machine work - Looking more and more like a nuclear version of the Chainmeister!

Would like to see a video of it at work if possible. Is the chain advanced manually? Does your machine automatically follow a programmed raker curve/profile? Will this fixture work with low-kickback chains?

Thanks!

Philbert

Can't do videos. Heck, I don't even have a cell phone! Chain is advanced manually to the stop. Push down, pull back and clamp. Grind it to the number. I'll explain the dressing of the wheel in the next upload.
 
MVC-019S.JPG


MVC-015S_1.JPG


MVC-023S.JPG


MVC-024S.JPG


MVC-001S_10.JPG


Put the first chain on the 028 and was actually surprised that I noticed a difference. Much smoother than before. I did not resharpen the chain as that was all ready done on the initial test, just evened and rounded the rakers.

MVC-002S_10.JPG


Some did not clean up so it can only get better if I use this all the time. I set this chain for .030 depth cut. Some fines in there but I'm pretty confident it will change when I get a complete, even grind.

MVC-003S_9.JPG


So far so good as this chain was probably about 1/2 to 2/3's gone.

Heading out now to try a Picco chain which will be a different wheel dress.
 
MVC-012S_4.JPG


Here is a not to scale drawing of what Stihl RS has for it's rakers. .210 Radius with an .030 cutting depth. I dress a ..020 flat into the wheel and shoot to have no more than .010 on the raker itself.

MVC-013S_5.JPG


This is how Stihl .042 Picco is set up. Again, not to scale. There is a .015 straight wall on the far right before you hit the strap. .025 cutting depth. I'll attempt to duplicate this now. Not on the drawing but they use a .350 radius on these rakers

MVC-003S_10.JPG


First thing I do is set my radius dresser to .350 above centerline. I use a chisel diamond and have set this dresser up after I got the machine. This system makes it easy to get what you want without having to use gauge blocks.

MVC-004S_9.JPG


Diamond set so we are ready to proceed.

MVC-005S_7.JPG


This will be easy as I want the total width of the radius to be .250. I just get a .250 wide wheel so no side dressing is needed. First I touch off on the front side.

MVC-006S_8.JPG


Then I zero out the Y axis.(infeed)

MVC-007S_7.JPG


Then I swing the dresser arm 180 degrees and touch off on the backside of the wheel.

MVC-008S_6.JPG


Here is that number.

MVC-009S_7.JPG


On this readout I hit Y then CL (centerline)
 
MVC-010S_5.JPG


This automatically splits it in have to where if I now dial to zero, I'm in the very center of the wheel. Handy feature for numerous things.

MVC-011S_5.JPG


Dialing into zero, I'm now in the center as you can see.

MVC-012S_3.JPG


My centerline is off .031 if you do the math from Stihl's set up so I move off that amount to dress the wheel.

MVC-013S_4.JPG


Swinging the dresser arm 180 degrees, I go down till it has dressed as much as it can. Then zero out the downfeed. You can see here it is off center now

MVC-014S_3.JPG


Now i'll set the position of the wheel to the raker. I'll go the long way so you can see how the math works. First I dead wheel to the edge of the cutter.

MVC-015S_2.JPG


This is the number there. Now I have a reference to work from.

MVC-016S_1.JPG


Now if I add 094 to the previous number, that will put the centerline of the dress over the tip of the centerline of the cutter.

MVC-015S_2.JPG


This is the number there. Now I have a reference to work from.

MVC-001S_12.JPG


Here you can see that it looks like they are in line.
 
MVC-002S_12.JPG


Now I minus .270 from that number and this should put me where I need to be. I know you don't have to do these steps but I'm just showing the reasoning as to how/why you do it.

MVC-003S_11.JPG


MVC-003S_11.JPG


With this done my infeed is set and looks correct. Now we are ready to grind. This process looks like it takes a lot of set up when in reality to very quick to do.

MVC-004S_10.JPG


This chain is a little over a 1/3 gone and rakers need adjusted. I ink it up prior to grinding to show removal.

MVC-005S_8.JPG


Reground to original spec.

MVC-006S_9.JPG


I double check with a gauge and write my downfeed number down. I simply reindex, clamp dial up and back down to this number on every one.

MVC-007S_8.JPG


Here's checking it with a gauge. they all repeated very well.

MVC-008S_7.JPG


Someone asked about then weight. as it sits right here it is 23 pounds.

MVC-009S_8.JPG


Put the chain on the saw and ready to try it out.

MVC-010S_6.JPG


Using a 192 rear handle and happy to say the chain cut like a new one. No chatter and smooth cutting with very nice speed. Saw basically self feeds as it should.


Very cool build. I was curious how you were going to grind the rakers with the contour. . It all makes sense now.

I was thinking about playing around with different contours or just angles but it does so well I'm not leaning towards that anymore. Once it is dressed out you can do a LOT of chains before it needs redressed because you are taking off so little with a 7 inch wheel. I did 10 today and really no sign of difference. It was less than .001 wear in that amount of chains.
 
Extremely impressive Kevin.:clap:

I couldn't visualize where you were going till it was all put together.
 
Got around to doing all my spare chains (15) today and was asked to show before and afters on a used up chain. This is an 043 Picco going on a 192 rear handle with a 14 in bar. Chain was sharpened and the rakers had been flat ground by hand prior to grinding and were a little varied but had at least .020 depth. most were .025. Sawed first and it did okay but chattered some.

MVC-001S_11.JPG


Before

MVC-002S_11.JPG


After

MVC-003S_12.JPG


Before

MVC-004S_11.JPG


After

MVC-005S_9.JPG


Before

MVC-006S_10.JPG


After

MVC-007S_9.JPG


Before

MVC-008S_8.JPG


After

MVC-009S_9.JPG


Before

MVC-010S_7.JPG


After

When it was done Test running the saw yielded hardly no bounce and chips were nice and consistant. Even with a pretty used up chain it was cutting like new again. One thing With this chain the finish number was .018 deeper than a 2 time sharpened chain.

I also have noticed how varied the factory stampings are. That really surprised me. When I say that I mean how sometimes the wheel will only take stock off one side of the 2 halves. It's straight but it made me wonder. Some chain runs seem to be a little different so maybe its a die wear thing or different supplier.
 
When I sharpen chains on grinder, I always check that the cutters on both sides are the same. Even though the manufacturer claims that the vise is 'centered', each side is hit with a slightly different part of the curved wheel. Same thing with depth gauges. Grinder instructions say to do all of the L and R depth gauges together: I like to do all of one side, then check the other side, to be sure that they are taken down to the same height.

Philbert
 
Back
Top