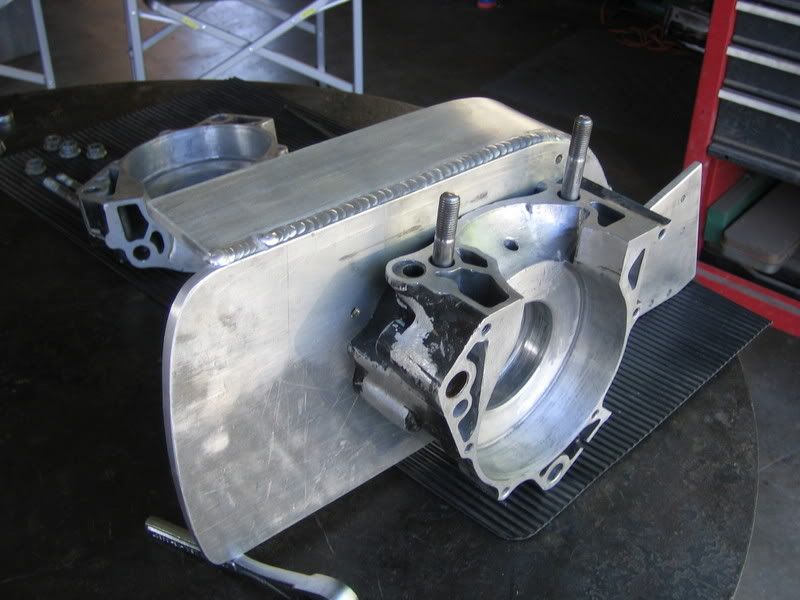
056mag2 project underway... part one of many

Arborist Forum

Help Support Arborist Forum:

This site may earn a commission from merchant affiliate links, including eBay, Amazon, and others.
Great job

I'm watching your whole job Lake and its a great thread. Threads like this are makes this site so valuable to many. Keep it going ole feller, you got a good one going there, fine craftsmanship my man, fine indeed...
 
Hmmmm, Ok You are doing a fine job 1st time I seen this thread.
I like the part on the oil pump drive gears.
Poly paint is a strong paint when it cures.
What type of muffler paint is that, I use a 1200* paint.
Sure do like that seal puller, I put it on my, Gots to have list.
 
I use Duplicolor DH1602 - really good long lasting muffler paint. baking it in the oven helps the heat resistence - it's rated to 1200F.
 
The top handles...

I have a few... The problem with choosing an 056 as a project is that it was the backbone of serious logging in the PNW, and most got really used and used and then used up... and many got fixed with duct tape and bailing wire.. hey, Al was here...:)

attachment.php


They all have problems. Some minor (can be fixed), some cosmetic (edges broken, paint scratched up, names engraved into them), and some major - mount posts broken, serious cracks..).


Additionally, there's several different variations - all fit, but... The latest can be identified by a small guard by the trigger, and insert in the guard handle left mount, and other minor changes - like the inclusion of threaded hole on the right side to mount a heat defector to warm the carb air. Of course I want the latest verison that matches the Mag 2...


Switch guard - useful.. it is nice to not to flip the switch off while you're in the cut..

attachment.php


The front mount gets slogged out and busts of the tab on the left hand guard mount. The later version also had the option of a chain break, so they put a steel insert into the hand guard mount. You can modify the earlier versions the same way - need to source those inserts though.


attachment.php


I have one that has a bad crack at the handle mount (very common) and a screw that has the head broken off. I'll tackle that one... I want to try powder coating the entire handle so that rules out using epoxy for the repair - it will need to be welded. First get the screw out. For some reason these two top handle mount screws are always hard to undo and get corroded into the casting. They are also screwed in 25mm - long way for a 5mm Allen head.

attachment.php


First.. drilled the screw about 1/2 inch with a cobalt drill bit, soaked it for two days in penetrating oil, and tried an easy-out. No joy... just going to break off the easy-out.

Propane on the casting - heat it up real hot.. tried the easy-out again - nope...

I was pretty much on-center with ,my drilling, so I drilled the hole to almost full depth of the screw, then drilled it again with larger bit. Sometimes this helps. Not in my case AND the end of the drill (tip only) broke of in the hole.. no more drilling..


Next toy.... These are supposed to be used for woodworking to extract screws. I'll drill a core around the outside of the screw, plug it and make a new thread.

attachment.php
 
Handles continued

The closest one I had was 5/16 on the outer dimension. Slightly big, but...


Start by using it in reverse until it make a groove to guide, then you can go forward and start cutting, You'll need to stop every few seconds and blow out the shavings - there's no way to clear chips. Go slow...

Here it is just started:

attachment.php


5 minutes later - DONE..

attachment.php


attachment.php


The 5/16 hole is the exact size required for a 3/8-16 tap. I cleaned it up with a drill bit first, then taped the hole and was going to run a die down a piece of 3/8 aluminum rod to make a plug. I could have put an in thread insert BUT I can't assume it was on center, so this is the easiest way. Red loctite or spot weld will keep it in place.


I degreased the crack, stop drilled it, ground it all out to a v and got it all ready to take it to my buddy for a quick weld with his real nice Miller MIG


UH OH...


Crap happens... Not sure what the problem was, but... Next time I'll get the handles TIG welded..


attachment.php


Stop while I'm "ahead.".. It looks worse than it really is. I can still fix this nicely with epoxy, but can't go the powder coat route.. sigh... where is my second handle candidate..


Well... something good came out of the day... traded a couple of the refurbished mufflers and some other parts for a NOS side cover, with brake!!!!


attachment.php
 
Last edited:
Good work!

It looks as though that chainbrake cover uses two studs the same length. The last one I bought needed a longer stud at the rear. Any thoughts which is newer and if there are significant differences inside?


Good to see pictures of the different mufflers. I have been meaning to post a question about those. It looks as though the one that is only piped to the rear - presumably the "fire safe" model - is more strangled than the 045 and early 056 unit with a hole at the base. I would like to hear Dean's take on whether there are significant gains on an 056 Super by changing or modifying muffler parts.

Bad luck with the handle. Is it aluminium or has it a significant magnesium content? Looks like the latter from what happened.

Looking forward to the next installment.

Big feller.
 
I could have got one of those "long stud in rear" NOS type of covers, but the one I got is the latest. It looked to me that that your type was much more restrictive on chip clearance. I have a contact at Stihl that knows about these things - I'm going to ask him about your type of cover.

It an aluminum alloy.. I figure it just got too hot and then the wind (yep, welding outside) blew away the argon.


Yes, the pipe to the rear is the so called "fire-safe" version and the dual port is only supposed to be used in conjunction with the -501 muffler spikes, presumably to keep the wood a safe distance from the muffler exhaust. All the Mag2 had the dual port (reallly loud)mufflers.
 
The T27 can replace both the hex and the slotted screws. They are in many lengths, 4mm, 5mm and 6mm, with corresponding pitches. I'm pretty sure the M5 is 0.8 pitch. The heads are taller but it didn't make any diffference on the 056 - just be aware of it when replacing slotted head bolts.

I don't think you can get them anywhere except from Stihl. I've looked... and wish I could find some... You can get them used from anyone that breaks saws apart. Your Stihl dealer might have a bucket of used bolts.

Definitely a pain to get hold of but "Torx" are a copyrighted product of Textron I think.

If you are talking about Torx in general (not sure if you are) but try taking a Renault apart without Torx drivers.... you'll just about manage to get the wipers off.
 
oooh, nice blow-out with the welding. Doh!:help: Looks a bit like Terminator 3 after being hit with a shot gun.:p

Pity it wont morph back into shape on its own.

Keep it comin'.:popcorn:
 
Say,on that aluminum,die cast or straight,you have to have the metal perfectly clean,phsically and chemically.Any little tiny amount of grease,oil ,paint etc. will make it nearly impossible to weld with either MIG or TIG.I personally find the stuff a pain in the back sides to repair.
 
Yep... I did degrease it, trim all the paint and old oxidized metal off etc, but...

I've seen some awful looking welding on 056 top covers, but I won't be so quick to criticize in the future..

I need [want] to buy a TIG and practice, practice practice.. yep... :)
 
Nice work.. :clap: easy (o.k., easier) if it's not paper thin crap cast AL! I can show you worse... every tried to weld mag with alluminum wire? lololol

Did you ever get that thing cutting wood?
 
Last edited:
Back
Top