Axe restoration thread

Arborist Forum

Help Support Arborist Forum:

This site may earn a commission from merchant affiliate links, including eBay, Amazon, and others.
Well ,
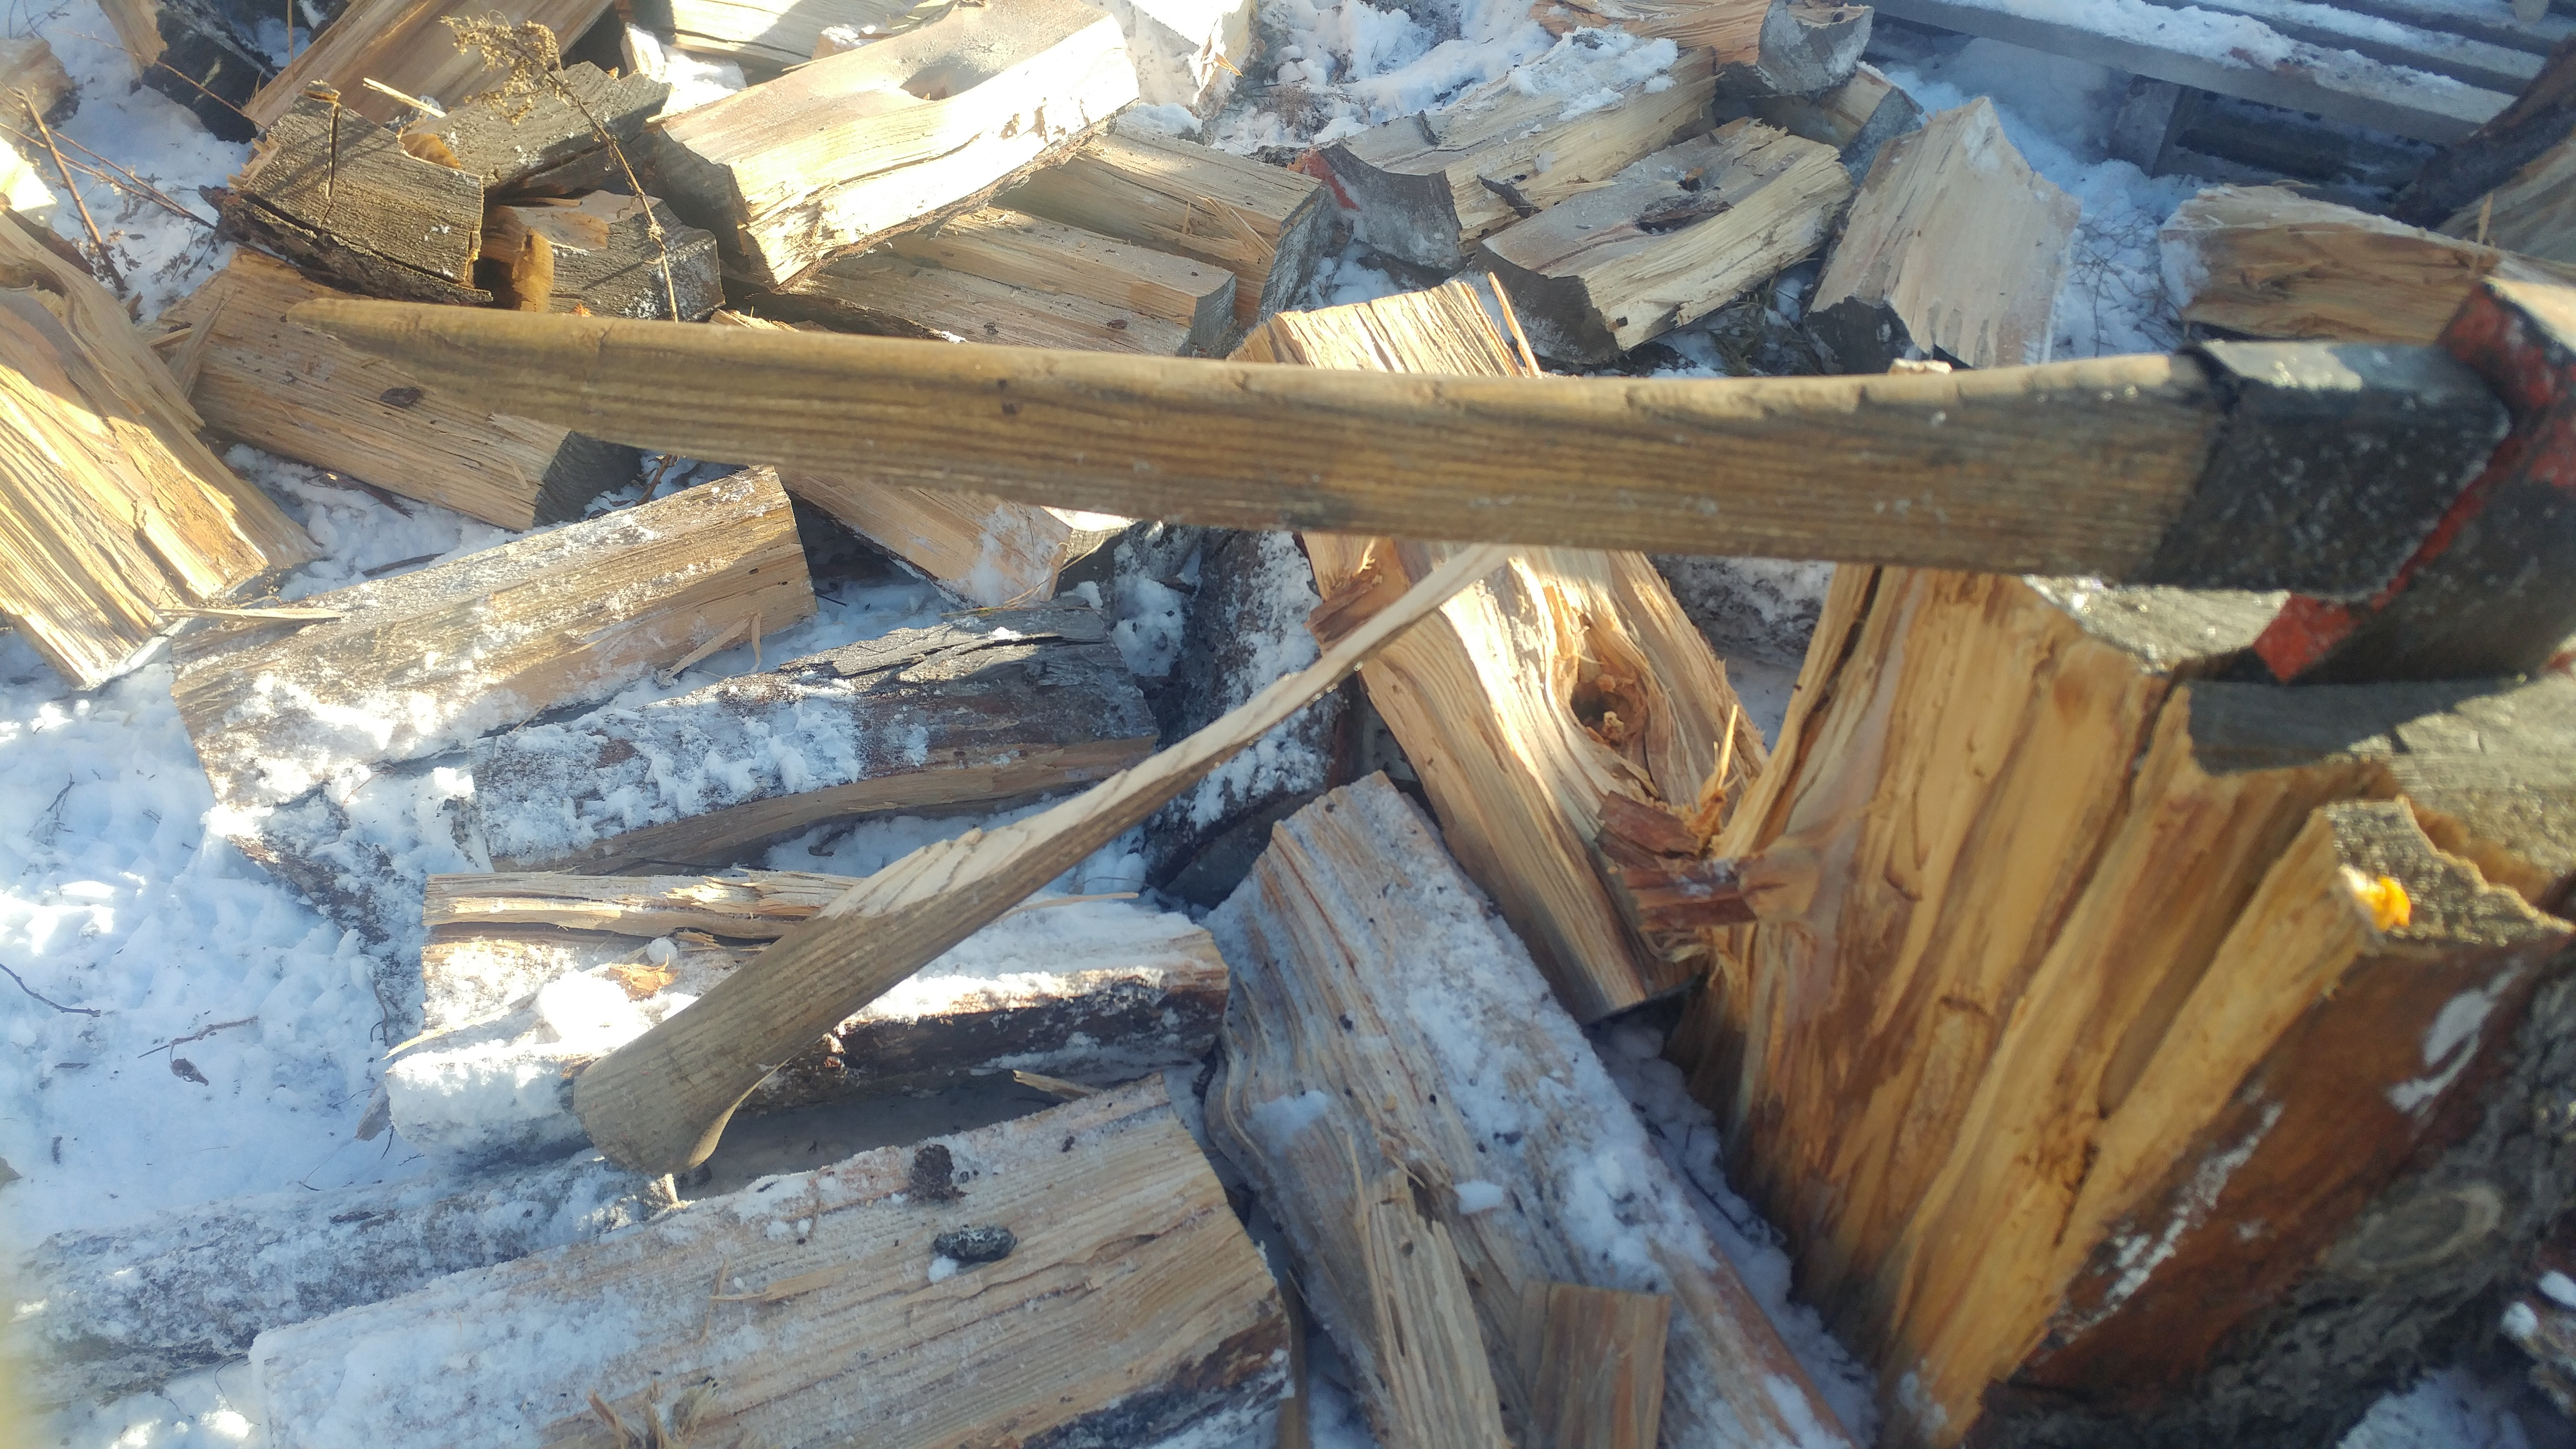
d3yk3E4.jpg

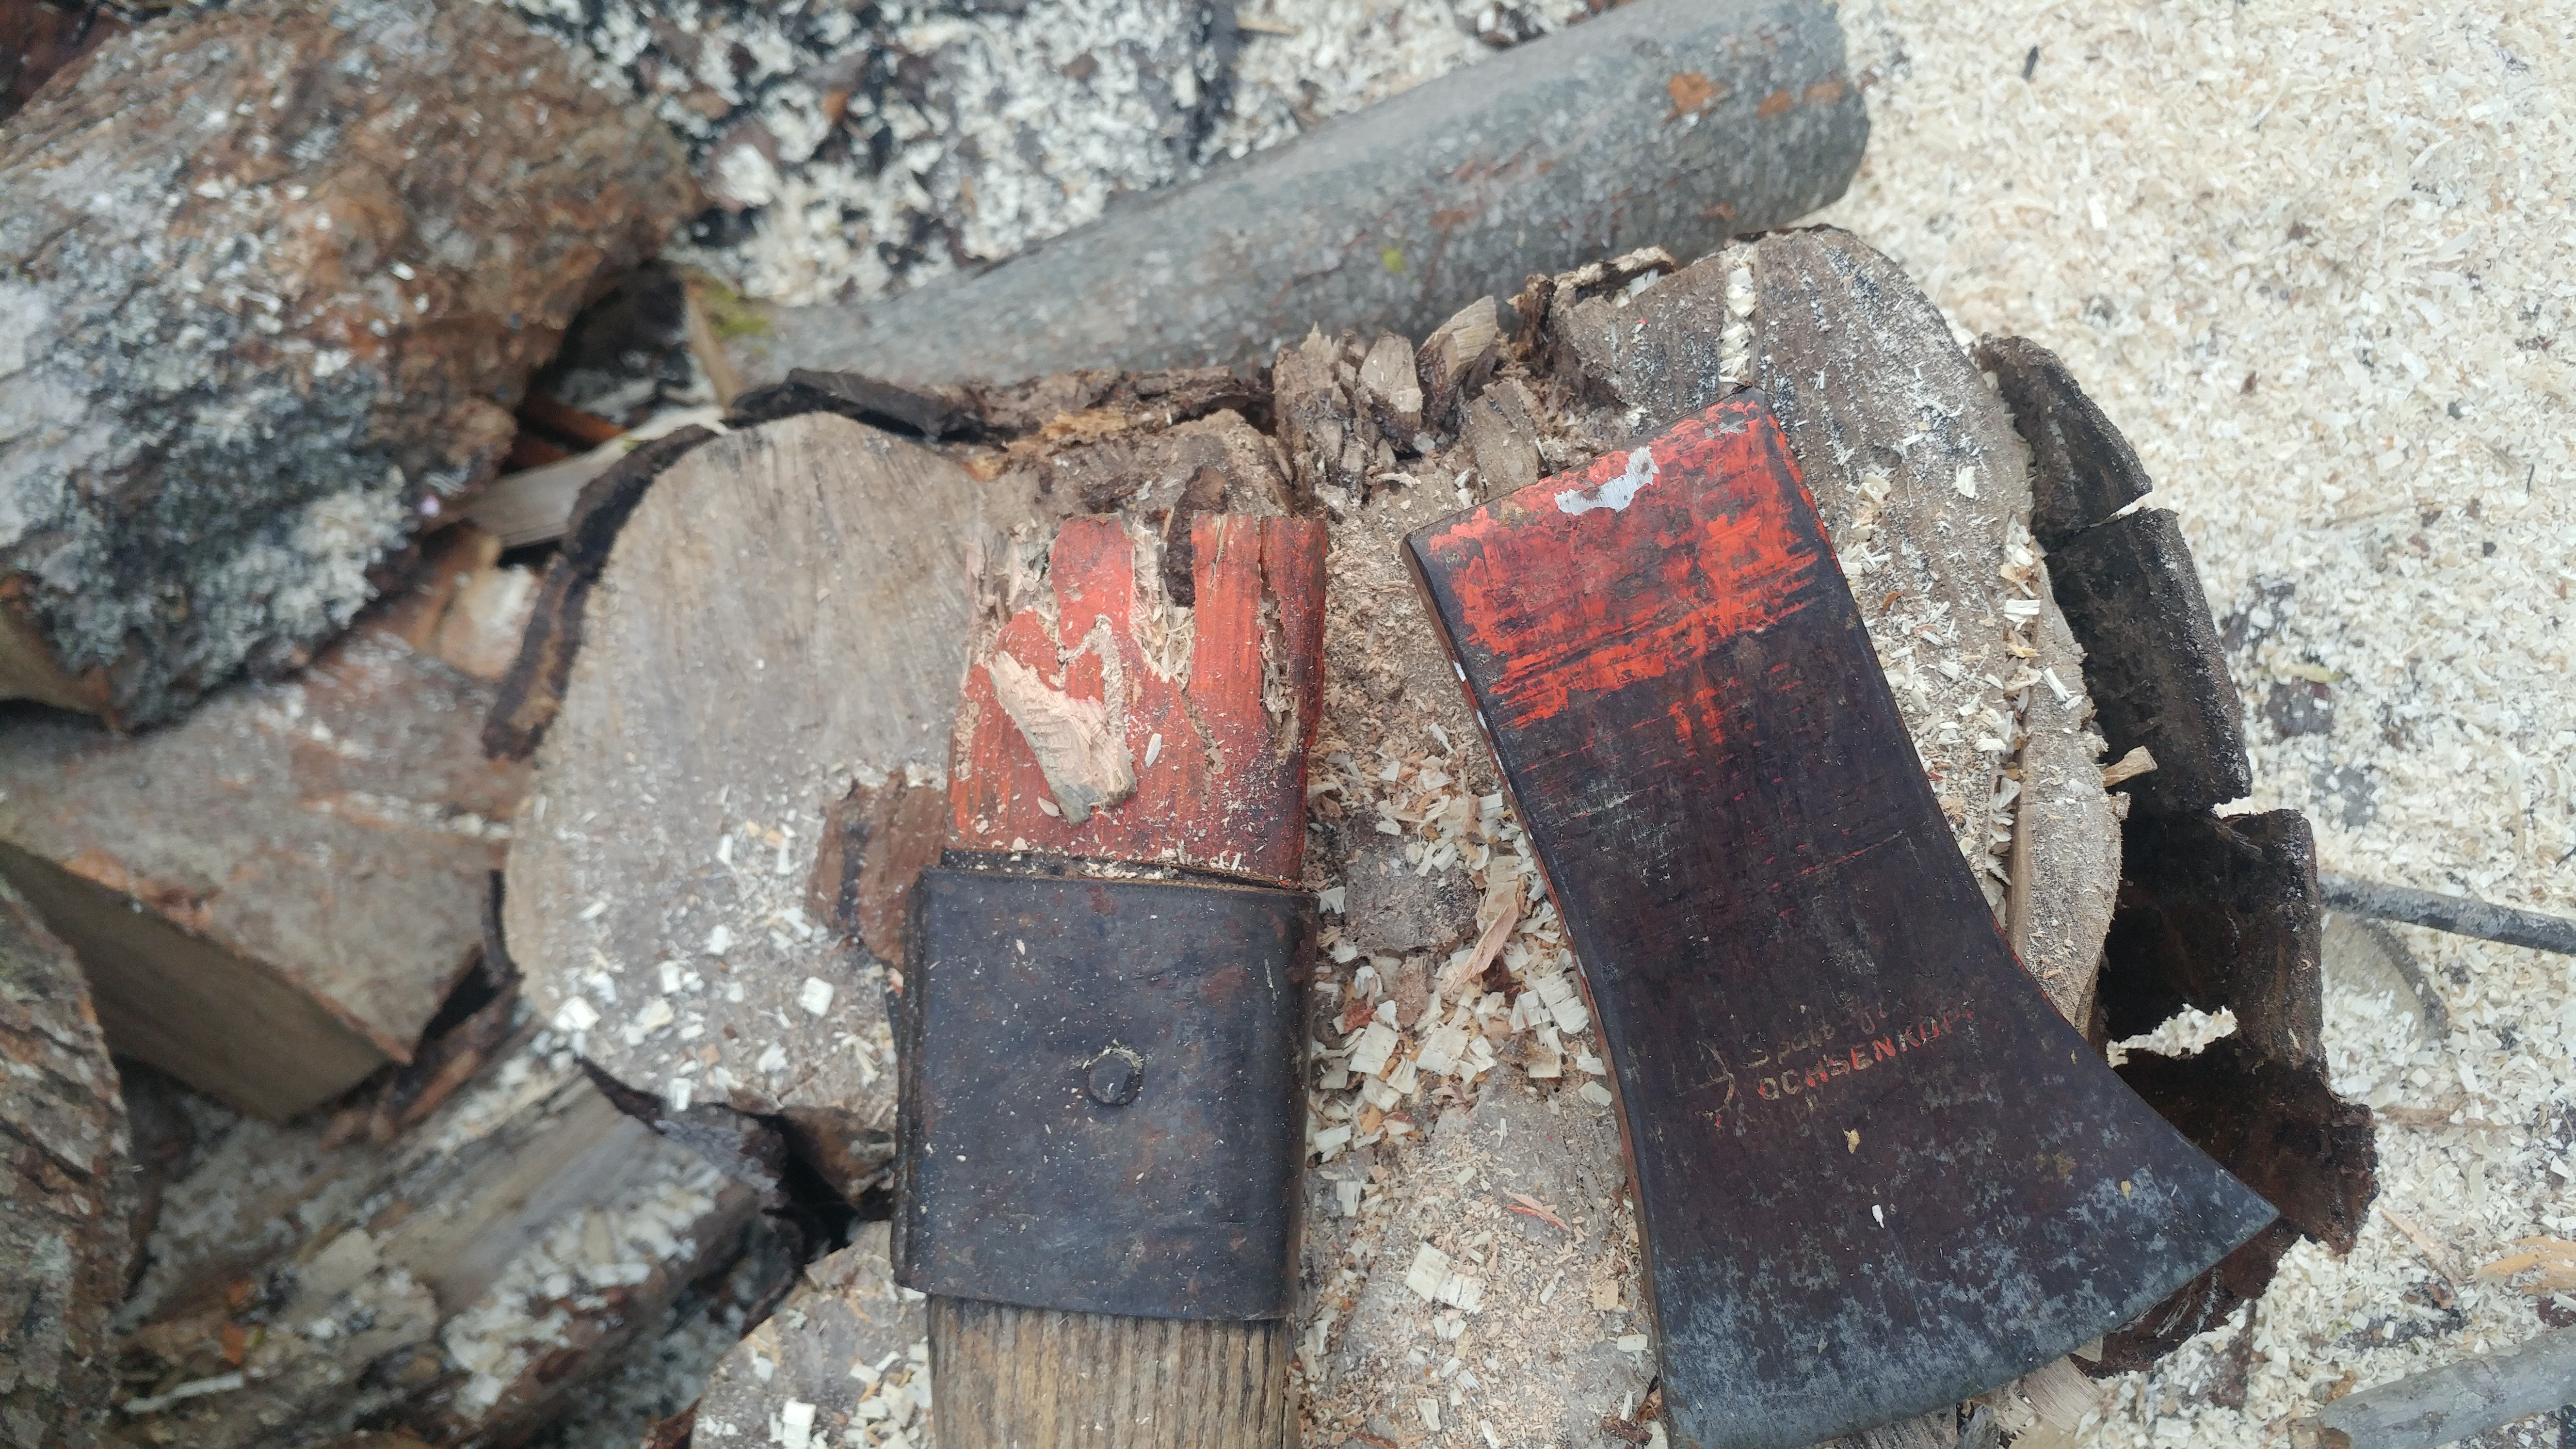
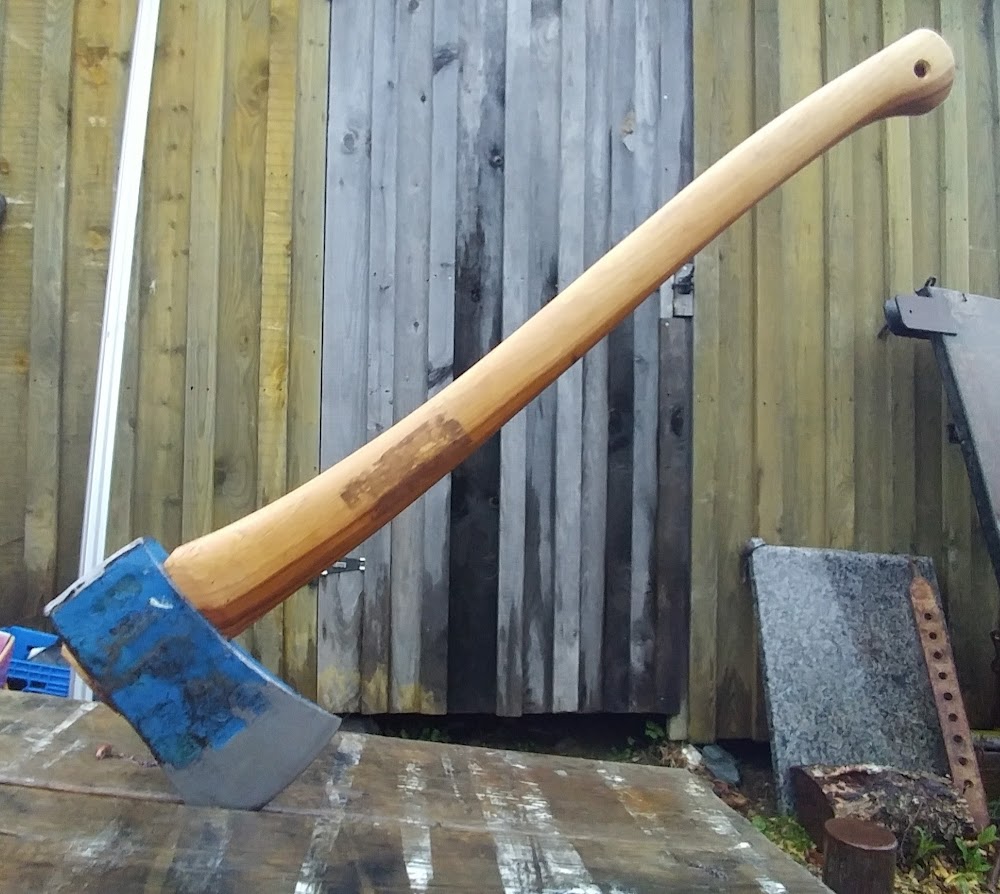
That was my favorite maul :(
So a stop in at LeeValley and I picked up a replacement haft . I found it quite reasonable at 22$ .
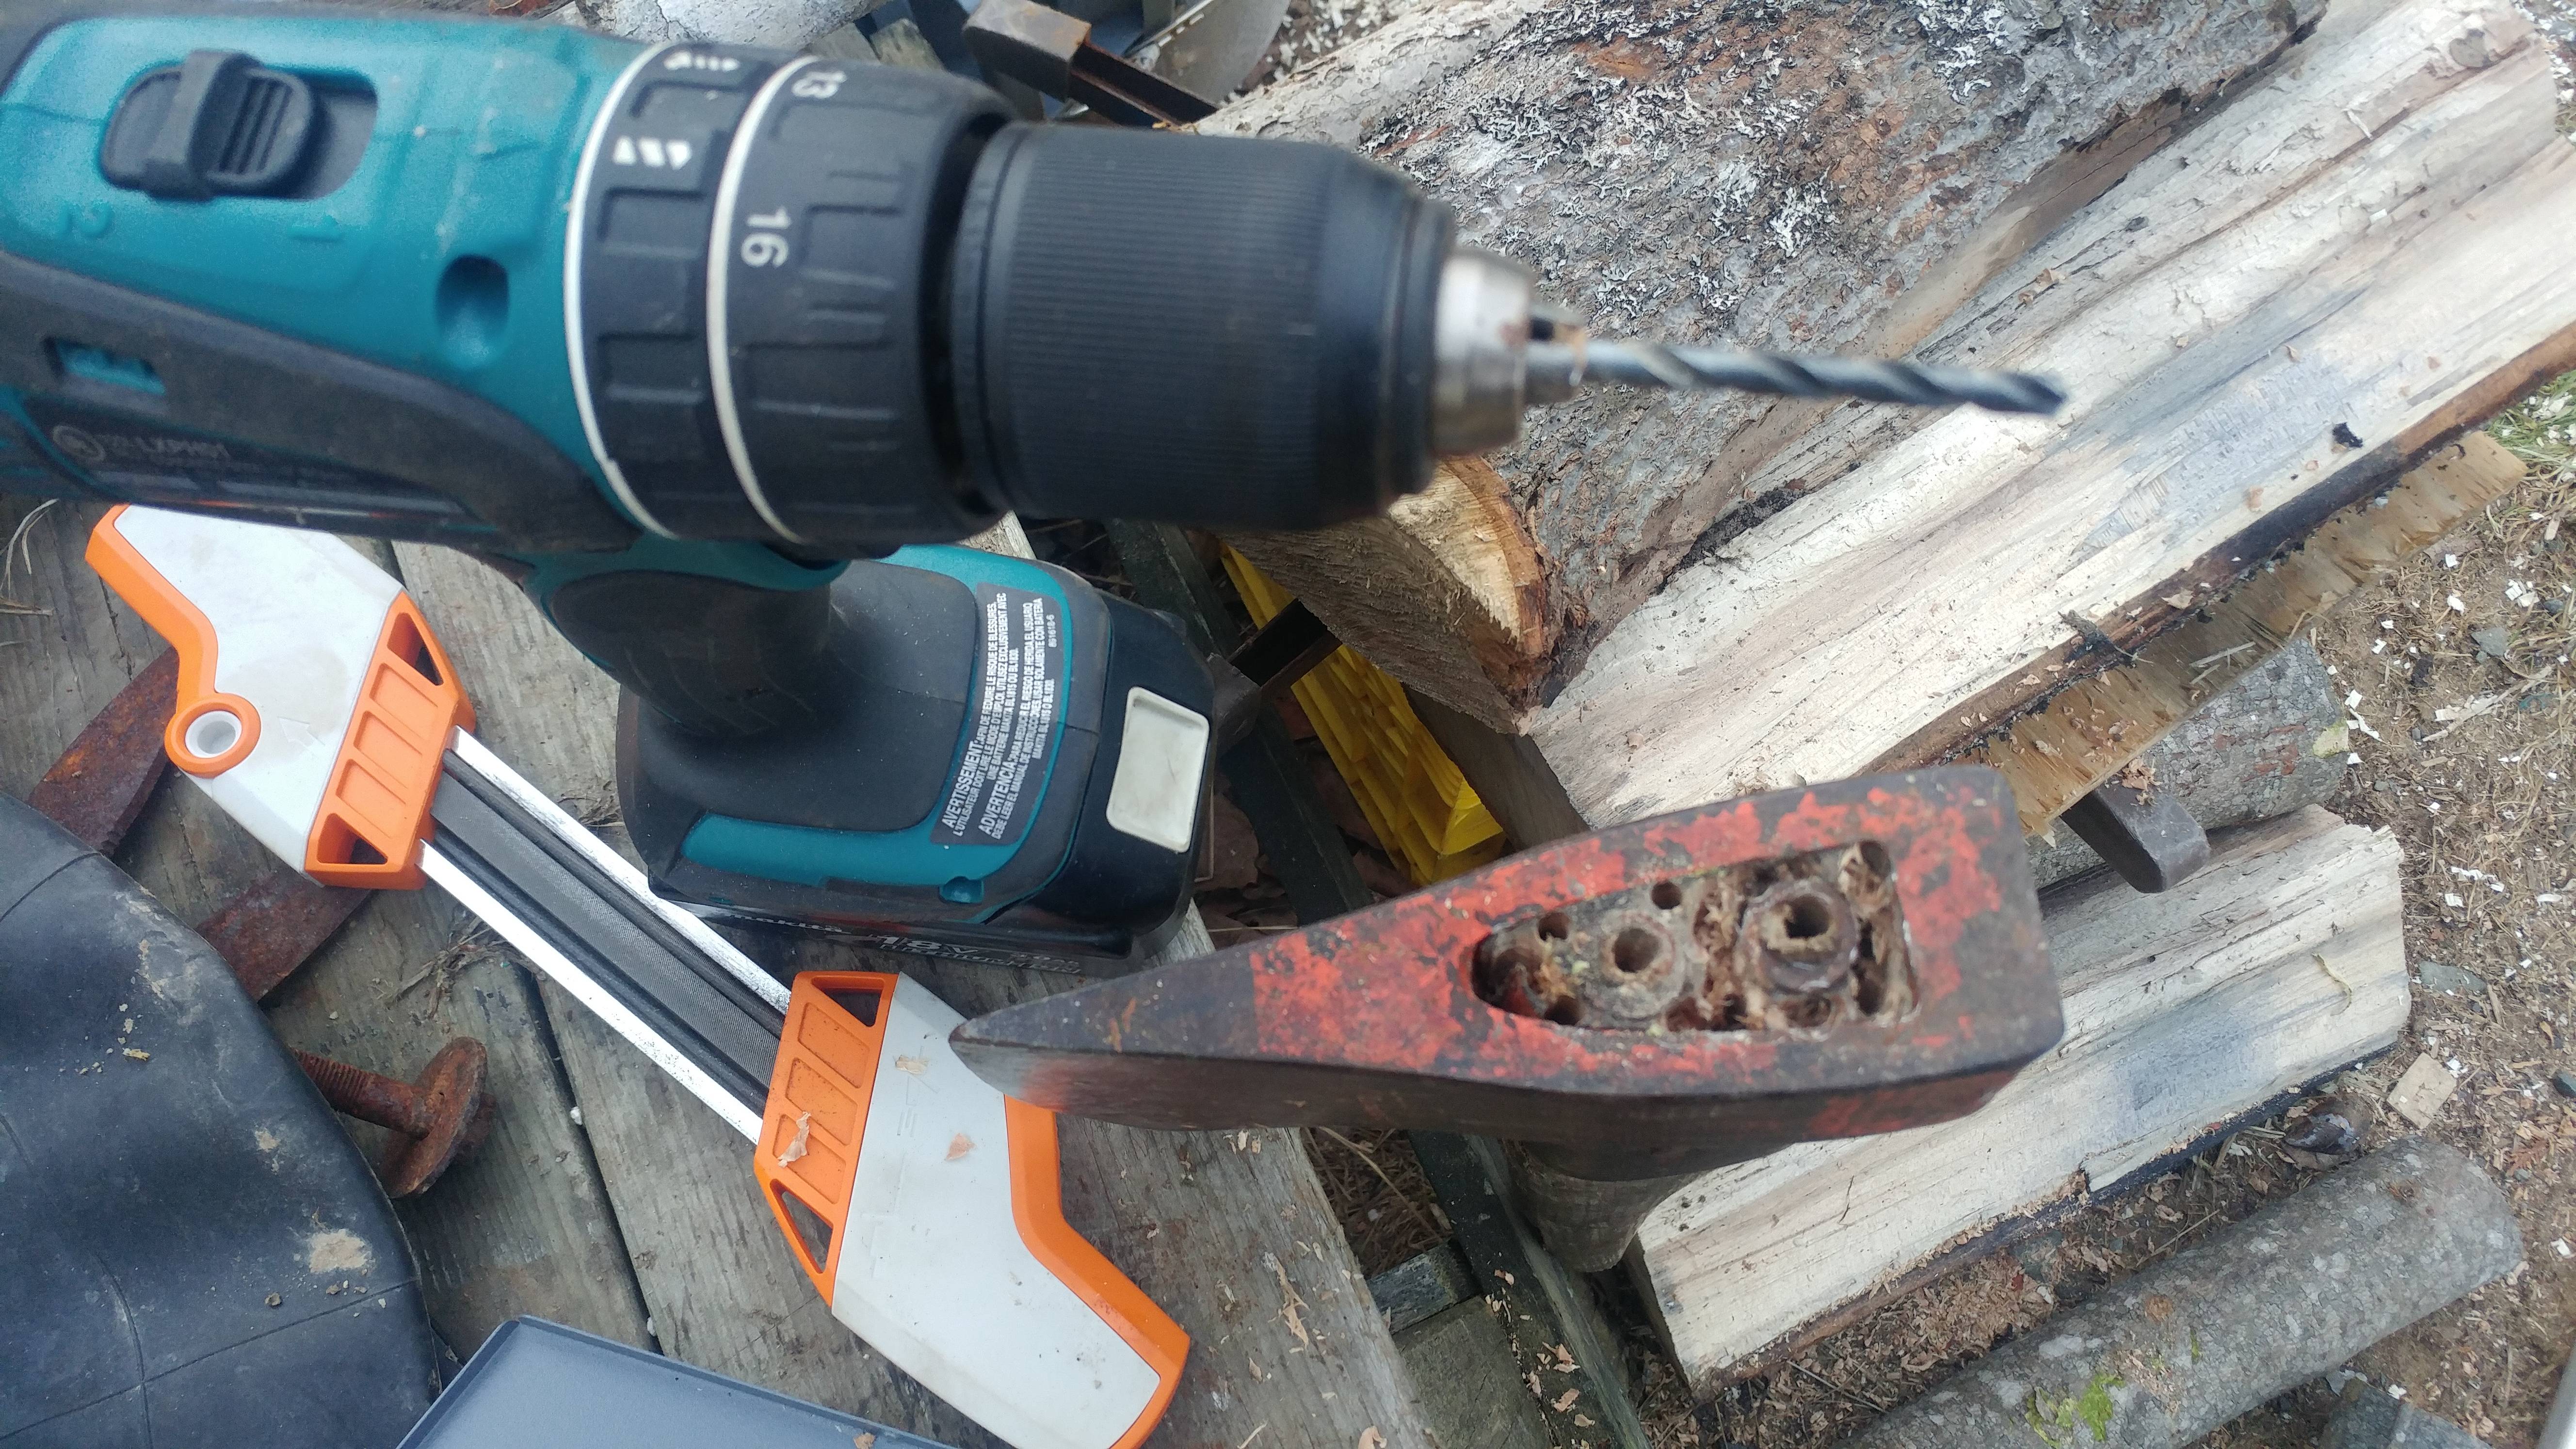
First up , how to deal with these ,
1NncNWx.jpg

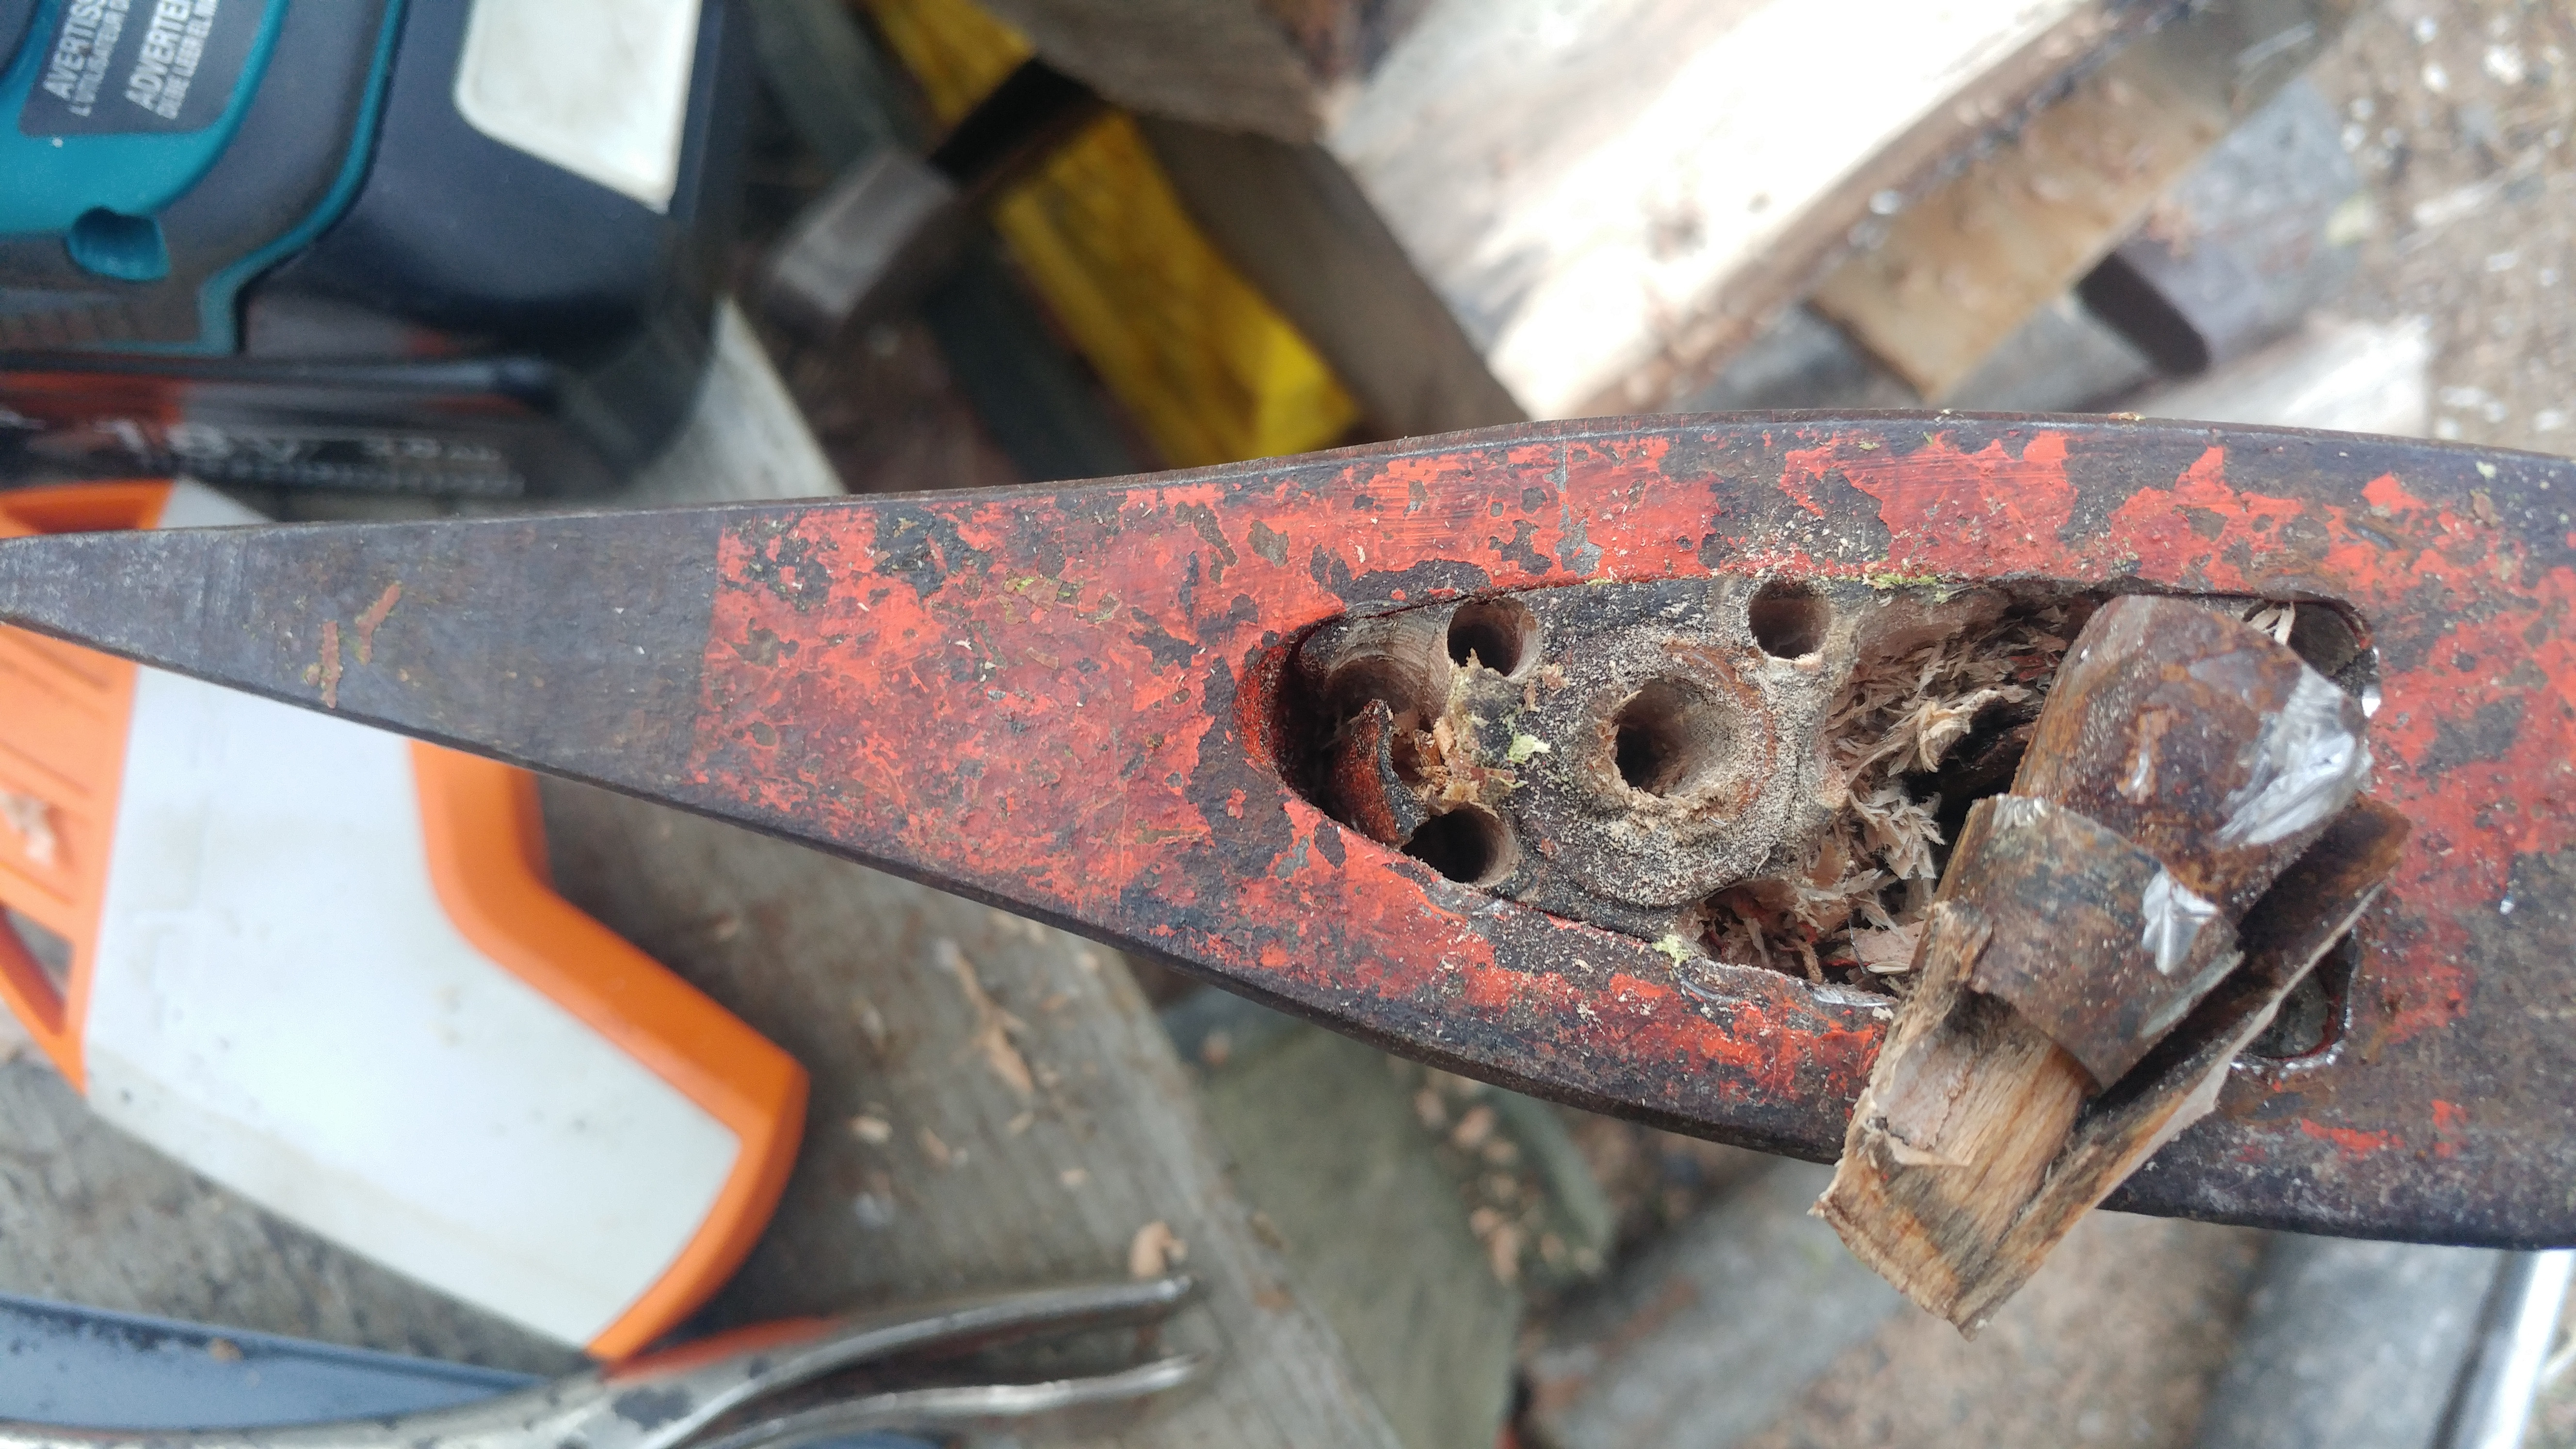
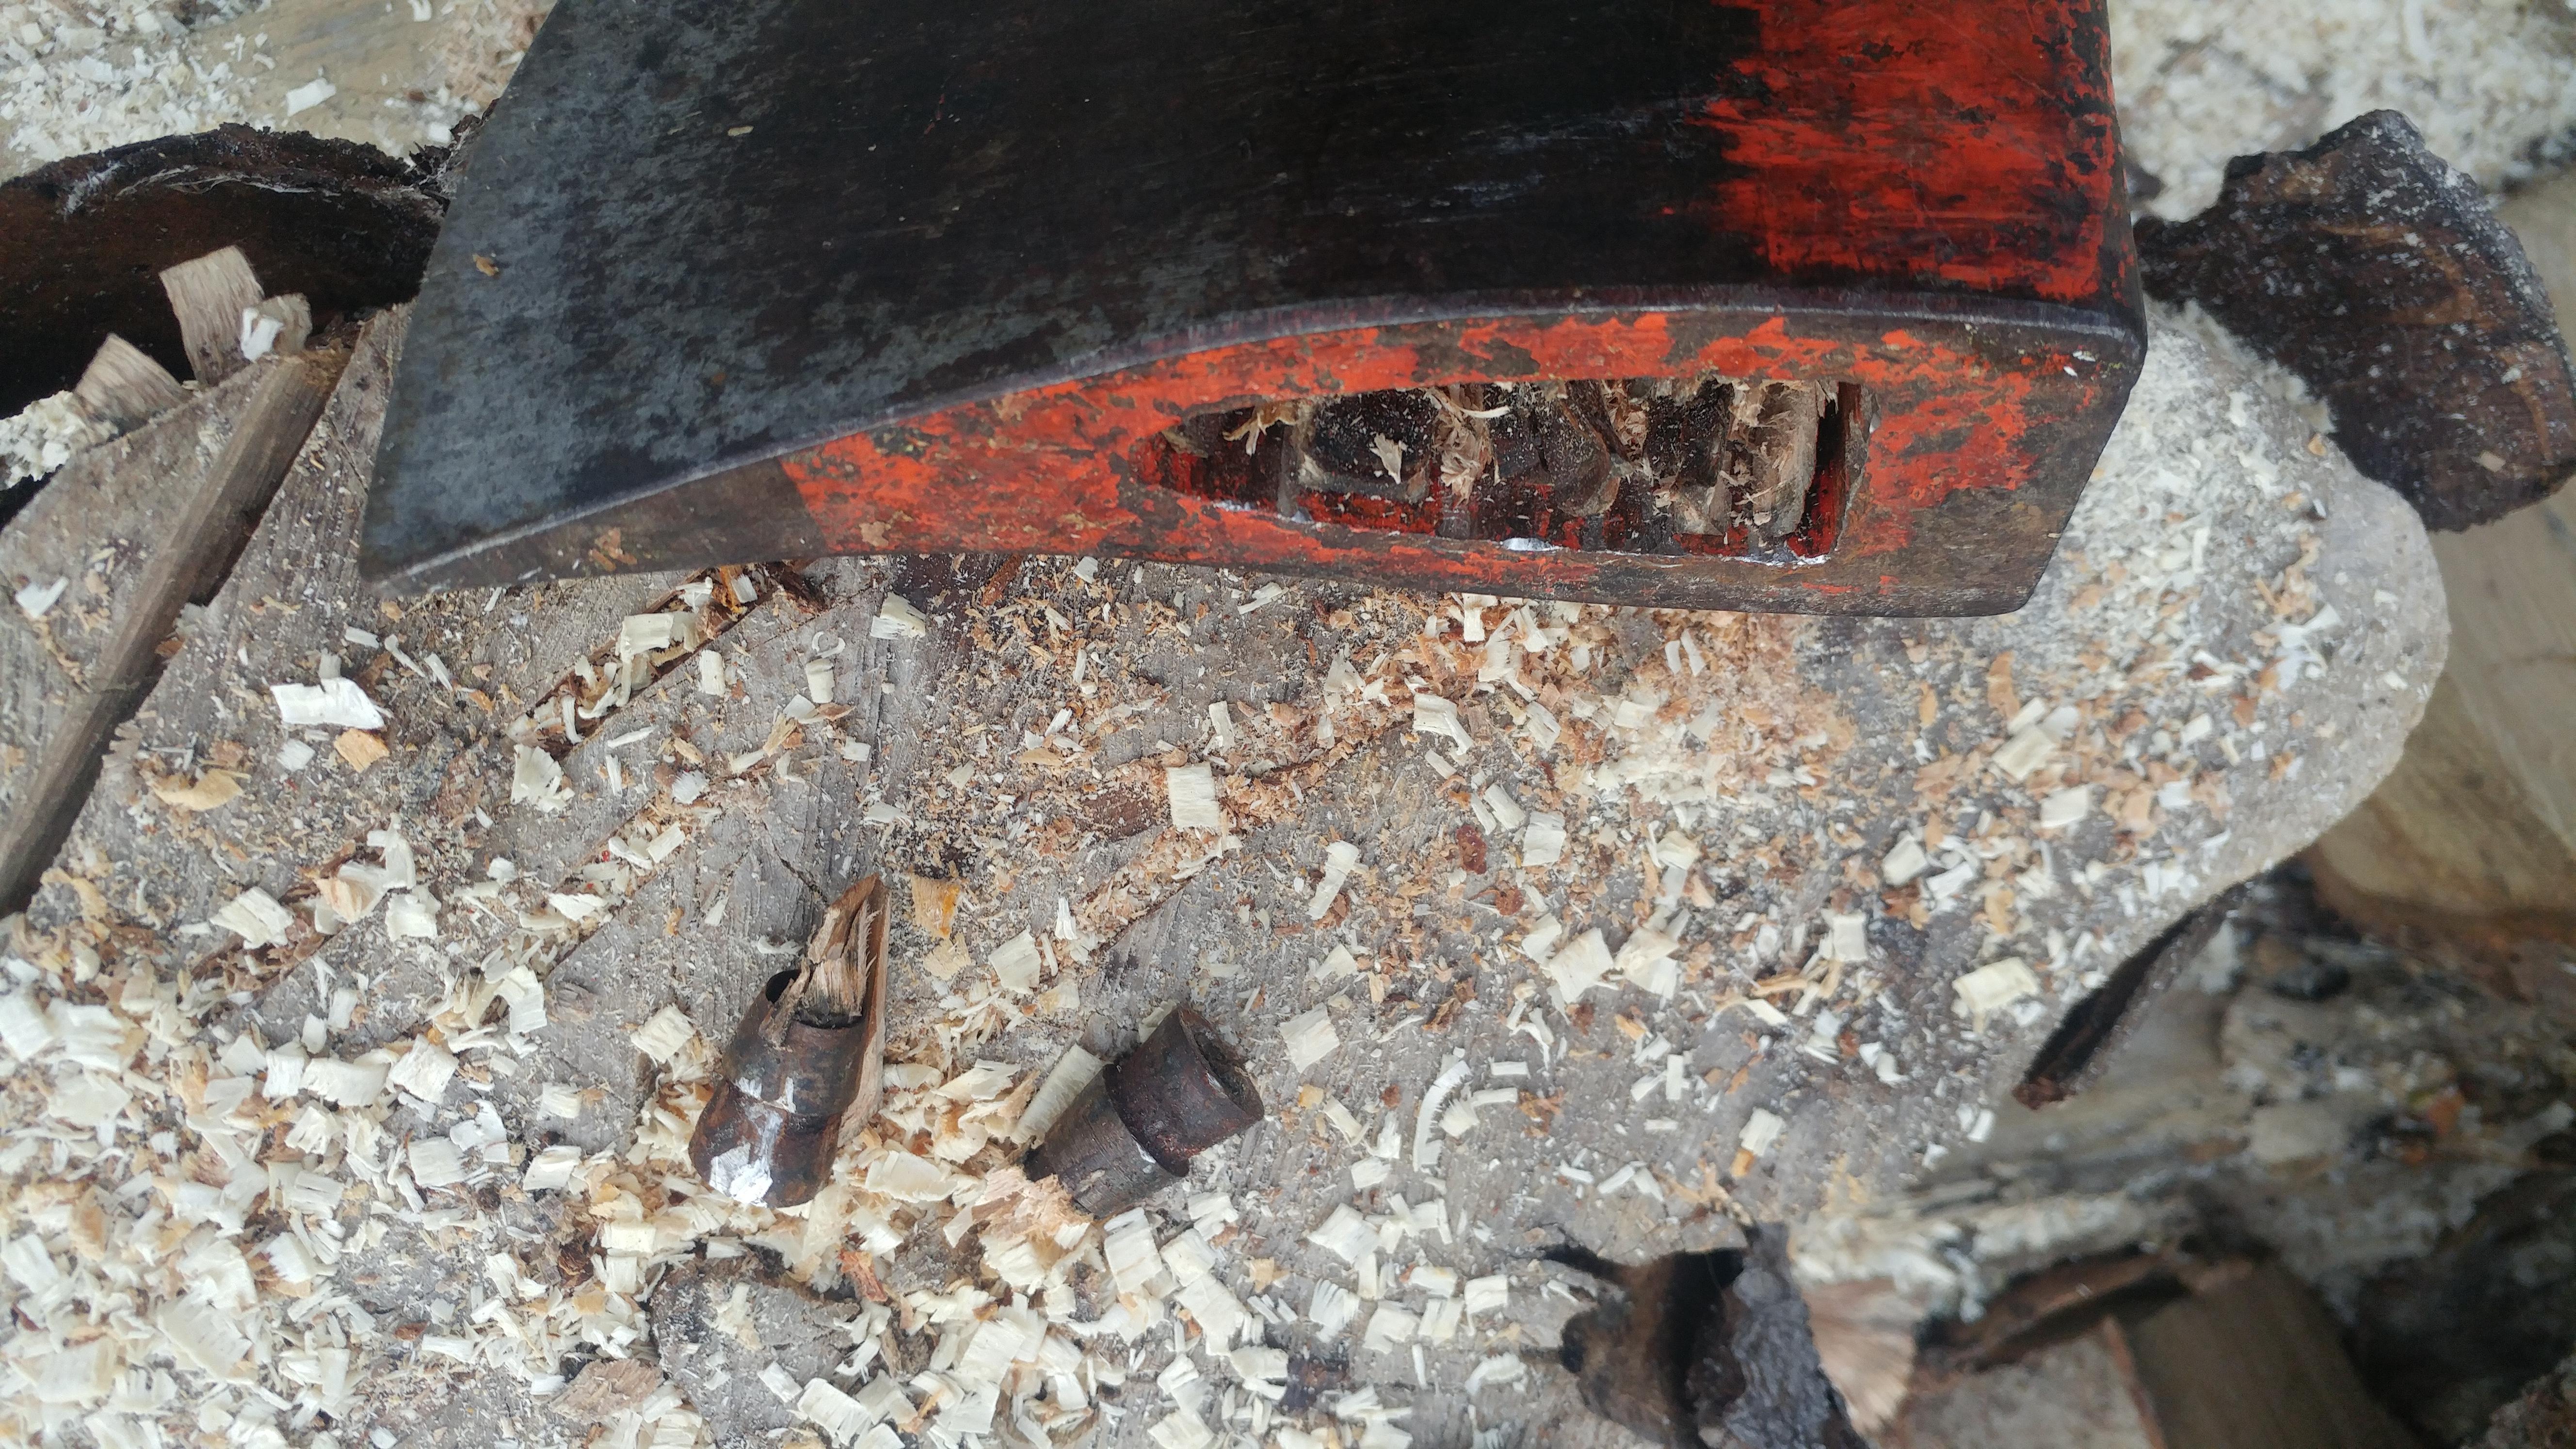
The drill was my friend :)
jzFIQ6w.jpg

UAYEXb0.jpg

LZ7uhpL.jpg

qY5Oxo9.jpg

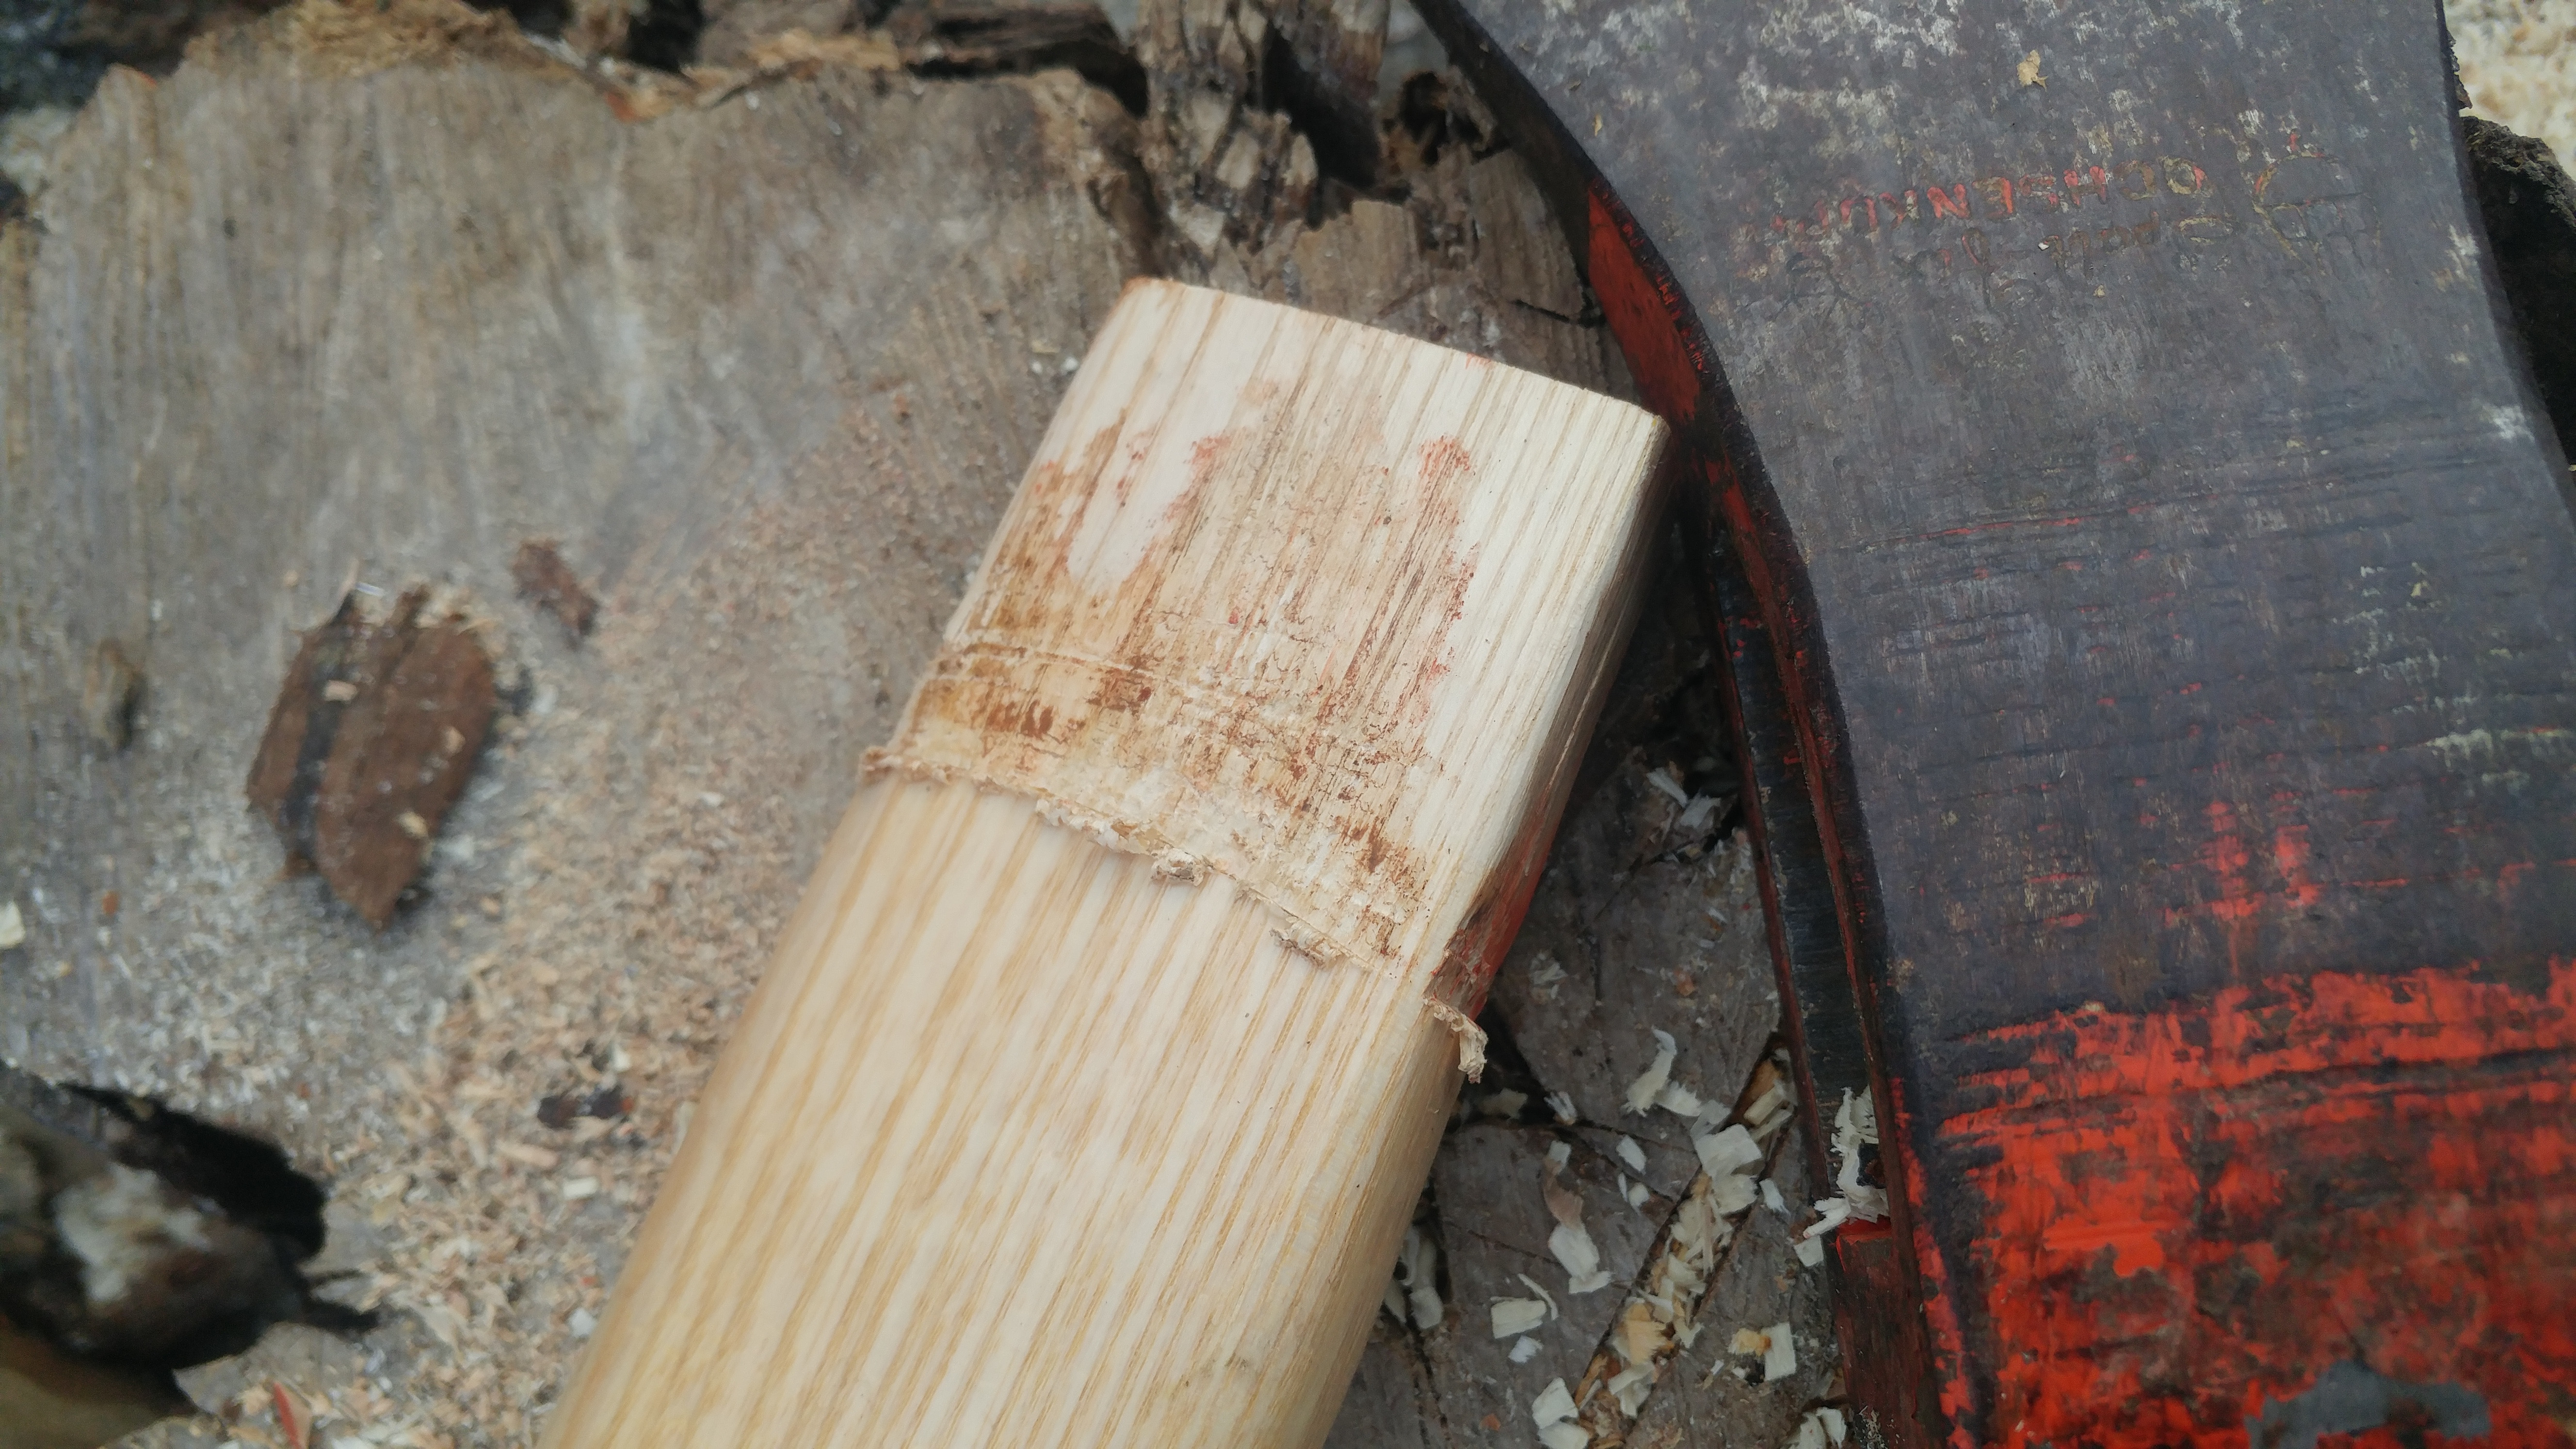
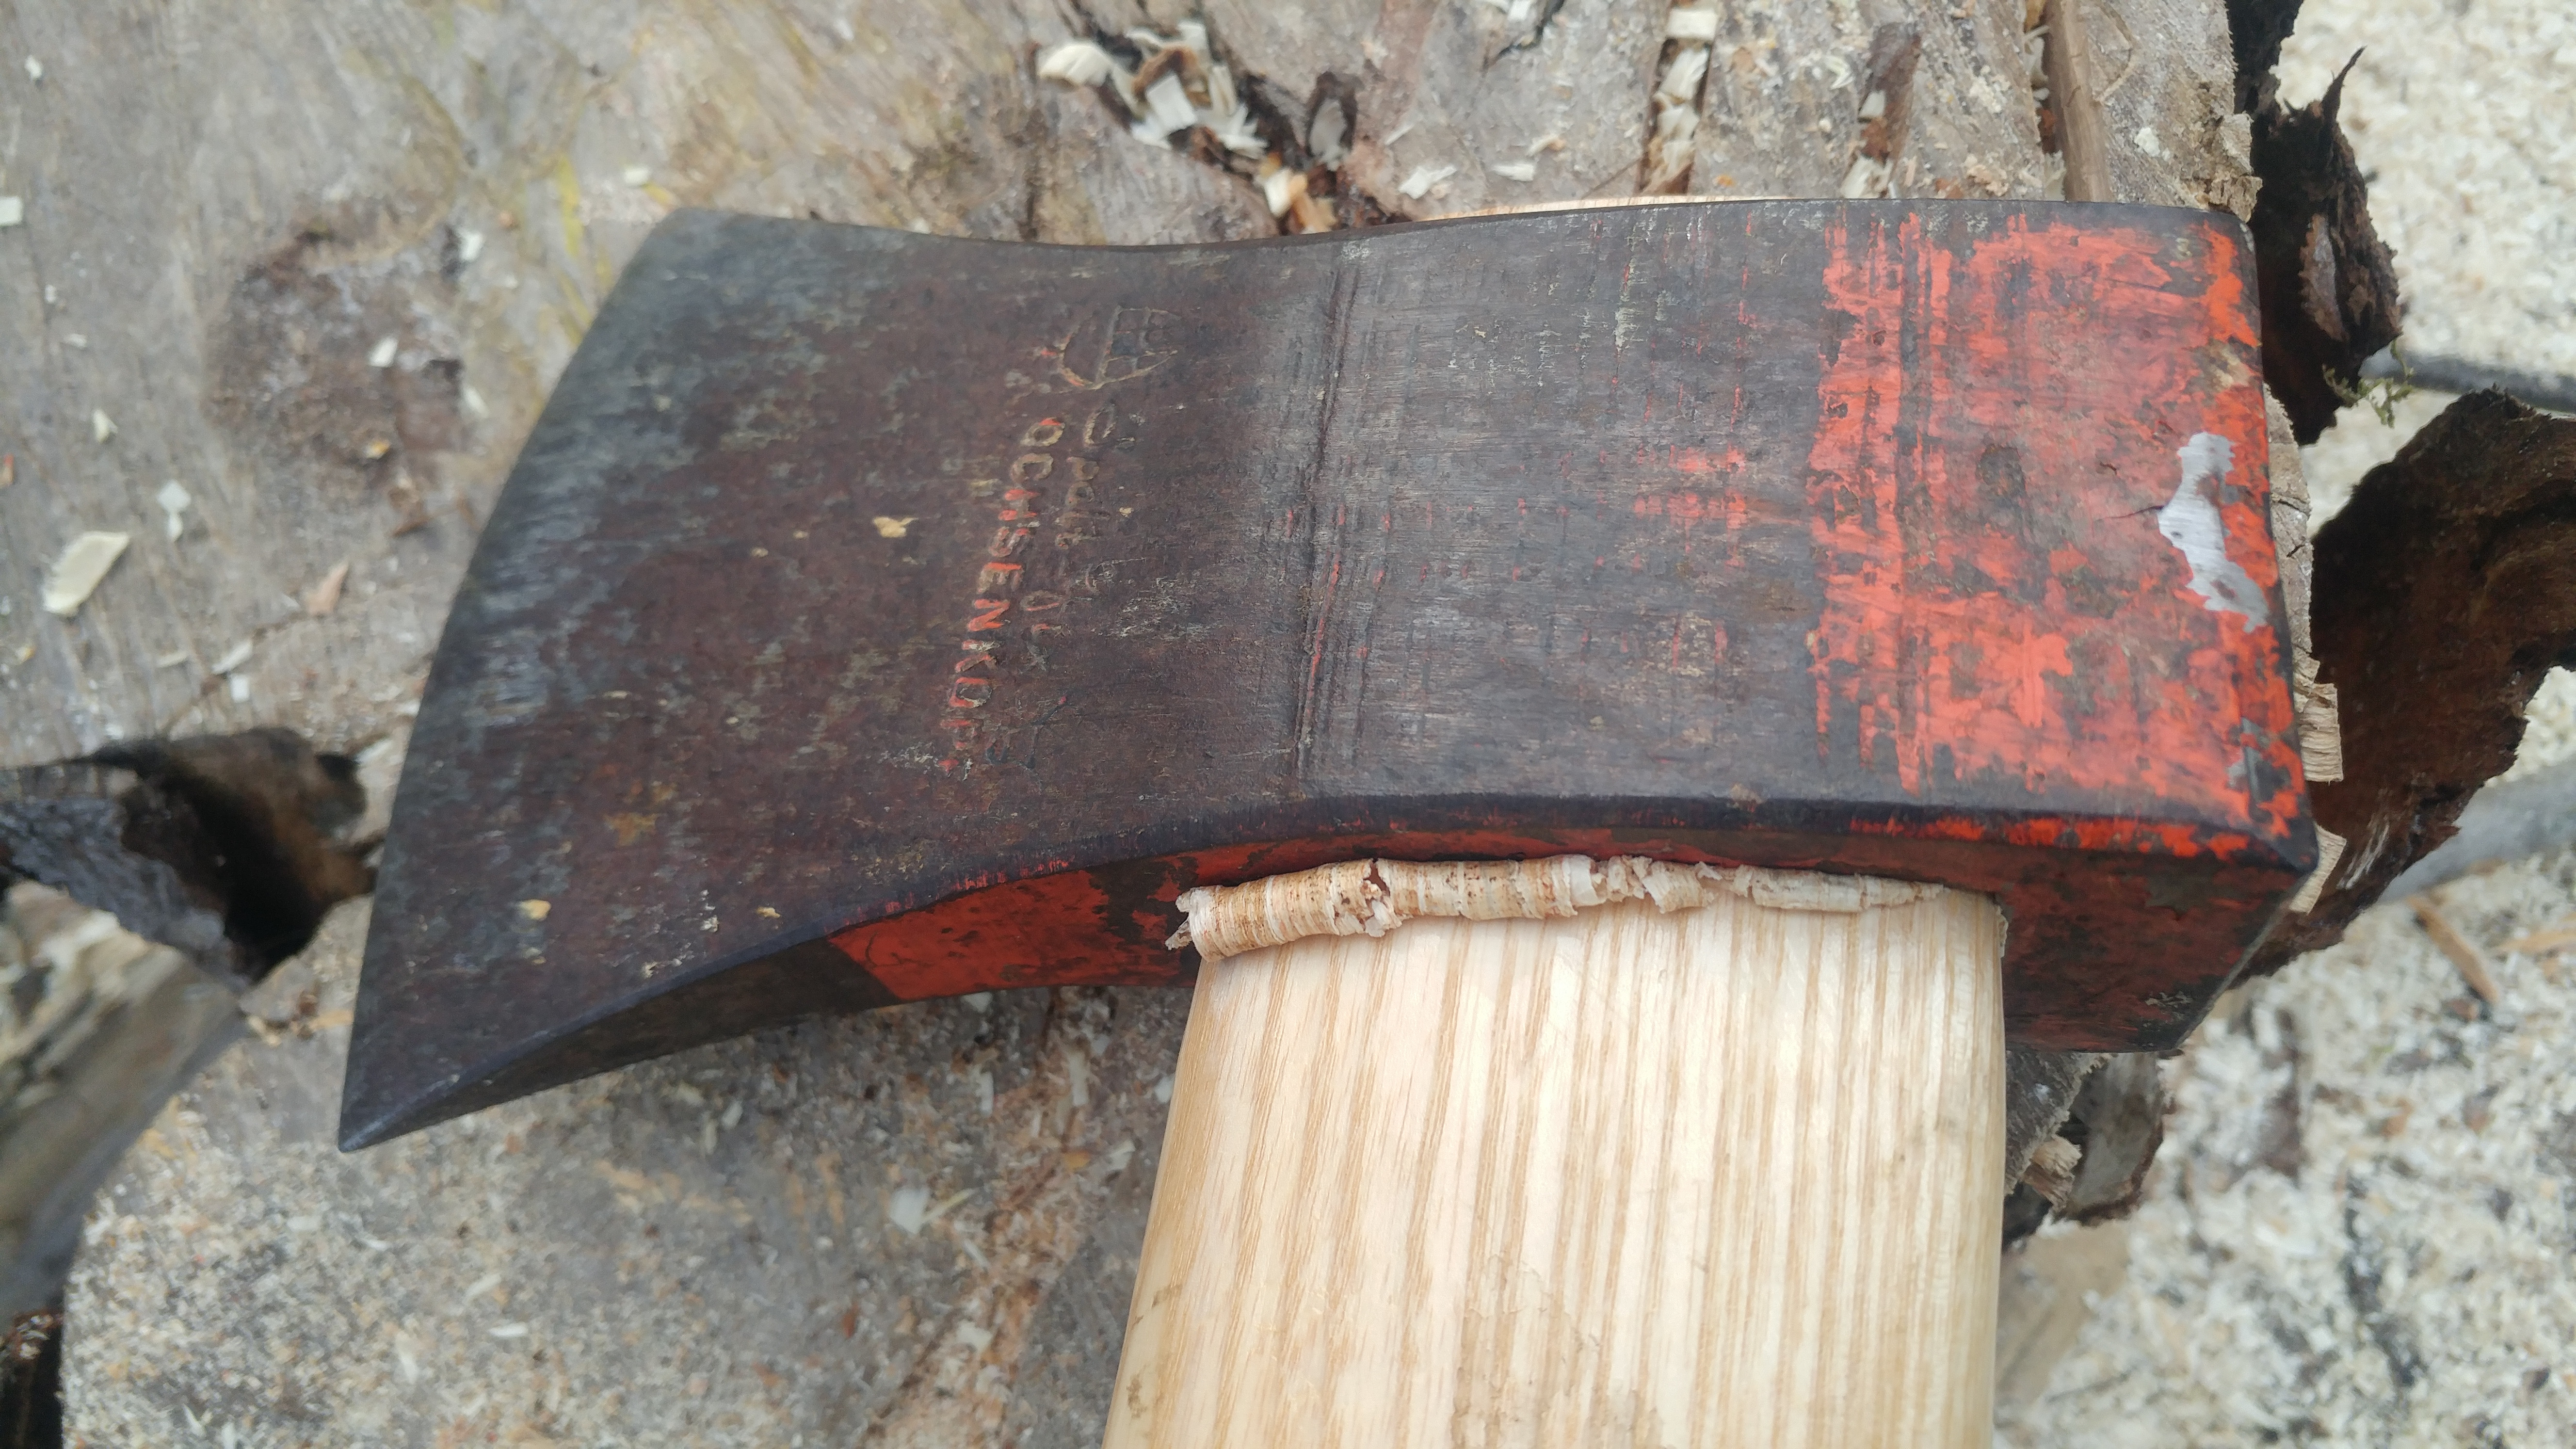
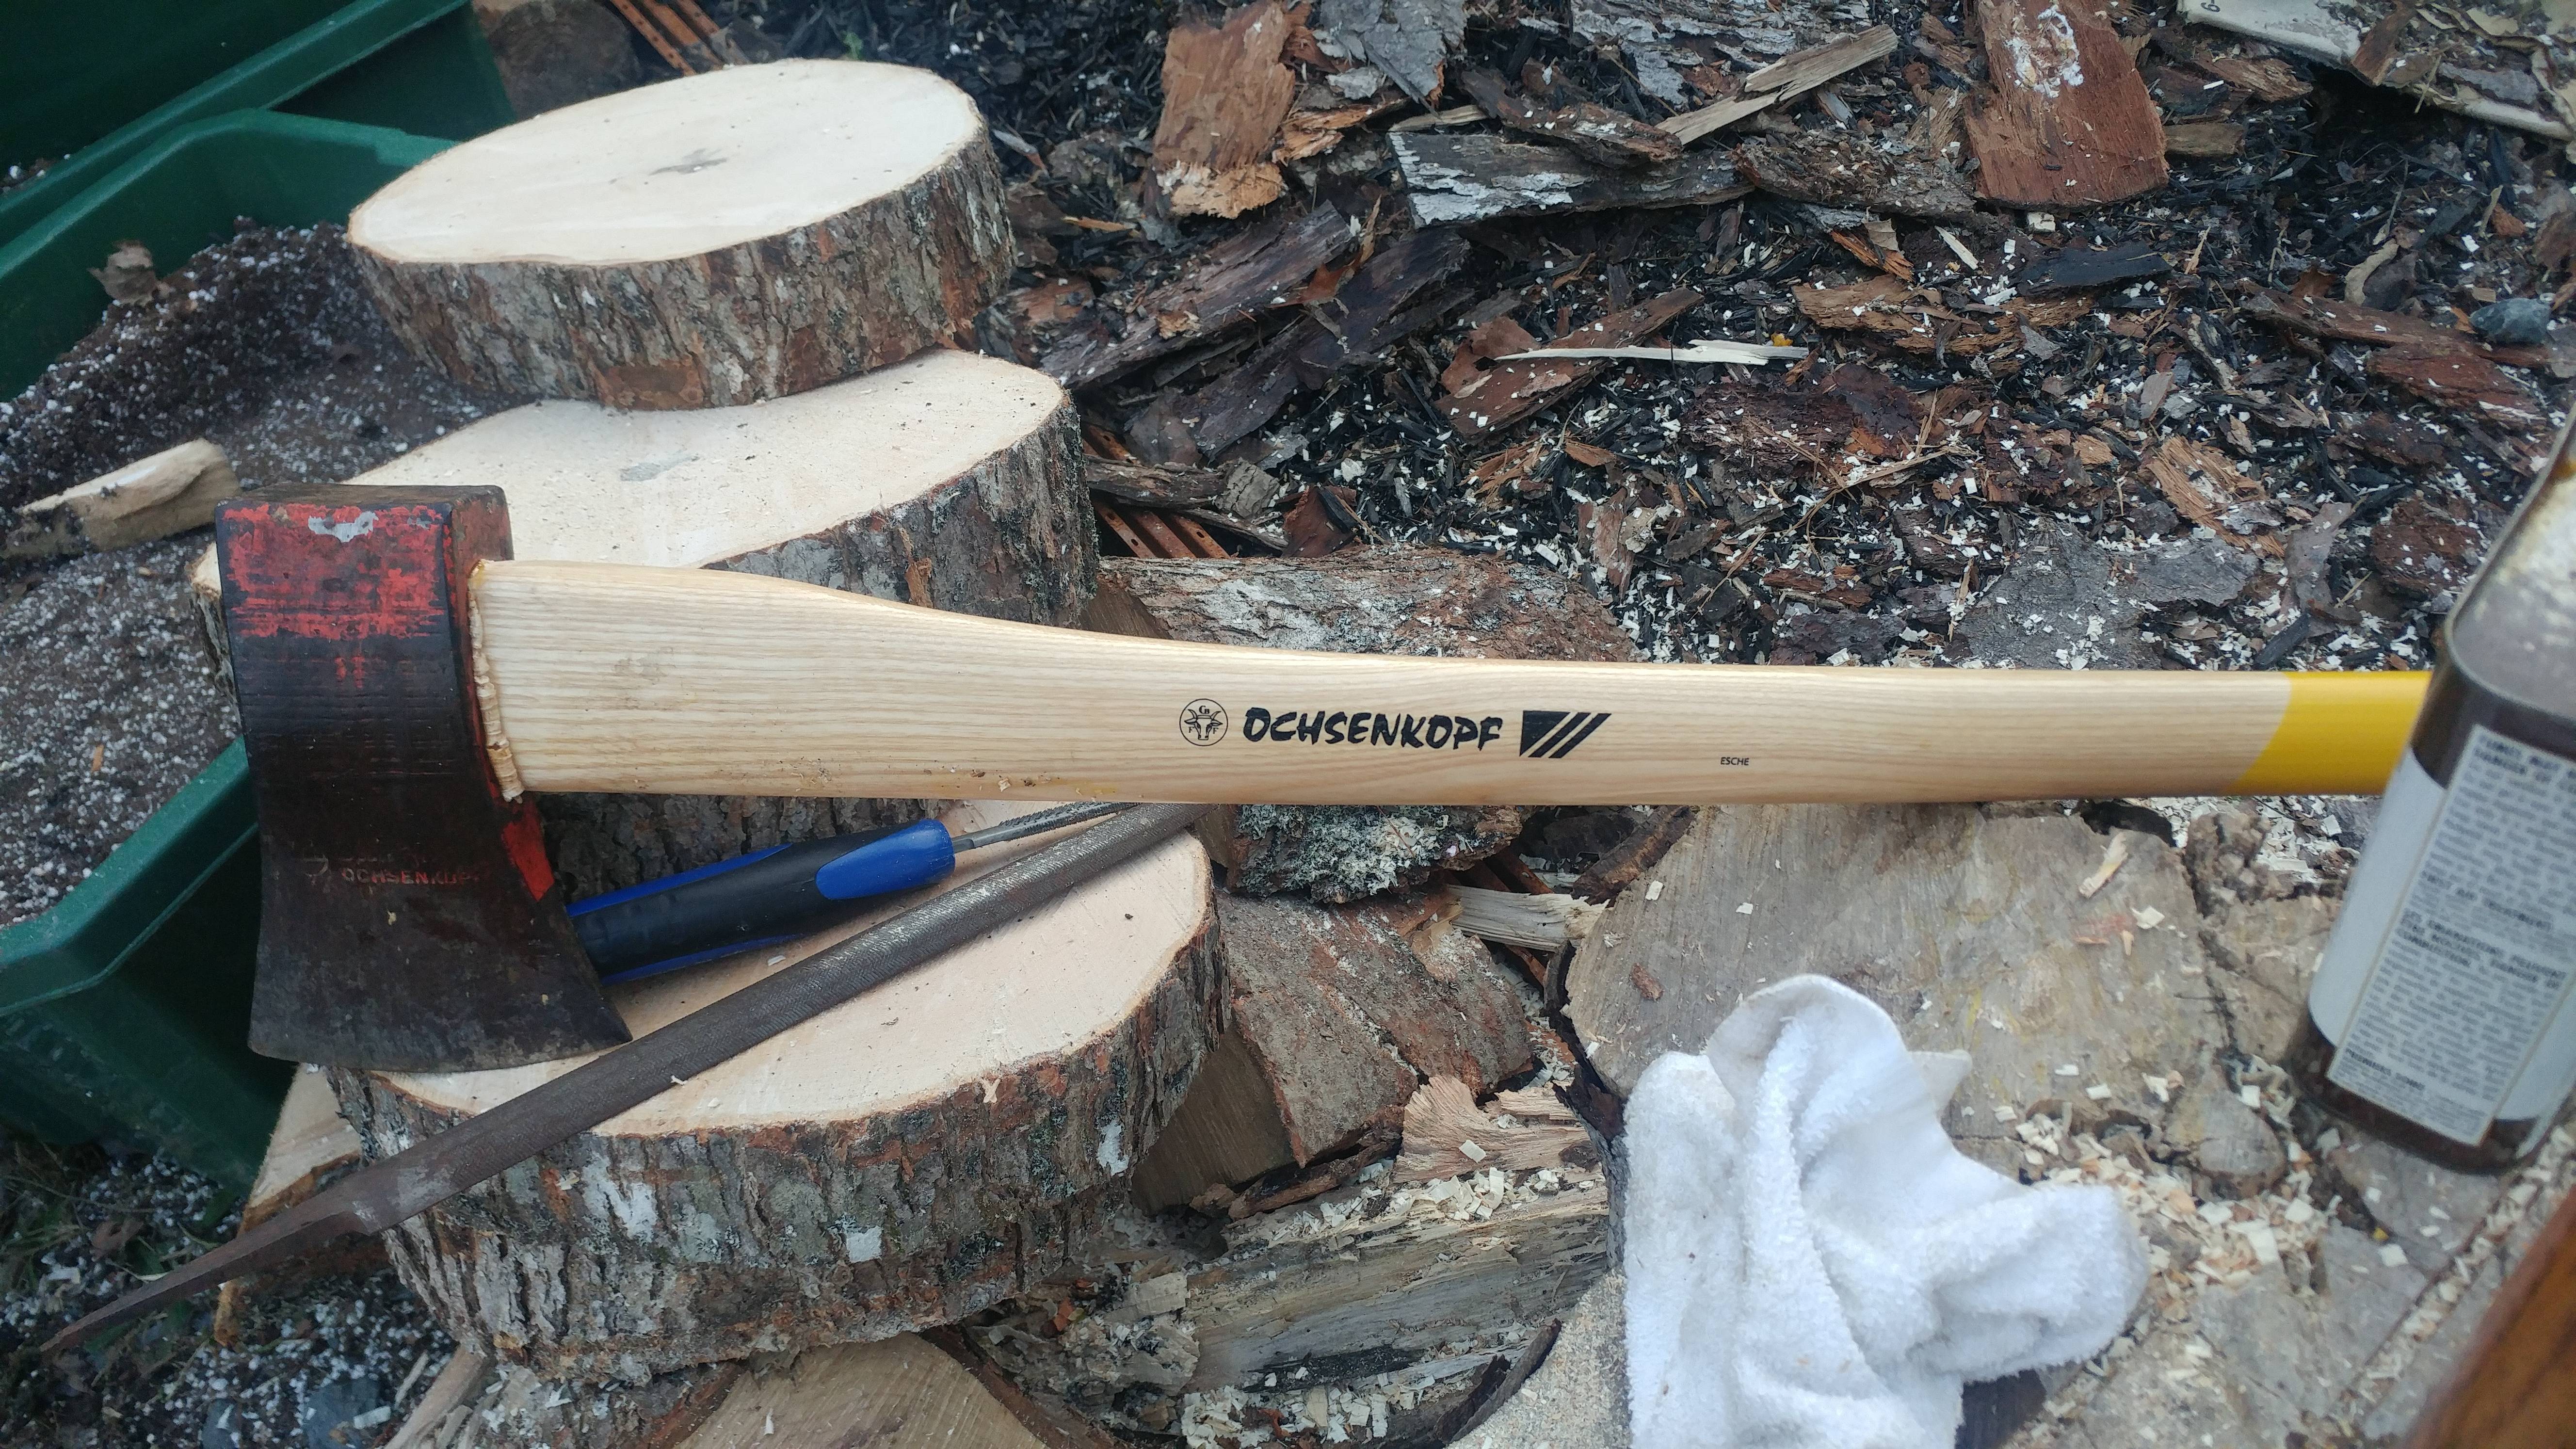
The fit on the replacement haft was quite good out of the box .
Here if is on the first run in .
6fsByw4.jpg

After just a bit of woodfile work
a2JwA3z.jpg

ZnHpnIZ.jpg

ermz4Xq.jpg

V3QrtdU.jpg

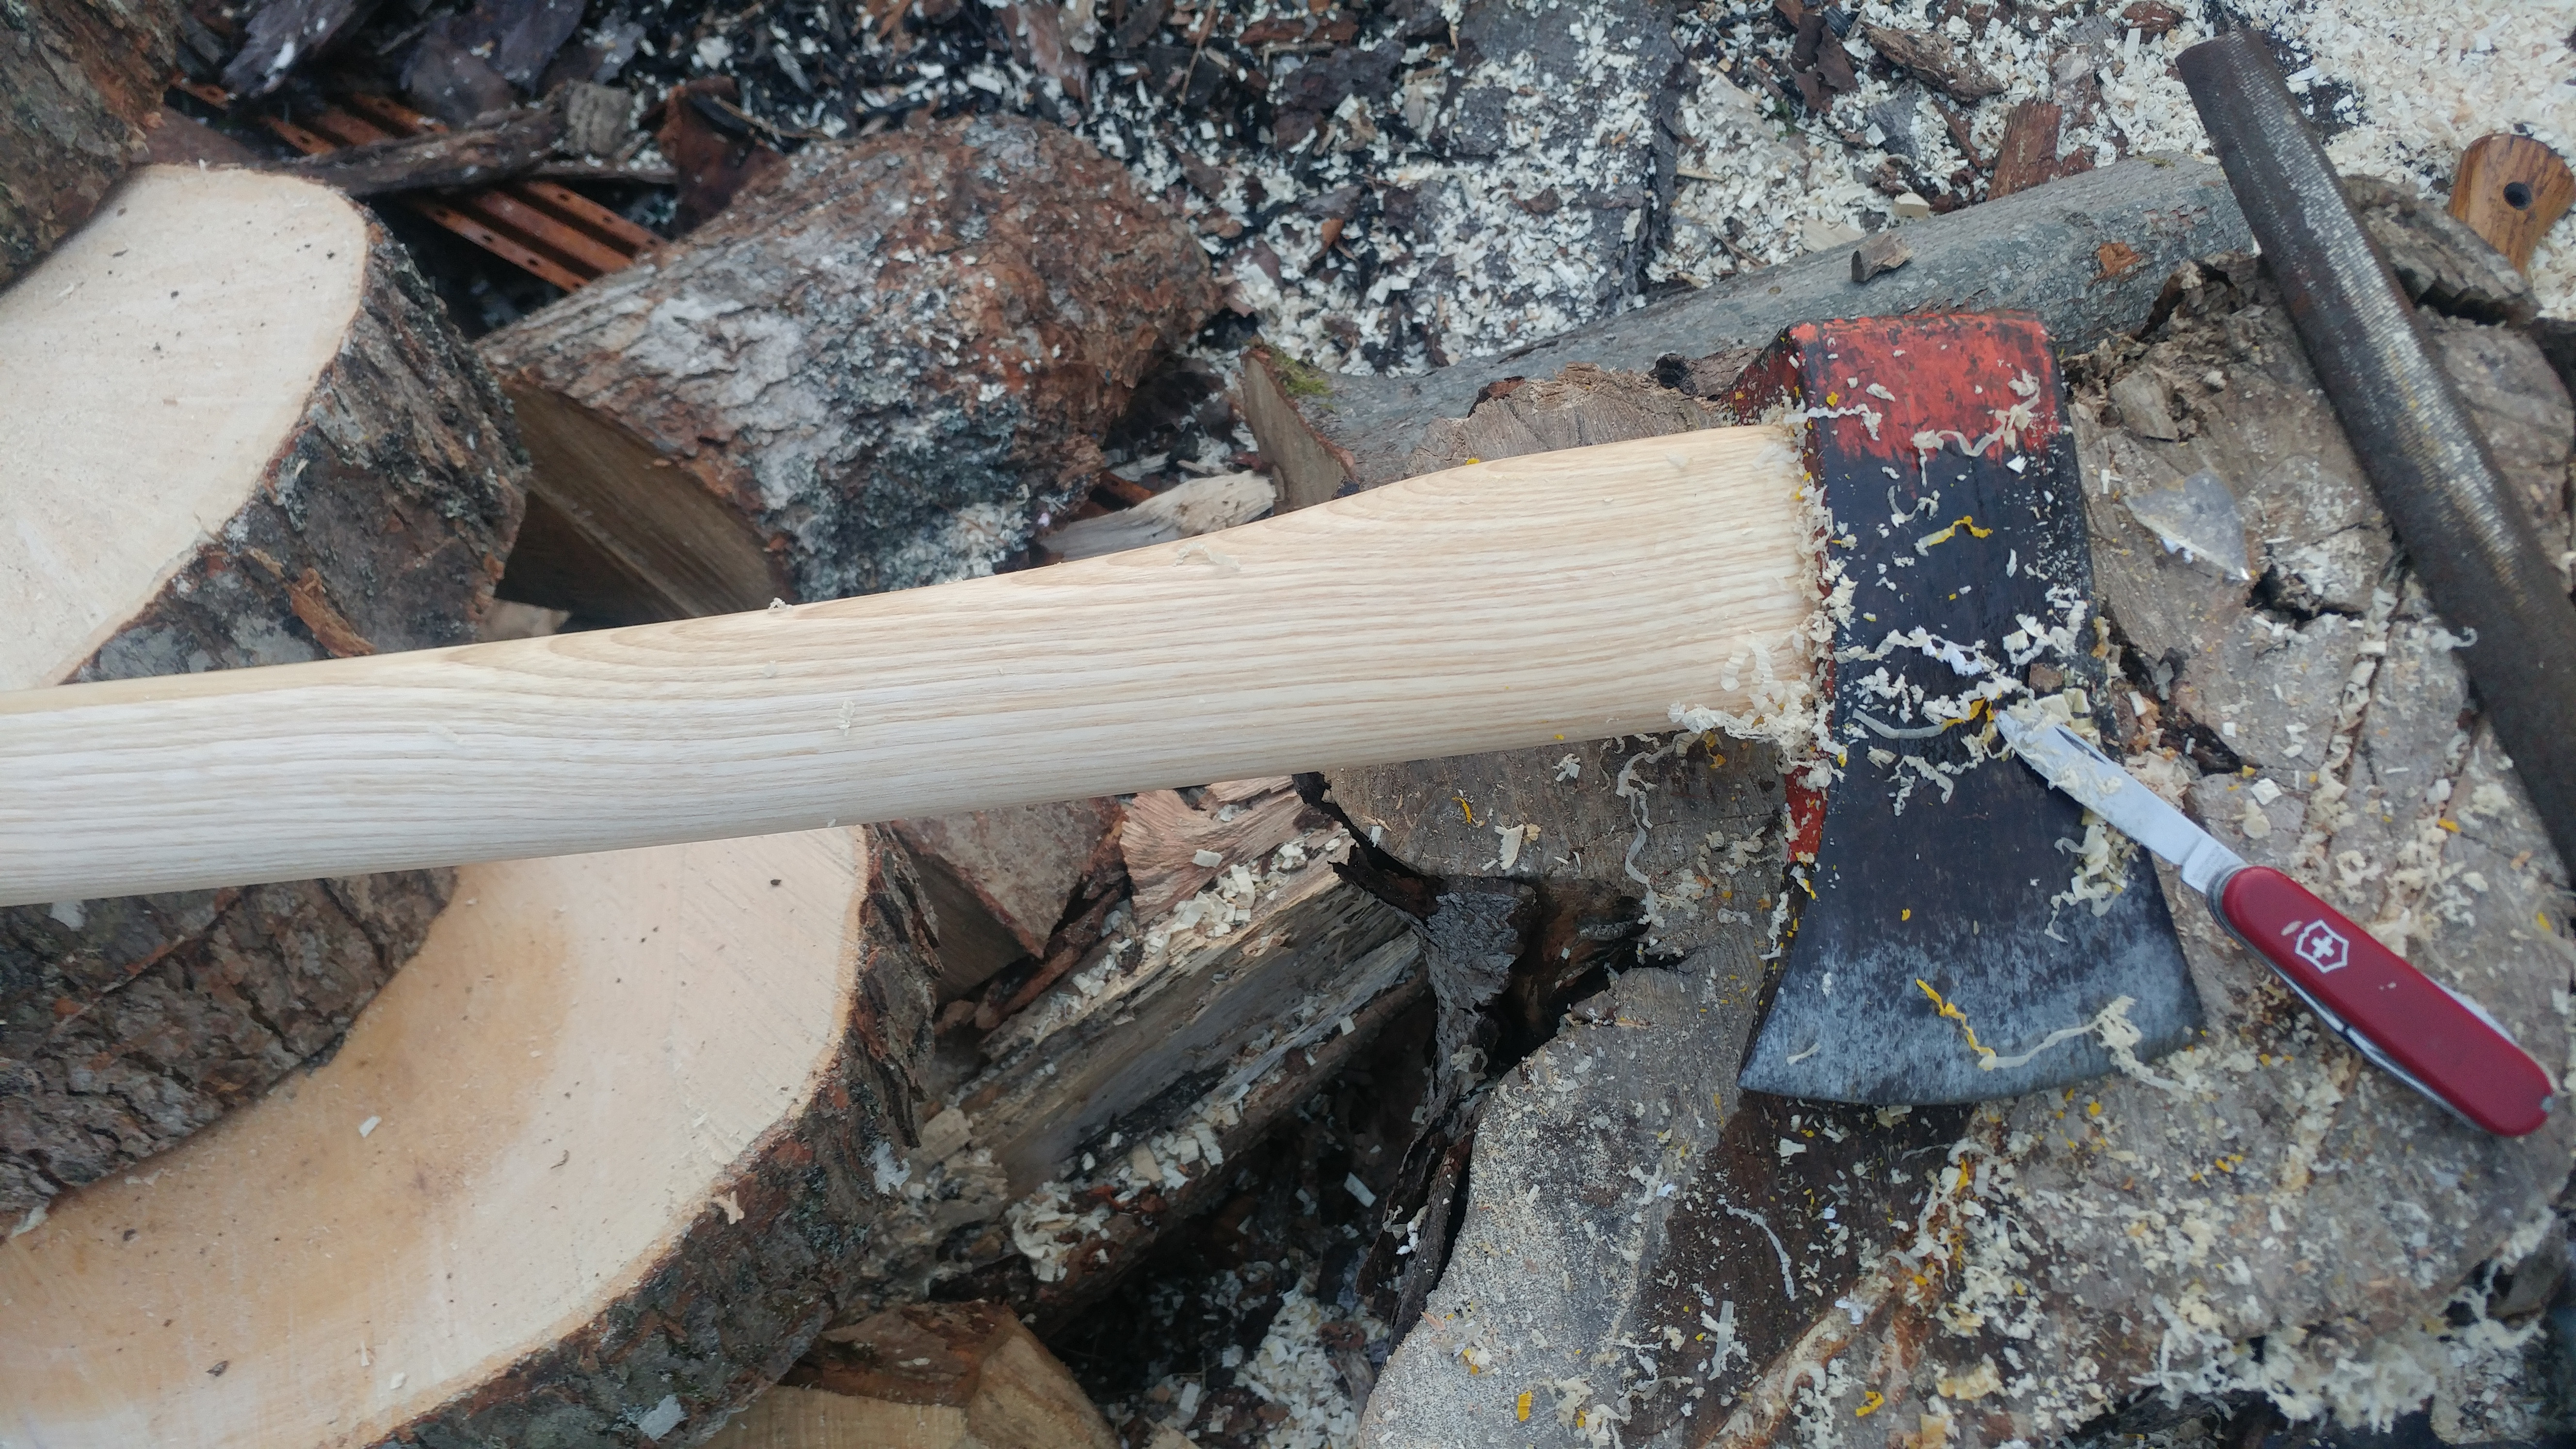
So a bit of work with my trusty SwissArmy and all the varnish is gone , I'll oil it up over the next couple of days .
tBCj3or.jpg
Nice work and nice fit, especially with the double metal wedges....I'm trying to figure out how to drive one round wedge cleanly.

Should have spent about 5 minutes with a wire wheel on that head though.....make em shine lol.
 
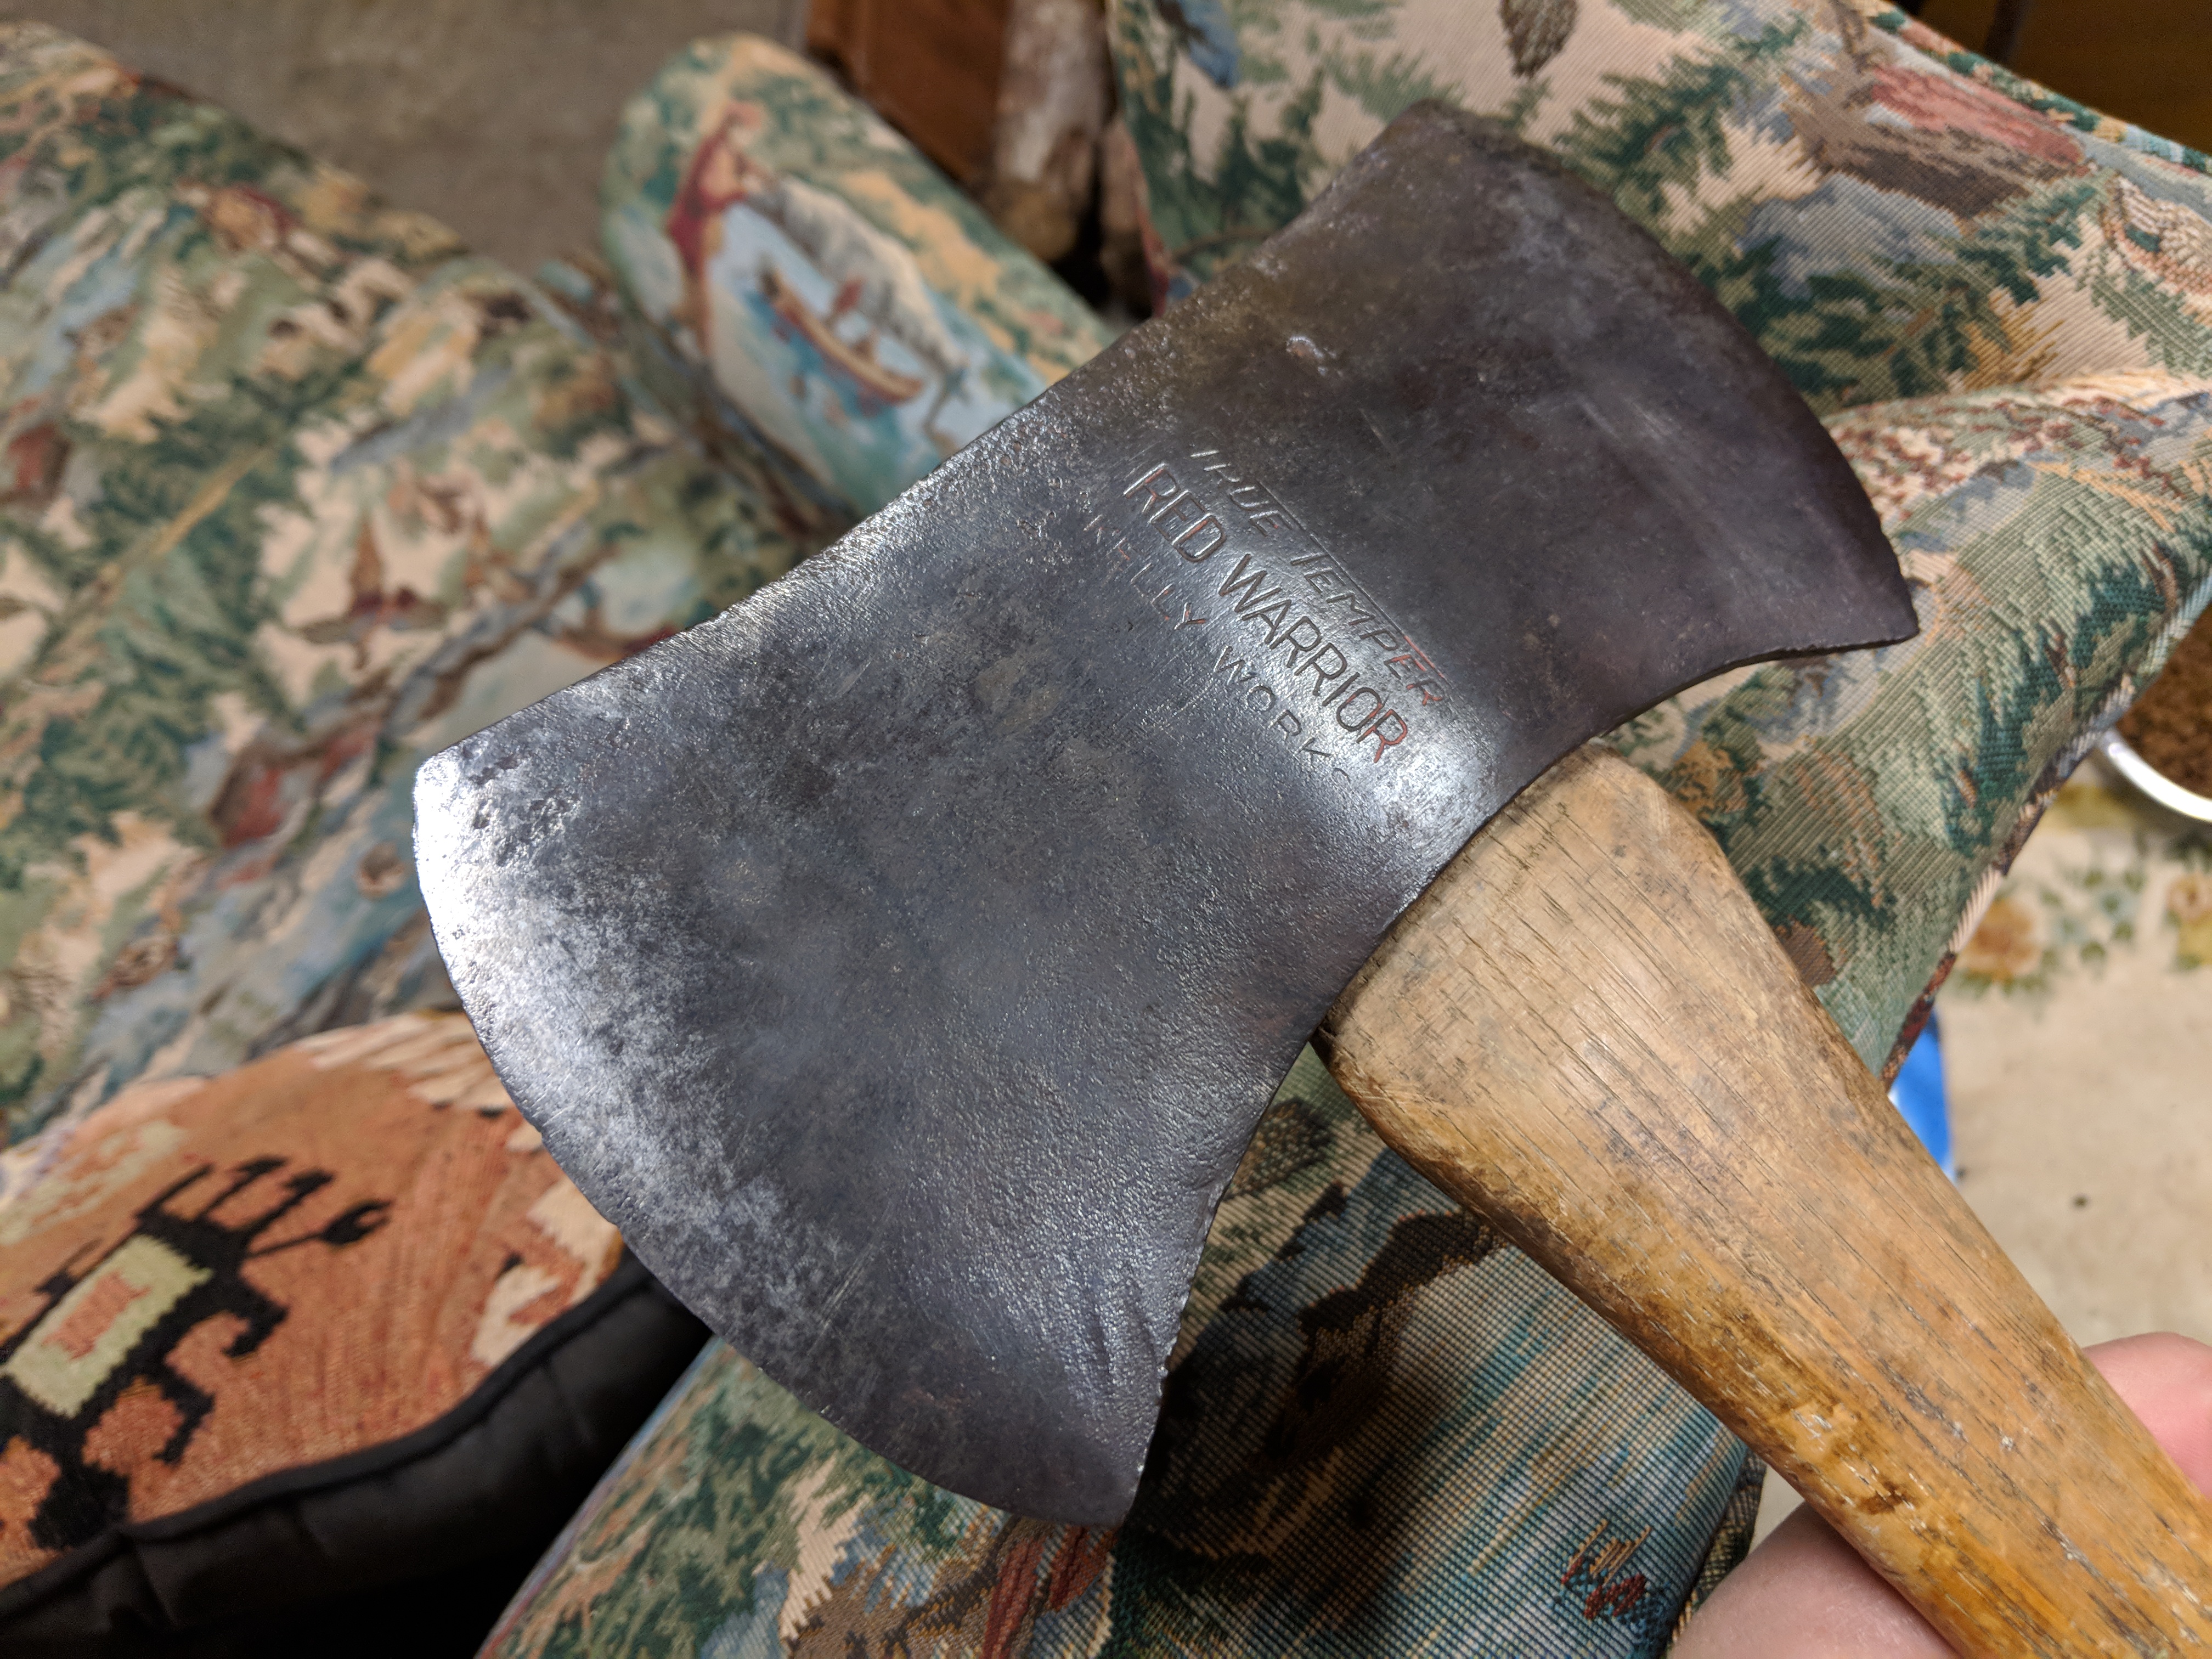
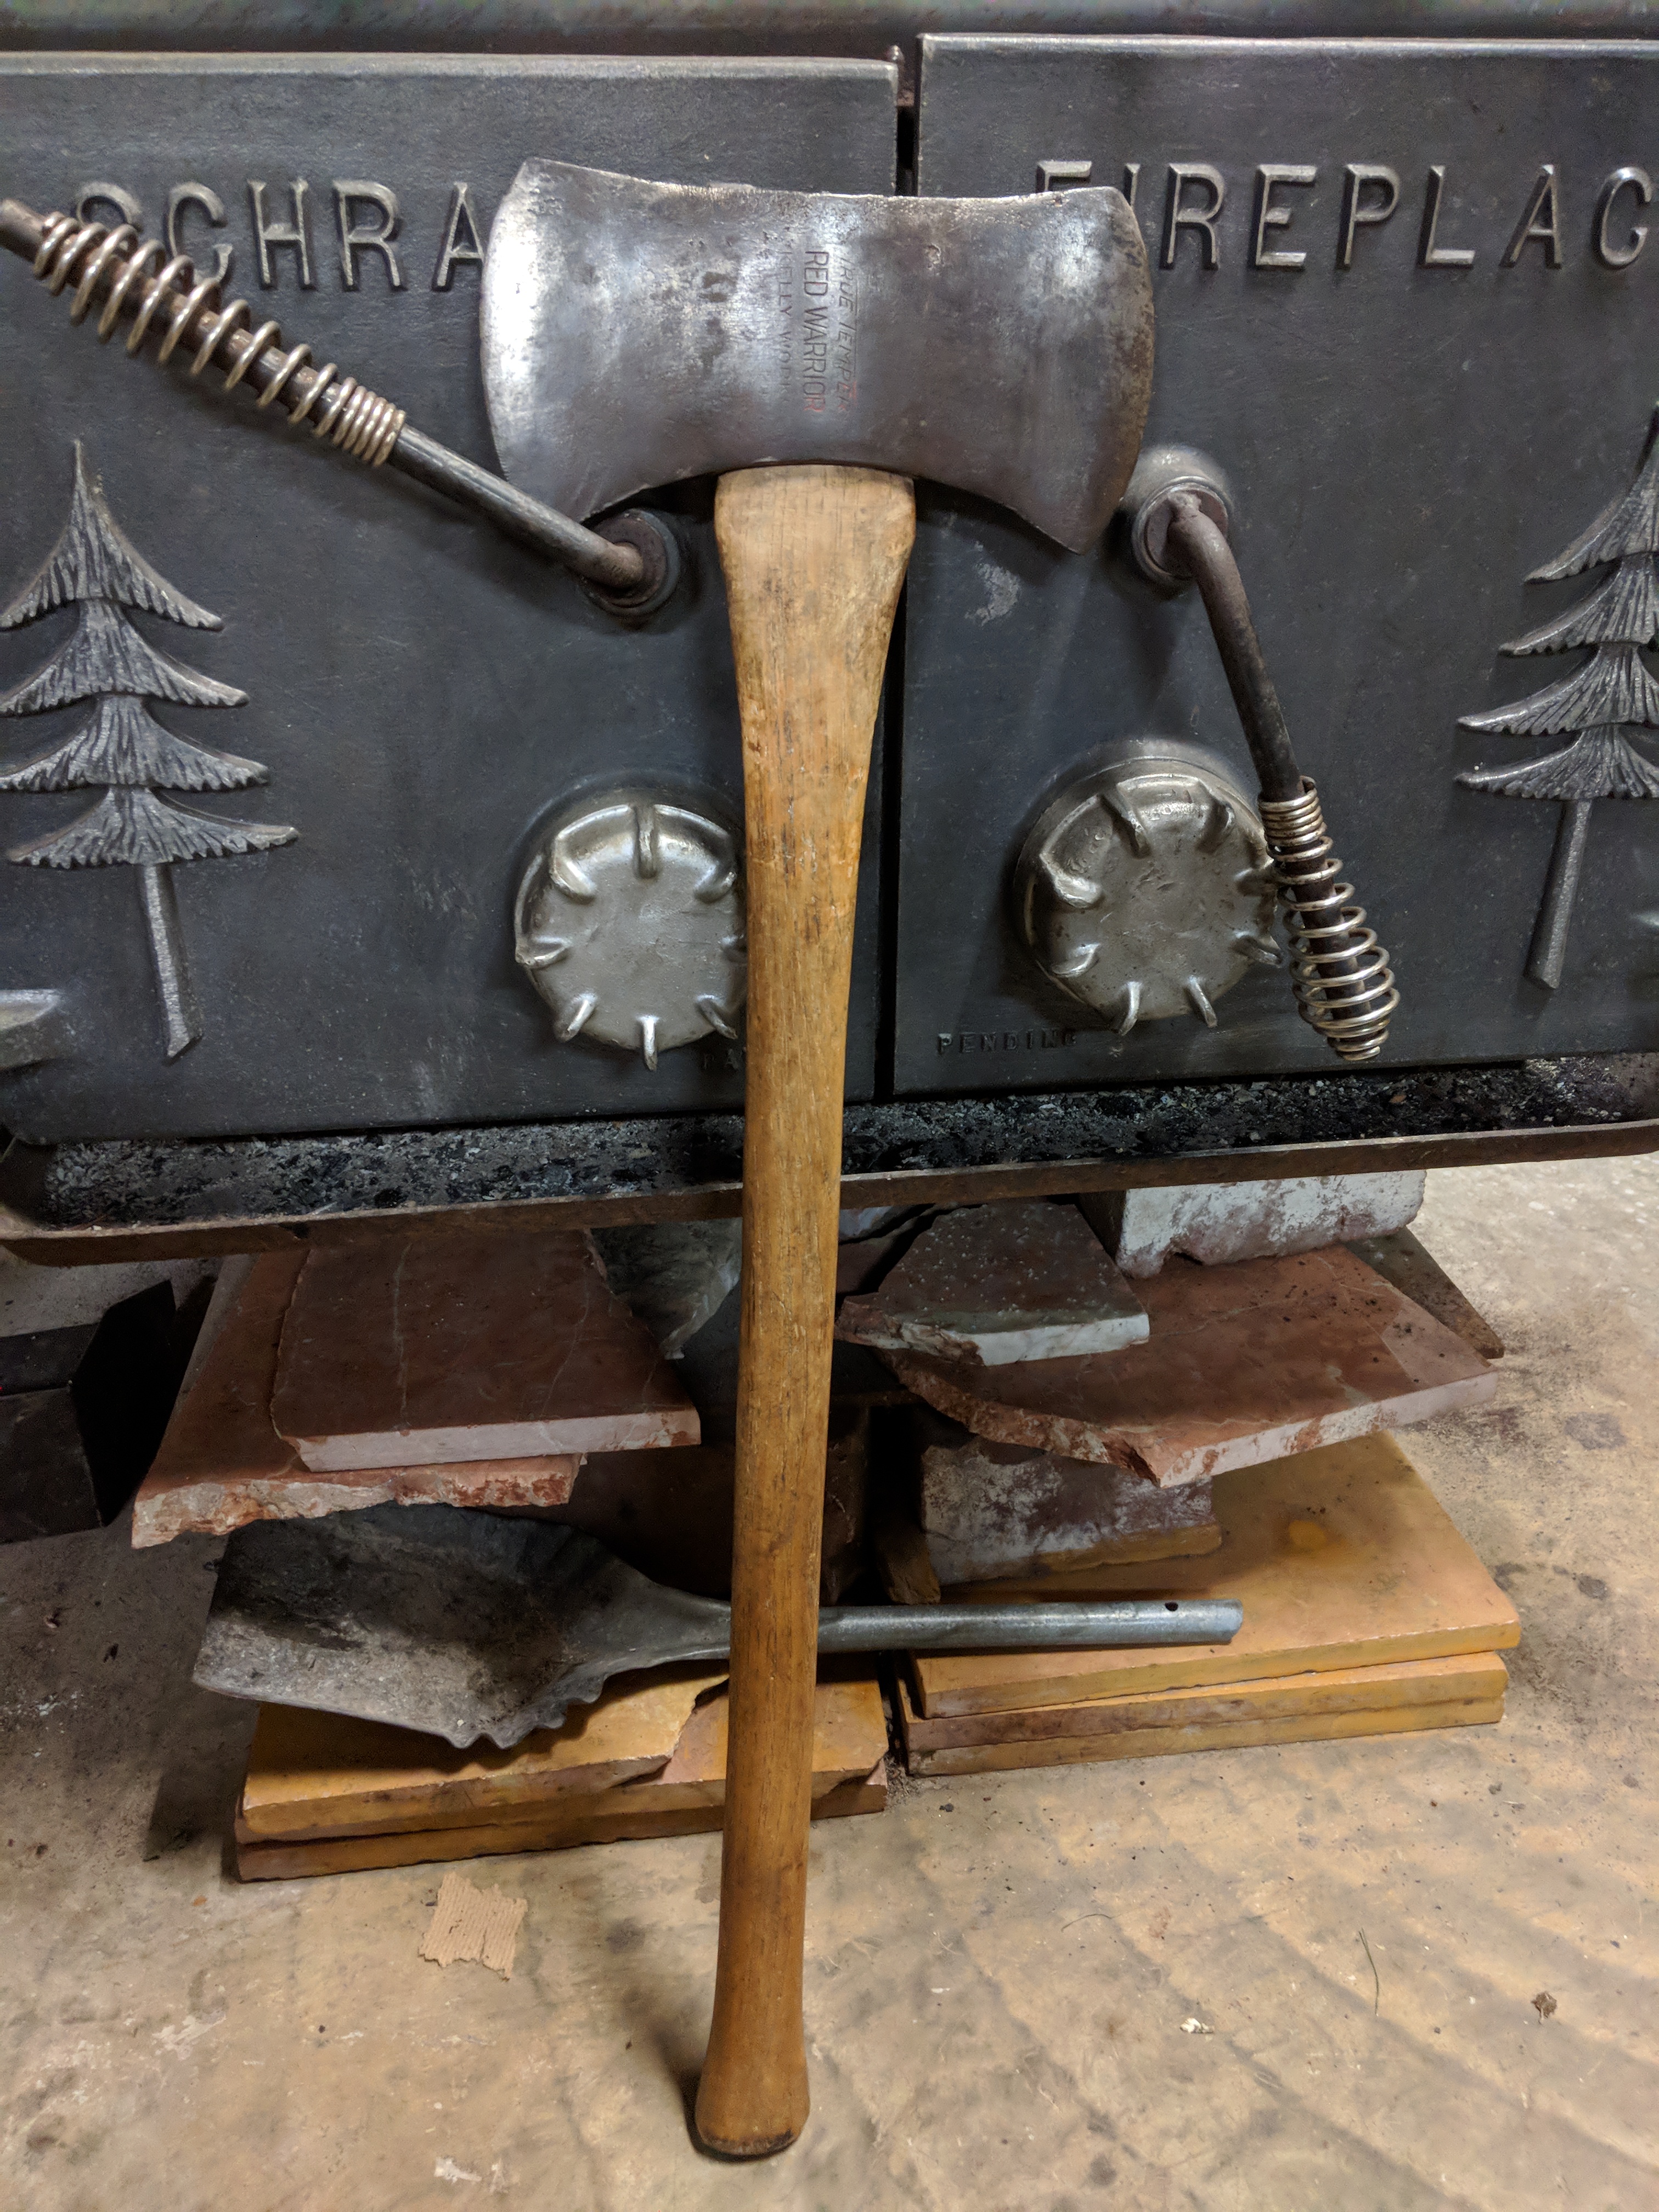
Found this back in September while on vacation deep in the mountains of West Virginia. Was at an antique/consignment shop we got lucky in last year. Pretty sure it is the original haft, but appeared to be used very little, which is a crying shame... but I'm about to change that! Cruiser axes are just a joy to use. Good balance, capable weight but not too heavy.

eK4Rhva.jpg


In front of the woodstove at our cabin in a holler in Appalachia.

pCn5oXi.jpg


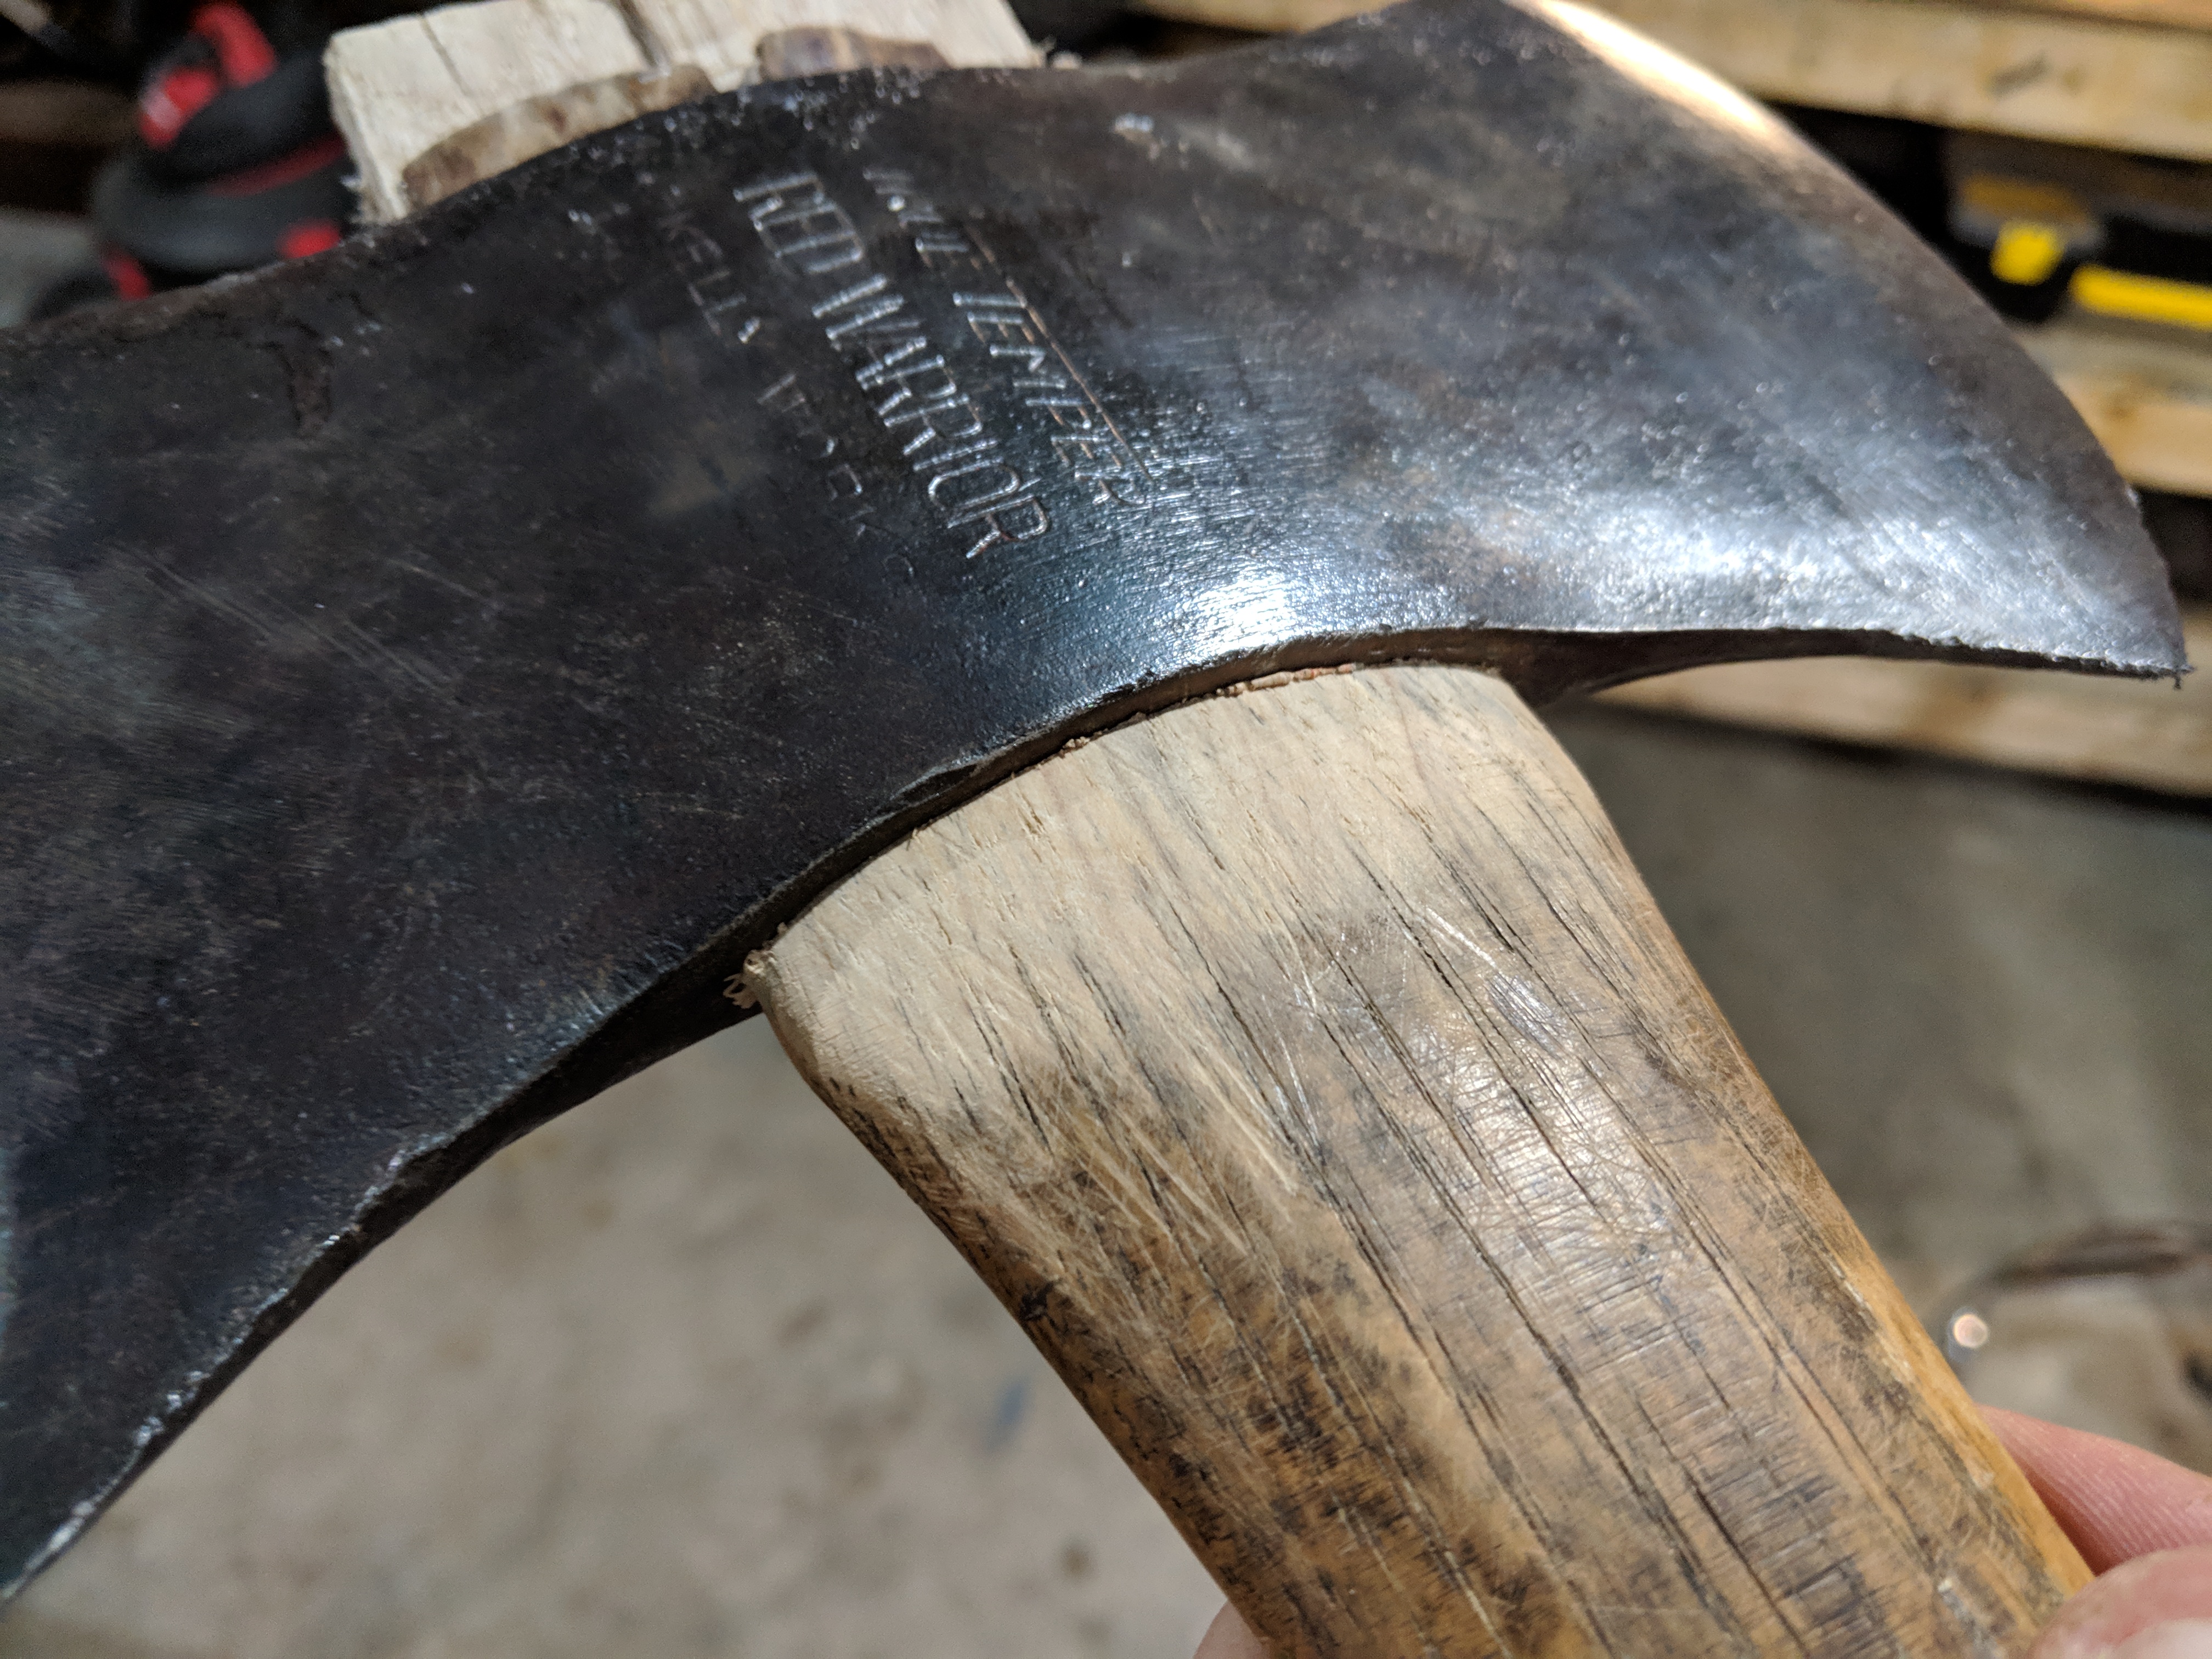
Originally I was only going to re-work the grind, but after closer inspection I noticed that there was the tiniest amount of separation between the wood and where the steel was seated. I got a hardwood drift and lightly tried to drive the haft from the top (which someone had driven a steel stepped wedge center and perpendicular to the bits. Sure as shite, it come out. No bueno. Looking closer there was a fair amount of real estate left on the shoulders, so I decided to remove the haft and re-hang it. The haft had a slash grain, but consistent runout. The main thing was that it felt great, nice and slim, good ergos - I had to keep it, and the years of wear on it just looks great.

ReAzmjD.jpg


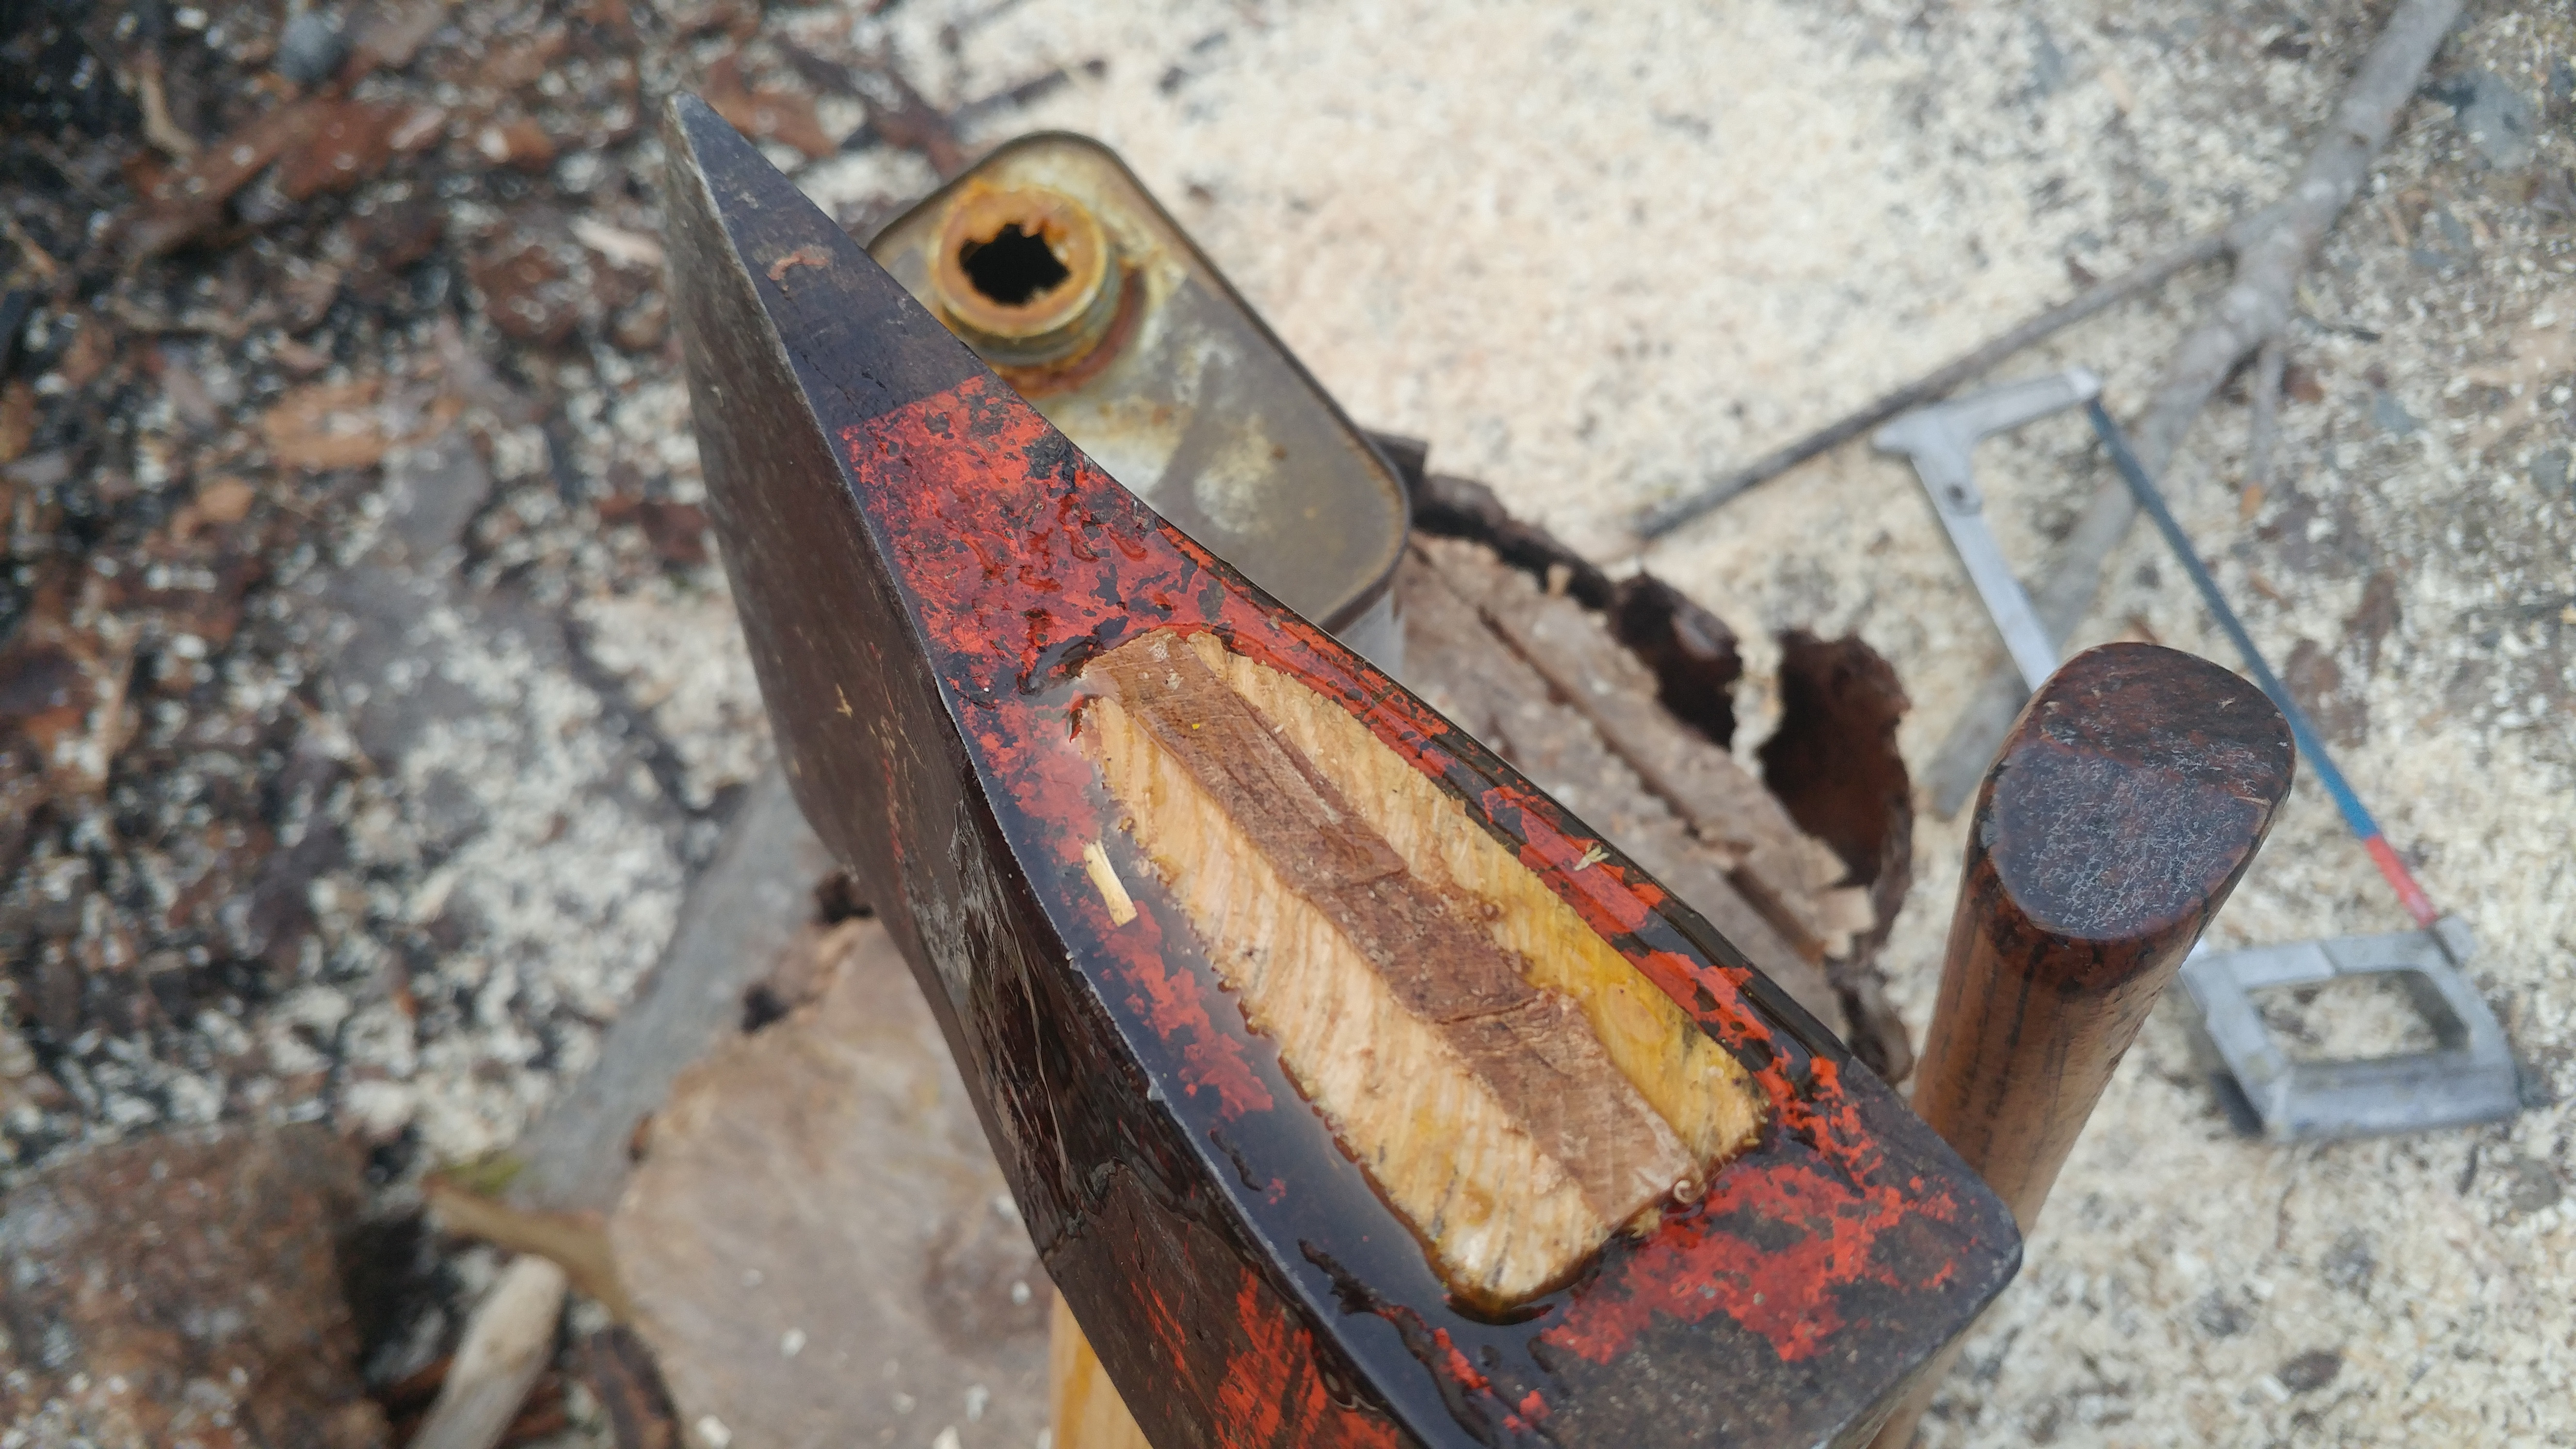
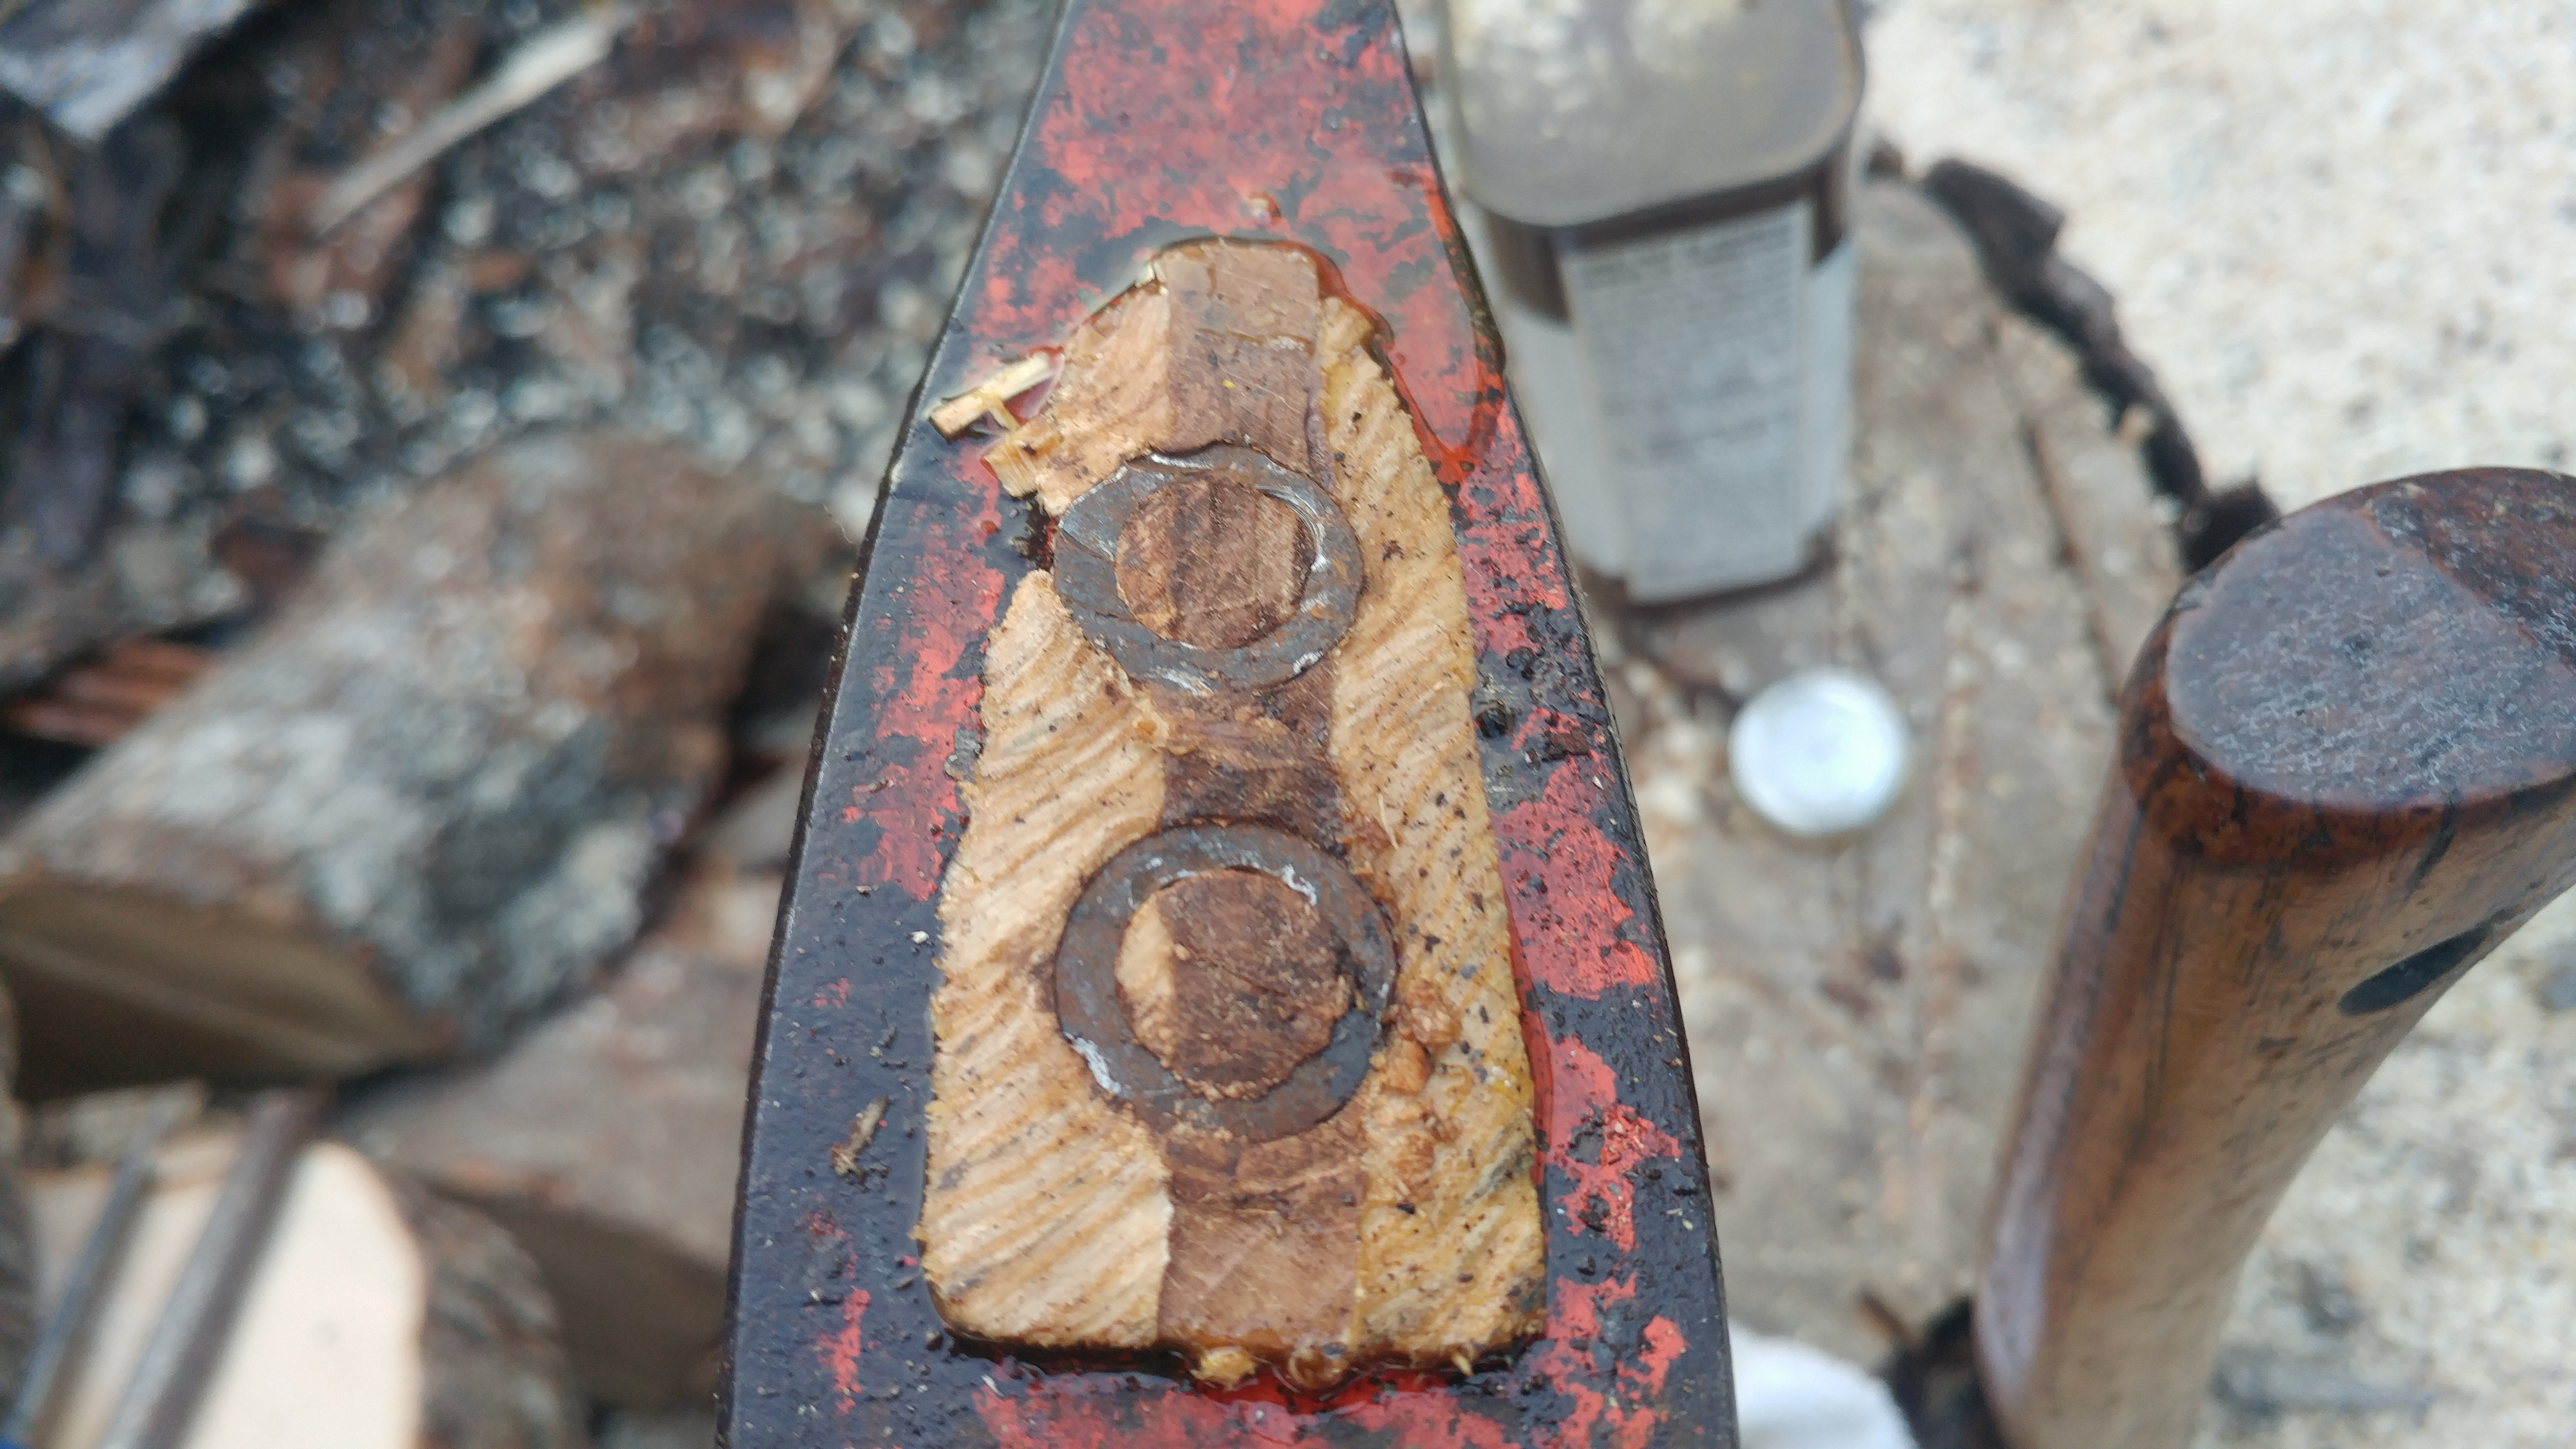
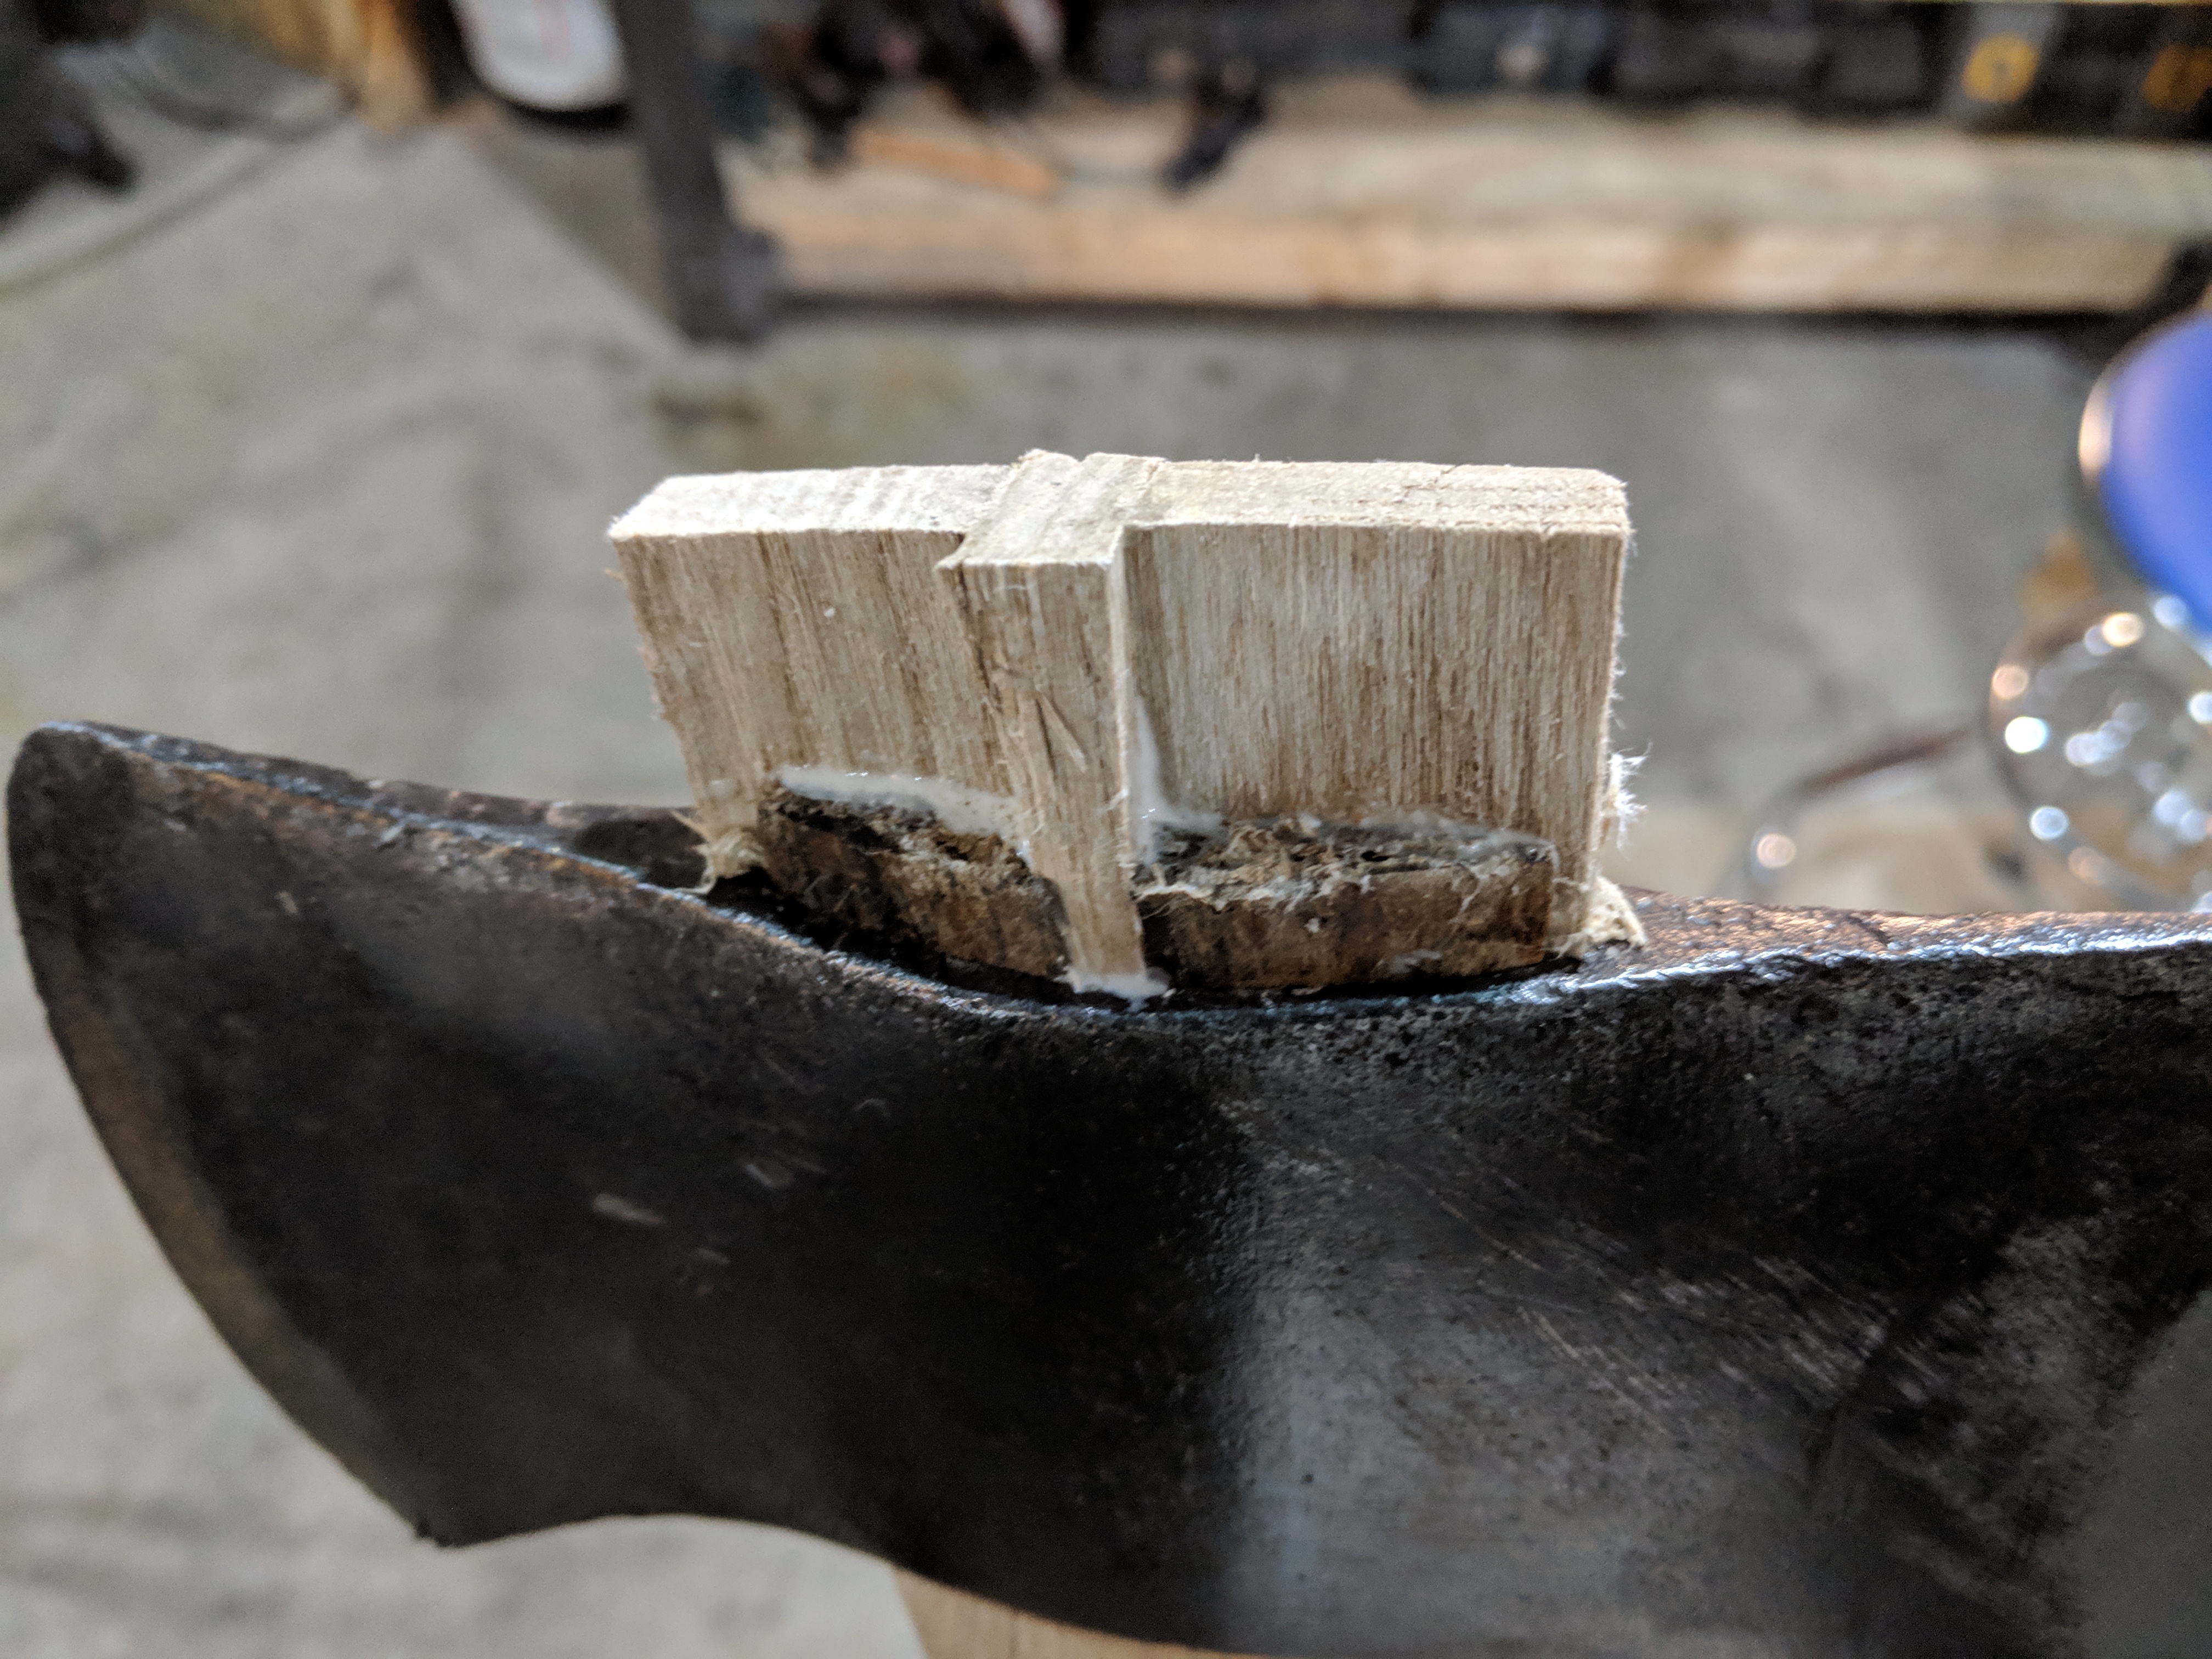
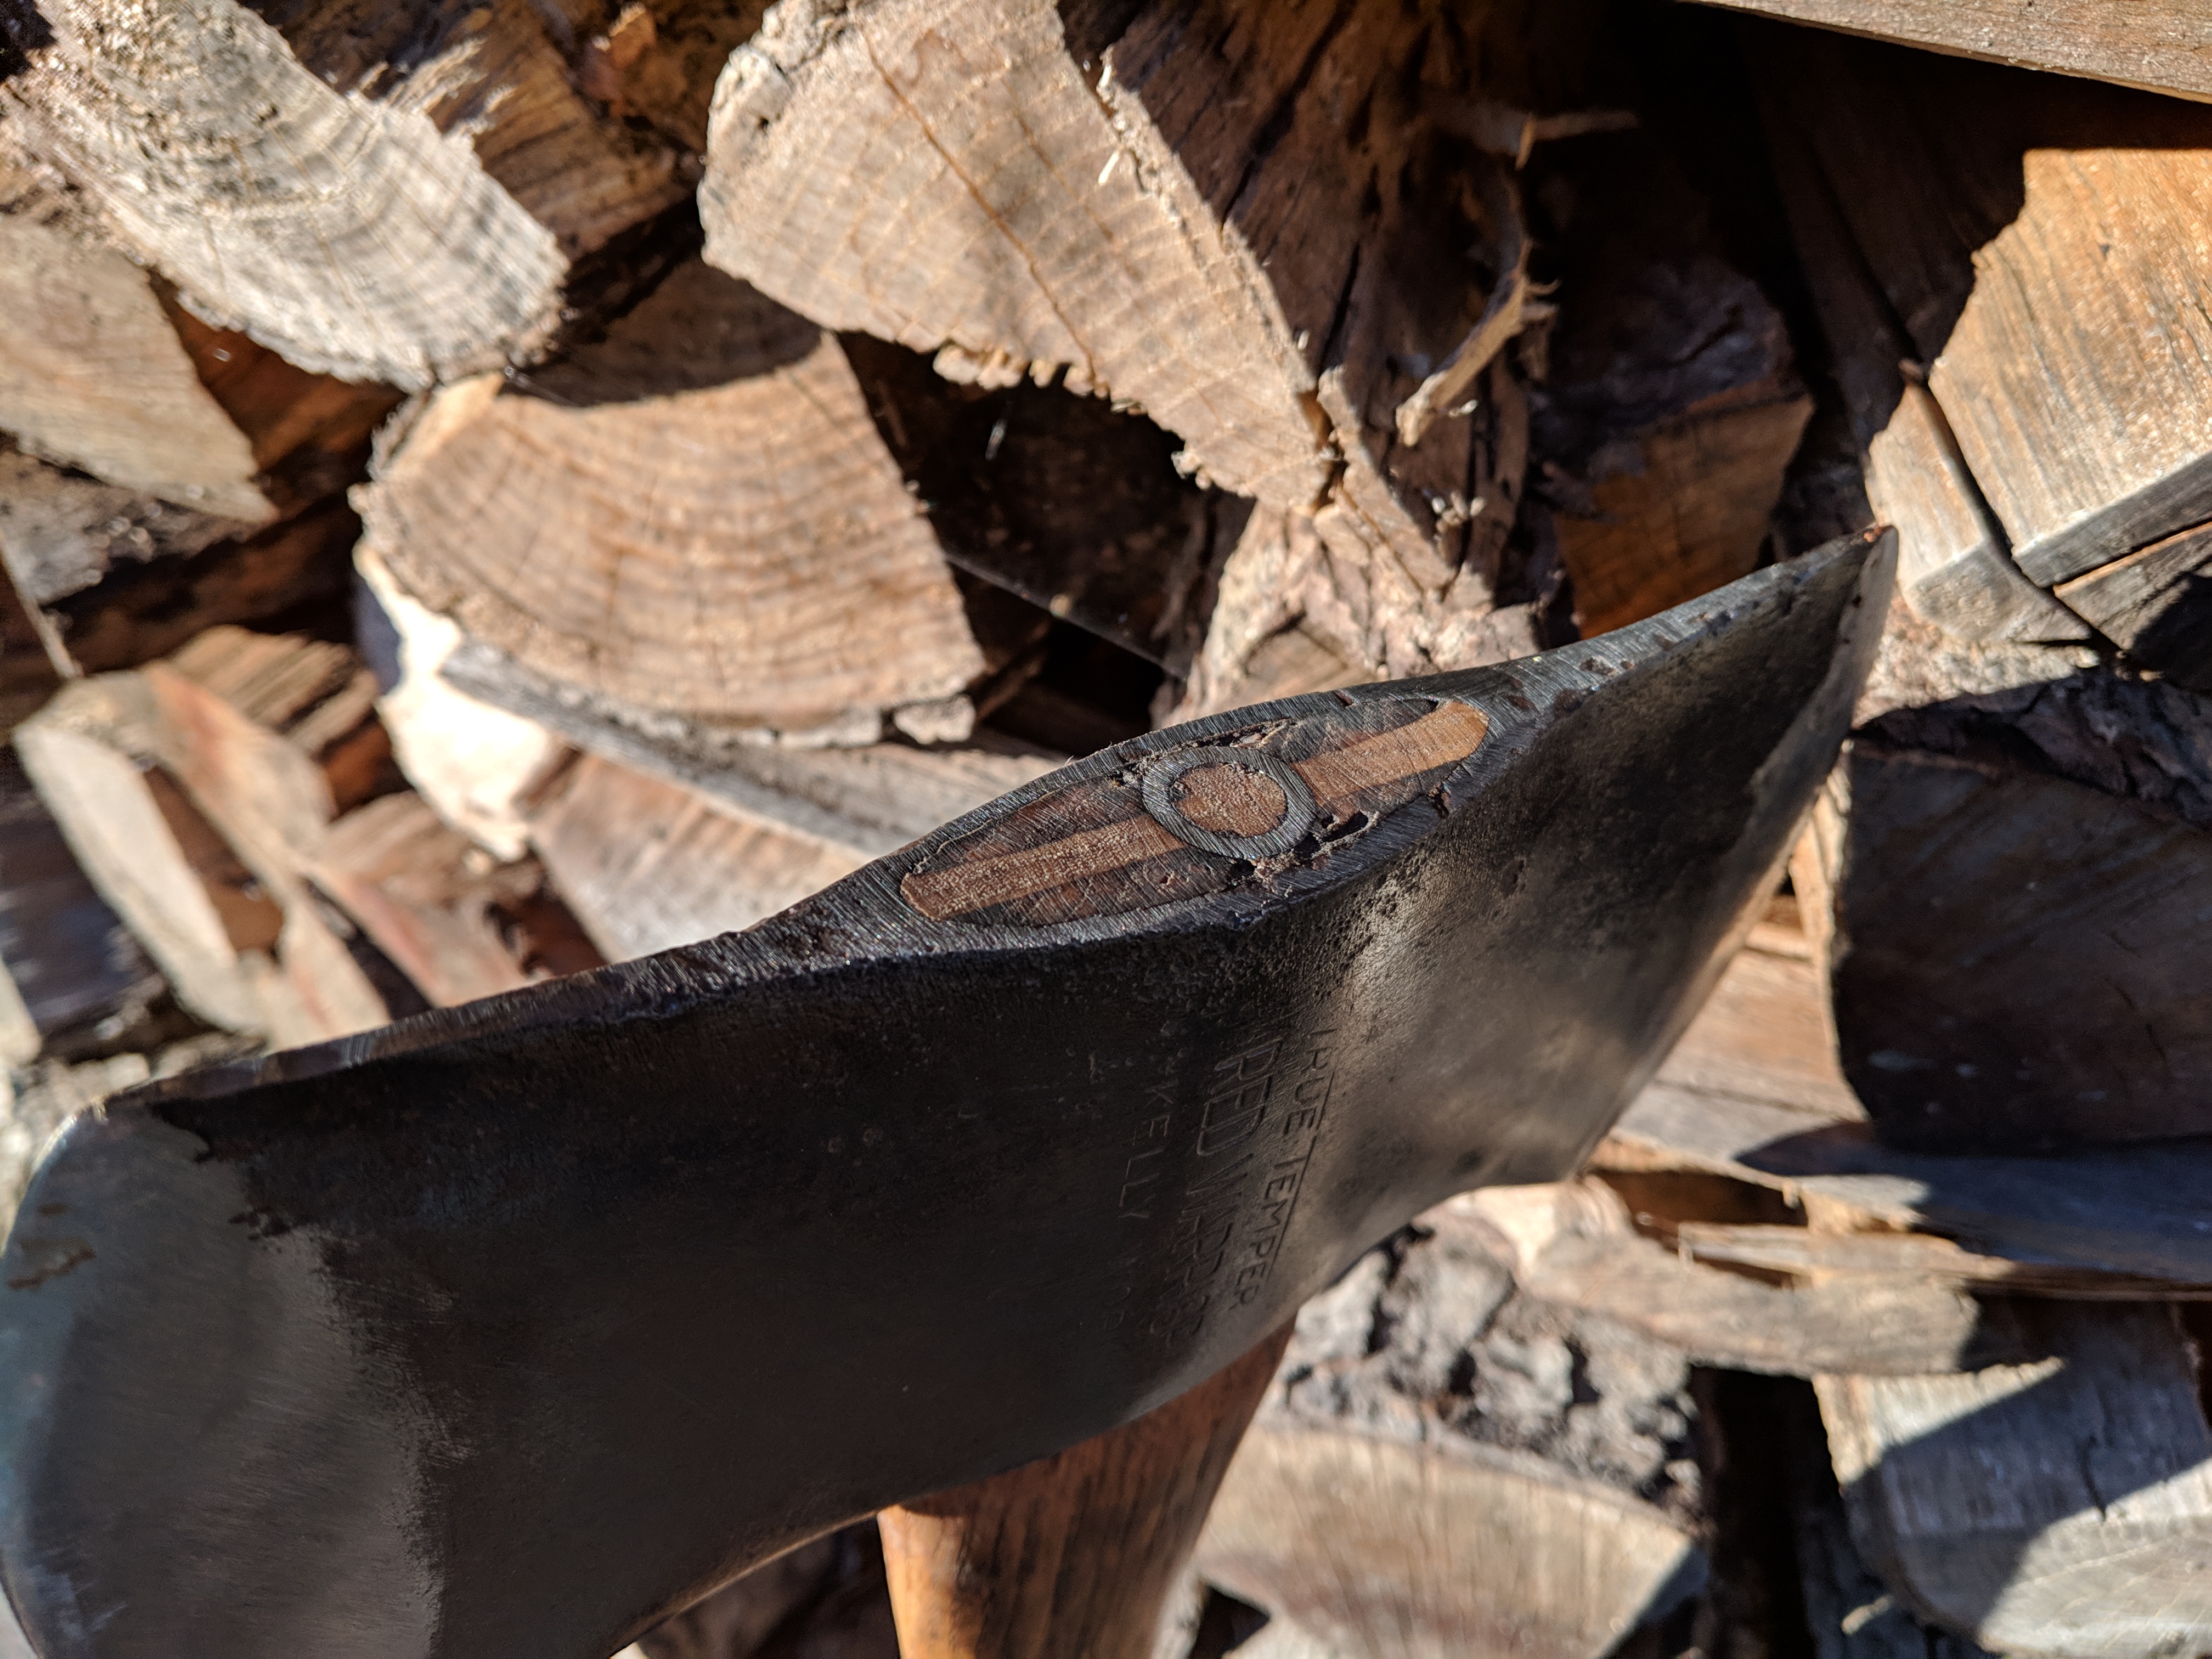
I spent maybe an hour driving the haft out after cutting the stepped wedge out with a Dremel and cut-off wheel. The wooden wedges would not budge, so in fear of damaging the wood trying to pry it out with screw fasteners, I just pounded it out with a broad-faced chisel (not the cutting type) and a hardwood drift that I made from a rootball. When the S.O.B. finally came off, I noticed that it had been cross-wedged... which is why later someone drove in a steel wedge the same way when it started coming loose. The wood was pretty dried out, but seemed serviceable. I decided to cross wedge it again. For additional security, I decided to also add a circular safety wedge... in hindsight I should have just left it because it was bulging out at the top pretty well. When I drove the circular wedge in it just made a mess of the original haft eye quadrants... they just came apart. Again, the eye wood was pretty darned dry, and if left proud a glancing blow to the eye might have knocked a big chip out that would travel deep into the eye creating a void that will cause it to come loose... So rather than scrap the haft and hang it on a new handle, I counter sunk the wedge with a sacrificial socket, then ground it down flush with an angle grinder and 40 grit flap disc. Touched up the metal with some gun blue so it blended with the overall years-worn look.

WlNMAyK.jpg


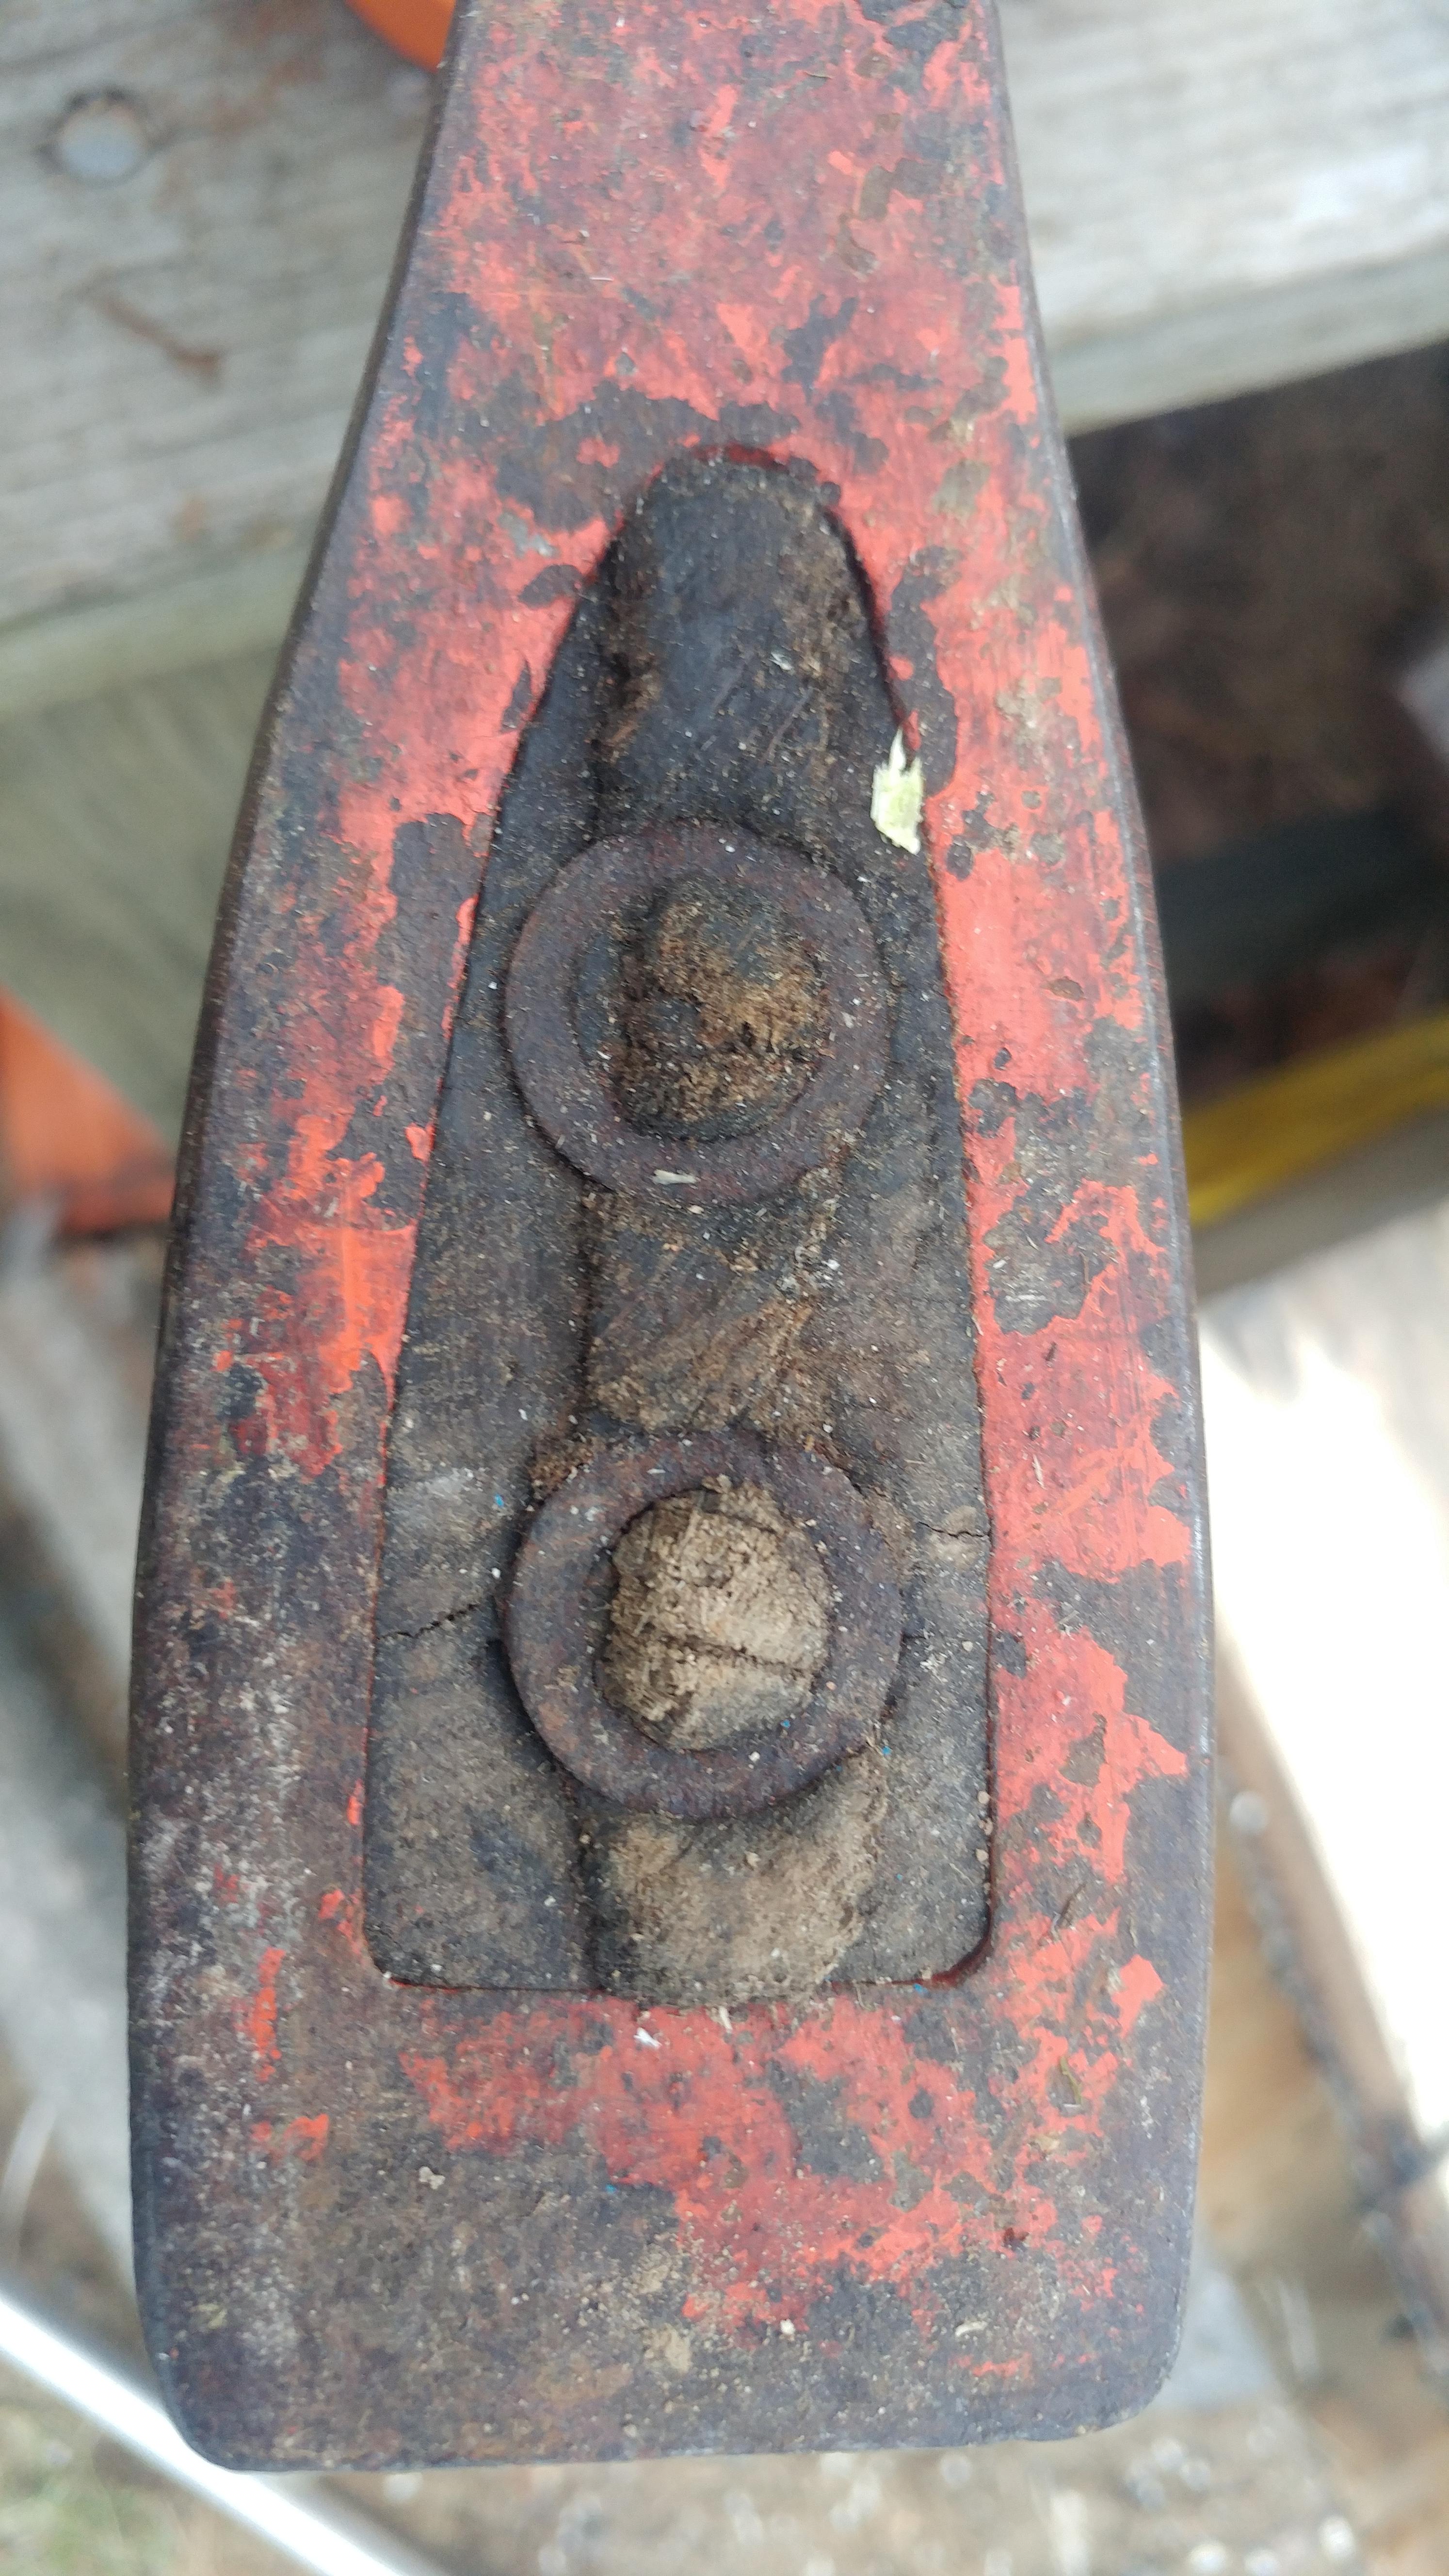
Here is the top of the eye. After I took this pic I put the head in a bath of 50/50 mix of Turpentine and Boiled Linseed Oil.

X8WcAeB.jpg


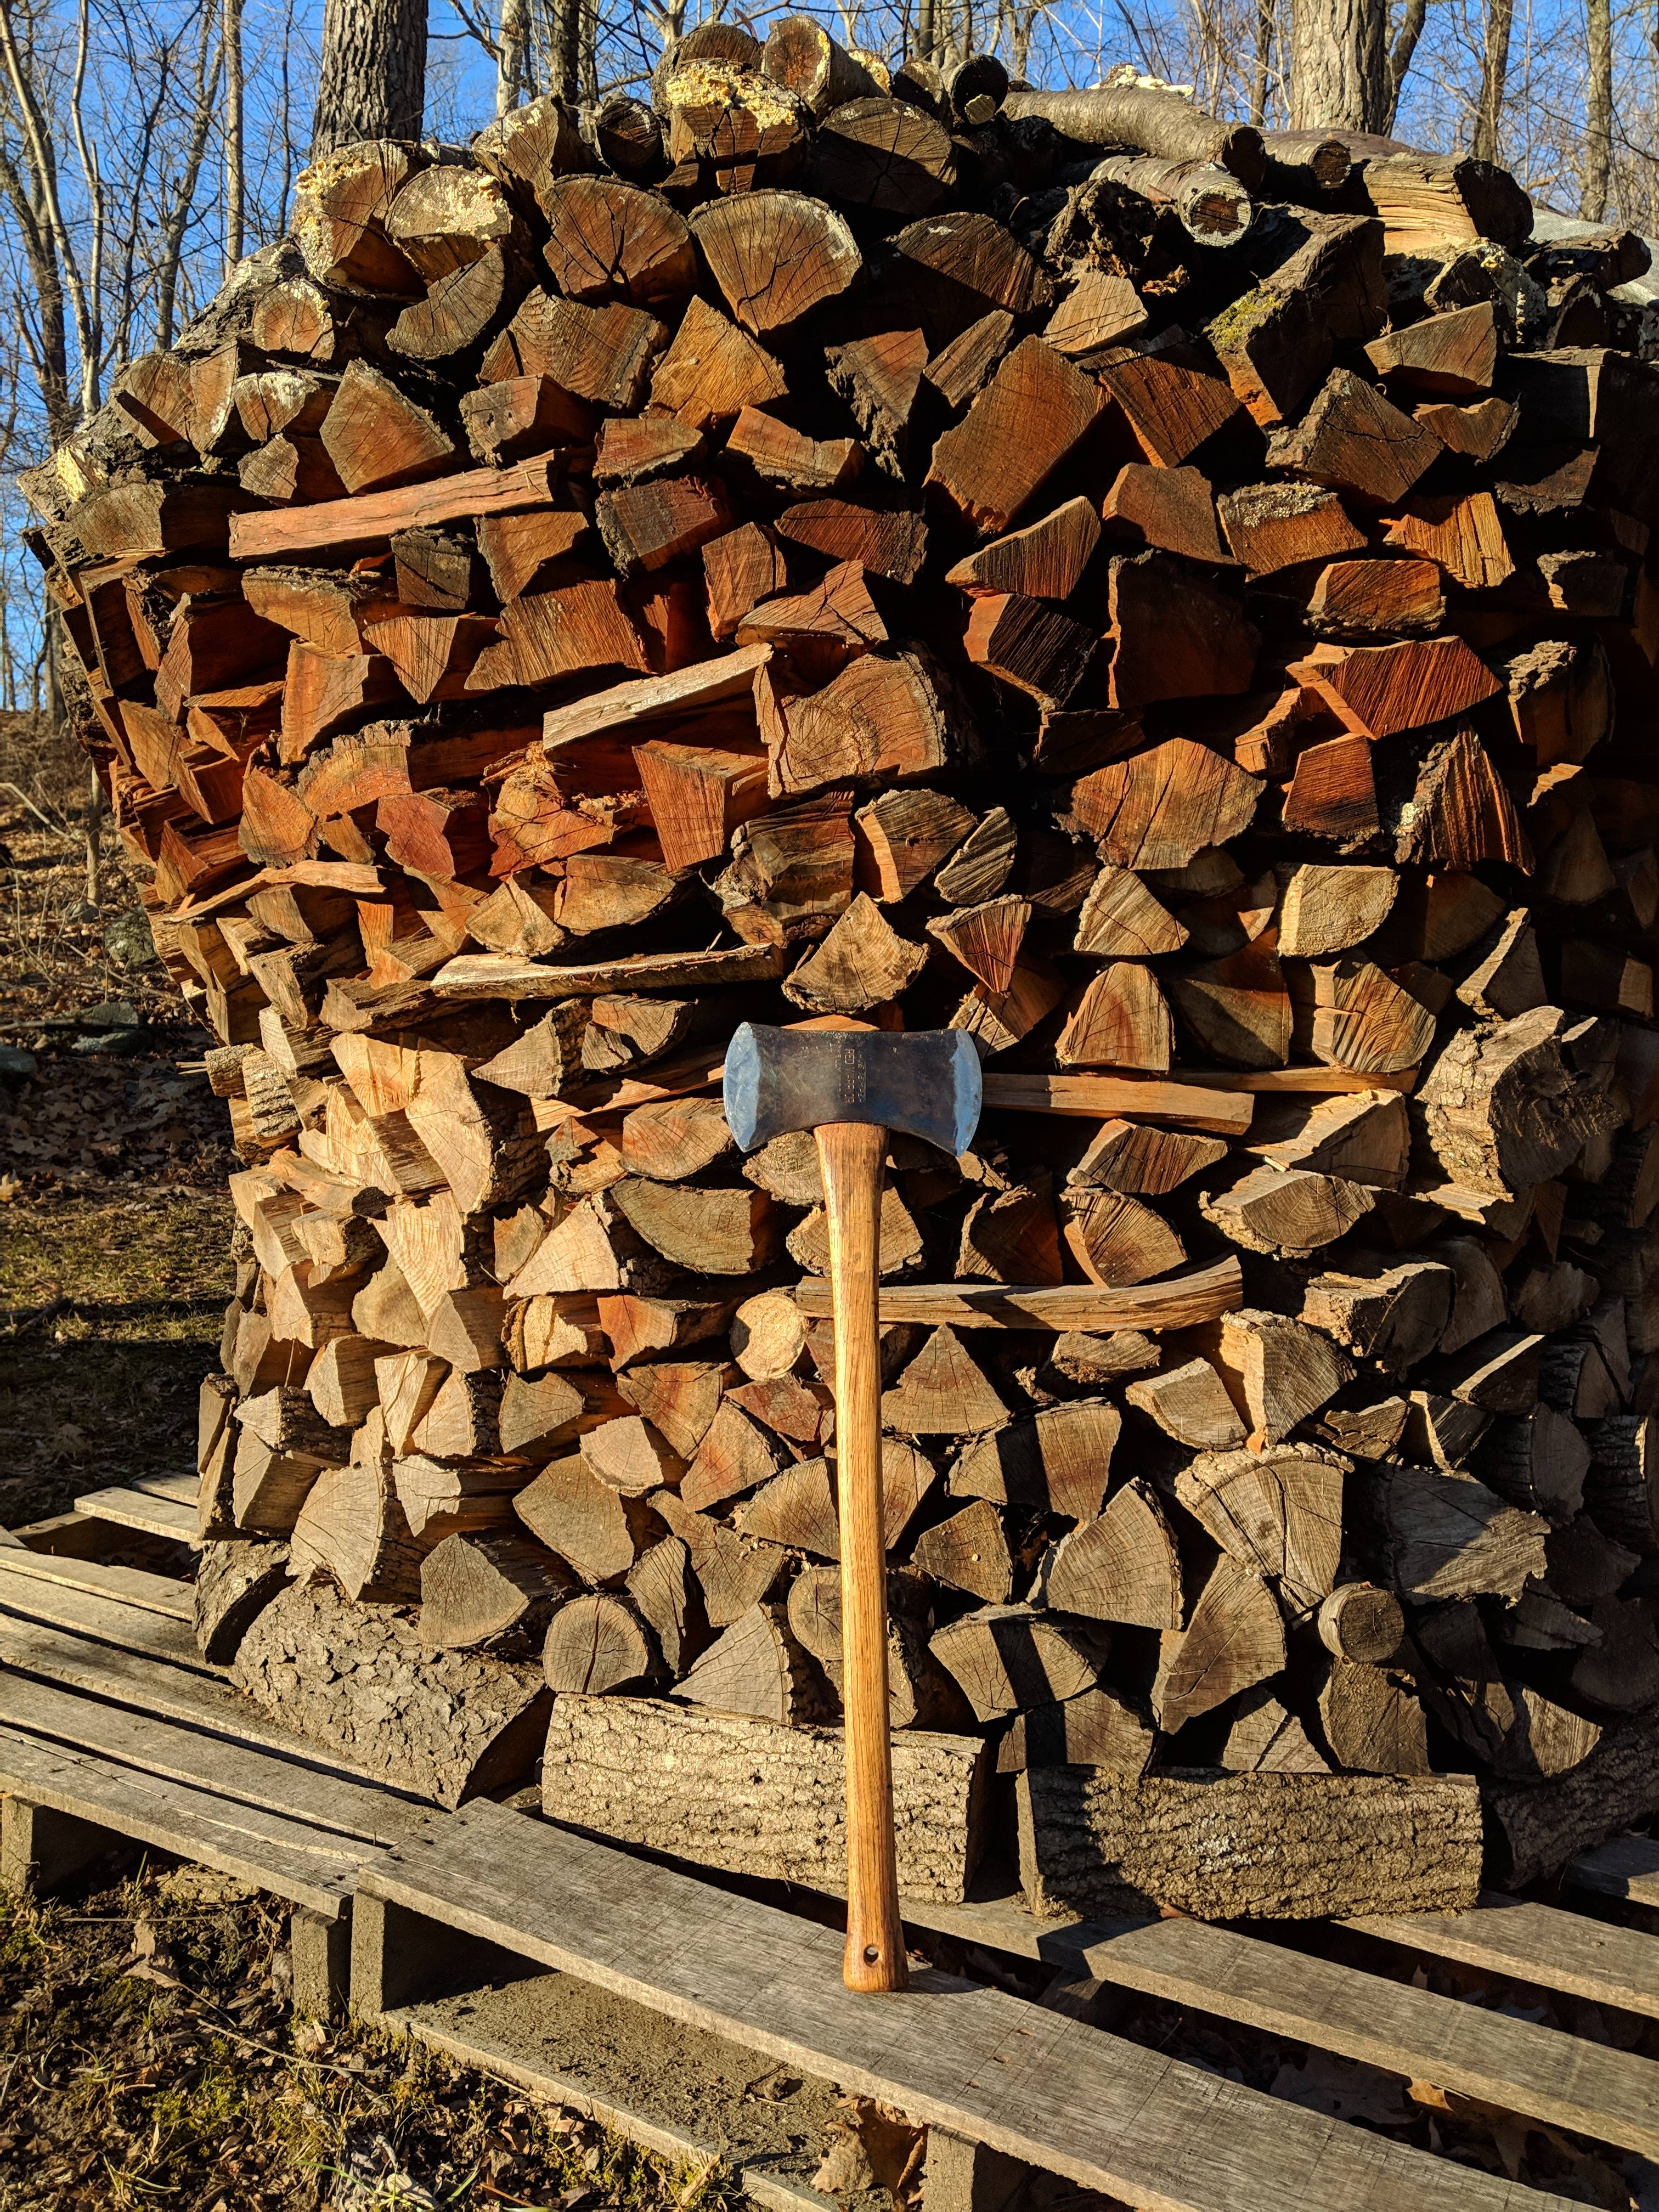
Here it is work-ready in front of a holzhausen of black cherry that is succumbing to the effects of gravity (it's sitting slightly slanted on a hill) - but we'll like be buring this stack early next month, so not worried if it collapses (it probably won't).

TVreyJS.jpg


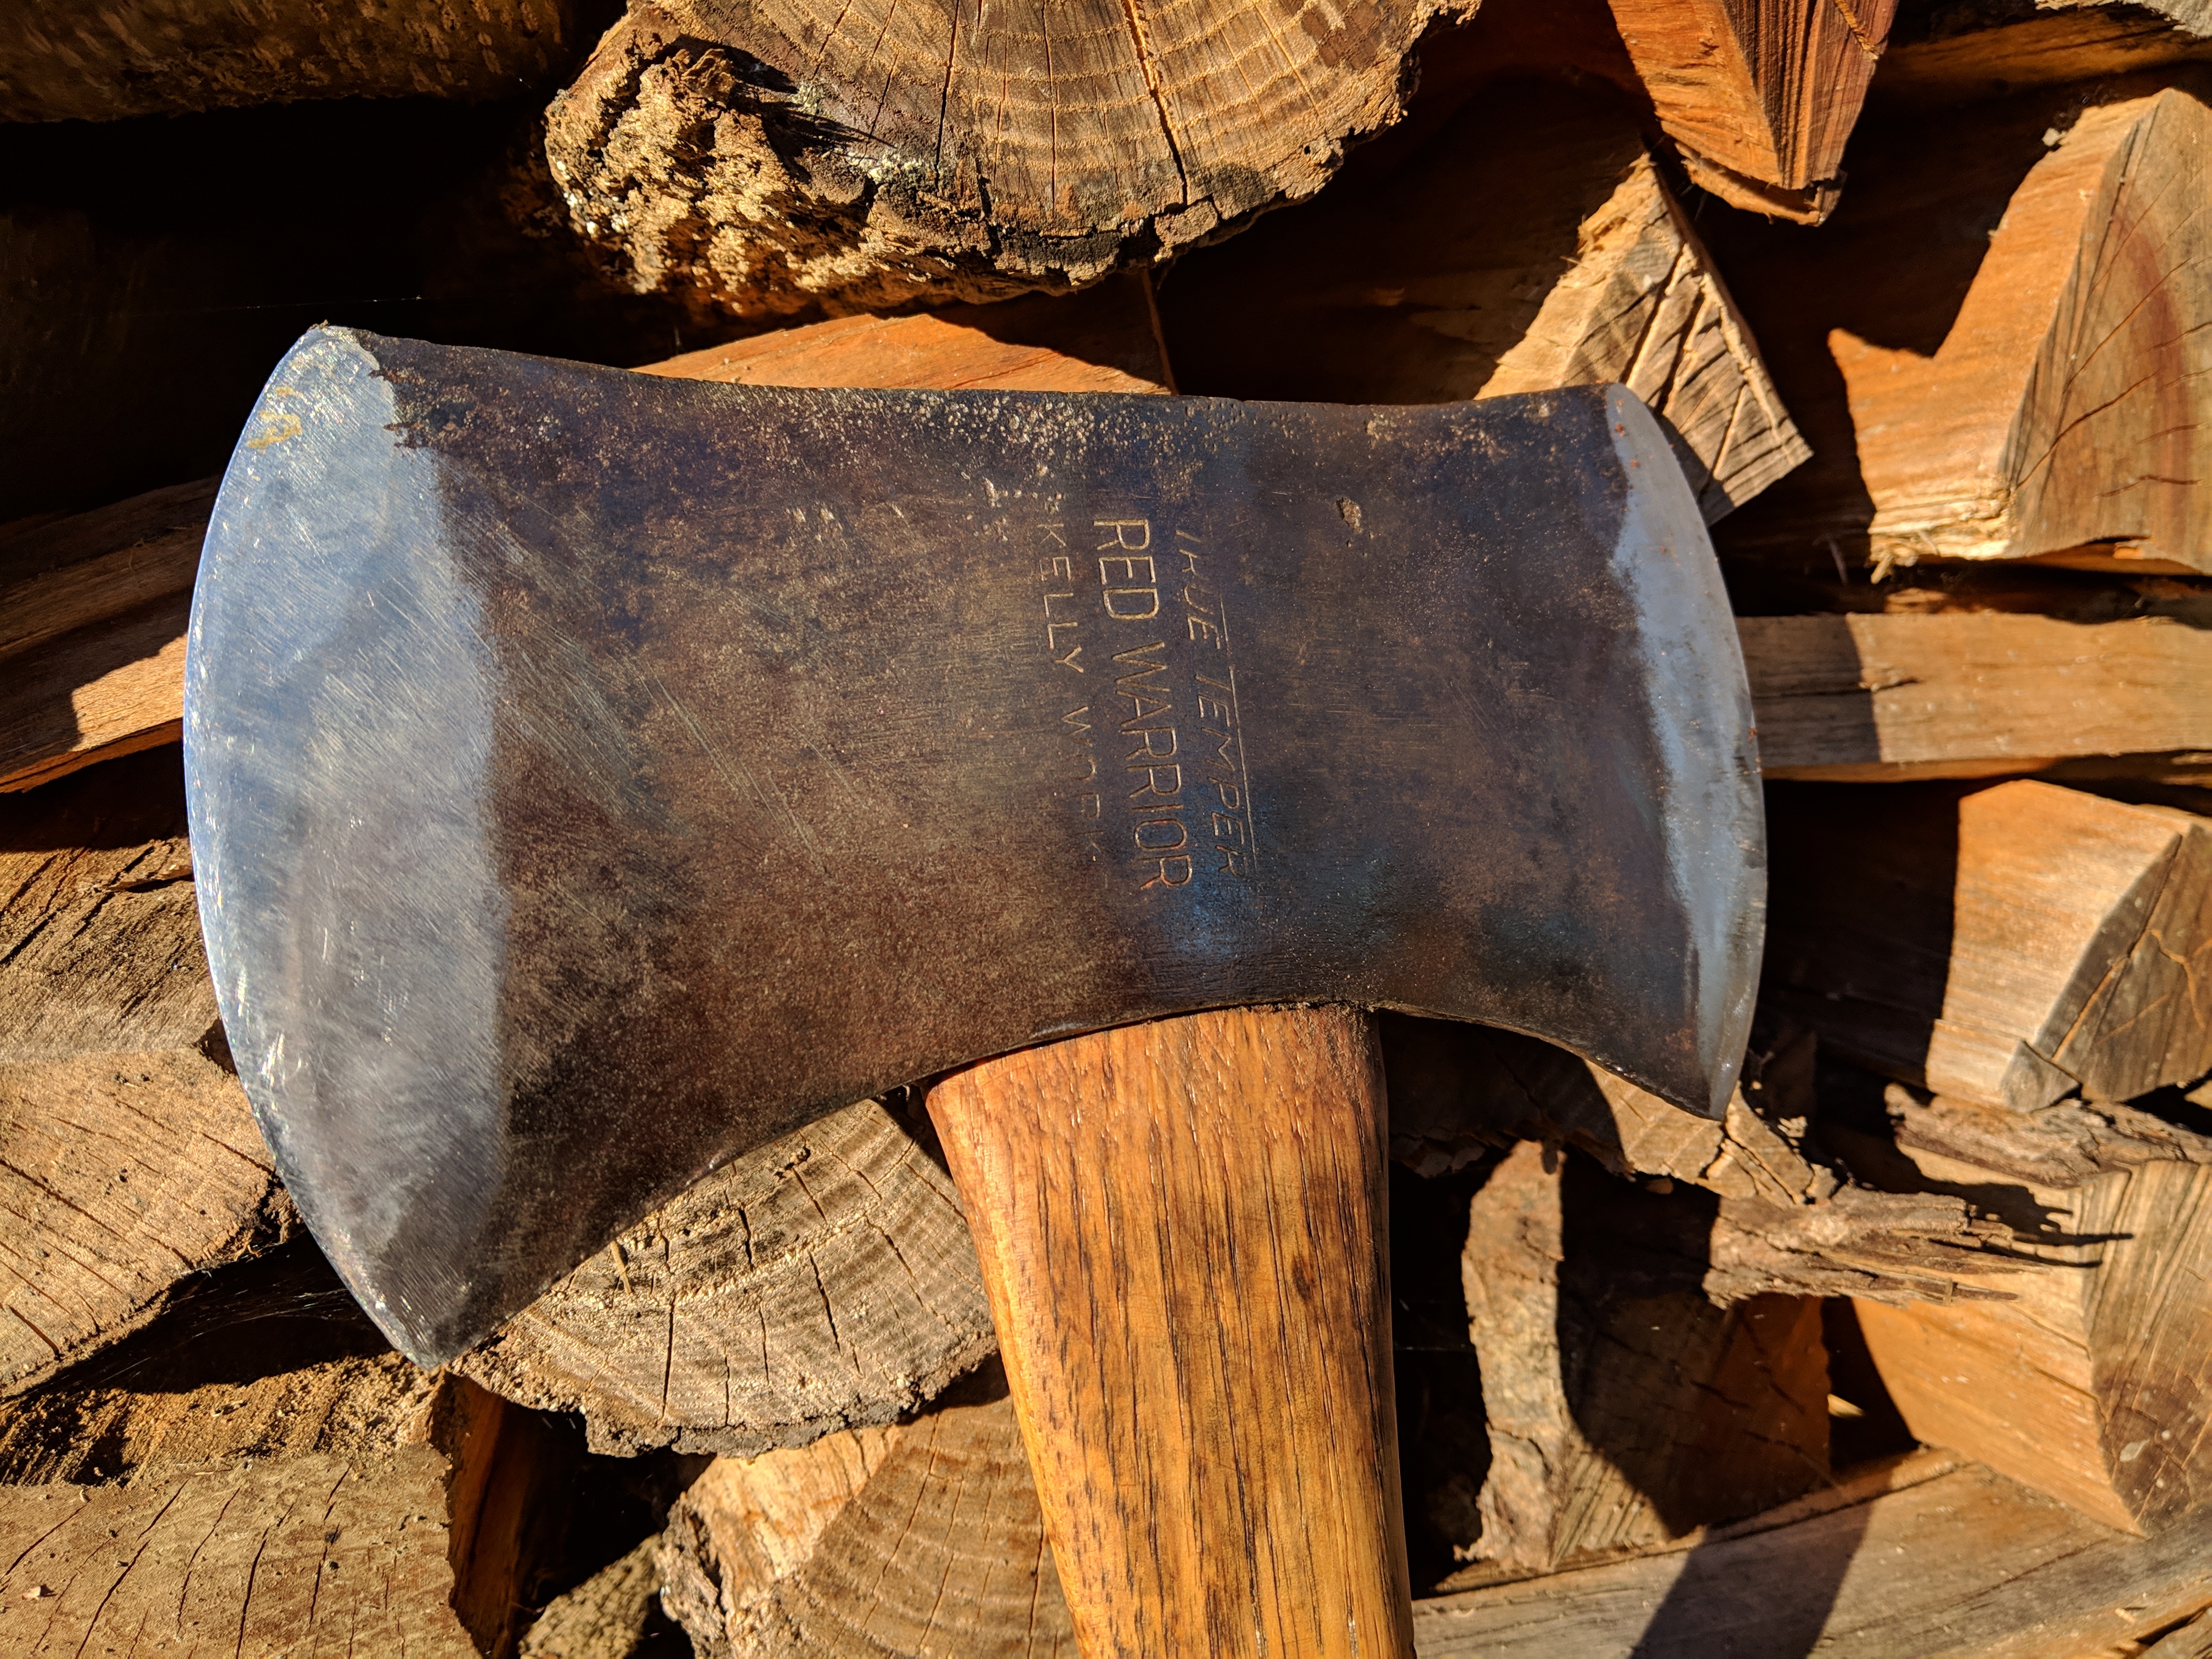
Both bits were hand filed.

hjlZPlM.jpg


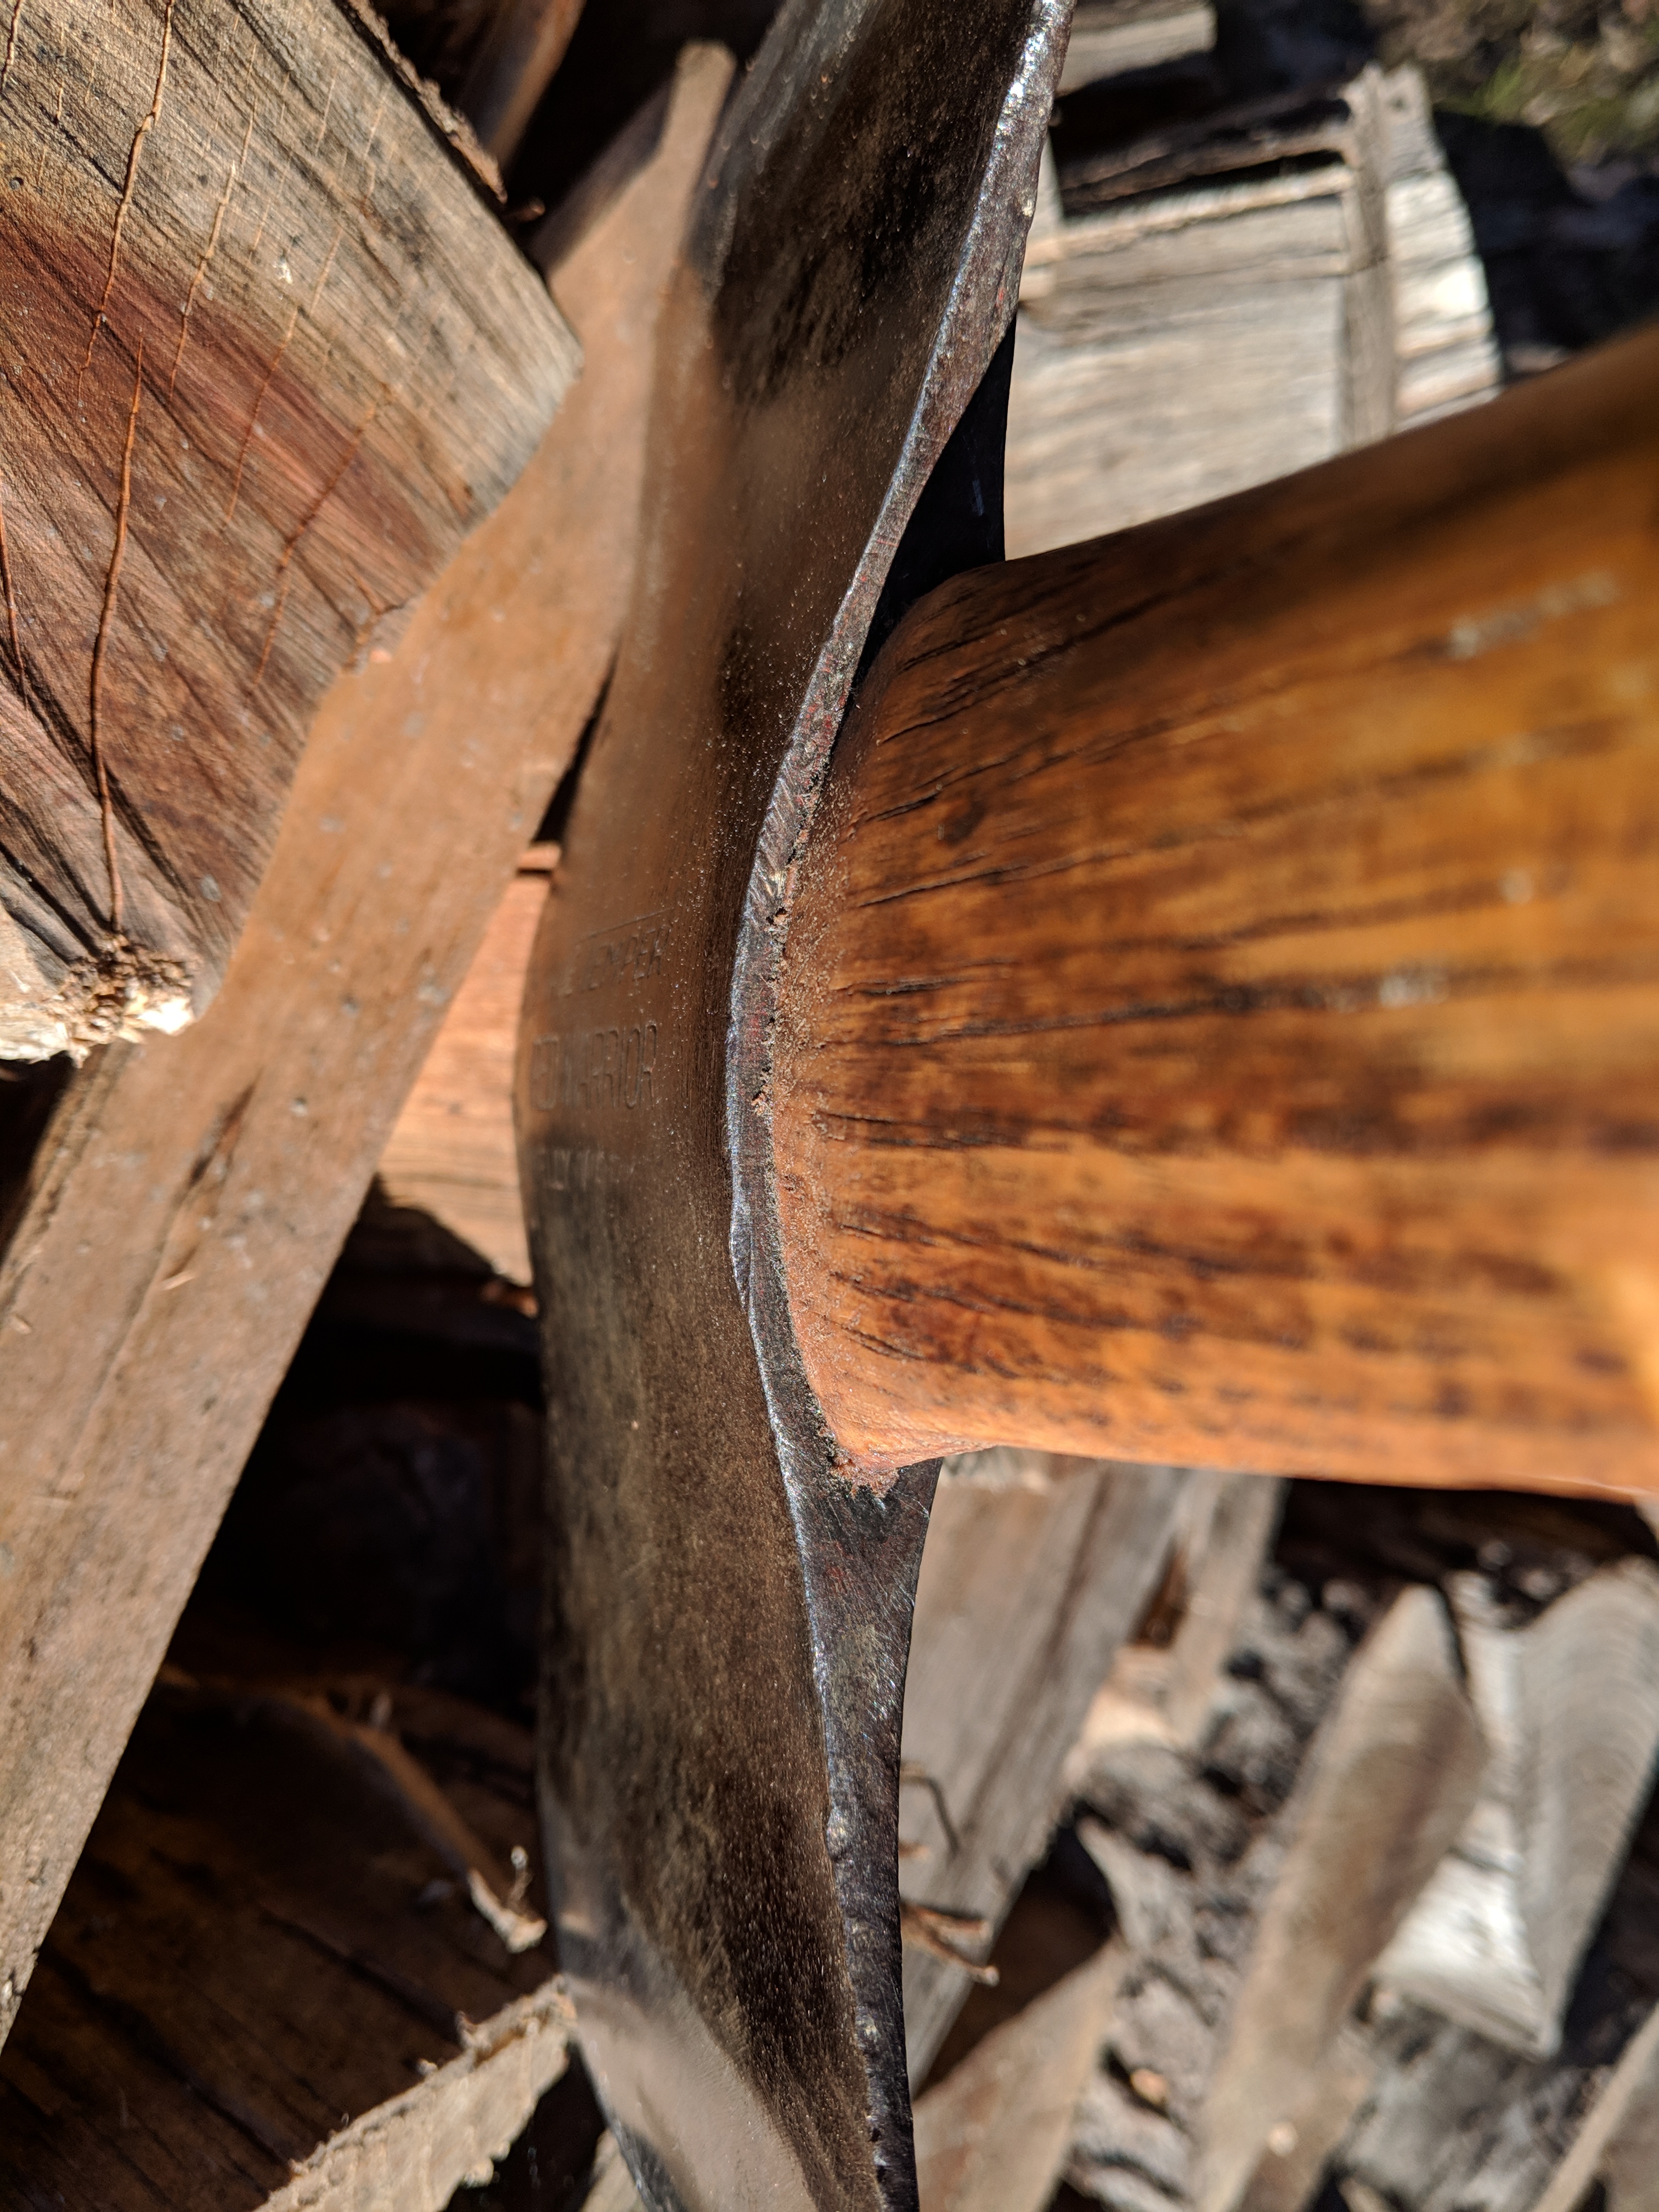
Nice and tight seat on the shoulders.

DOPiI9U.jpg


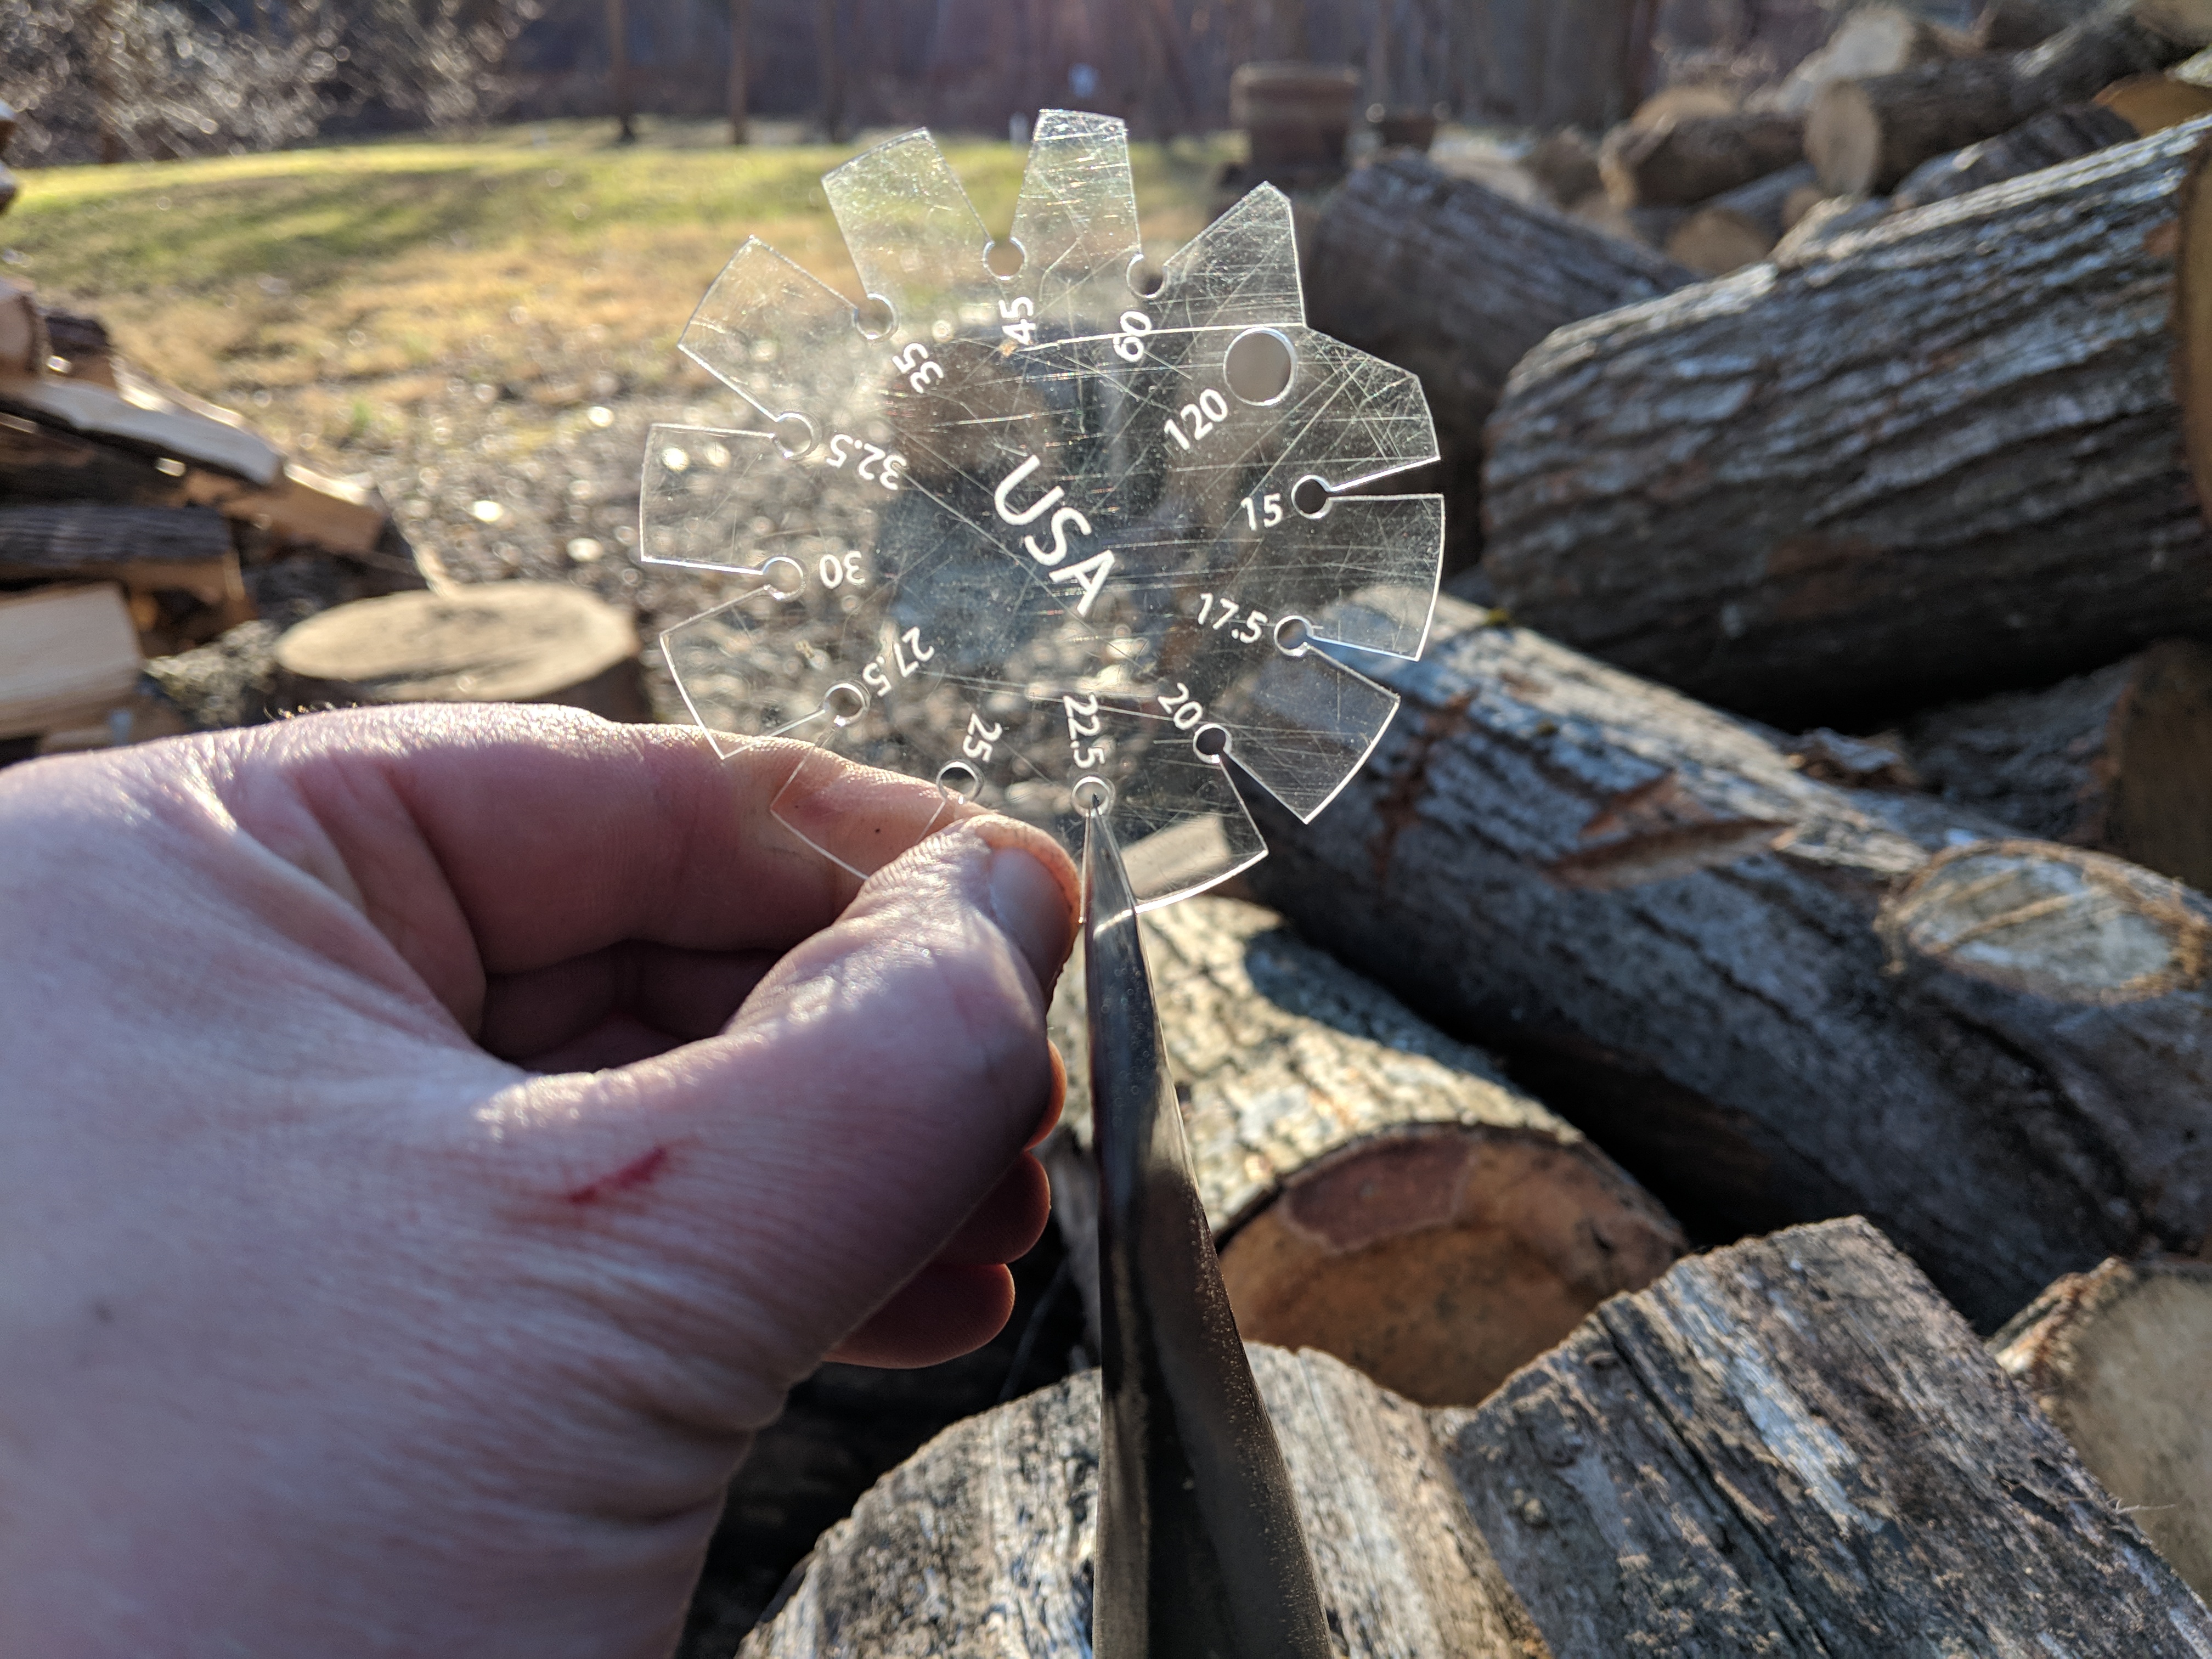
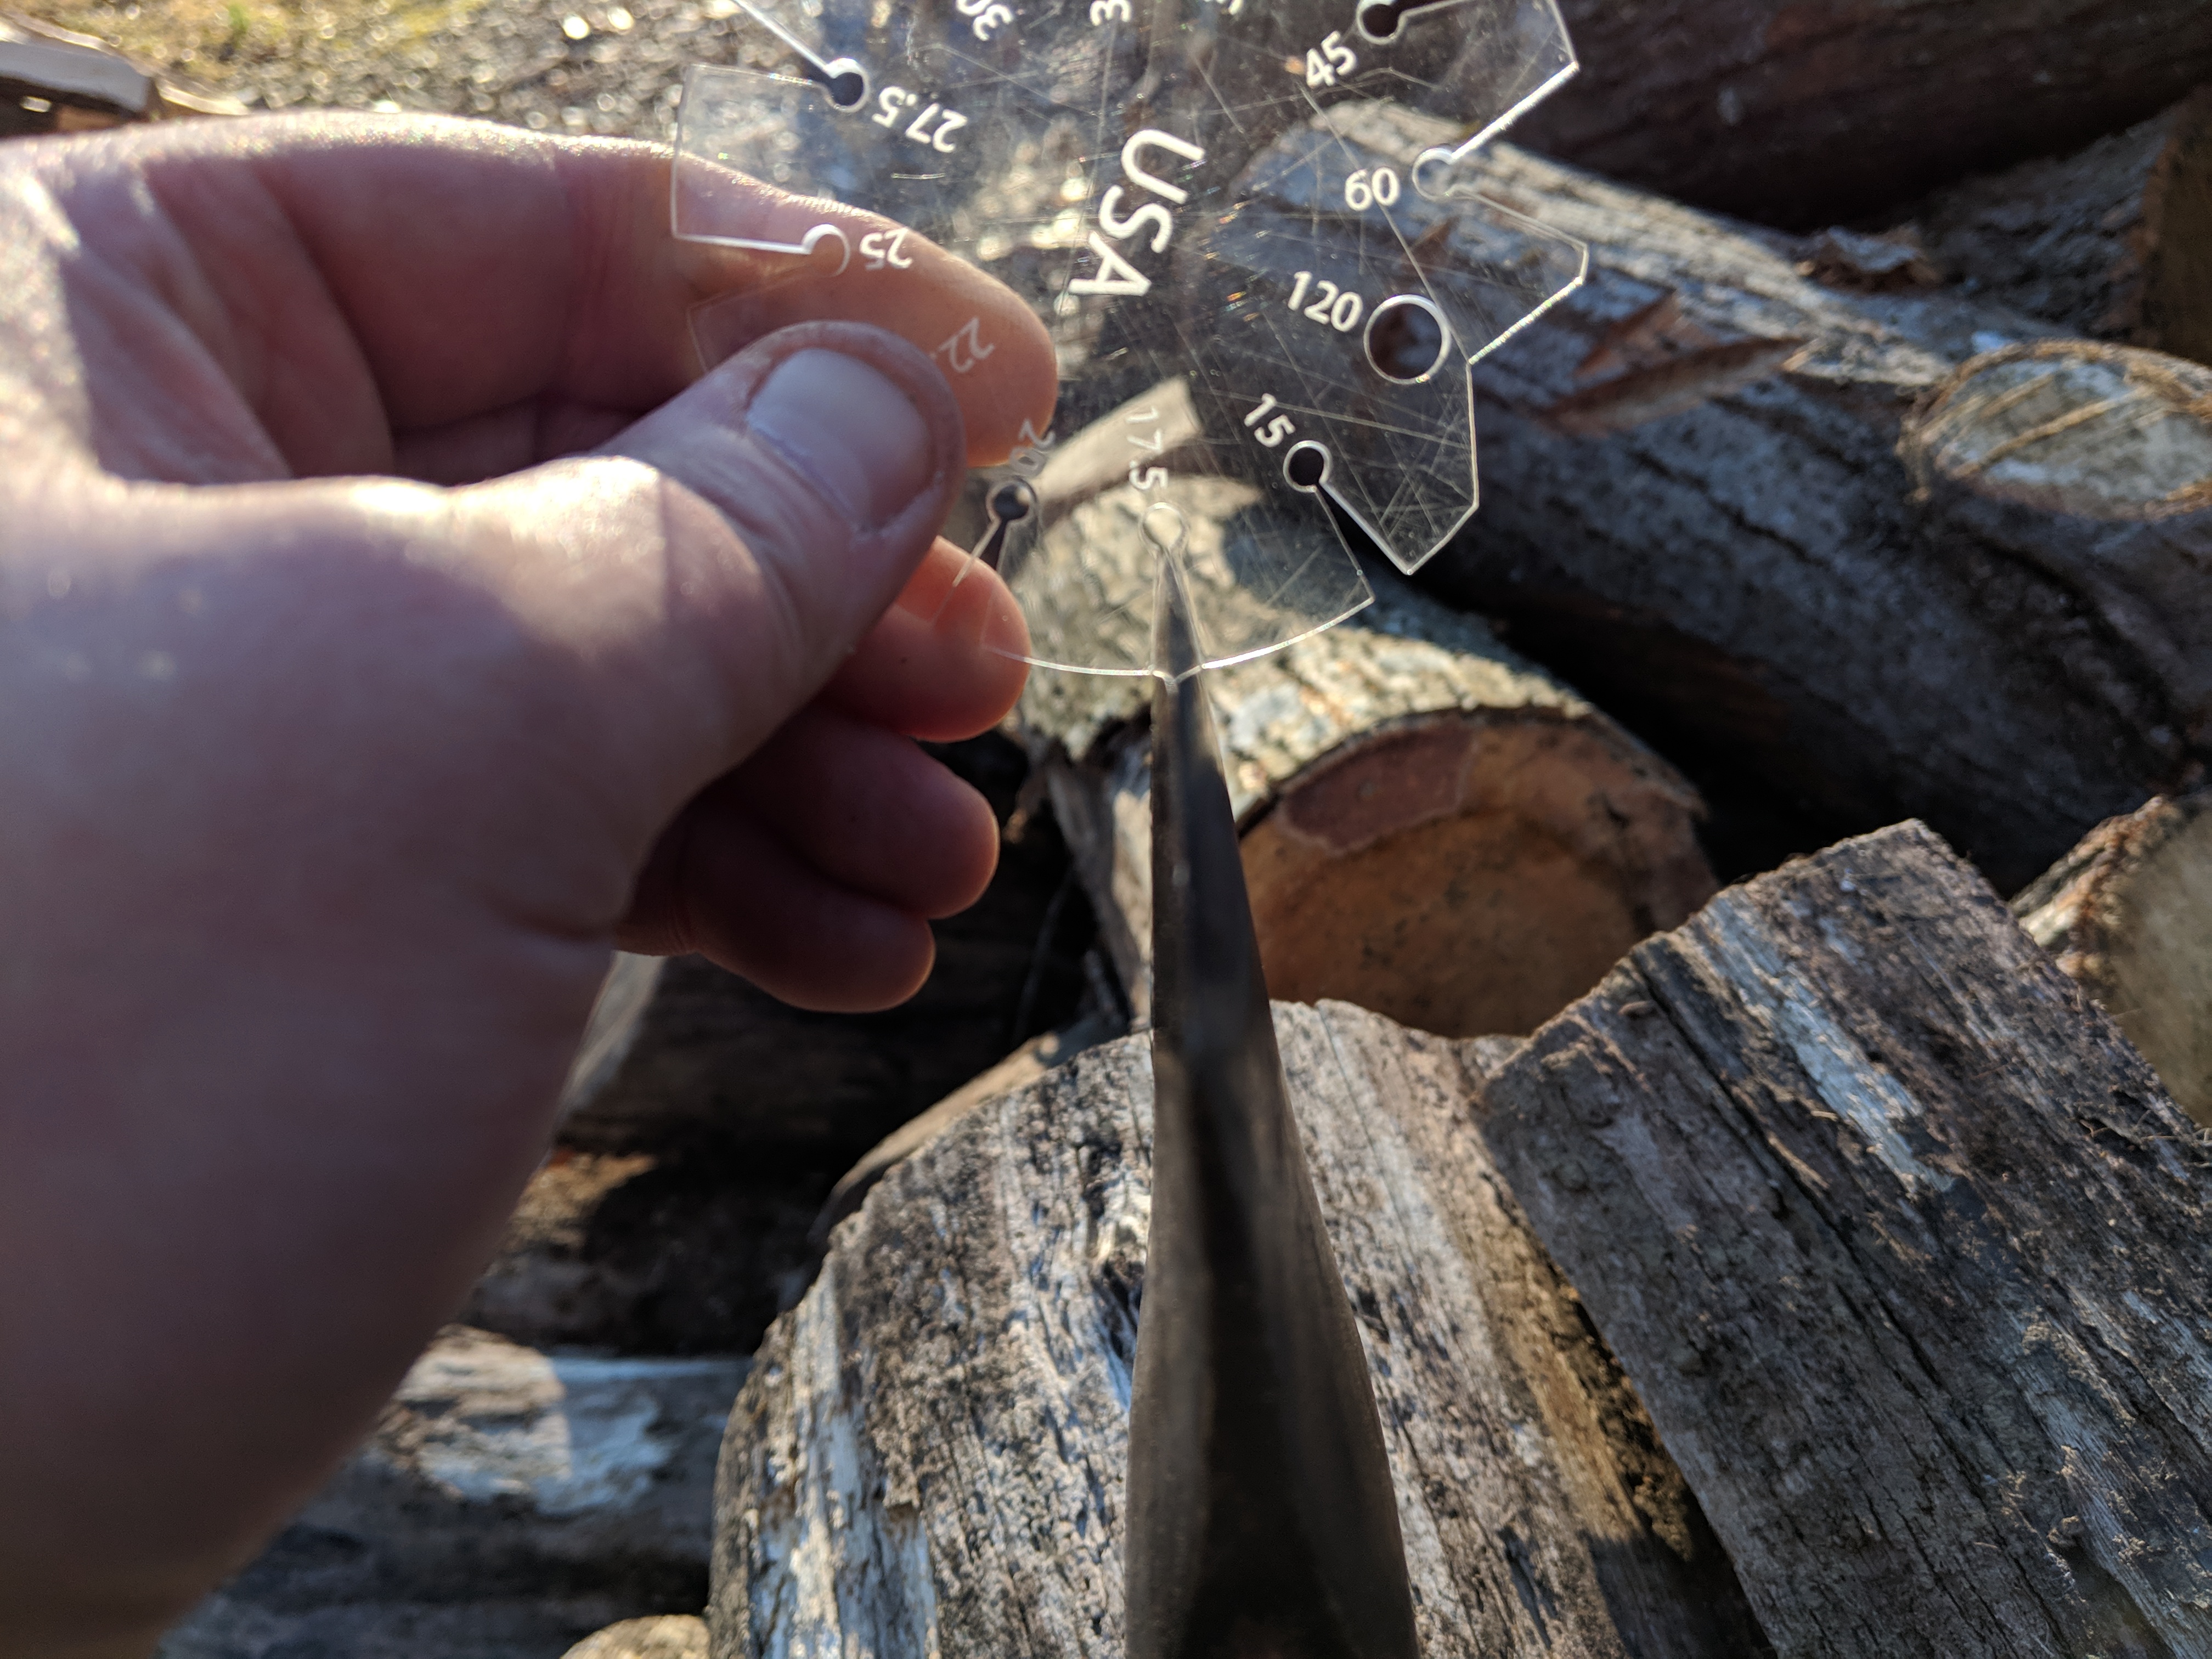
22.5° on the swamping/utility bit (right of stamp).

rcz4KoX.jpg


~18° on the keen side (left of stamp) - my bevel gauge only goes from 20° to 17.5°, but it's not quite 17.5°, nor is it 20°, so I'm guestimating it to be 18°.

948cGna.jpg
 
great work as always! and great pics.

can someone suggest somewhere i can read about the various double bit axes? they just dont exist over here so i see terms like cruiser and have no idea on meaning.

If I knew of a comprehensive collection of info on double bitted axes I'd surely share it with you, but like many things of yore, they are lost in time and sequestered away to various oral tradition, publications, history books, and or other tomes. From what I have gathered, they have appeared throughout history in Europe and Asia Minor, but gained a prominence when they were introduced during the rise of the lumber industry in the early United States. First introduced by local smiths, eventually larger foundries began to produce them on a large scale in Maine and Pennsylvania , and thusly distributed them in those regions where they began to grow in popularity, then quickly began to spread. The idea was to have "two axes in one", either two similarly ground keen edges, or each edge with a different grind for specific tasks (e.g. one for felling or chopping clean, knot-free wood, the other for utility or swamping)

The sizes, weight, and shapes began to change as they reached the far edges of the continent, developed and suited for the timber being harvested.

The "Cruiser" axe is one that I define as between 2.25-2.5 lb (1.0-1.125 kg), has two bits and is between 26-30" (66-76 cm) in length. In the height of the lumber industry in the late 19th century United States and Canada, particularly in the Pacific Northwest - timber cruising was an integral part of early sustainable logging. Timber cruisers, who surveyed the land estimating the amount of harvest-able lumber from a stand, often on horseback would carry there small, lightweight double-bit axes for various chores and survival. Sometimes called a "saddle axe", they were as common as a flask or rifle when cruising the pristine evergreen forests of the Pacific Northwest.

Here is some good reading material on Timber Cruising (PDF warning): https://www.fs.usda.gov/Internet/FSE_DOCUMENTS/fsbdev2_025021.pdf
 
Hey guys been reading the thread and wow some of you really know your axes any way I'm very green when it comes to axes so I bought this little hults bruk 2-1/4 head and going to have a go at hanging my 1st axe. Would any of you have an idea on its age? It has epoxy in the top.

Have watched a huge amount of buckin Billy's videos and think I should be ok for a crack at it. Is 28inch too long? Its very hard to find a 24 or 26inch here can shop online but can't check the grain or anything though.20190108_075525.jpg 20190108_075538.jpg
 
I would be happy to, have done this a number of times now. It gives an ax a natural looking patina or 'straight from the forge' look to it when the original patina has been removed during restoration. Because it is also a passive oxidation layer, it acts as a barrier for further oxidation and protects the metal. Plus, it looks great... I don't really like the look of a bright steel ax head and they always seem to be prone to surface rust if not kept up on.

Anyway, here is a run down. First, the steel is brightened up with a wire brush cup wheel and sandpaper or grinder (I use a pneumatic die grinder, just be careful not to heat up the bit and draw the temper). You want to remove any deep pitted rust, old paint, or detritus. After that, I put on Nitrile gloves and de-grease the steel with acetone. Keep the gloves on because the oil from your skin will cause an uneven finish with the rust.

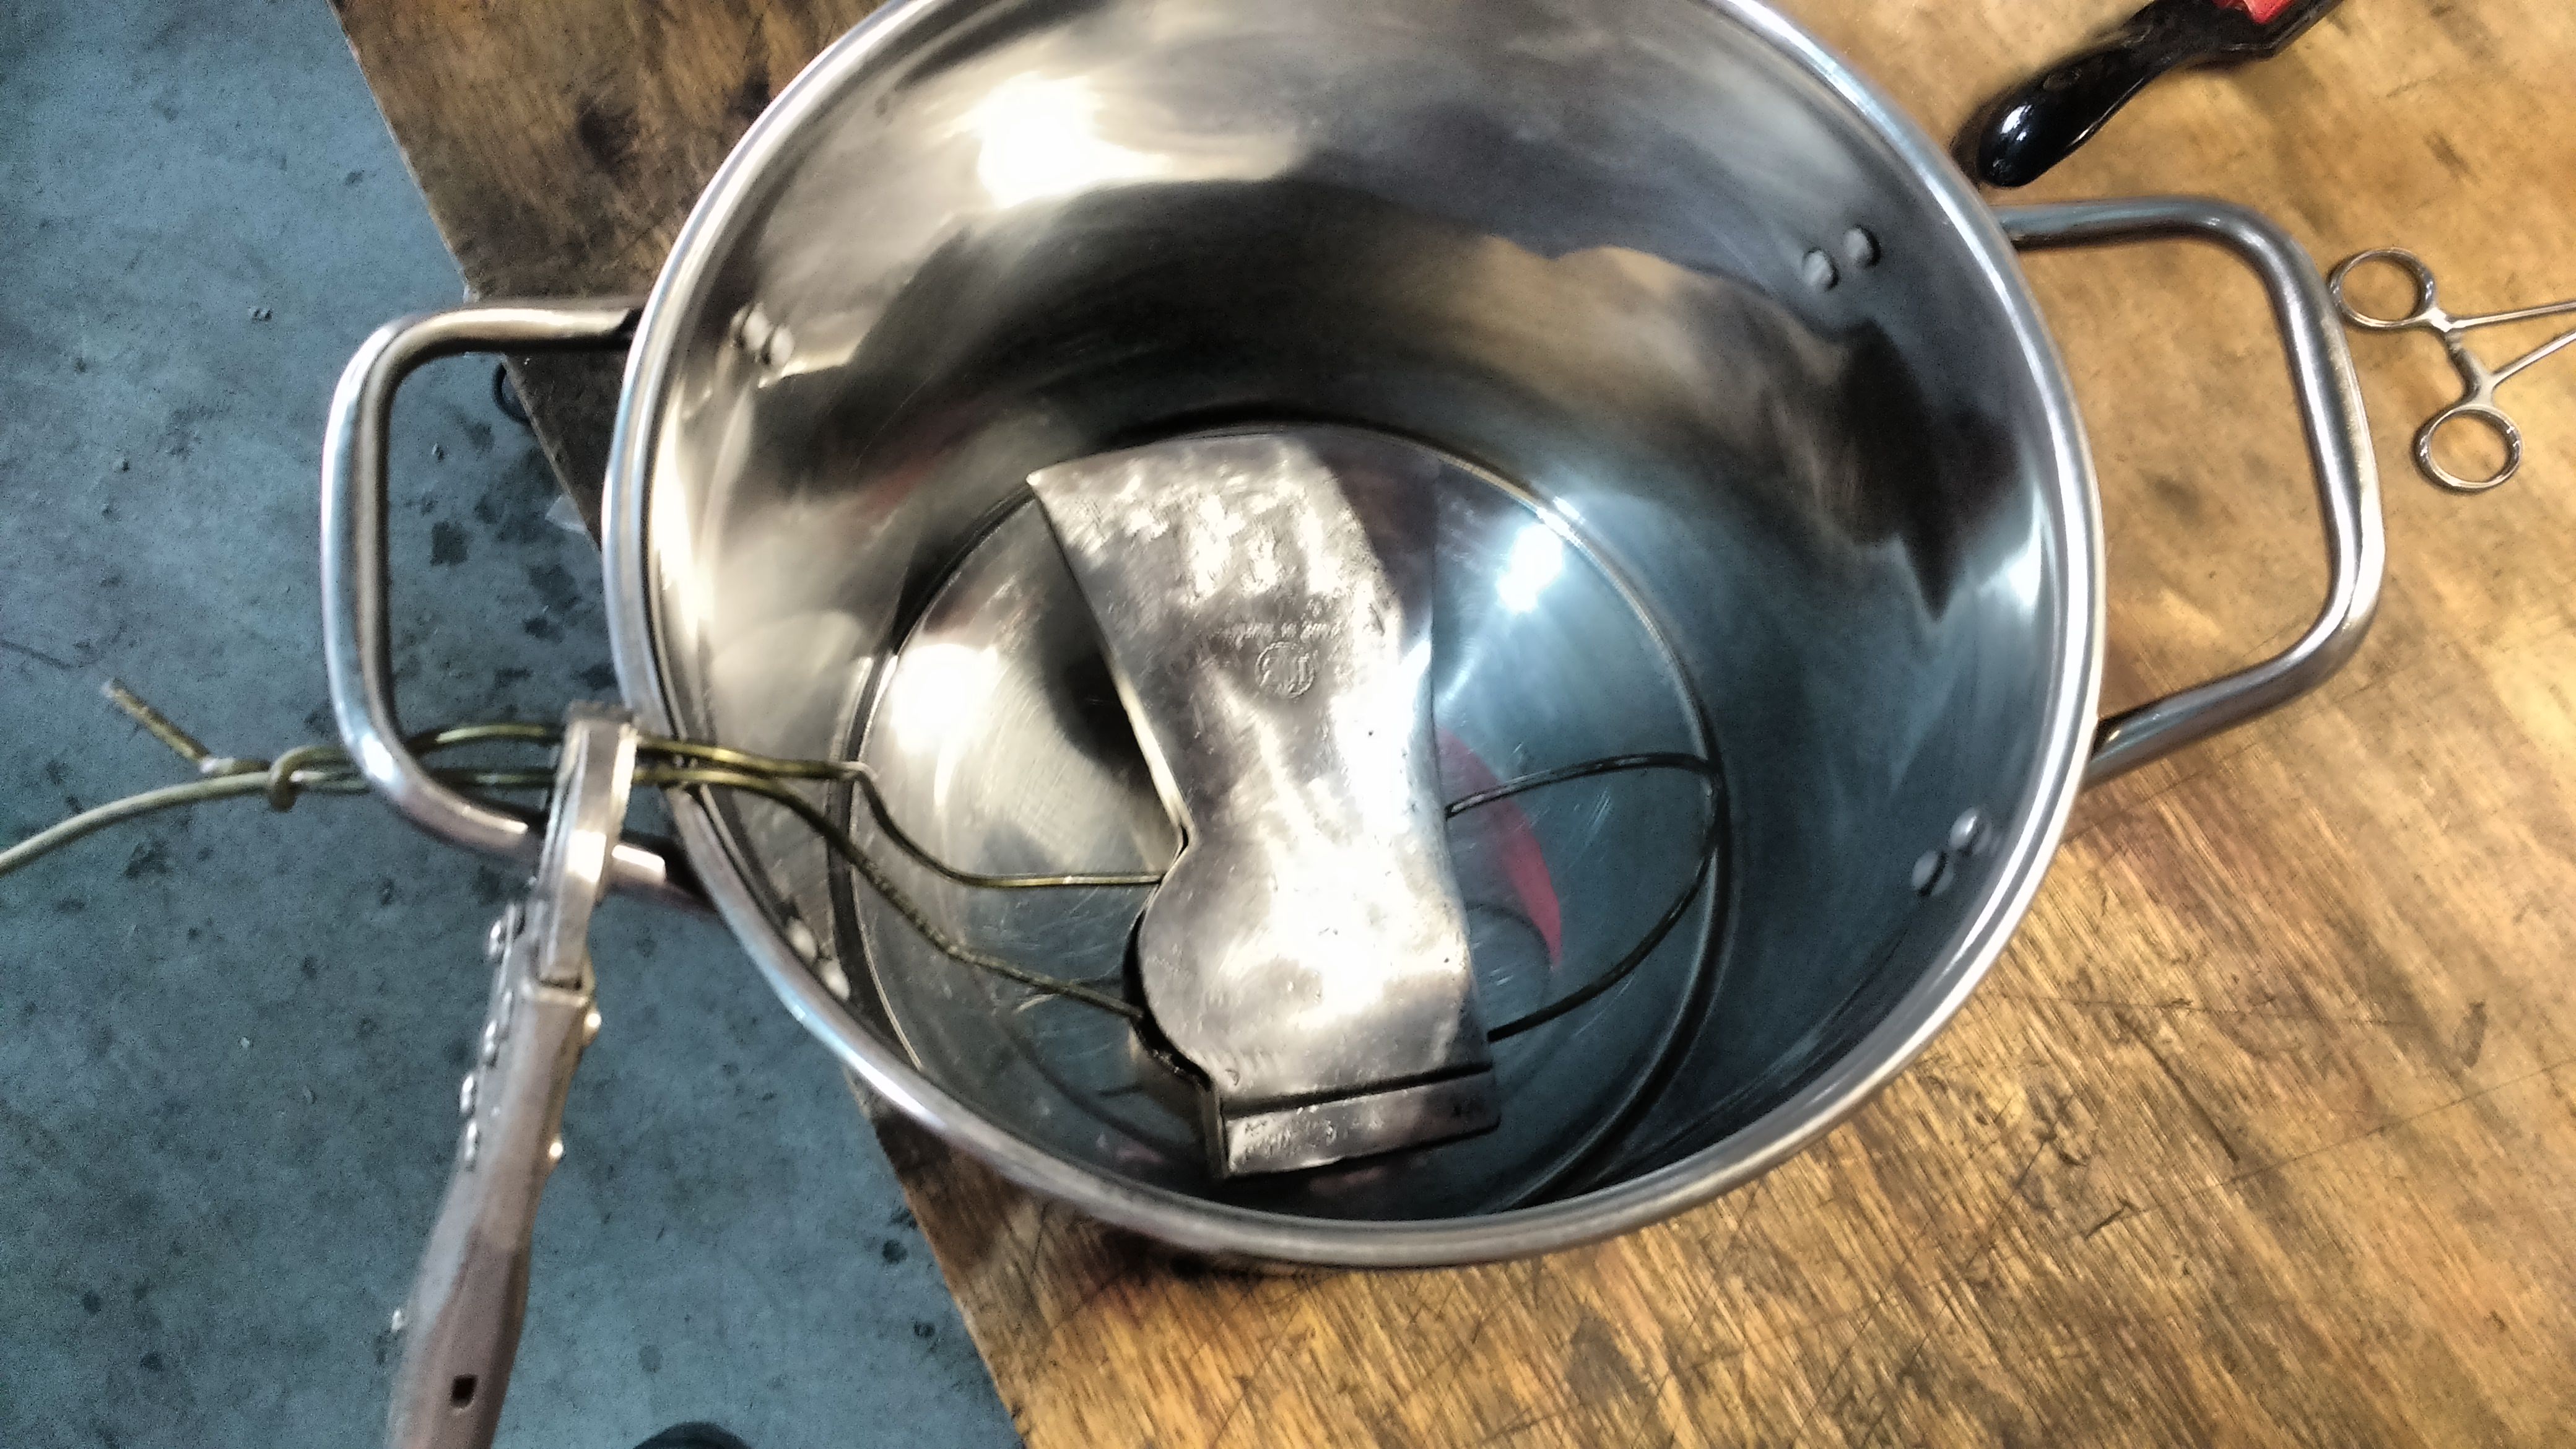
Once the steel is de-greased it is ready to put in the salt bath solution made up of 3% hydrogen peroxide table salt. In the past, I've used cheap non-stick baking pans for the salt bath, but this time I used a 2 gallon stock pot that I was OK with ruining. The peroxide is then heated up near boiling (it is mostly water, so the typical ~212/100 C/F temps) - when it starts to look like it's about to roll, start adding the salt. I'll add a lot, enough to where it starts to accumulate on the bottom, but do stir it in to dissolve. Once the solution is again near boiling, I'll remove it from the heat and add the ax. This time I also used a wire coat hanger (sorry, Mommy dearest) to suspend the steel and keep it from touching the bottom of the pot. In the past, having it touch the bottom resulted in an uneven rust coating. Here is what it looked like during a dry-fit:
rc0pQ7g.jpg


When the steel is immersed into the solution, the rusting happens very rapidly and the solution will start to bubble. The vapors emitted during the process are corrosive, so I prefer to do this outside on a propane burner. After about 5-10 minutes, the reaction will start to slow down. From here I will then remove the steel from the solution, dunk it in a bucket of water and then use an old toothbrush to scrub the rust to even out the coating. Then dry and return to the salt bath. Make sure you keep your gloves on! I'll do this 2-3 times or until I'm satisfied with the rust layer.

During this process I'll have another stainless pot with rocks or a brick on the bottom, then fill it with distilled water, enough so that it will fully submerge the ax head. This water is heated up to boiling. The rocks or brick is to keep the steel from coming in contact with the bottom of the pot, because this will be kept boiling and that will get the steel hot enough to draw the temper and ruin it. Obviously, the bottom of the pot will be much closer to the heat source and will thus be much more hot than the surrounding boiling water. After your rust layer is established, rinse off and then put the ax into the boiling distilled water. If not already, the rust layer will start to turn from a horrible brown color to a black. Be careful when placing the steel onto the rocks or bricks so not to scratch the new coating you've put on.

After about 5-10 minutes of boiling in the distilled water, you can remove it, it will be hot enough to dry itself at this point, then return it into the salt solution. Try to keep it warm if you can. I'll repeat this 2-3 more times and build layer upon layer of oxidation until I'm satisfied with the coating. Once you are satisfied, let cool to touch, then lightly scrub with some extra fine 0000 steel wool to remove the dust. At this point I also like to add a thin coating of BLO, the polymerization of the drying oil further protects the finish making it that much more durable. That's it!

This is a process that has been kicked around for the past 10-15 years, but to give credit where credit is due, I first came across the process in a thread on Bushcraft USA forum:
https://bushcraftusa.com/forum/threads/rust-bluing-a-tutorial.16456/
This needed to be brought back up to the top !
 
Ok cool thanks I'll have a look and see what the hardware stores have 28 seems to be the shortest around here. Nice axe by the way. I feel this little axe will lead to many many more
Specifically if you hang out in here. These guys will corrupt a fella. [emoji16]

Sent from my SM-G930V using Tapatalk
 
Specifically if you hang out in here. These guys will corrupt a fella. [emoji16]

Sent from my SM-G930V using Tapatalk

Haha I think its already to late I can't stop looking for old axes now something about them the feel the smell the history. Some kind of magnetic energy going on
 
I remembered I had an ax in the garage I picked up at a rummage sale for the grand sum of $2 I knew it needed a handle the old one dry grey and cracked.

looks like a 1960s or 1970s Collins Michigan pattern it had the sticker but was not the blue painted. bare head wight 3 pounds 7.2 oz so probably started life as a 3.5# head

the plan was make a falling length ax since it is going to be 90% wedge driving and cut it off at about 28 inches it is currently 35 1/2 from the top top the head to the end of the handle. I have a plumb 36inch that I have been using.
I figured I would leave it and try it a few times and see where it felt good to cut the handle off at.

collins_ax1.JPG collinsax2.JPGcollinsax3.JPG collinsax4.JPG collinsax5.JPG
 
Back
Top