Roper 3.7 tear down and rebuild

Arborist Forum

Help Support Arborist Forum:

This site may earn a commission from merchant affiliate links, including eBay, Amazon, and others.
So I've been ruminating about the ring choice for my rebuild. 67L36Driver has been very helpful with PMs and suggestions on this. When I set my original rings in the cylinder bore to measure end gap, it is 0.090" Huge gap. The closest ring to my original ring with slots cut for my locator pins is 46mm X 1.5mm My theory is since there is a 47mm X 1.5 mm ring, then I get a pair of those and file the ends down and cut pin notches so I can get around 0.005 end gap or less to improve compression. If I were to go with the 46mm I'd still have a huge ring gap. You can't cut a board longer so to speak, so start with a .0394" larger diameter (47mm) and file the ends of that until I get the end gap I want by testing it in the cylinder bore, then cut my pin notches. Certainly would like to invite thoughts on that before I order a pair. Remember that this saw has 2 rings.

On another note, the non-runner Roper I bought from Craigslist to be a parts saw, that I then decided to repair got used yesterday to drop 5 more Ironwoods, and then cut up all of the previously downed 11 trees we had laying about into manageable sections. Ended up bringing down 2 I hadn't planned on since they had dead tops in them and were hazardous. The Roper screamed thru them but of course now I have 3 dull loops of chain that need help. It has only 110psi compression though and once the orig saw is restored with new rings and seals (Grrrrrrrrrr, seals........hard time finding what I want) I'll tear apart this other saw and do the same to it. We also used a Poulan 2050 14" to bump knots, and cut some sections and it did very well. I got my 2 oldest Scouts into cutting downed sections with the saws and they did very well. Note that these 2 oldest Scouts happen to be carrying my DNA, and I wouldn't allow someone else's kid to use a chainsaw unless the parent was the direct supervisor. We likely have another day of work to finish off this particular Eagle Scout project, but in my life of Scouting and 13 years as a Troop leader this was likely the best project we've done.
 
So now some photos

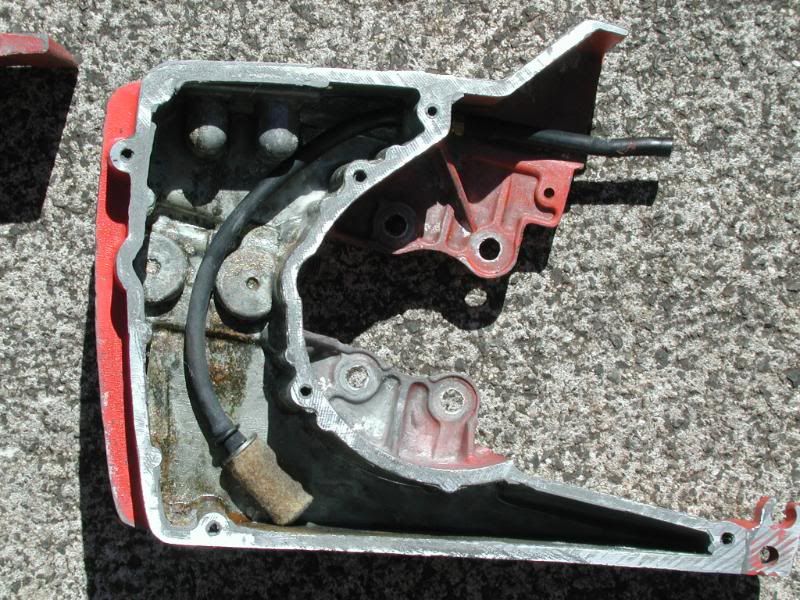
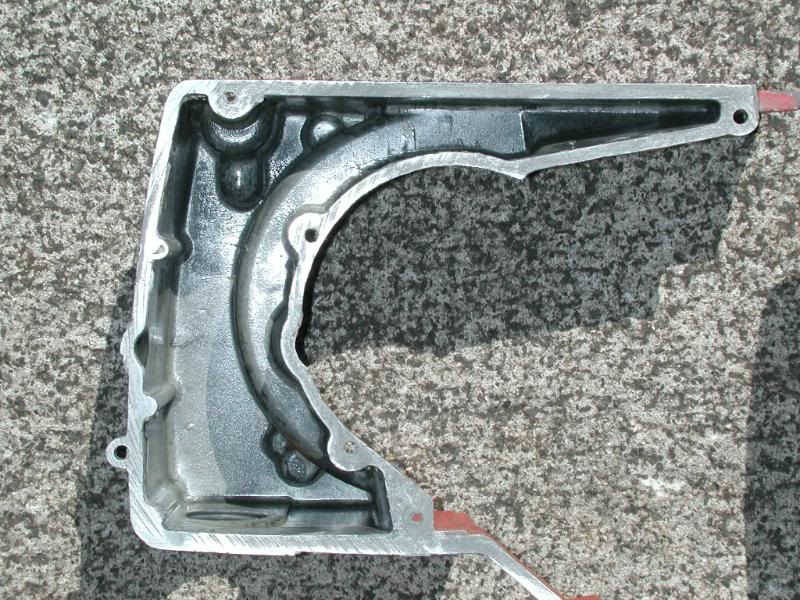
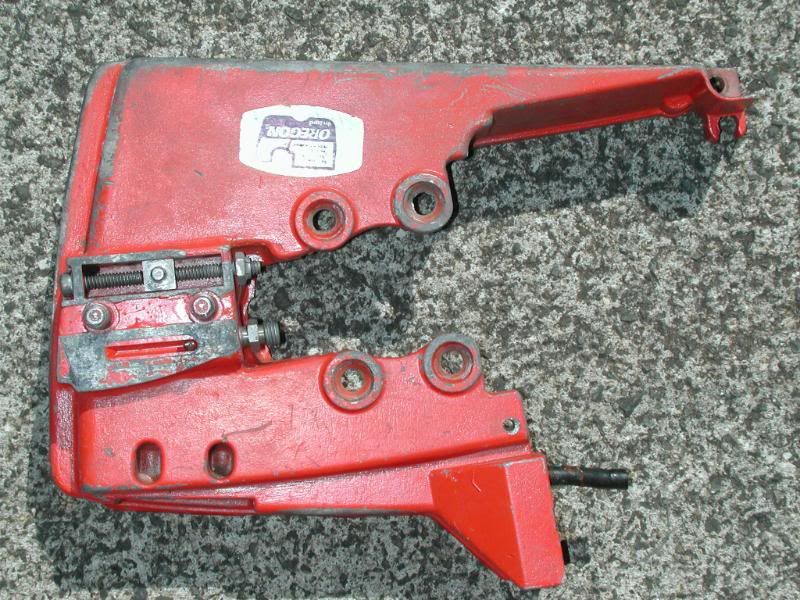
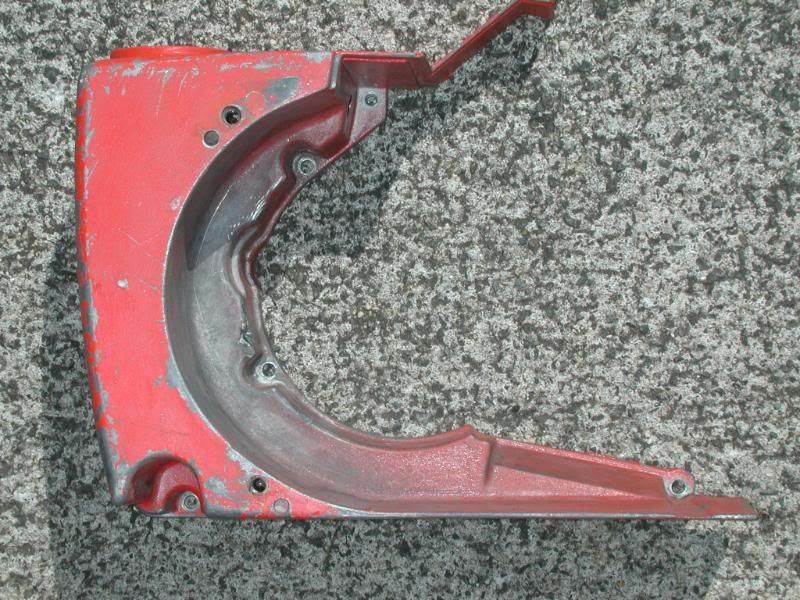
Tank case halves cleaned up

DSCN8081.jpg


DSCN8082.jpg


DSCN8083.jpg


DSCN8084.jpg


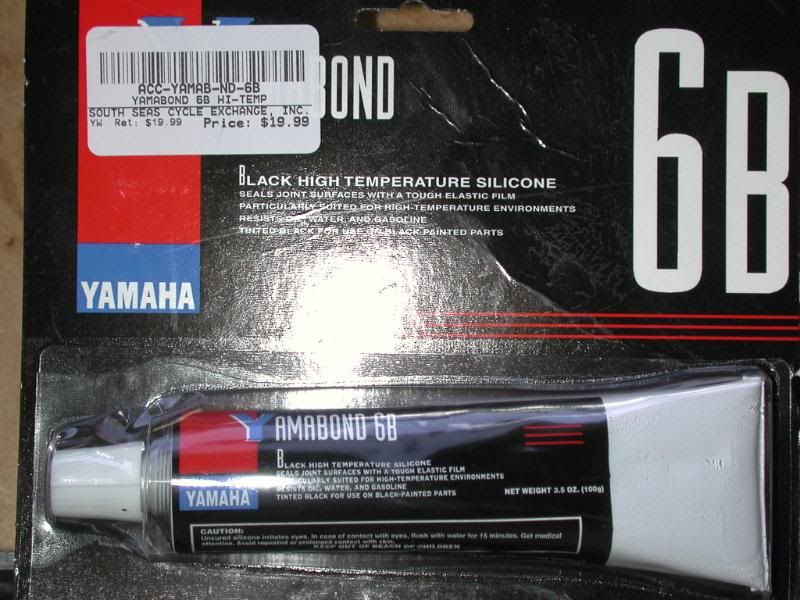
Sealed back together with this stuff, and you're right, it isn't cheap out here in the Sandwich Isles either.

DSCN8097.jpg


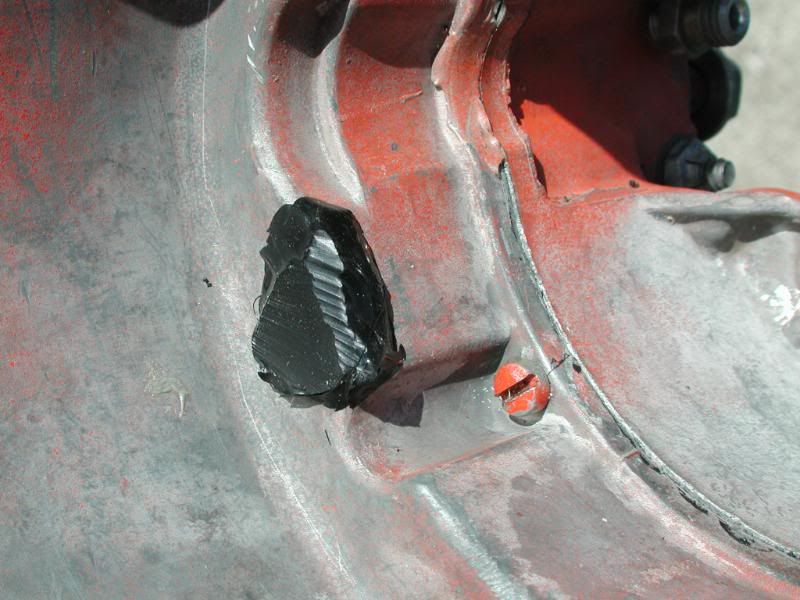
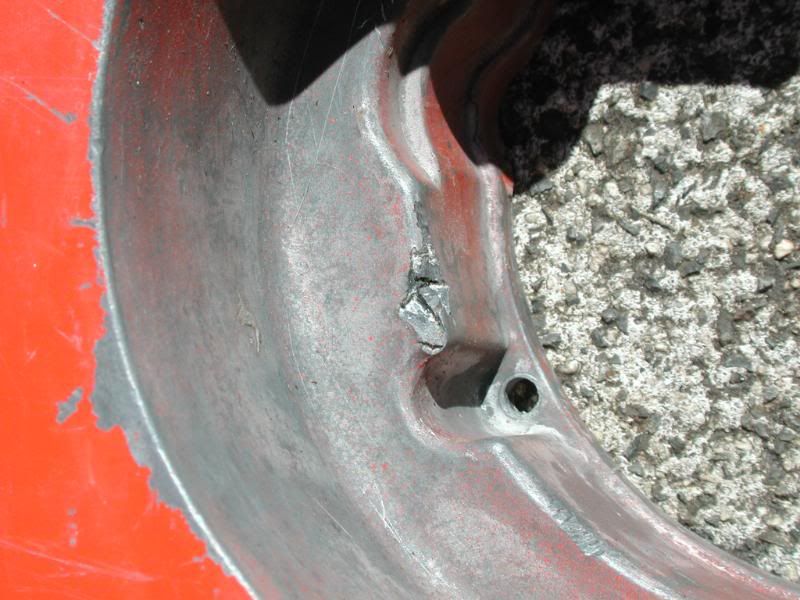
I have some other photos still on the cam, but have a parts motor coming pretty soon that I need. So depending on when parts arrive and when I get a chance to work on this I'll keep posting in the progress. I put a dab of the Yamabond stuff on that damaged area on the flywheel side of the casehalf since I just missed a deal on a parts case on ebay. I figure it should work for however long until perhaps another comes available, but I'm not too awful worried about it. It did have a minor gas leak here it turned out.
 
Thanks Roanoker. I have a carrier coming with a parts engine; I checked the USPS tracking and it made it to Honolulu yesterday so it should be in my grubby little hands by tomorrow. Then of course, find time to work on it, etc.

I am seeking needle bearings for the connecting rod, I put up a Help Me in the Swap meet thread.

I did some research and found a little info you may enjoy. The part number for yours bearings is 9084H and where I did not find any bearings I have confirmed that there should be 31 of them. Since you say you found 31 you may be in luck to reuse what you have or measure one of your rollers with a micrometer and match it up.

On a related note. I did the same thing when I took my first AH440 Tecumseh engine apart, meaning I dumped the rollers down inside the engine. The Tecumseh was even worse because there are two rows of short bearings, 60+ little rollers.
 
Interesting that there are indeed 31. I have so much end play in that when I put it back together, but it felt fine beforehand. Hard to understand. Makes me think I didn't assemble it correctly, but I know that not to be the case, especially since I marked everything ahead of time--likely you saw the yellow dots I dabbed on parts in some of the photos. I have managed to find part numbers for a lot of Sears Chainsaw parts from their Searsparts website, but of course they list them as no longer available.
I packed the needles back with sticky grease, that holds them in place for reassembly, but 60 is a real pain. I remember the old transmissions I used to work on as a kid that had tons of needle bearings in them, I specifically remember an M22 (Muncie) 4spd crashbox that literally had a thousand.

So the number's 31 after all...........

Thanks for the followup, believe me, I am having fun working on these saws.
 
Currently working with "The Greek" on ebay, I suppose if what I get in the mail doesn't work out, I'll explore other options. Those crank seals are annoyingly difficult to locate, but I have a lot of feelers out and hope to hear some email responses later in the week ahead.
 
Crank Seals

So things have come up rather dry and dusty on my various email inquiries, however snooping around on the internet I have found another option with an SKF seal 6119. Thru NAPA they are $7.99 each but the closest place they have them is Phoenix, so I'll likely get 4 of them flown in to me. I'll likely get about 10% discount on them with military ID card. I won't know for sure that they will work until I get them in my grubby little fingers and give them a shot, but no guts, no glory. They are designed to fit on a shaft of 0.625" (5/8") and go into a bore of 0.875" (7/8") which matches my measurements. The actual OD of the seal is 0.881" which provides a 6 thousandths interference fit. My originals were approx 0.2" thickness, these are listed as 0.1880", so I don't think this will be an issue. Previous ones I had located were 0.125" (1/8") but I didn't find a source. I have yet to order my rings yet, but I suppose I can put my seals in the new bottom end and fiddle with the top end later when I swap over my original top end to the "new" motor.
I put the end of the crank into the chuck on my drill and cranked it over a few times and the compression on the "new" motor was really lousy, so I'll stick with my original piston and cylinder and fab up the rings for that when I get to it. Of course the good news is that I have finished my latest tree felling project, and have no projected need for this saw for a while. In the meantime the Dragon Lady has approved my buying another needy saw, an aging Craftsman 2.3, and here's how I did it--We shared a ride to work and walking out thru the parking lot together at the end of the day I was looking at a few Harleys and Crotchrockets and mused out loud that it would be nice to have a motorcycle again after a 30 year hiatus. She said "why don't you buy another Chainsaw?" Not sure how many times I can get by with that one, but I'll go with it for the moment. I suppose next time I want another needy saw I can say something like "we outta make another baby..." Course then she could counter with something like "why don't you go back to Afganistan or Iraq for the 5th time, or someplace ladat, or then tell me to go ahead and get a motorcycle."
I will likely have a few photos to post up this weekend so long as it doesn't get too crazy around here.
 
One option to overcome your seal issue is to find sealed bearings, I have seen this done several times. Pull the inner seal out of the bearing so they can get lube and the outer seal will work as your crank seal. Now that only works if your bearings have a inner and outer race.
 
Hey,

Just now catching this thread...Gotta probably 2 or 3 of these in the shelf for parts. Let us know if there is something you still need, send us an email, it is easier to find than a pm.

Good Luck!
Brian and Tina
 
Thanks all, for checking in. Brad and Tina, I'll keep you in mind if I need to beg for parts of course.

So today, I decided I wouldn't start off on the adult beverages right off when I got out of bed and fiddled with the saw instead. I took the old/original motor apart that I had difficulties in the connecting rod bearings being sloppy, same ones I was whining about a page or 2 back in this thread. Once I mic-ed everything out and did a few dry trial assemblies, I found that the end cap had been marked (by me, duh) 180* out. I put the needles all back in ALL 31 OF THEM. Yes, thanks Roanoker, 31 is the correct count. I now no longer have any end play in the crank bearings with the journal properly put on. I torqued it down, but I am still putting in the "new" motor, which I went ahead and did this morning. I went down to NAPA and ordered the new crank seals, I am going with an SKF oil seal #6119 which matches by dimensions what I am looking for very closely. Those will come in by air so I can play with them by next weekend if work is gentle with me and not as brutal as it has been as of late. I'll let you all know how they fit and how they seal.

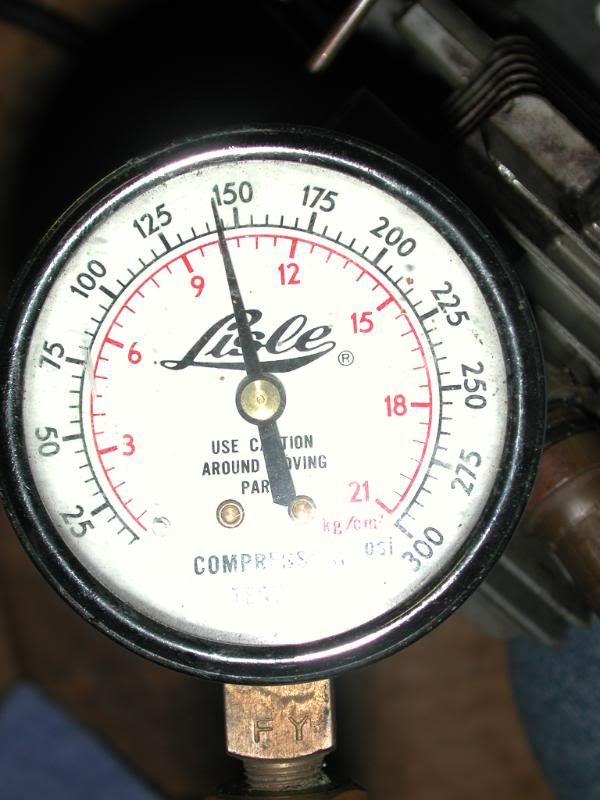
Someone needs to help me a bit with the proper technique for checking compression. Originally I thought my "new" ebay motor was bad on compression. I cranked it over a few feeble times with my 3/8" drill chucked onto the flywheel side and only got 30 PSI. I got out my 1/2" drive big drill and chucked it onto the clutch side up above the clutch threads and spun it (drill in reverse, or course) over vigorously and it hit almost 150 PSI. Should the compression tester jump to 150 or so on just a few turns, or do you need to spin it for a few seconds so to speak? When I've done it on cars, I hit the starter for 5-10 seconds at a time, then get out and check the gauge. At any rate, I still plan on re-ringing both motors and will compare between a 46mm ring and a 47mm ring with a bit of careful filing, etc and see which gives me the best end gap in the 0.003-0.005" range. You know I'll tell you how it comes out of course. Be patient........

Since I solved the issue of the end play with the rod journal end cap orientation, I didn't do too much else with the saw today so decided to knock off and thin out my beer supply.

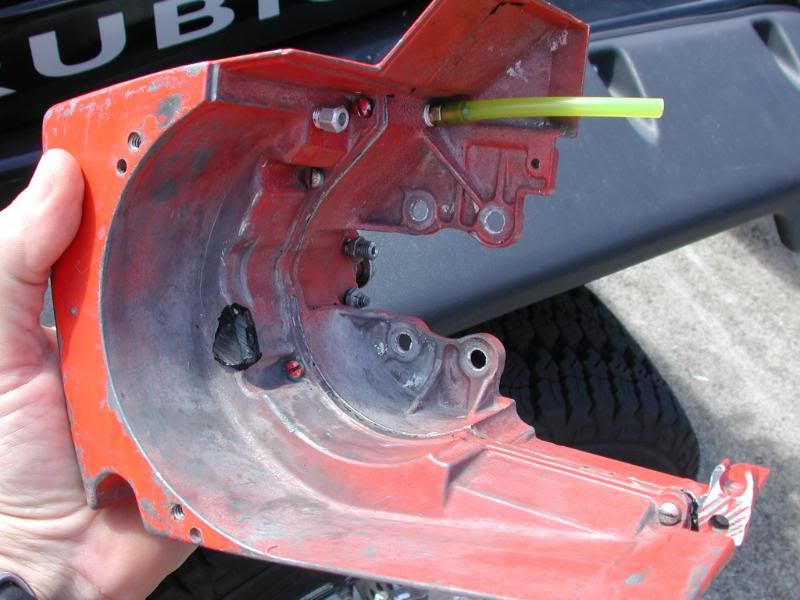
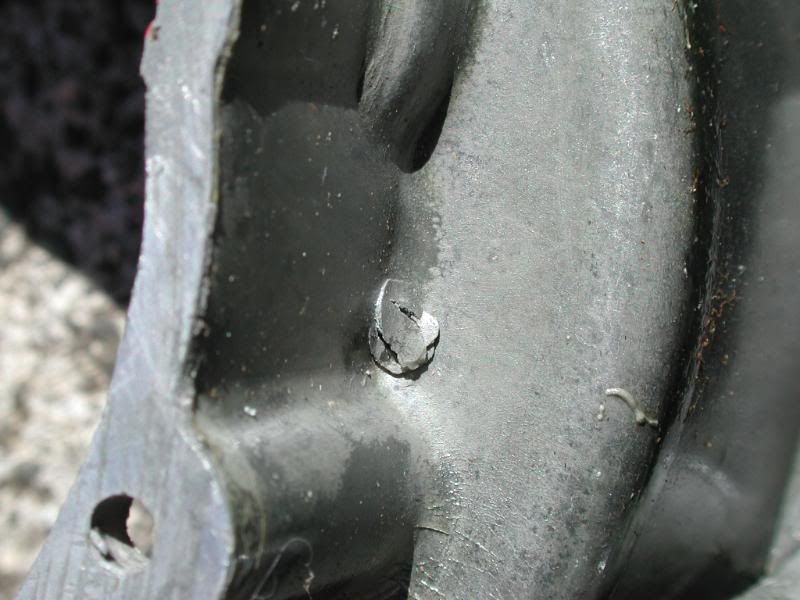
Pictures of course. On the flywheel side case half of the gas tank, I had a ding that I globbed over with some Yamabond, then shaved it down a bit once it had cured. Replaced the fuel line of course. It's amazing that the original 40+ yr old tubing was actually okay, but I figured it was best to replace with the new stuff.

DSCN8120.jpg


DSCN8122.jpg


This is what I was fixing--outside of tank/case half.

DSCN8085.jpg


INSIDE of tank/case half.

DSCN8086.jpg


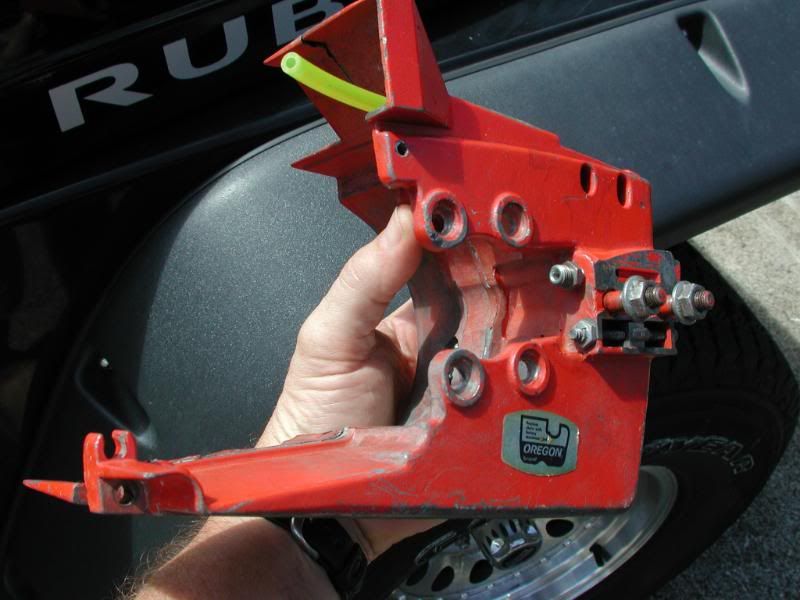
Clutch side of case.

DSCN8121.jpg


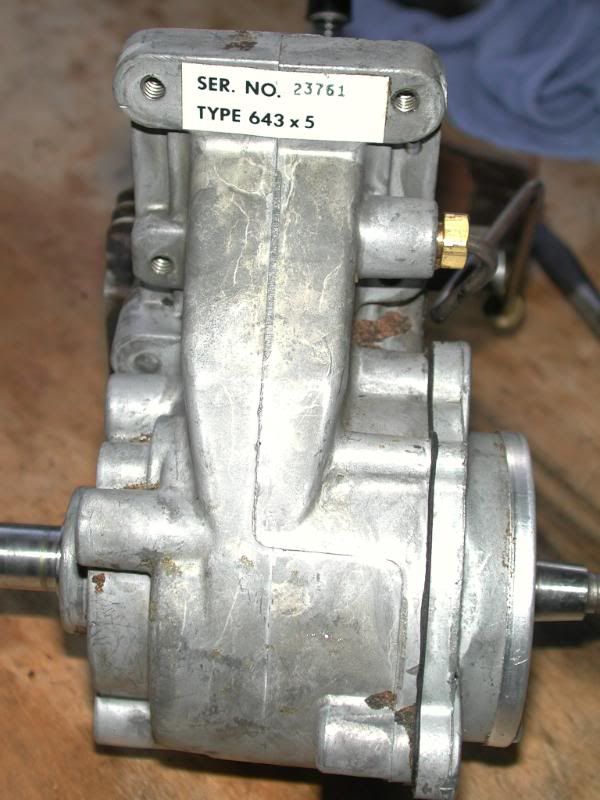
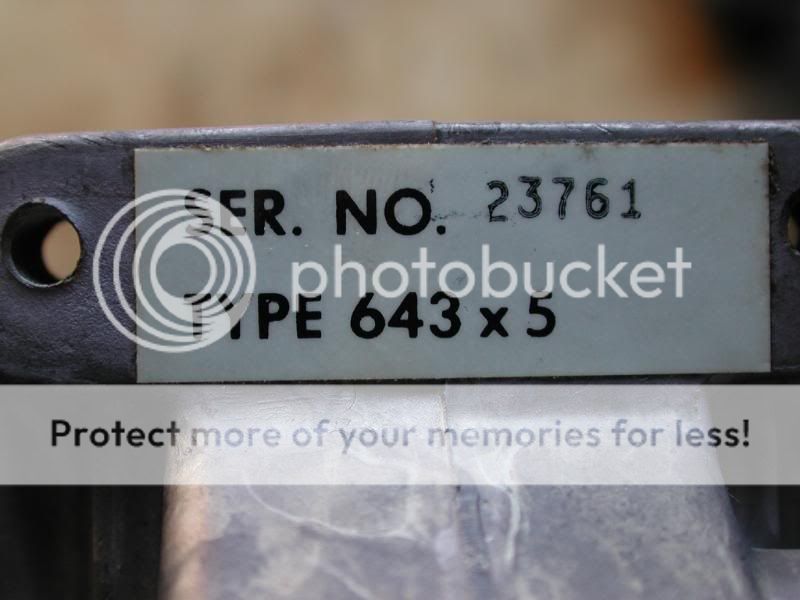
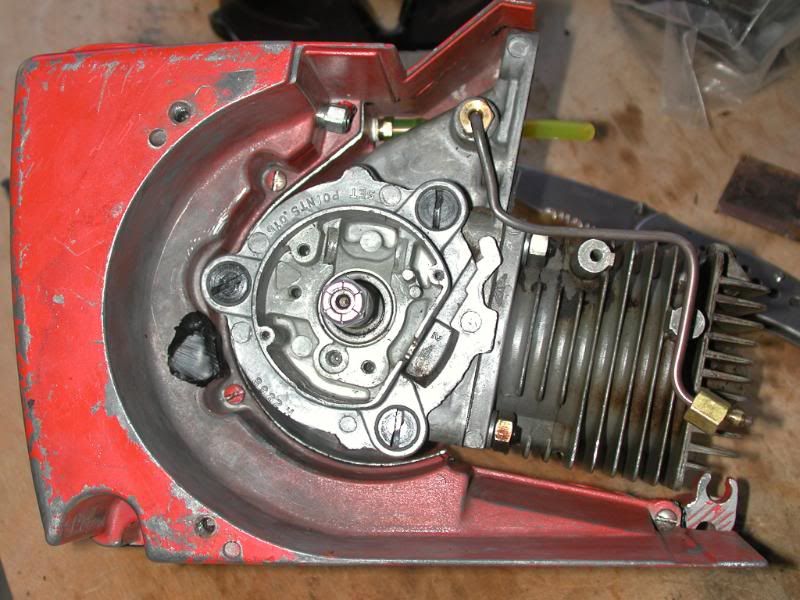
"New" motor from ebay. I bought it from jgsaws, it was a decent deal and he marked it down for me when I asked it he'd take a lower price. Shipped it very fast, well packed and it was accurately represented. I'm putting in a plug for this ebay vendor if anyone else on the forum is looking at stuff in his store.

DSCN8123.jpg


DSCN8128.jpg


The motor is now in place, and I added in the oil lines etc but not in this photo. I stopped at this point for another project that needed my attention.

DSCN8129.jpg


Out of space on this entry due to photo number, will move on to next post.
 
So here is the compression test on the "new" motor, as described in the post above.

Compression test on the new motor.

DSCN8127.jpg
 
The rule for doing a compression test on a saw is to keep pulling the rope until the needle stops moving, generally 5-6 solid pulls. Can't really say what the proper technique is when using a drill but I would think the 1/2" drill would be better suited to this purpose. Glad to hear you got the rob bearing issue figured out, sometimes it turns out to be the simplest things.

No need for the jgsaws plug with me, I have bought from them many times and have always gotten good service.

I can post a second on both votes.:msp_thumbup:
 
Always nice to hear that others validate my impression of that particular ebay seller. I'll likely lurk around his store from time to time to see what stuff he has available.

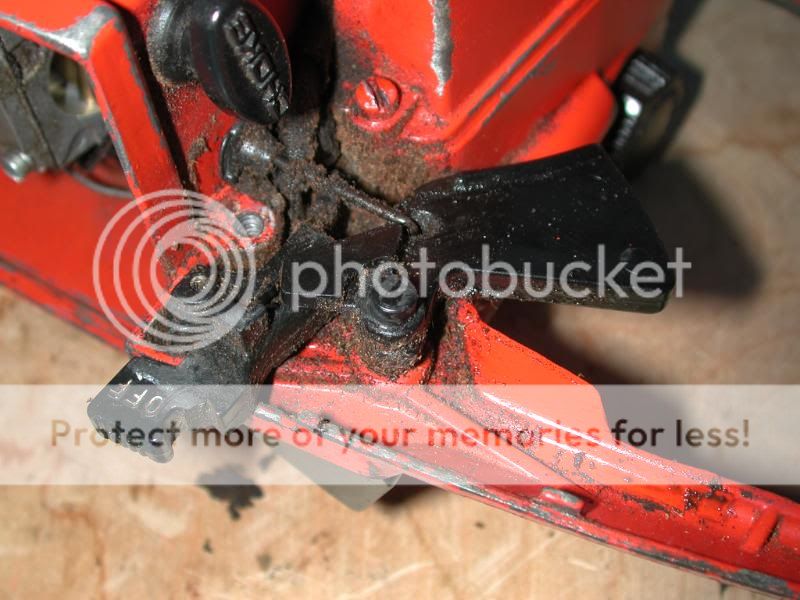
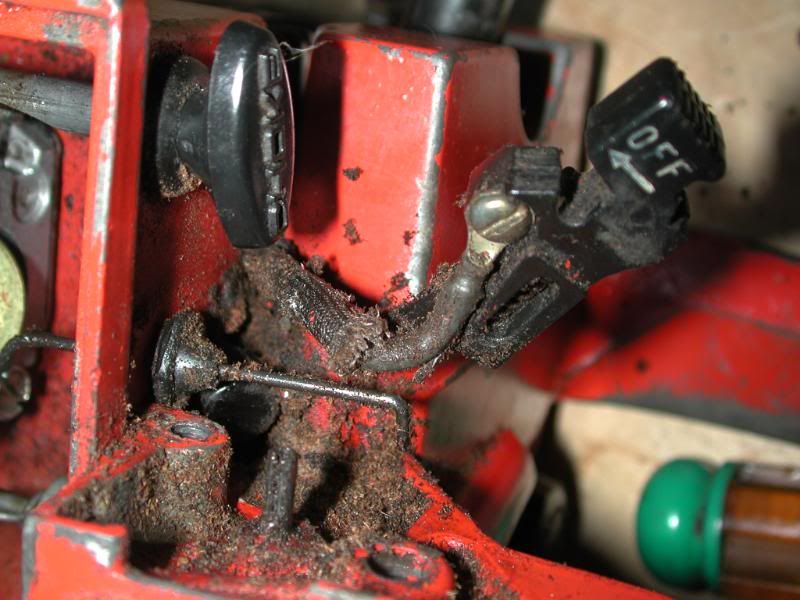
I spent some more time on the saw today, actually more time than I really feel like mentioning for what I managed to get done. I musta installed the back half/carb, etc and taken it apart about 5 or 6 times. I know now that I can do it in the dark by feel alone. The problem I stopped with is the compression release. I had a problem with the orig compression release valve being stuck, and replaced it with the "new" one that come on the ebay motor. For whatever reason, the comp release lever does not quite make contact with the top of the valve to actually actuate it. I looked at the lever, and it does not appear to have anything missing from it, or look to be worn or broken but of course I have nothing to compare it to. There were no mystery bits of broken plastic that came out when I took it apart originally, and certainly doesn't appear to have any fracture line across the end, but it just doesn't reach the top of the comp release valve. I compared the reassembly to the original photos I took and everything is back together properly. I suppose I may be begging for photos of the comp release trigger (plastic) for a 917.353750 Roper 3.7 Craftsman if anyone has some photos. I'm sure there must be about a dozen of them just floating around in someone's parts drawer. If it appears mine is shot, I'll likely be PMing or Swap meet advertising for a replacement. I may be able to modify my comp release trigger by fabricating a shoe of sorts on the end of it, but will put it aside for now and let some more cat hair stick to it, compliments of Katie the shedding monster.

DSCN7689.jpg
 
It could be that your Ebay engine came from a newer model 3.7 like this one

100_2402.jpg


If I am not mistaken the compression release valves are a different length, do you still have the old one to compare it to? Either way I will pull the side off one of my saws and take some pictures.
 
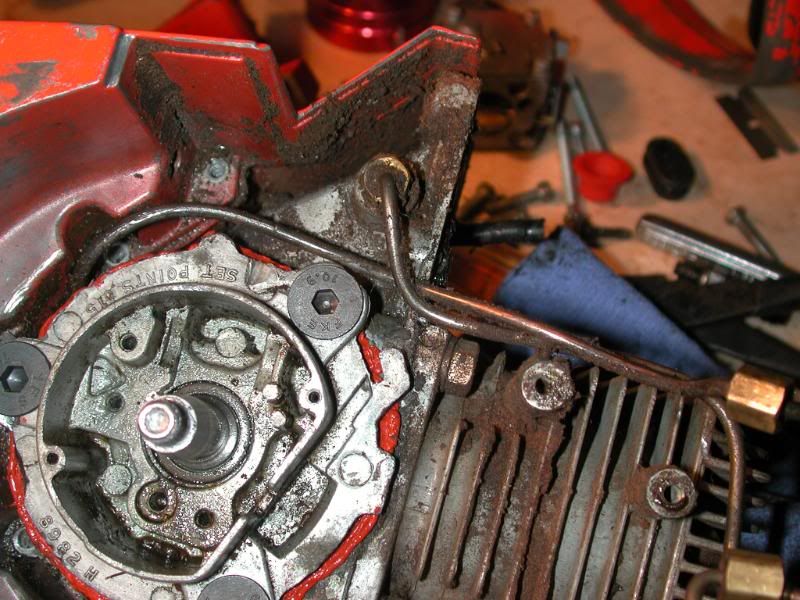
Well, the new motor was billed as coming from a 917.353750, the same model number as mine. I compared the comp release valves side by side and they are identical but for the fact that the new one looked hardly even used. In side by side comparisons of a really critical nature, the new motor was exactly the same as my original, though there were 2 variations I noticed. The ebay motor was of the points/condenser type, and an attached copper line was different configuration than the original but I swapped that line, and removed the points/condenser. The crank, etc was identical to my one.
Now I have to admit, I found it a bit odd that a solid state version and the points/condenser version would have the same model numbers, but looks to be the same motor.
My compression release valve had 2 crush washers under it, the replacement had only one. I started with one, then went to 2 and it didn't quite reach. I am convinced though that it is not an assembly issue, the reassembly matches the original pre-teardown photos.
I have photos of all the above, but haven't downloaded the camera yet with the side by side of the comp release valves, but they are identical.

Orig trigger/comp release prior to tear down and cleaning:

DSCN8055.jpg


DSCN8056.jpg


Orig motor:

DSCN8058.jpg


New motor:

DSCN8129.jpg


I have that same model saw as you pictured above, the model version I have is the 917.353770. The motor on that looks the same as the other motors I have for the XXX750 I'm working on.
 
Last edited:
You thoughts are correct, the points models and the solid state models did not have the same model numbers. Problem is the model numbers are on the inside of the filter cover and those can be swapped onto any of those saws.
 

Latest posts

Back
Top