GASoline71
Mr. Nice Guy
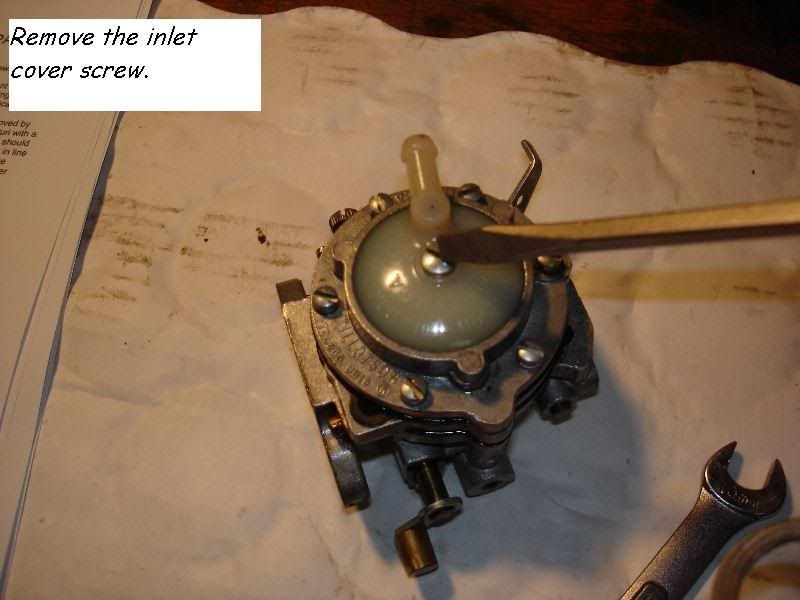
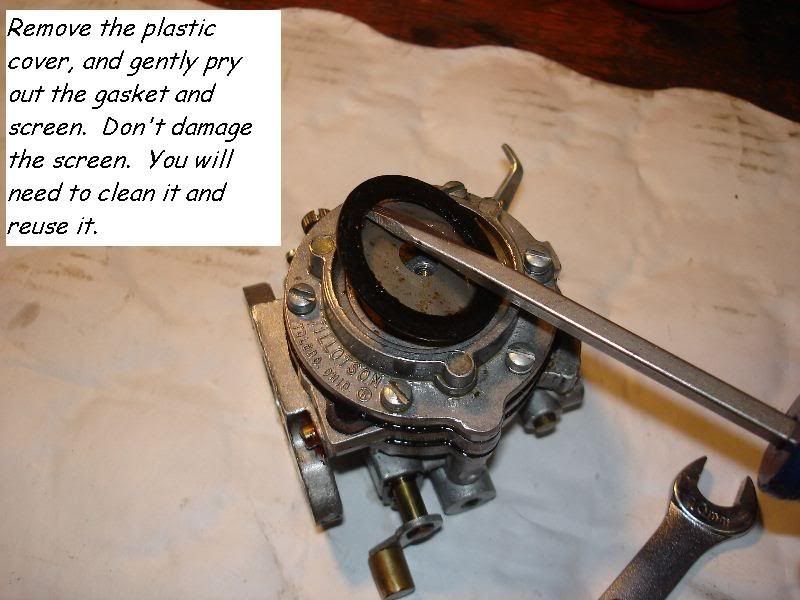
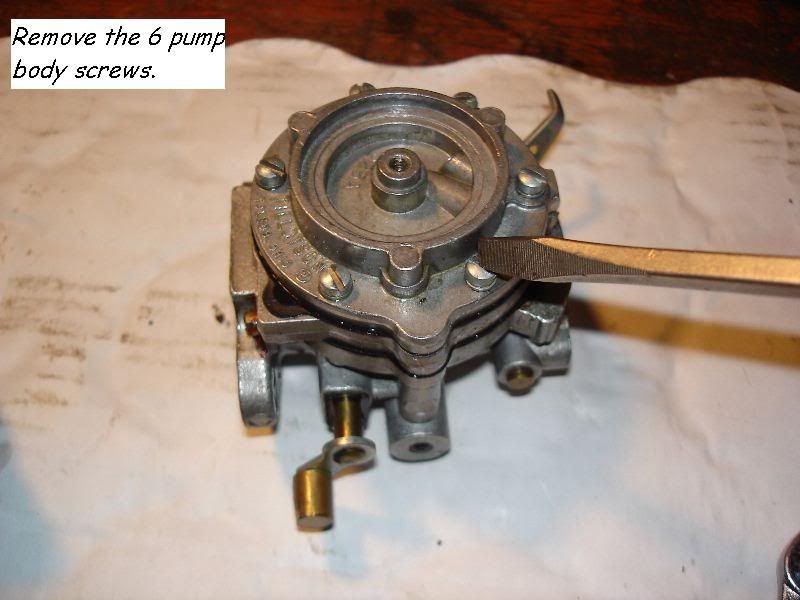
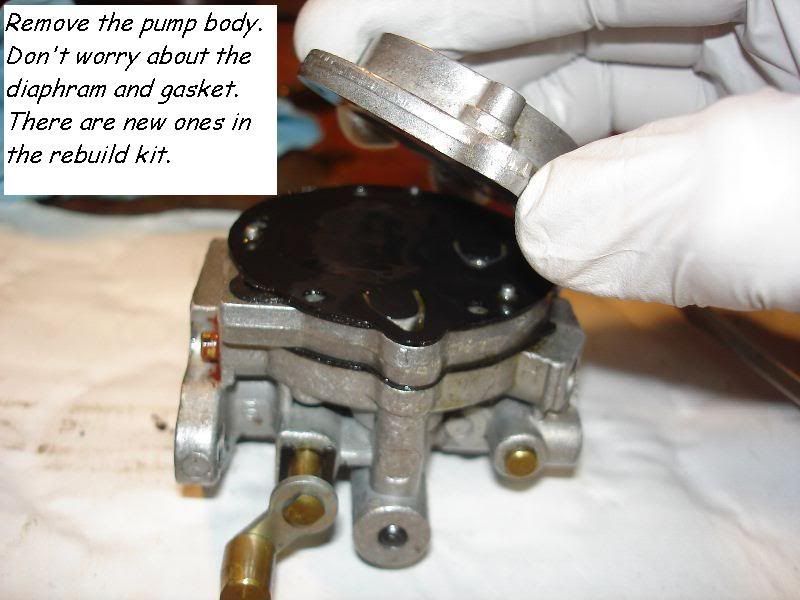
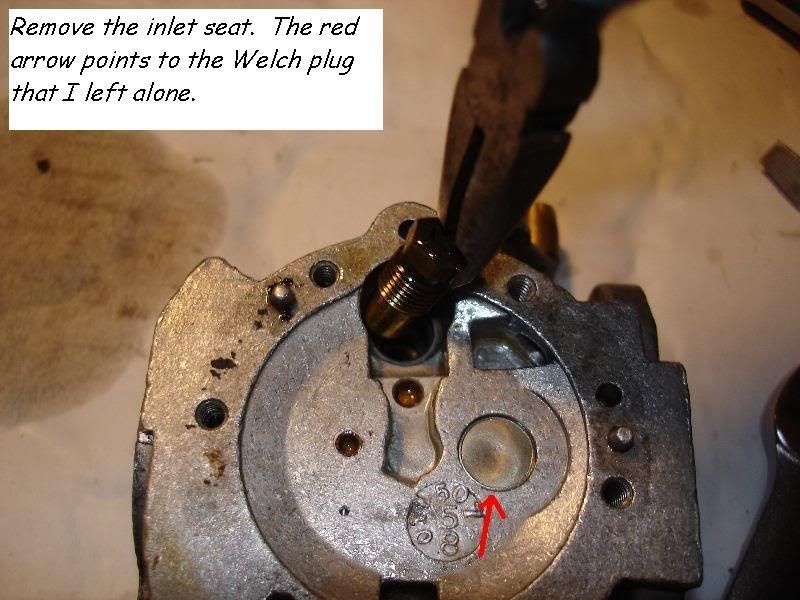
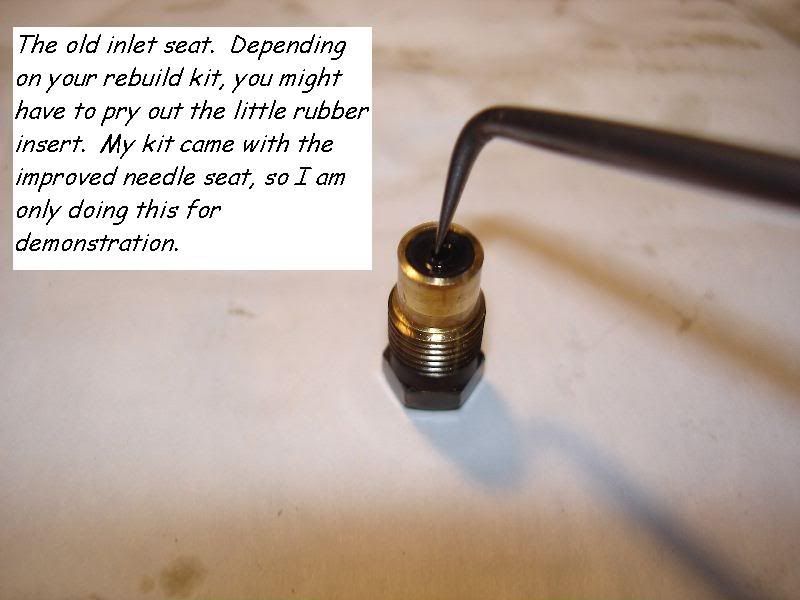
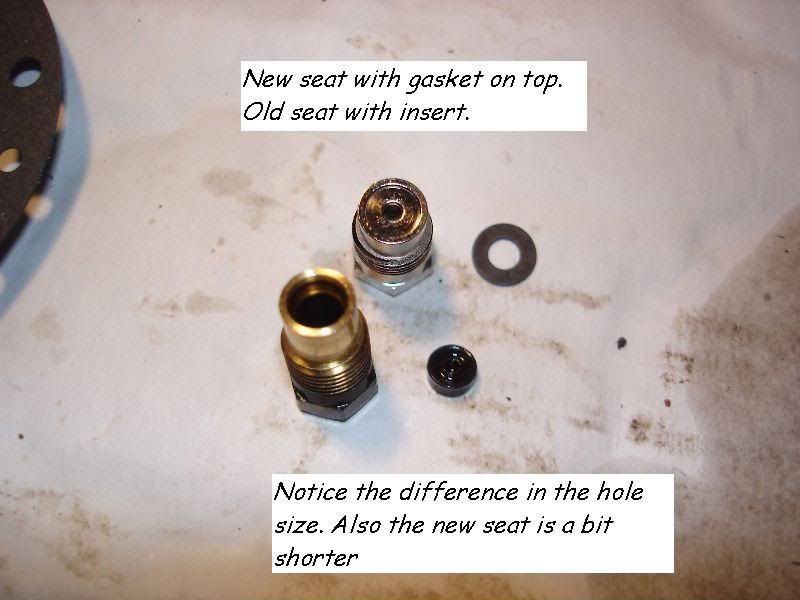
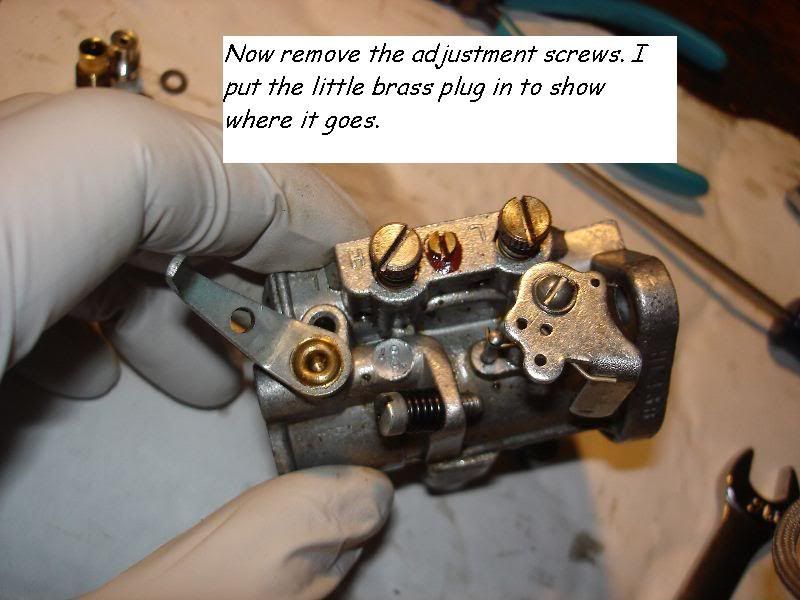
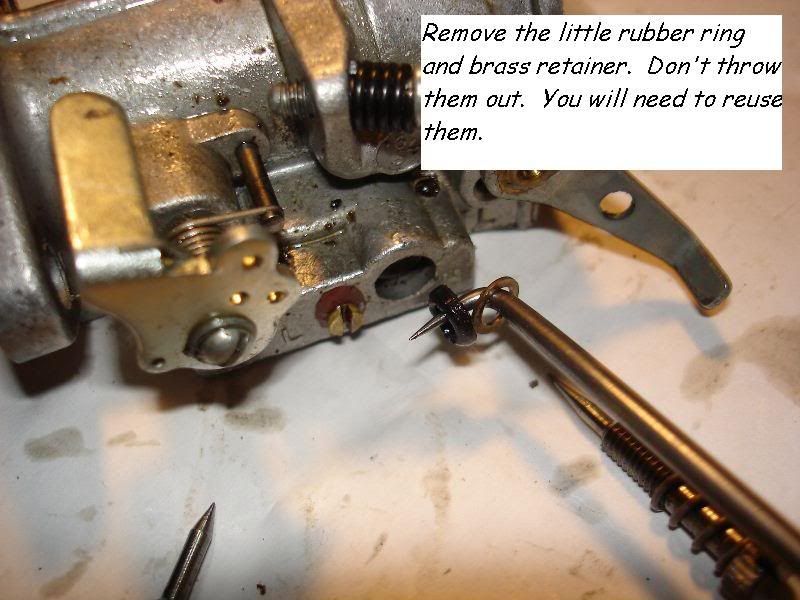
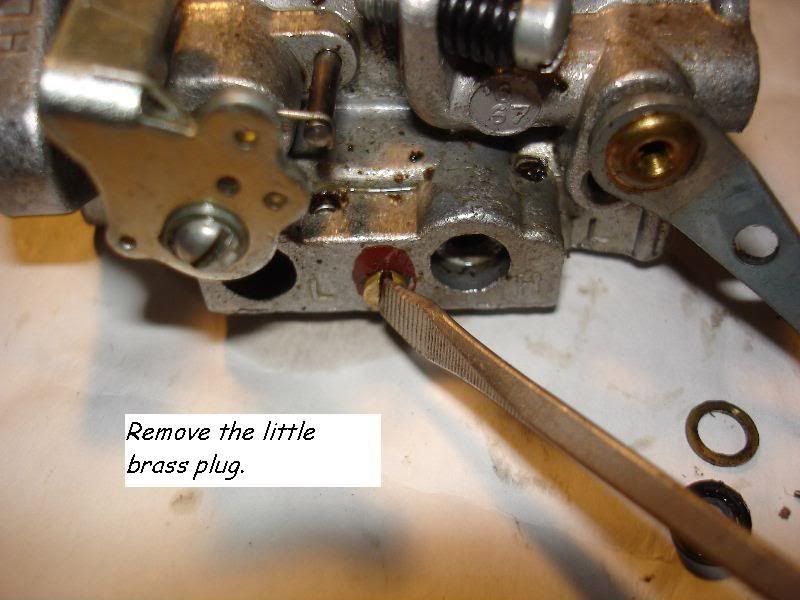
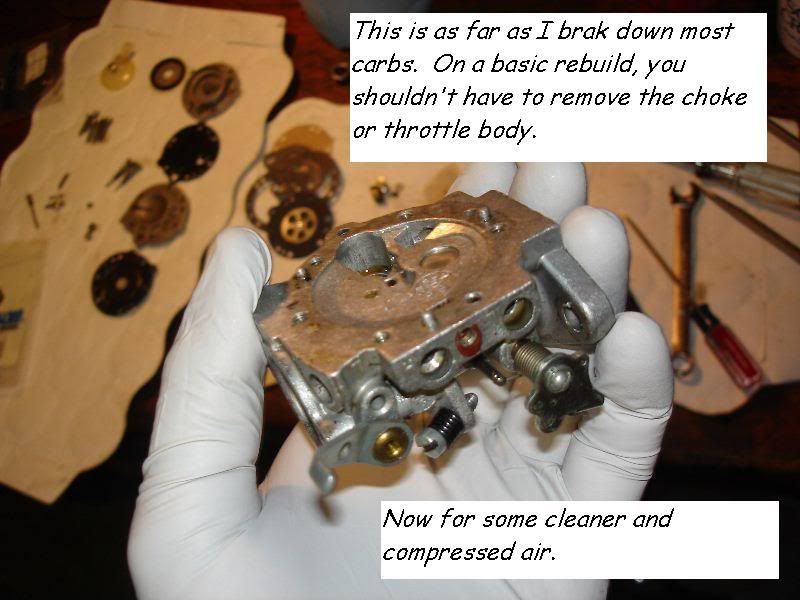
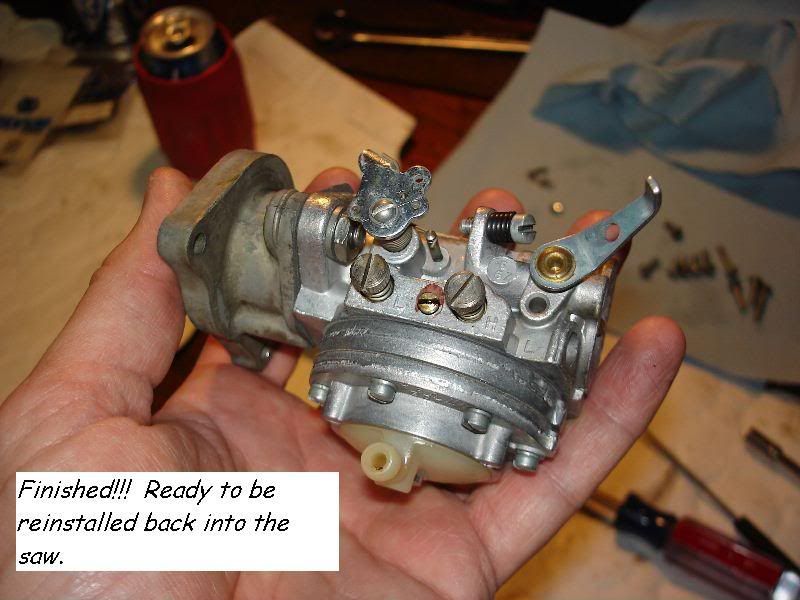
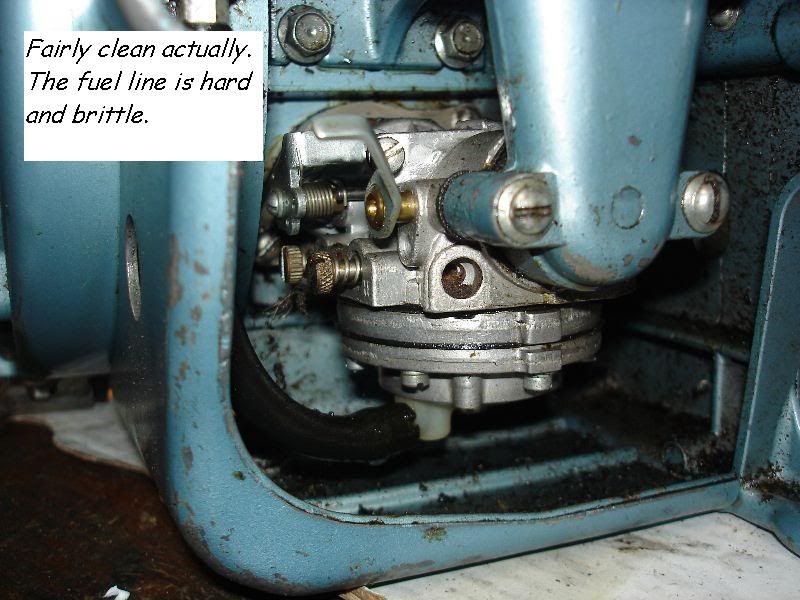
Well...this is a basic Carb rebuild I did on the Tillotson HL carb that is in my old Homelite Zip. It was very basic and straightforward. Since this carb was in really good shape, with not much trash in the inlet screen at all, I did not drill out the Welch plug and replace it. I have never replaced a Welch plug, and have had good success on my rebuilds.
This is just the way I rebuild saw carbs. Some of you may do it differently… with that being said there may be a step or 2 “missing”. But like I said… this works for me, and always has.
The Tillotson HL is the bread and butter carb for Tilly… It was prevalent on almost all the older big cc saws… Stihl, Homelite, McCulloch, Remington, Poulan (I think). I’m sure it was used in a lot of non-saw related applications as well. So I had a couple hours and a few beers on hand… so I thought I would make this little picture show while I rebuilt the HL.
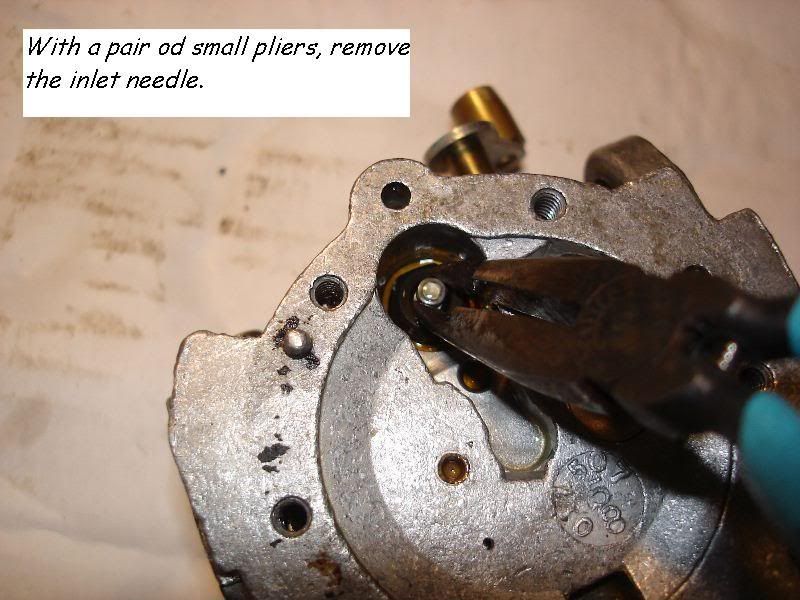
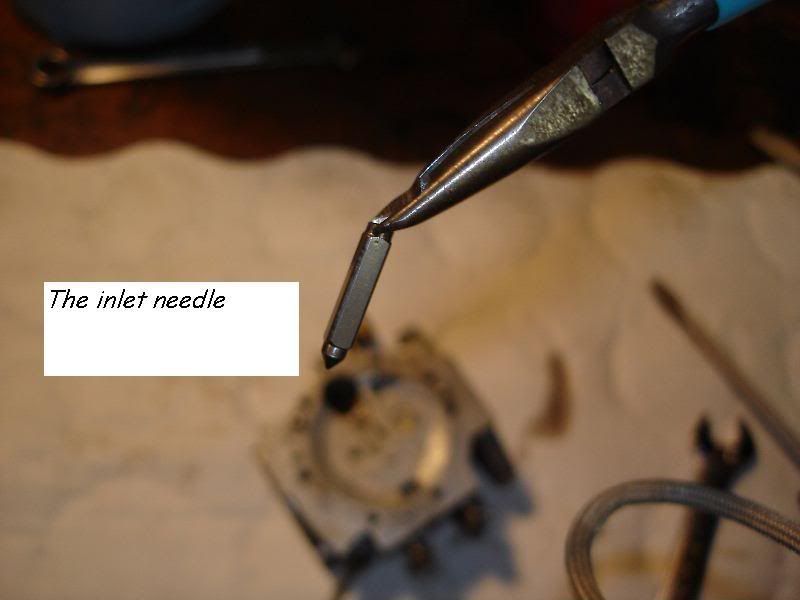
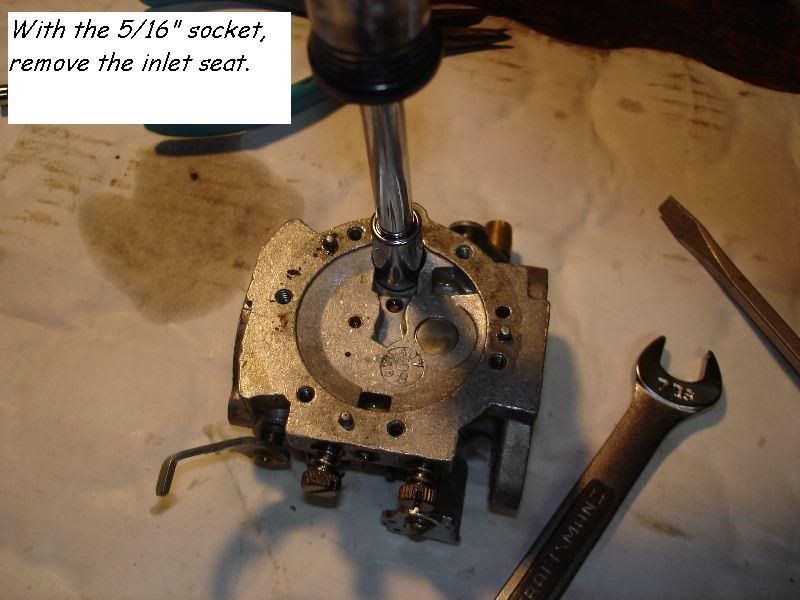
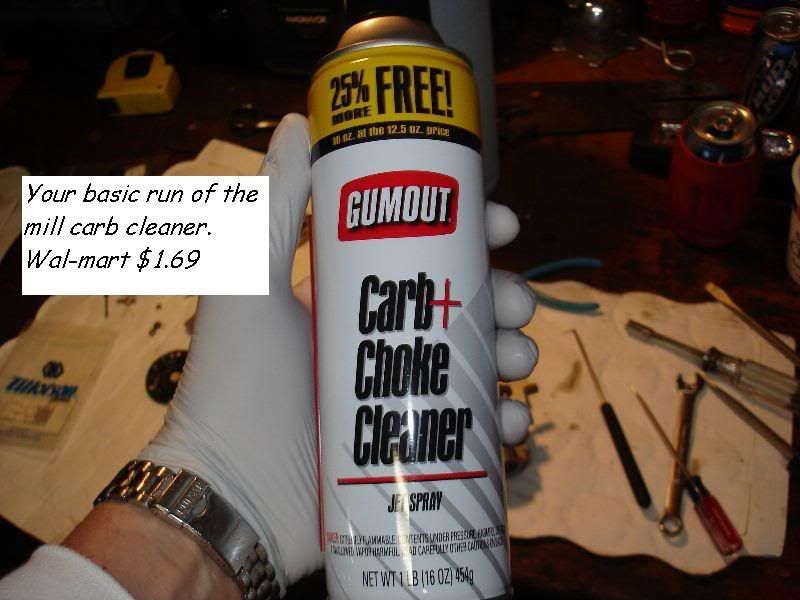
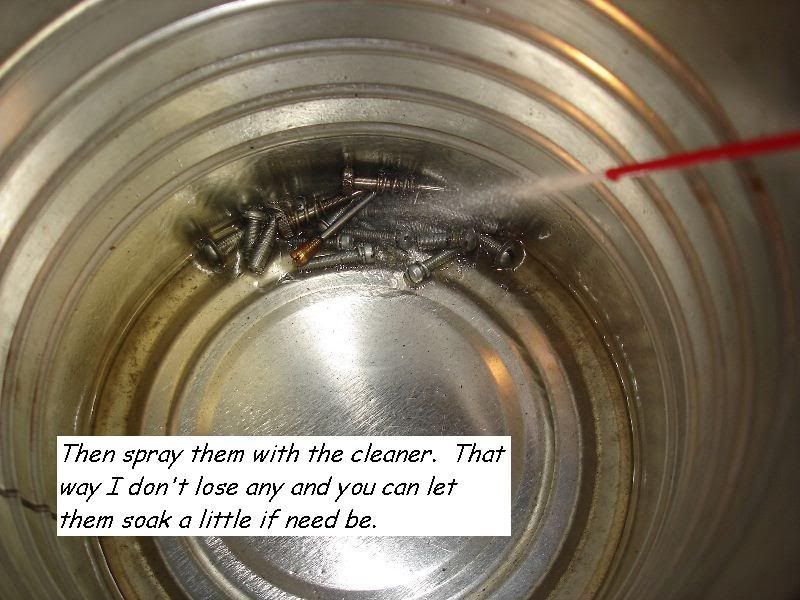
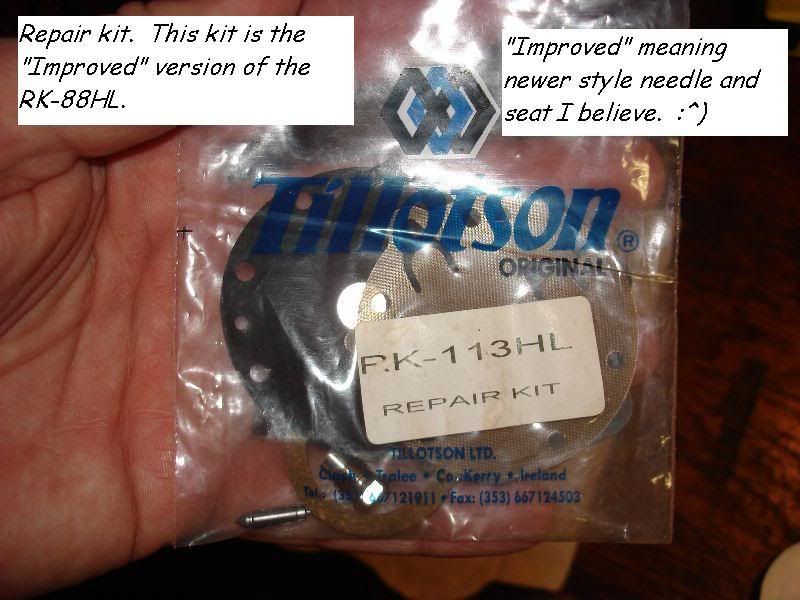
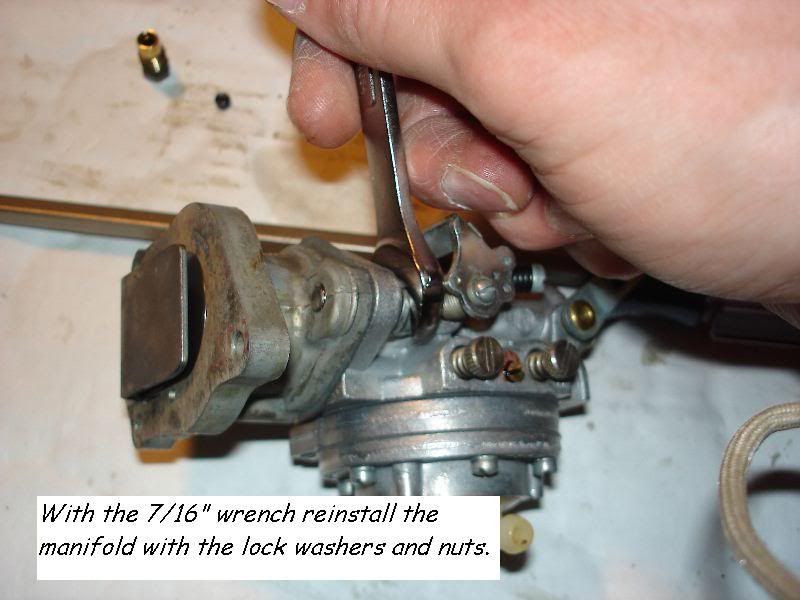
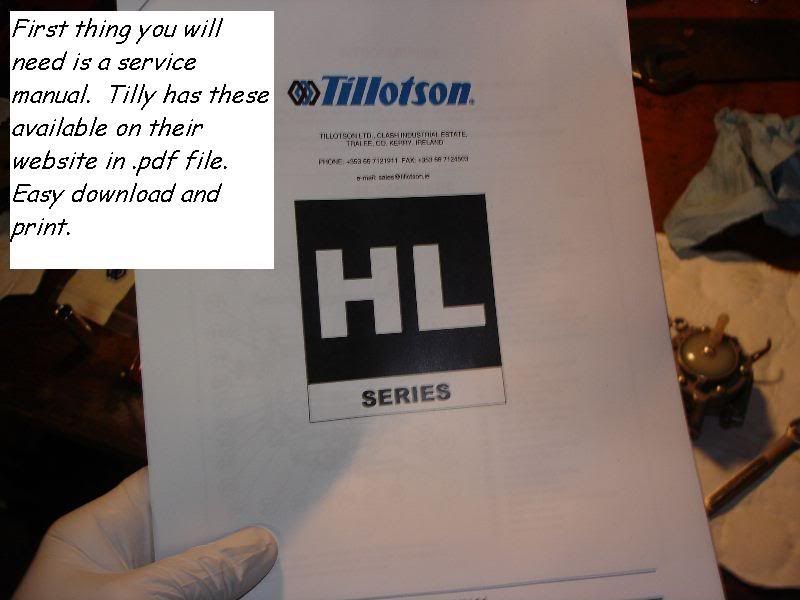
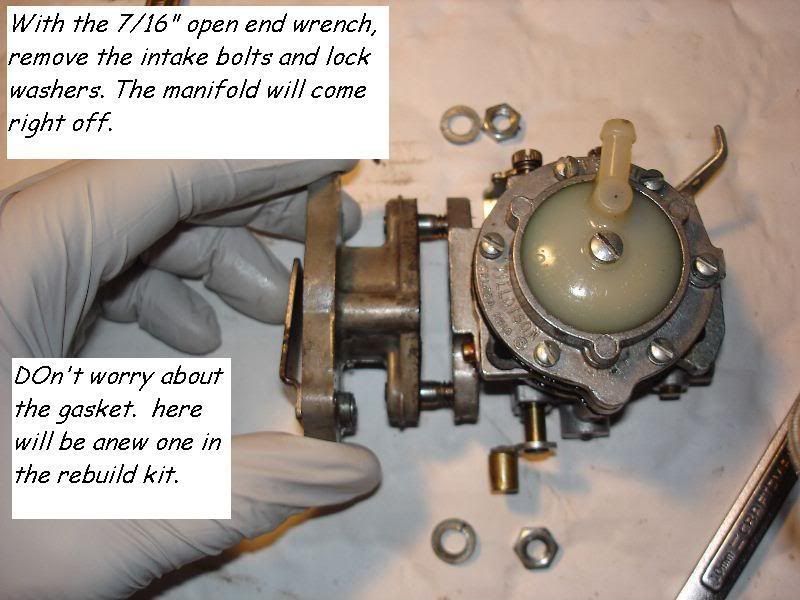
You will need a rebuild kit, a service manual (from Tilly’s website), assorted flat blade screwdrivers, a 7/16” open end wrench, a small 5/16” socket (I used a ¼” drive), a small pick, a small pair of pliers, some carb cleaner, & compressed air. EZ-PZ and simple. The service manual tells you how to drill out the Welch plug and replace it. But like I said… I left it alone.
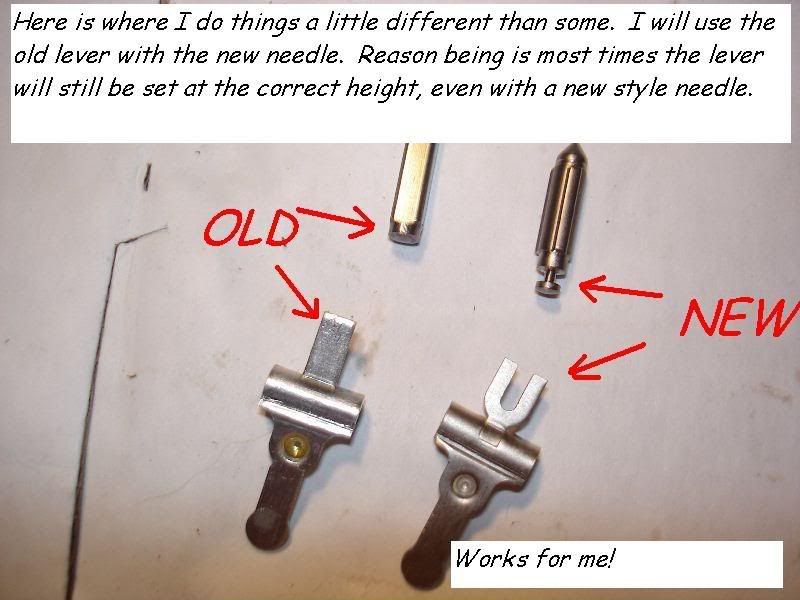
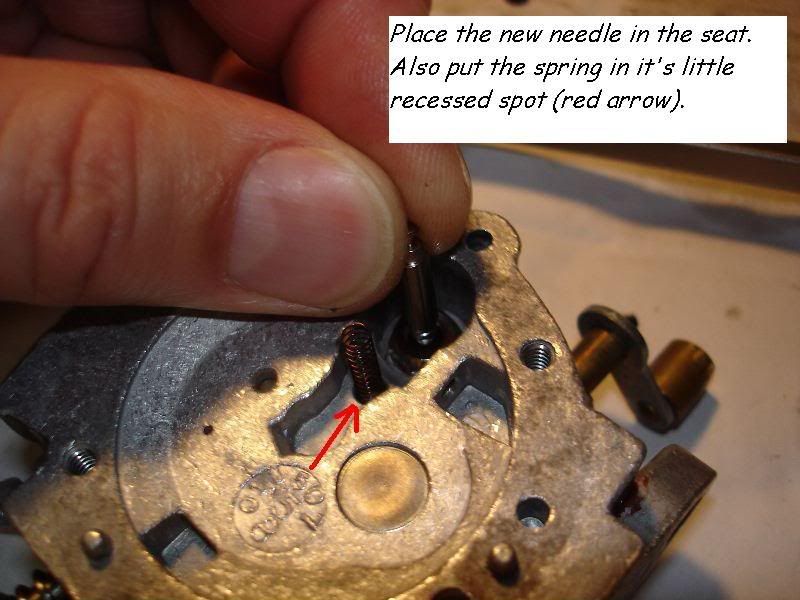
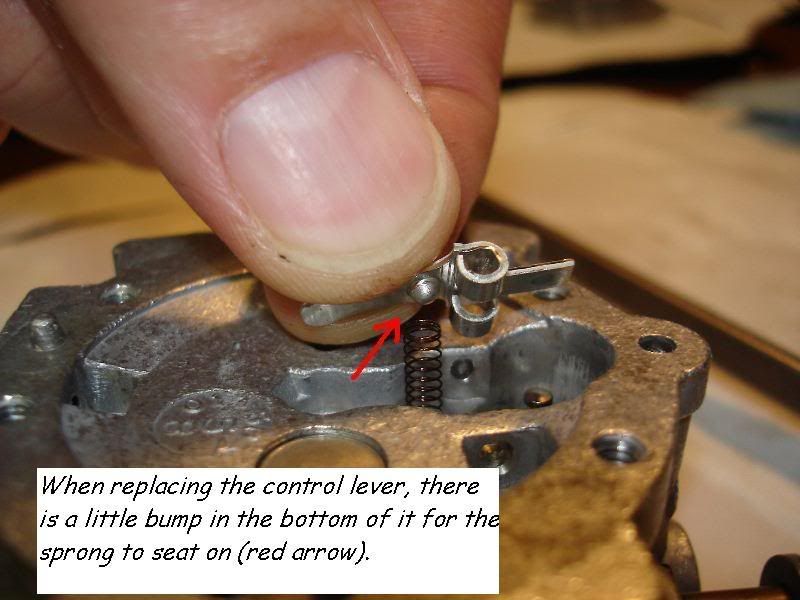
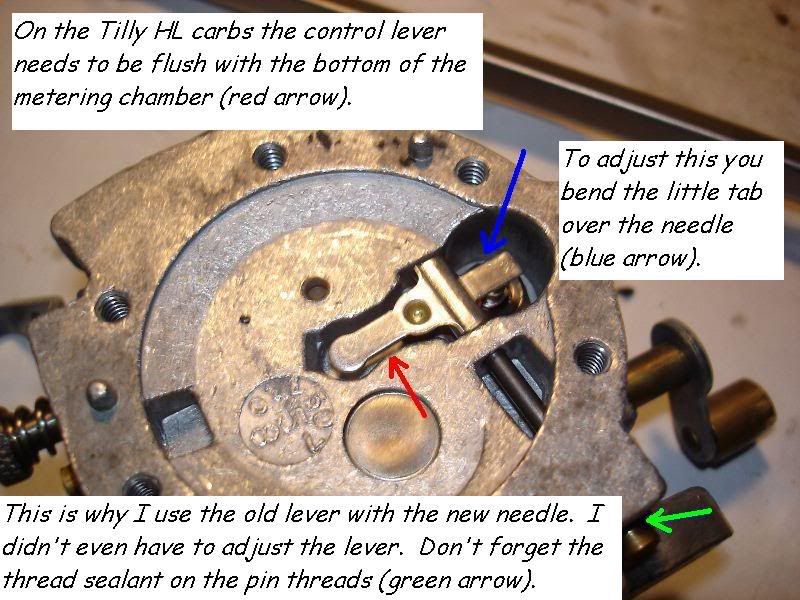
Hope this will help some of you out. Also if I miss anything that some of you think needs to be done… by all means point it out to me. Even though I have been doing this for years… I still learn new stuff… Most saw carbs have the basic parts internaly like the HL does. There will always be some sort of control lever, lever pin, spring, and needle and seat. So this little tutorial can help out in most cases.
There are a lot of pics (almost 60)... so sorry for you dial uppers. I was a dial upper until recently... so I know how you feel. So hopefully I'm not posting too many pics for the site. If so the mods can remove it or maybe we can consolodate the pics.
The pics are uploaded from photobucket website so I can directly imbed them. So enuff with the yappin'... on to the tutorial.
Gary


