Lombard Model 34 Restoration

Arborist Forum

Help Support Arborist Forum:

This site may earn a commission from merchant affiliate links, including eBay, Amazon, and others.
I have the same sentiments as Lee.

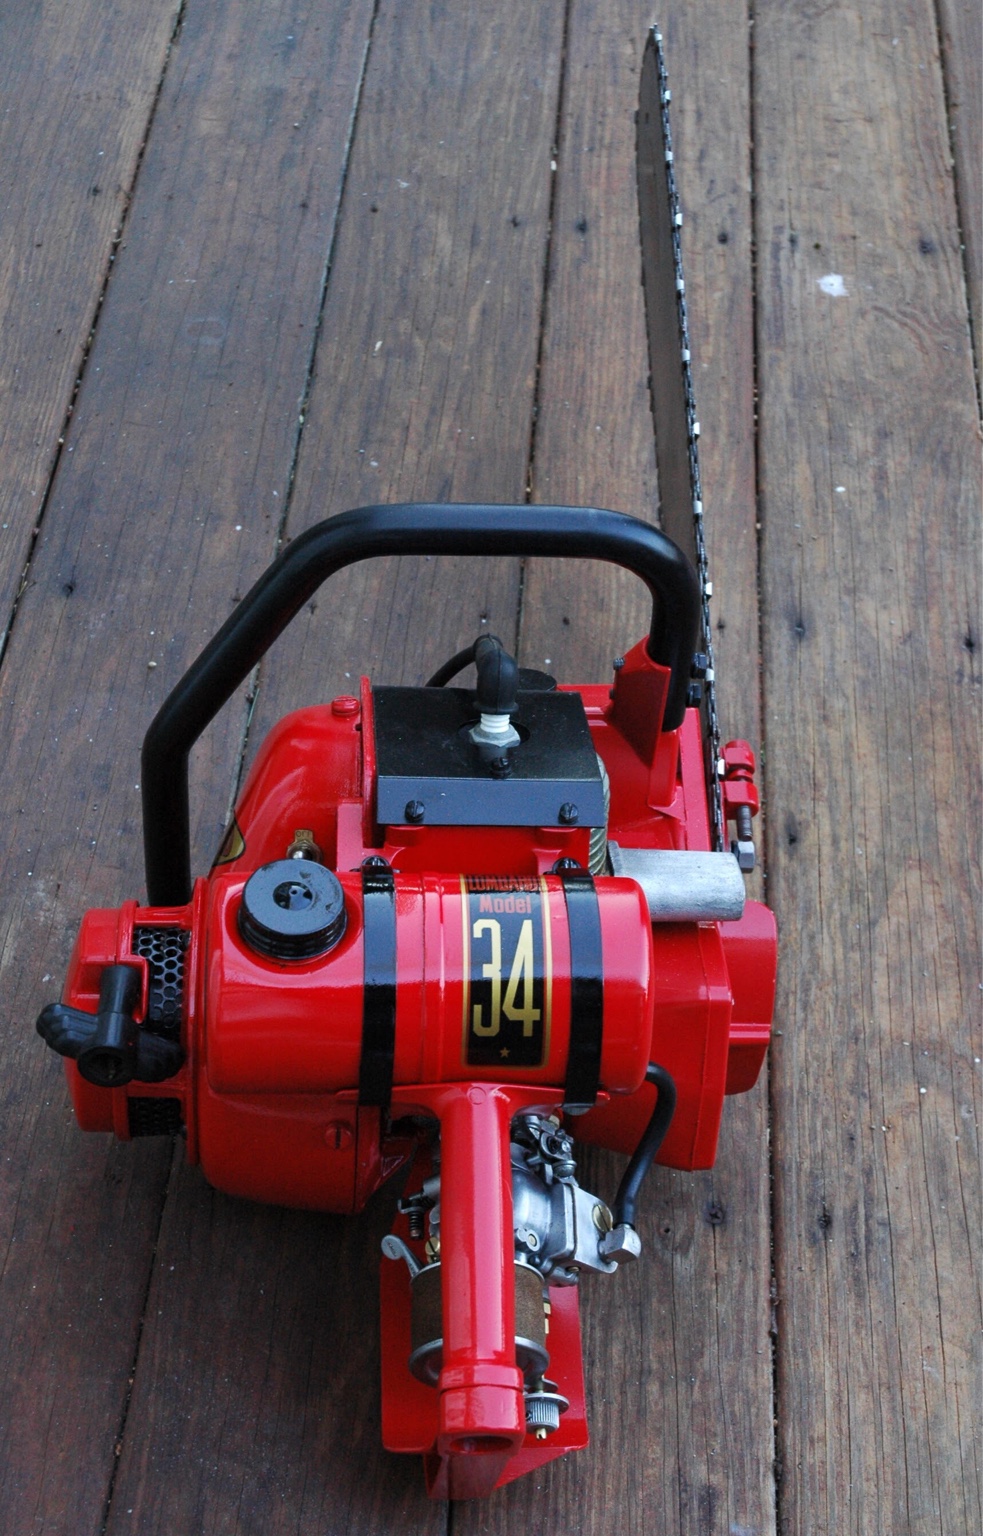
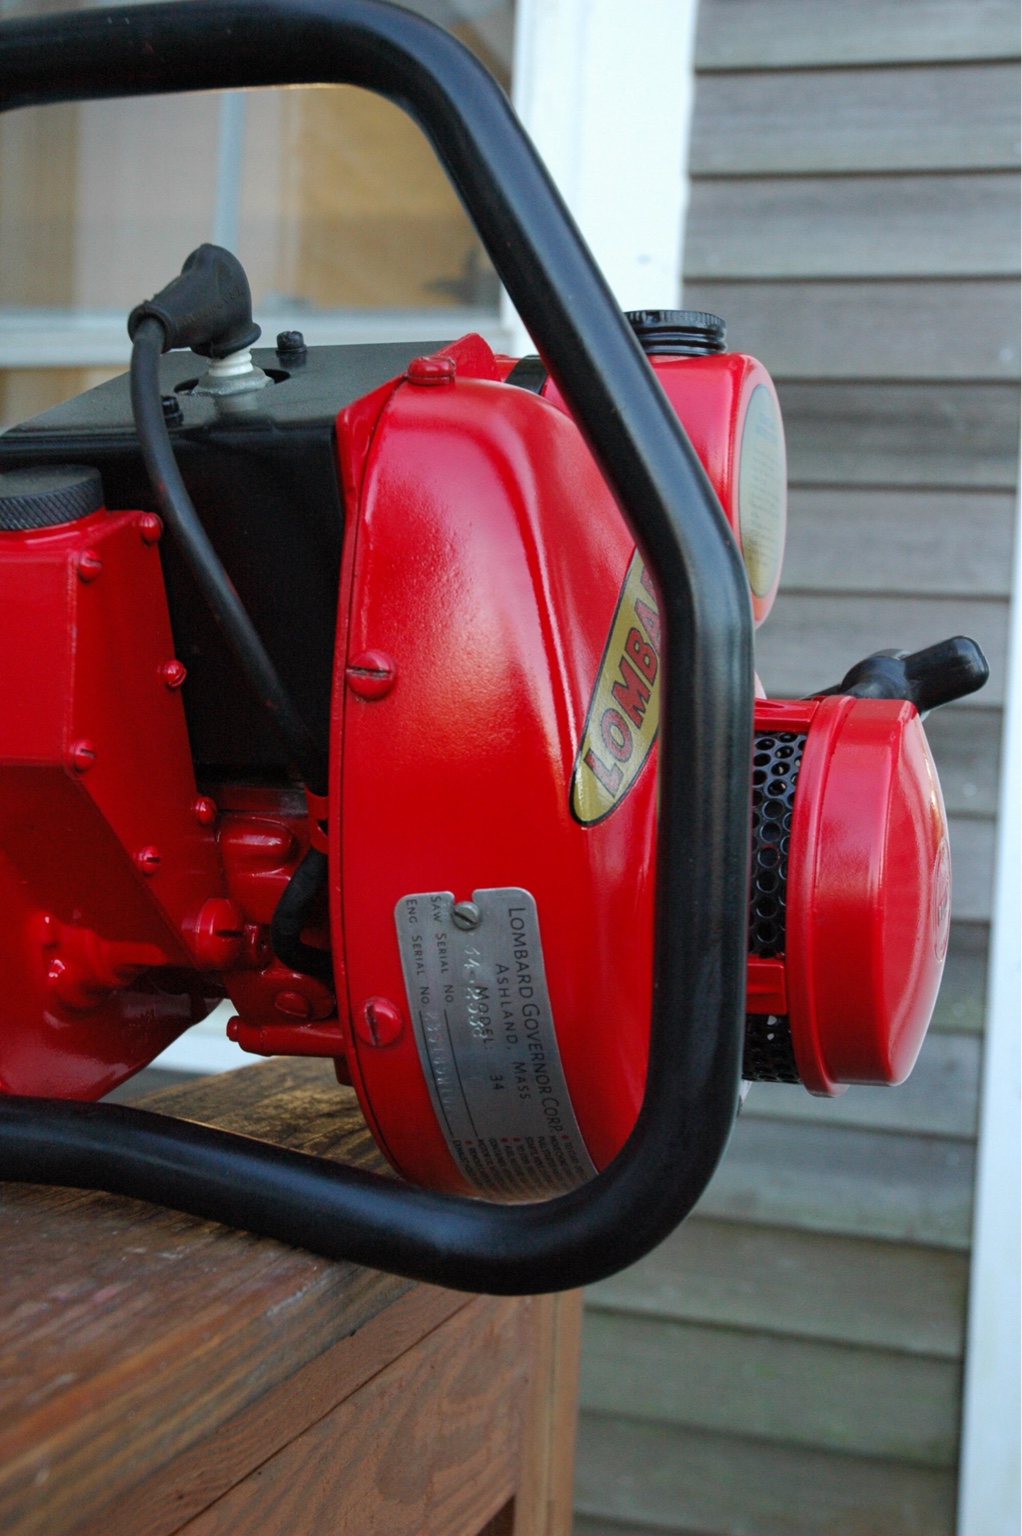
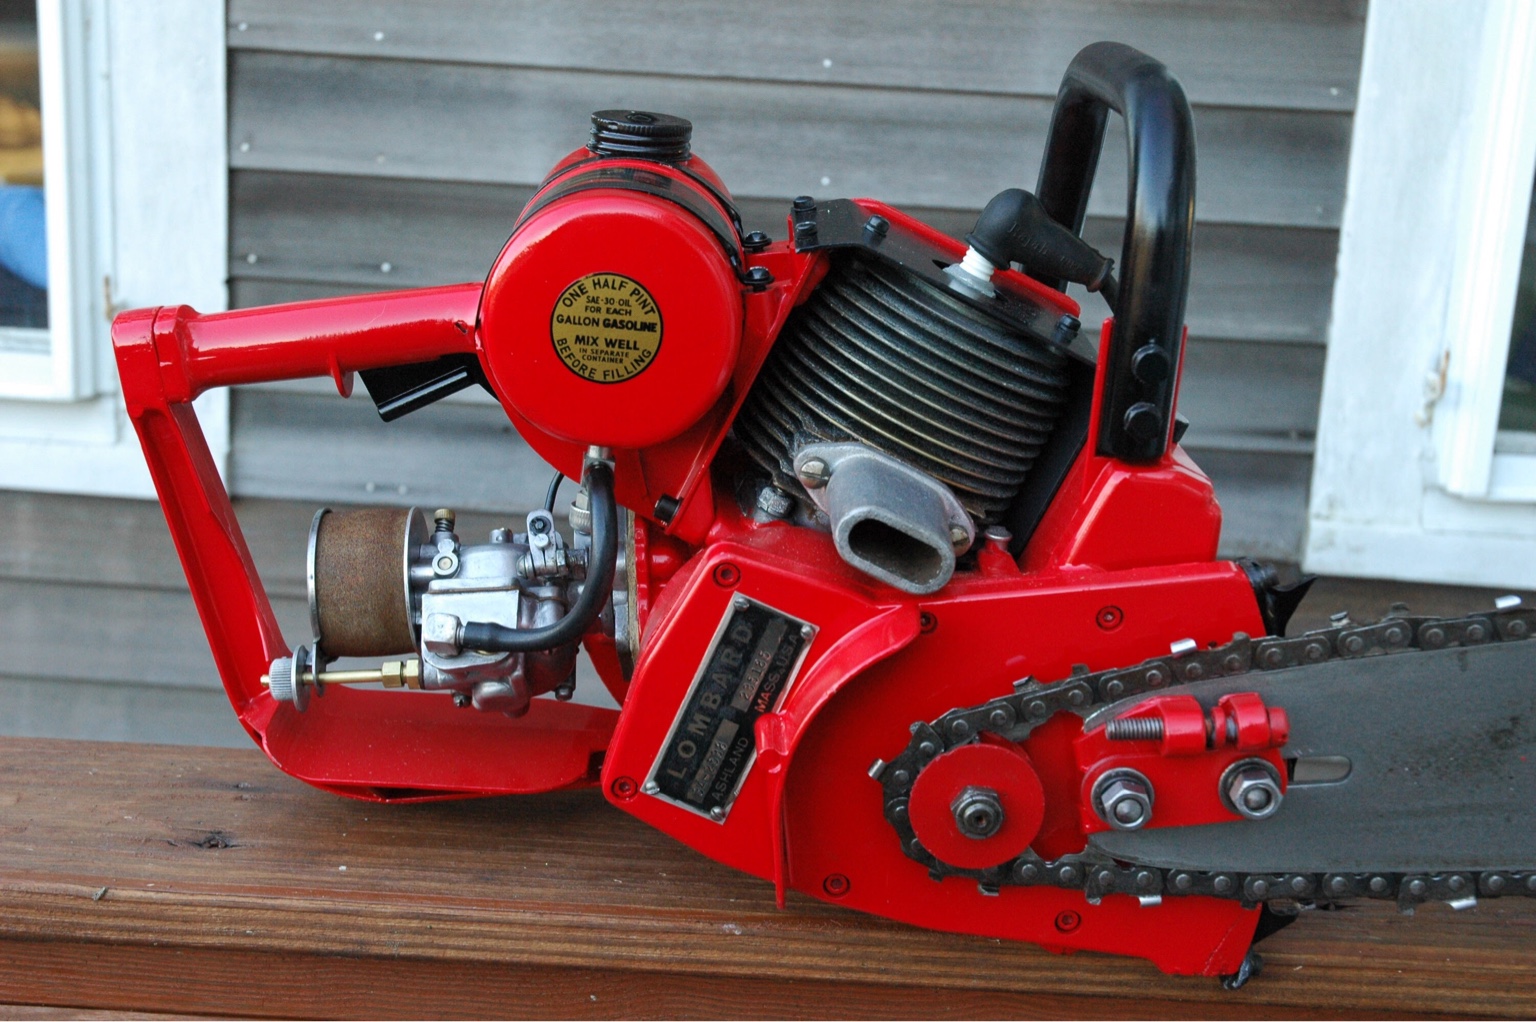
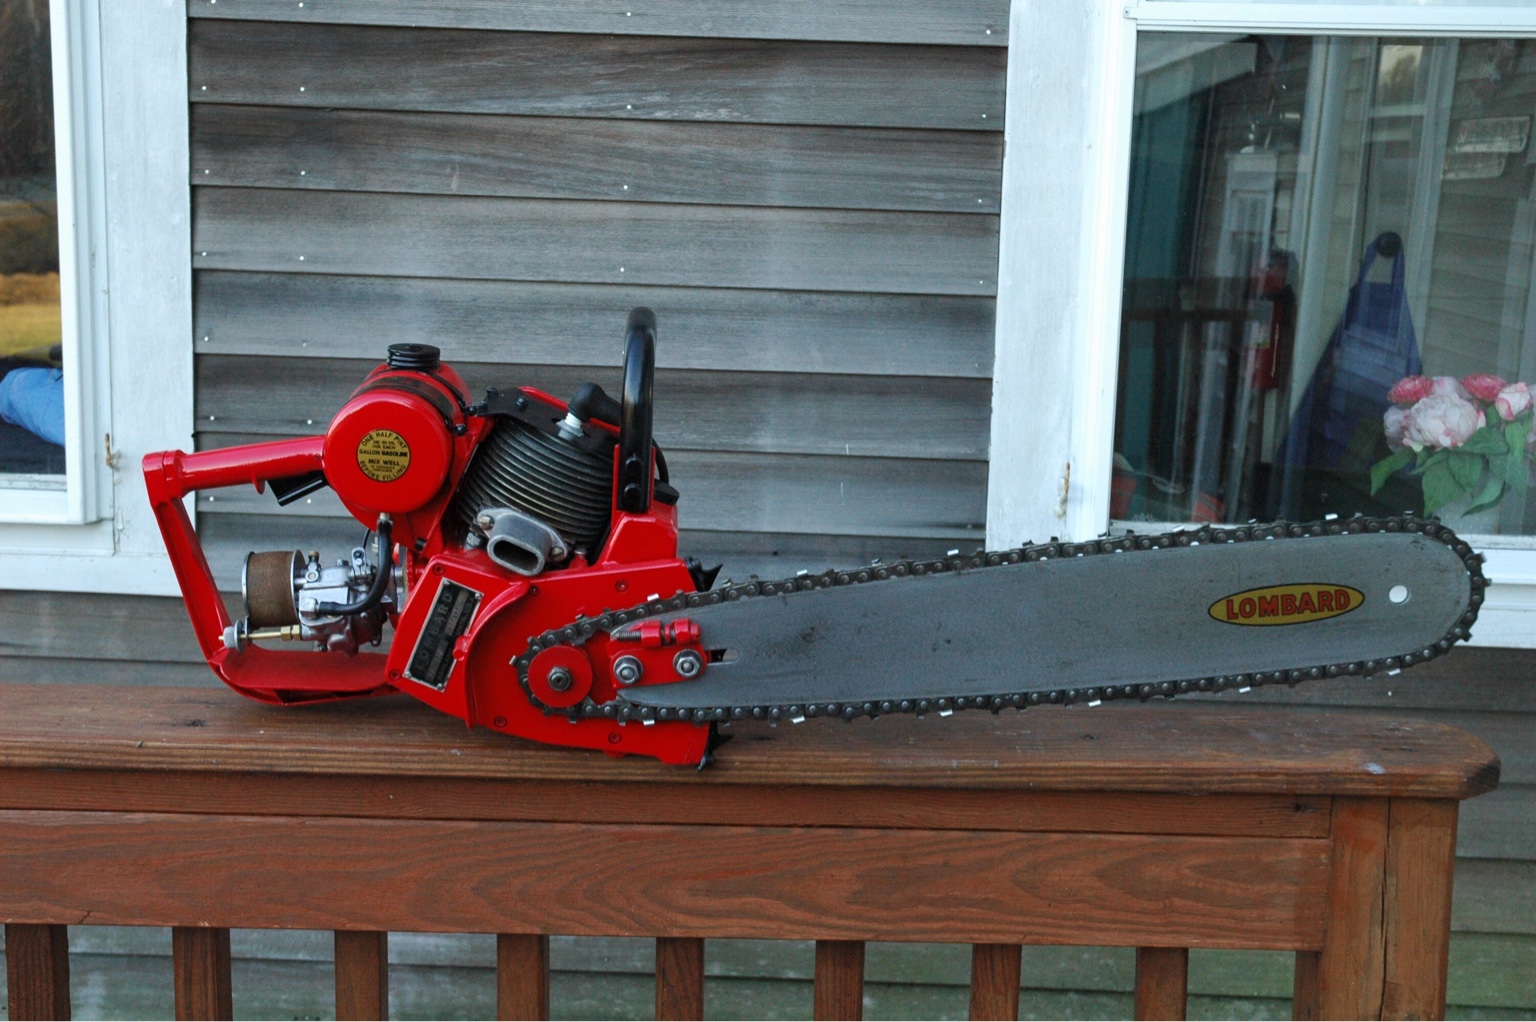
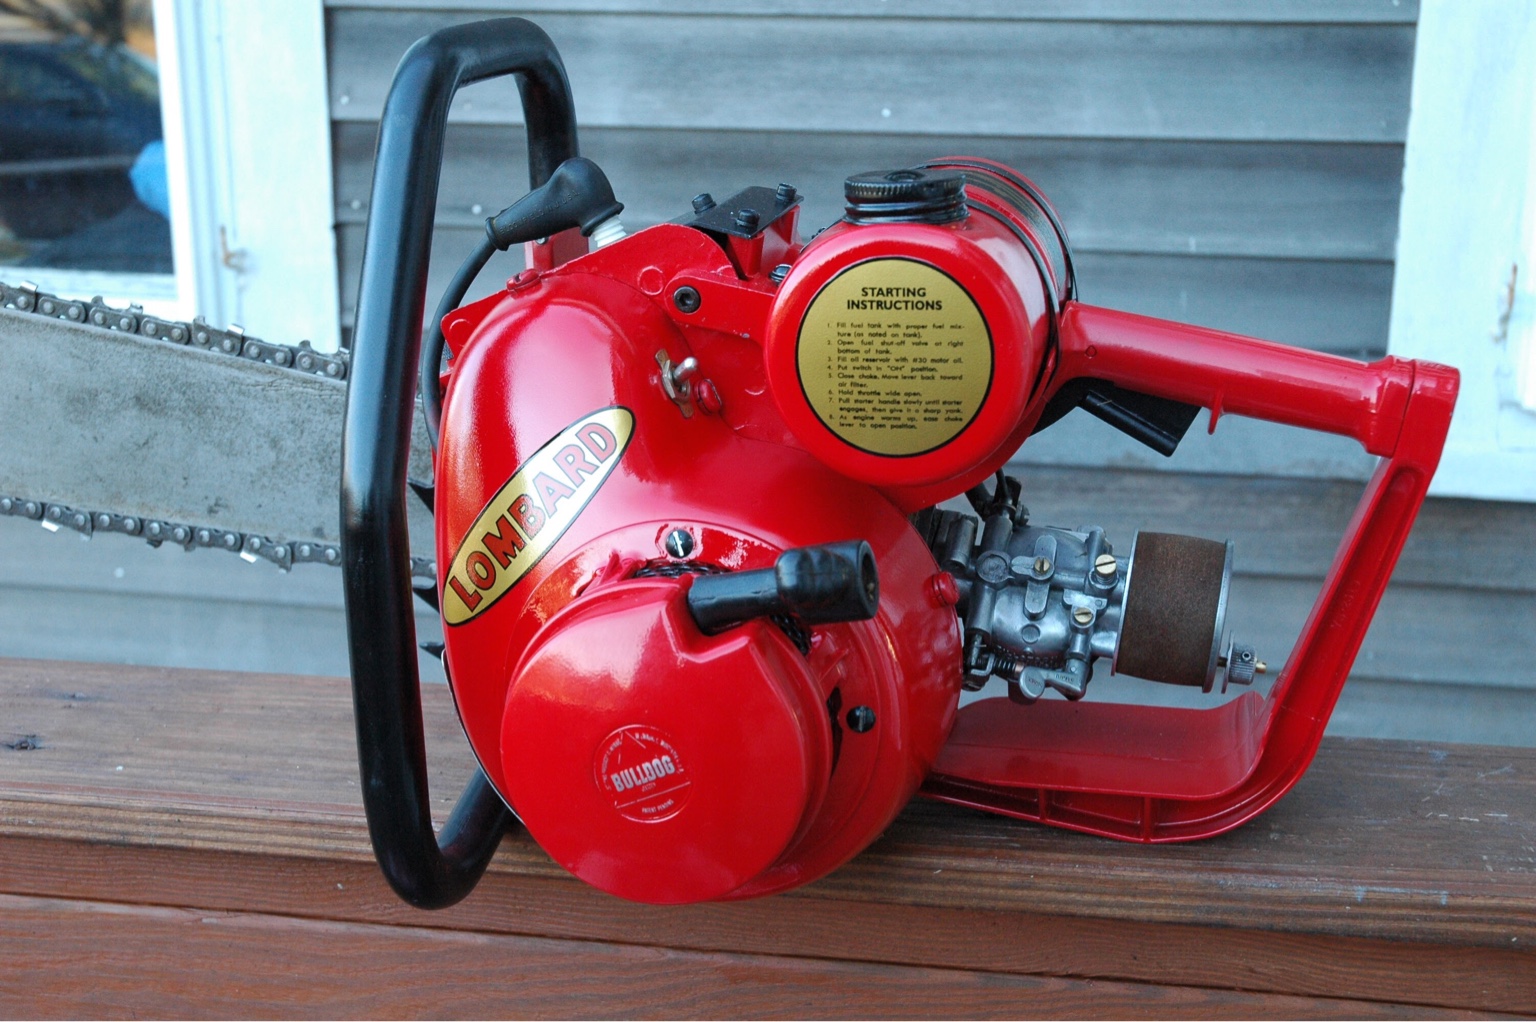
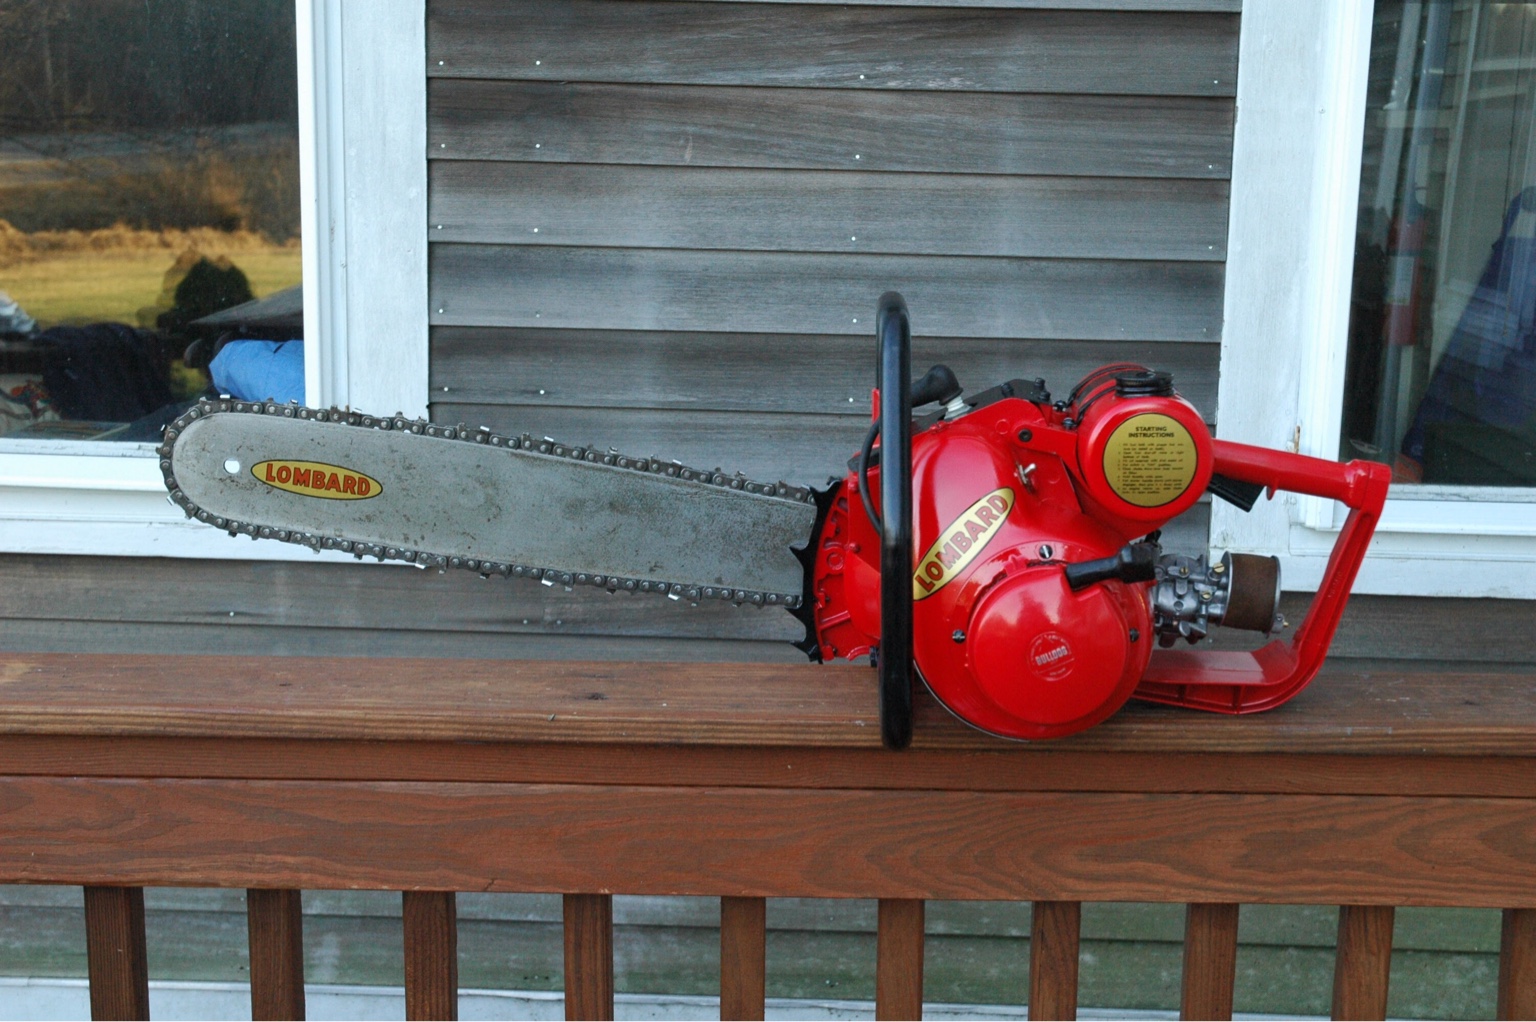
The whole job is just great, love it but the tag really puts it over the top.

I have a couple restored saws that could sure use their tags restored. They'r aluminum tags with red paint on them so I knew I better leave well enough alone as I'm pretty sure they would look even worse if I tried to "help" them any..
 
This is awesome! What kind of equipment do you have for spraying it? I'm assuming it's a bit more than a rattle can. ;-)

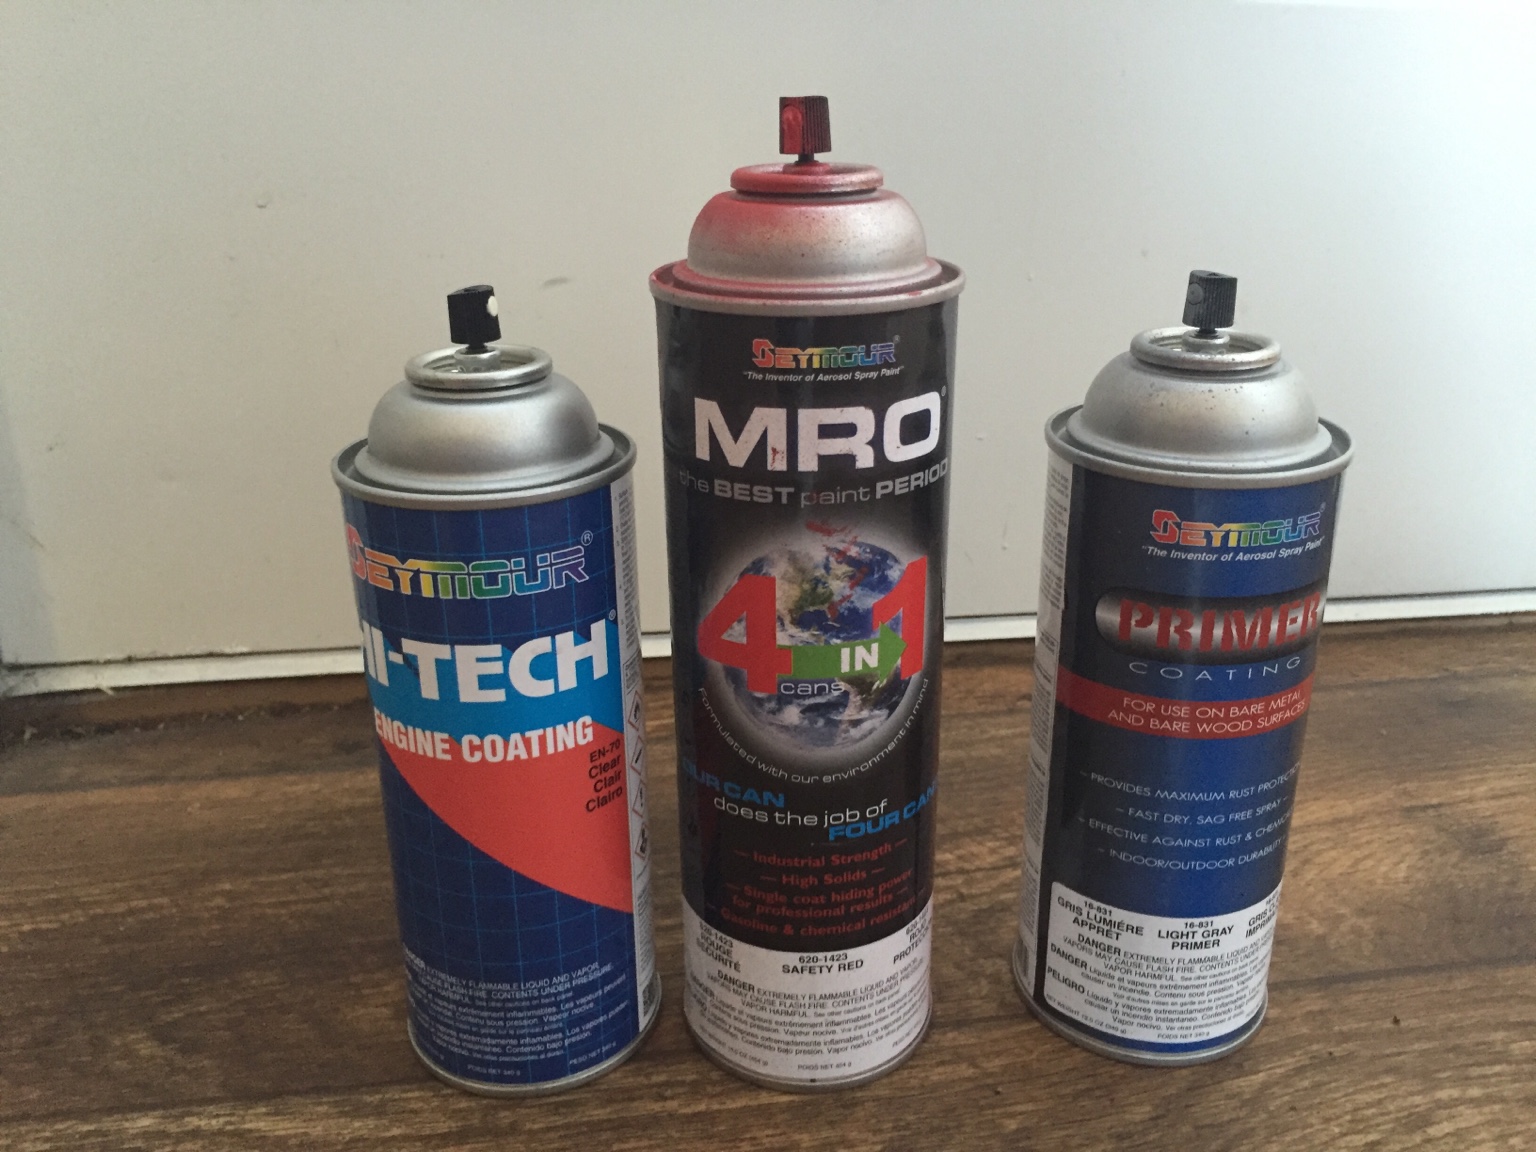
Just rattle cans and patience [emoji6]
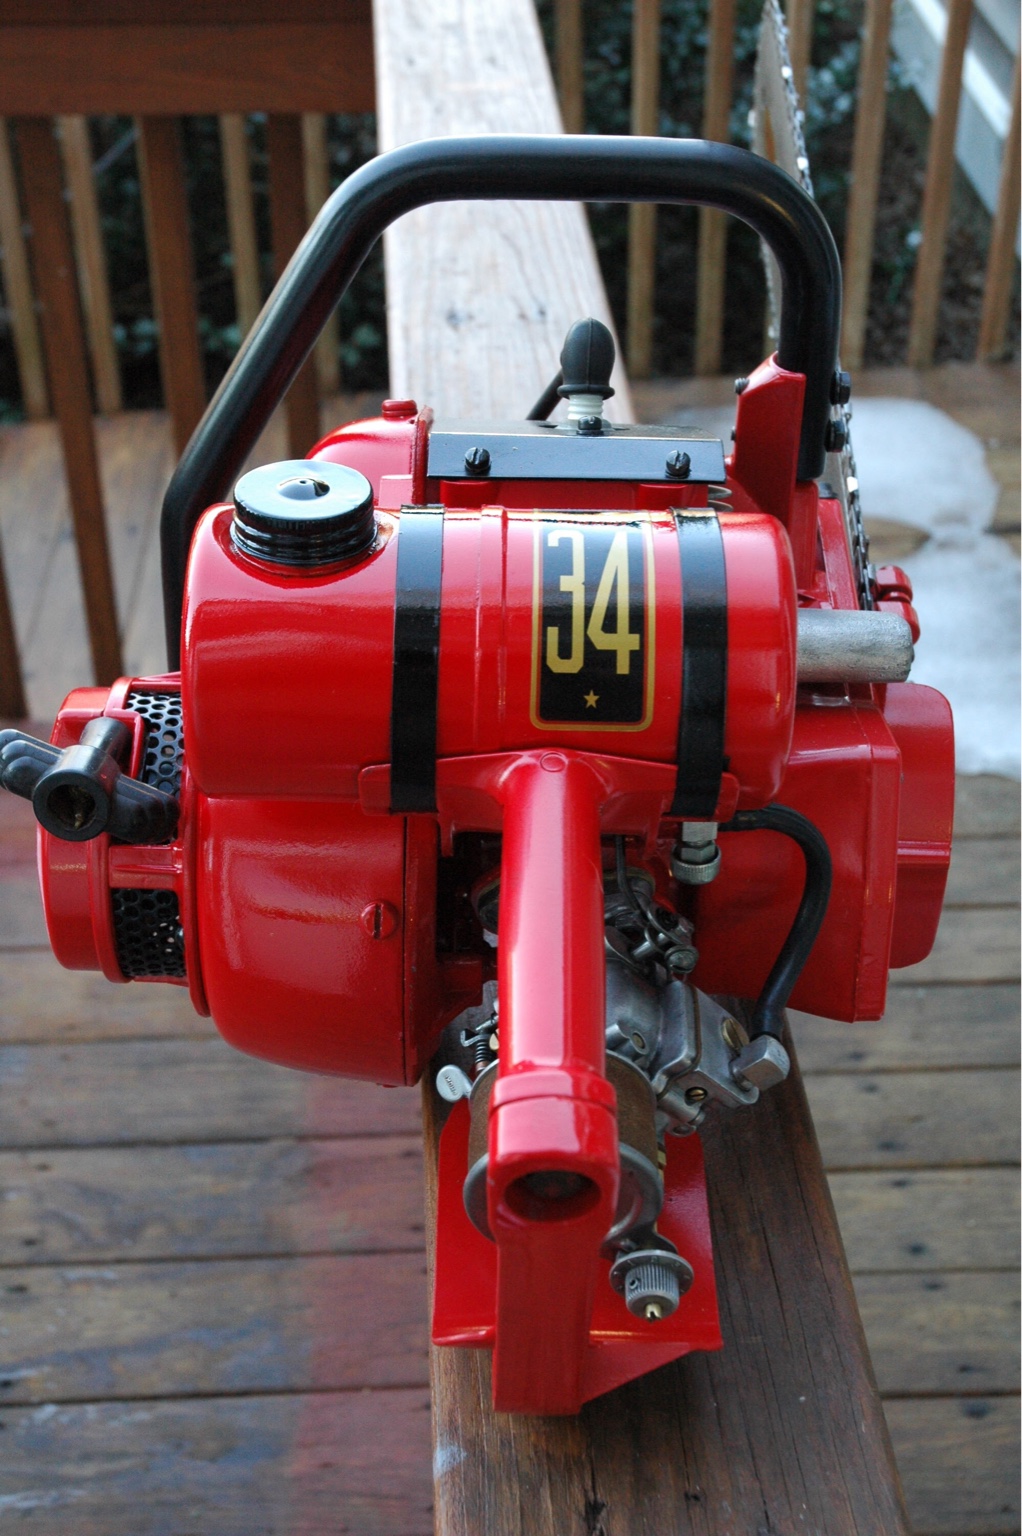
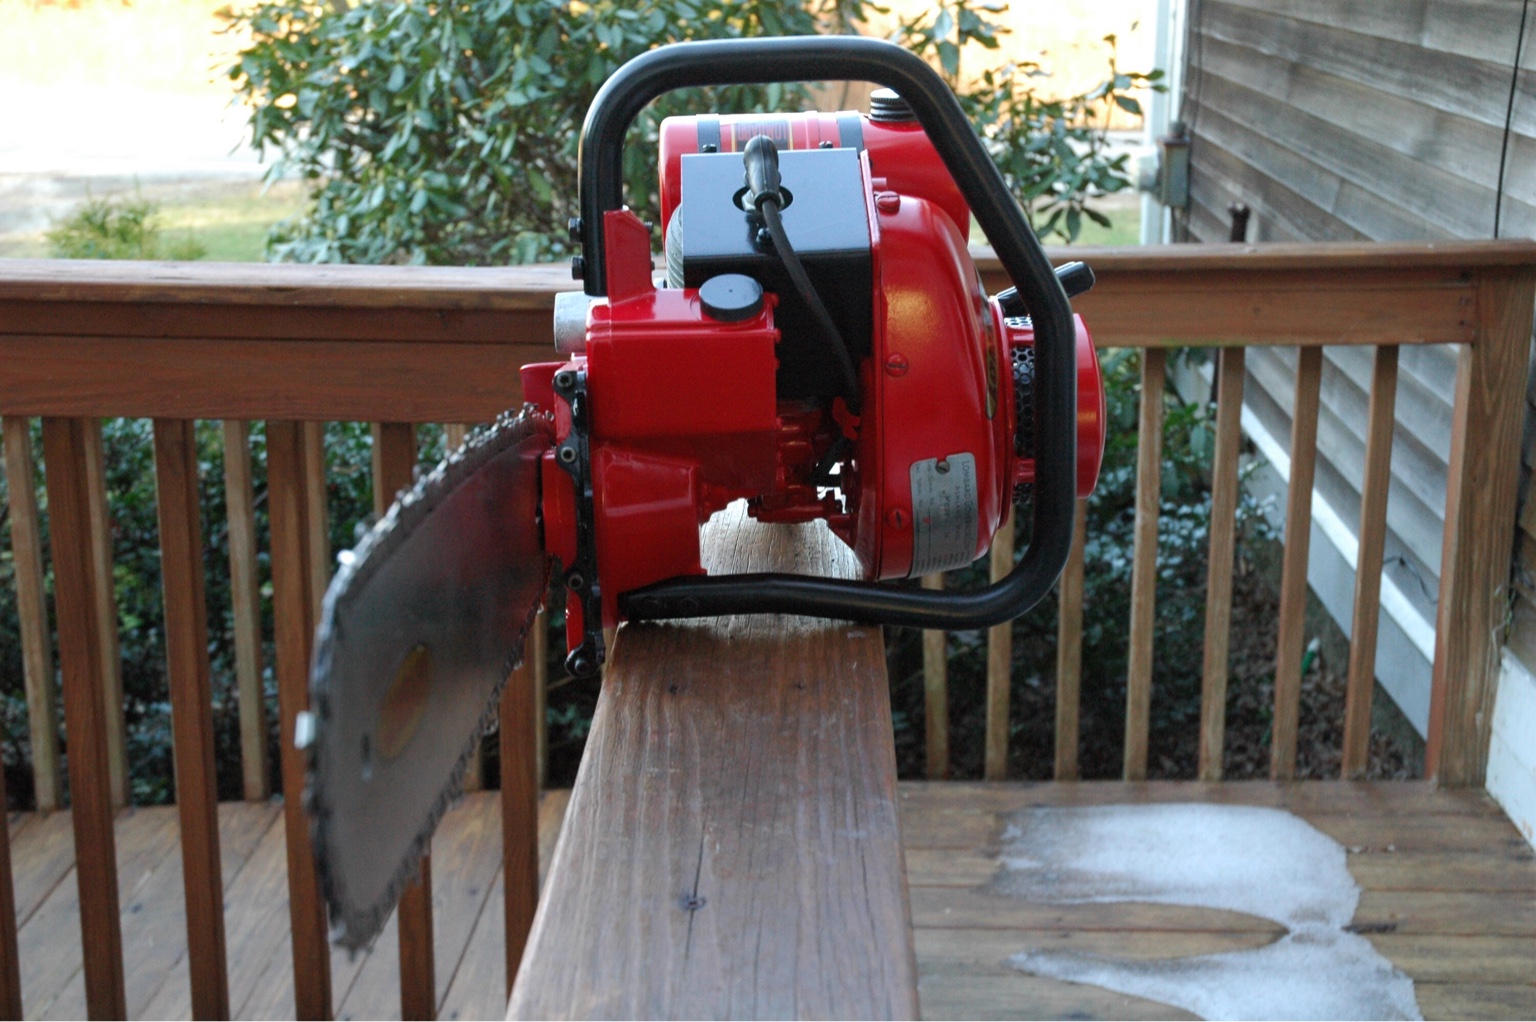
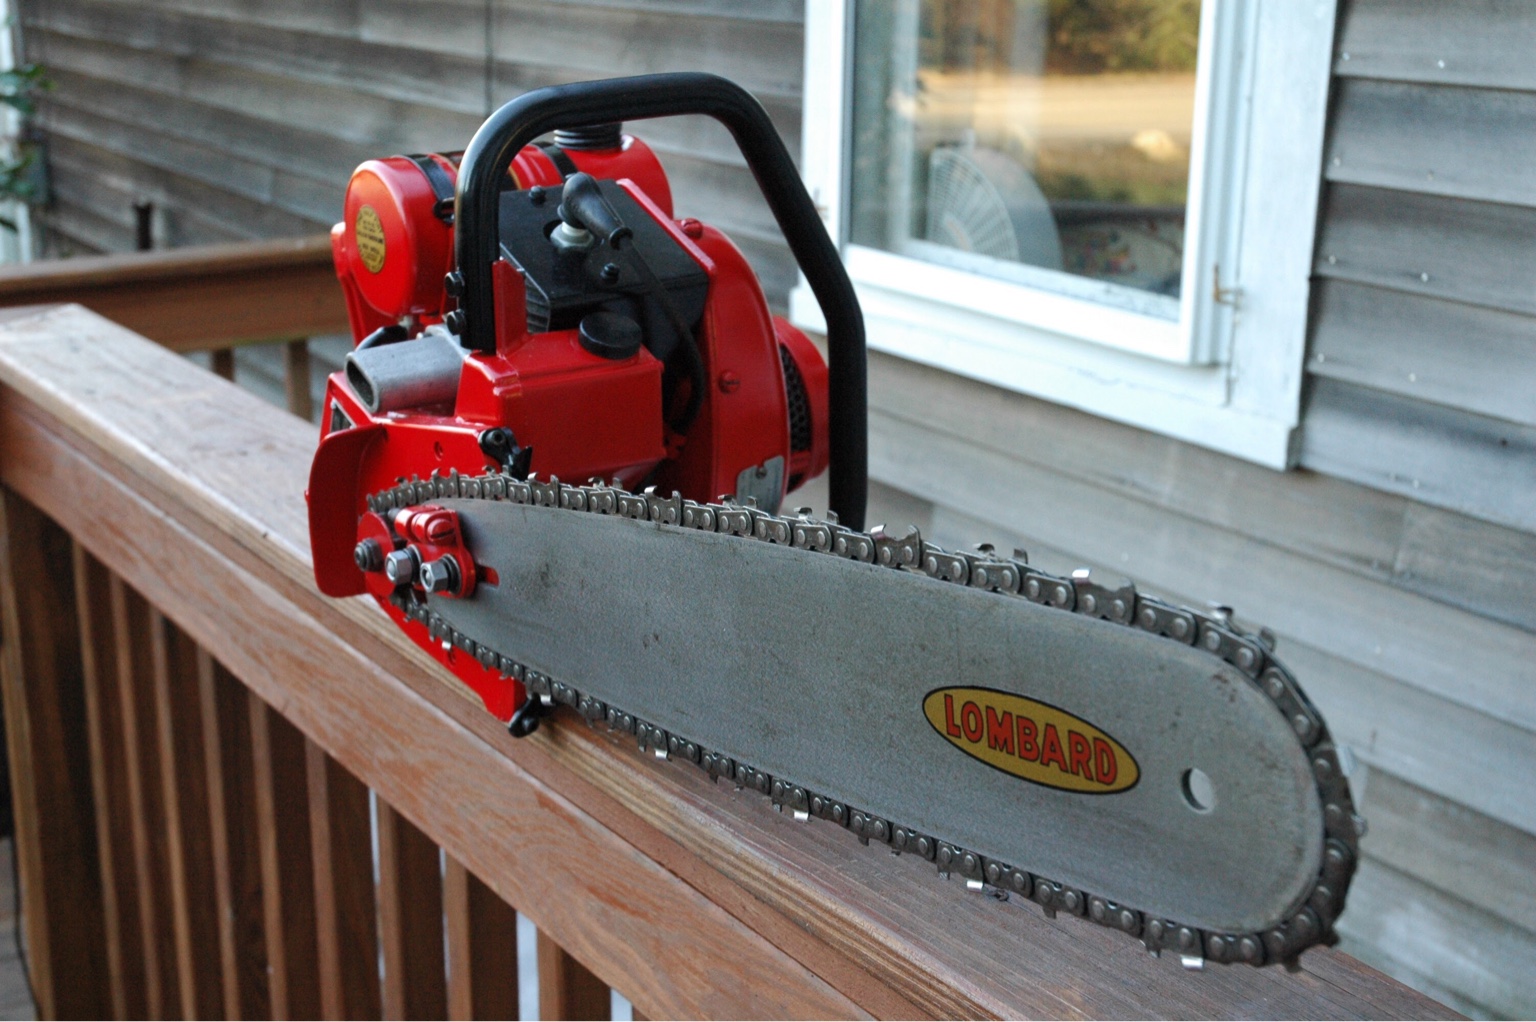
Everything has 2-3 coats of paint and 4 coats of clear.

e9d8fb081b36f9f1586513497893c108.jpg
 
I have the same sentiments as Lee.

The whole job is just great, love it but the tag really puts it over the top.

I have a couple restored saws that could sure use their tags restored. They'r aluminum tags with red paint on them so I knew I better leave well enough alone as I'm pretty sure they would look even worse if I tried to "help" them any..
I was pretty nervous about stripping the original tag down but I was very happy with the end result. It cost me around $9 for five 8.5" X 11" sheets of the waterslide decal paper.
 
Awesome to know that great results can be had without an expensive gun & huge compressor.

But less awesome to realize that my technique is what leaves so much to be desired.

Guess I'll just have to keep practicing. More saws it is!
 
Awesome to know that great results can be had without an expensive gun & huge compressor.

But less awesome to realize that my technique is what leaves so much to be desired.

Guess I'll just have to keep practicing. More saws it is!

Prep work is the most important part, but I keep the can about 8"-10" away from the pieces (all hung by wire), start the spray before I get over the piece, and end the spray once I get past the other side. A lot of people make the mistake of holding the nozzle down while shaking back and forth and that usually leads to coats that are too think and uneven. I also hung all my pieces about a foot in front of my pellet stove to dry between coats and then kept them a few feet away for a full 24 hours to make sure it cured really well. I have a few parts curing right now. When they are done, and I get it all back together, I'll take the saw outside and will take some really nice shots with my nice camera. The pictures inside are coming off with a pinkish hue to them, but the paint is a really nice deep red.
 
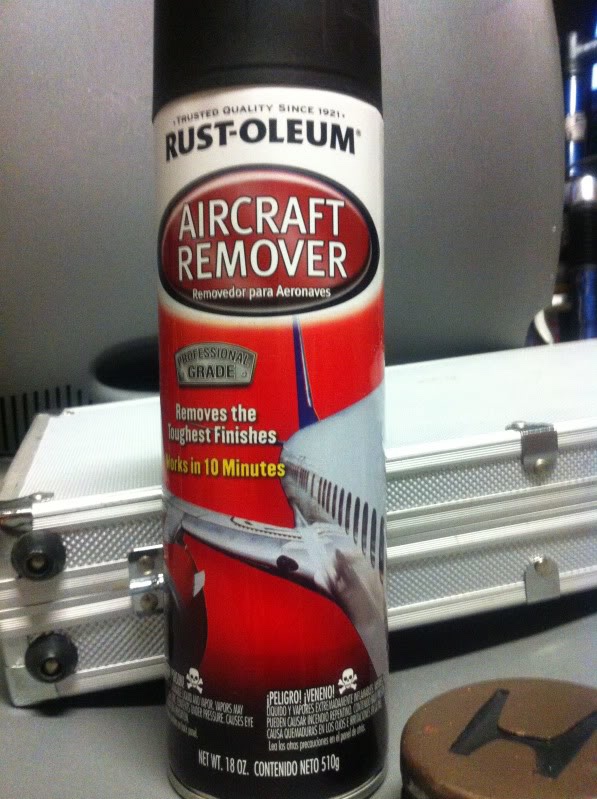
Some people have asked me about the "Aircraft Remover", that I used, and where they can find it. I bought mine at Walmart, who sells it in a rattle can, but you can also buy it in pourable cans at other places. I think Home Depot carries it in the larger cans.

670f6be5668c529a1dbc7b2a907d4bab.jpg


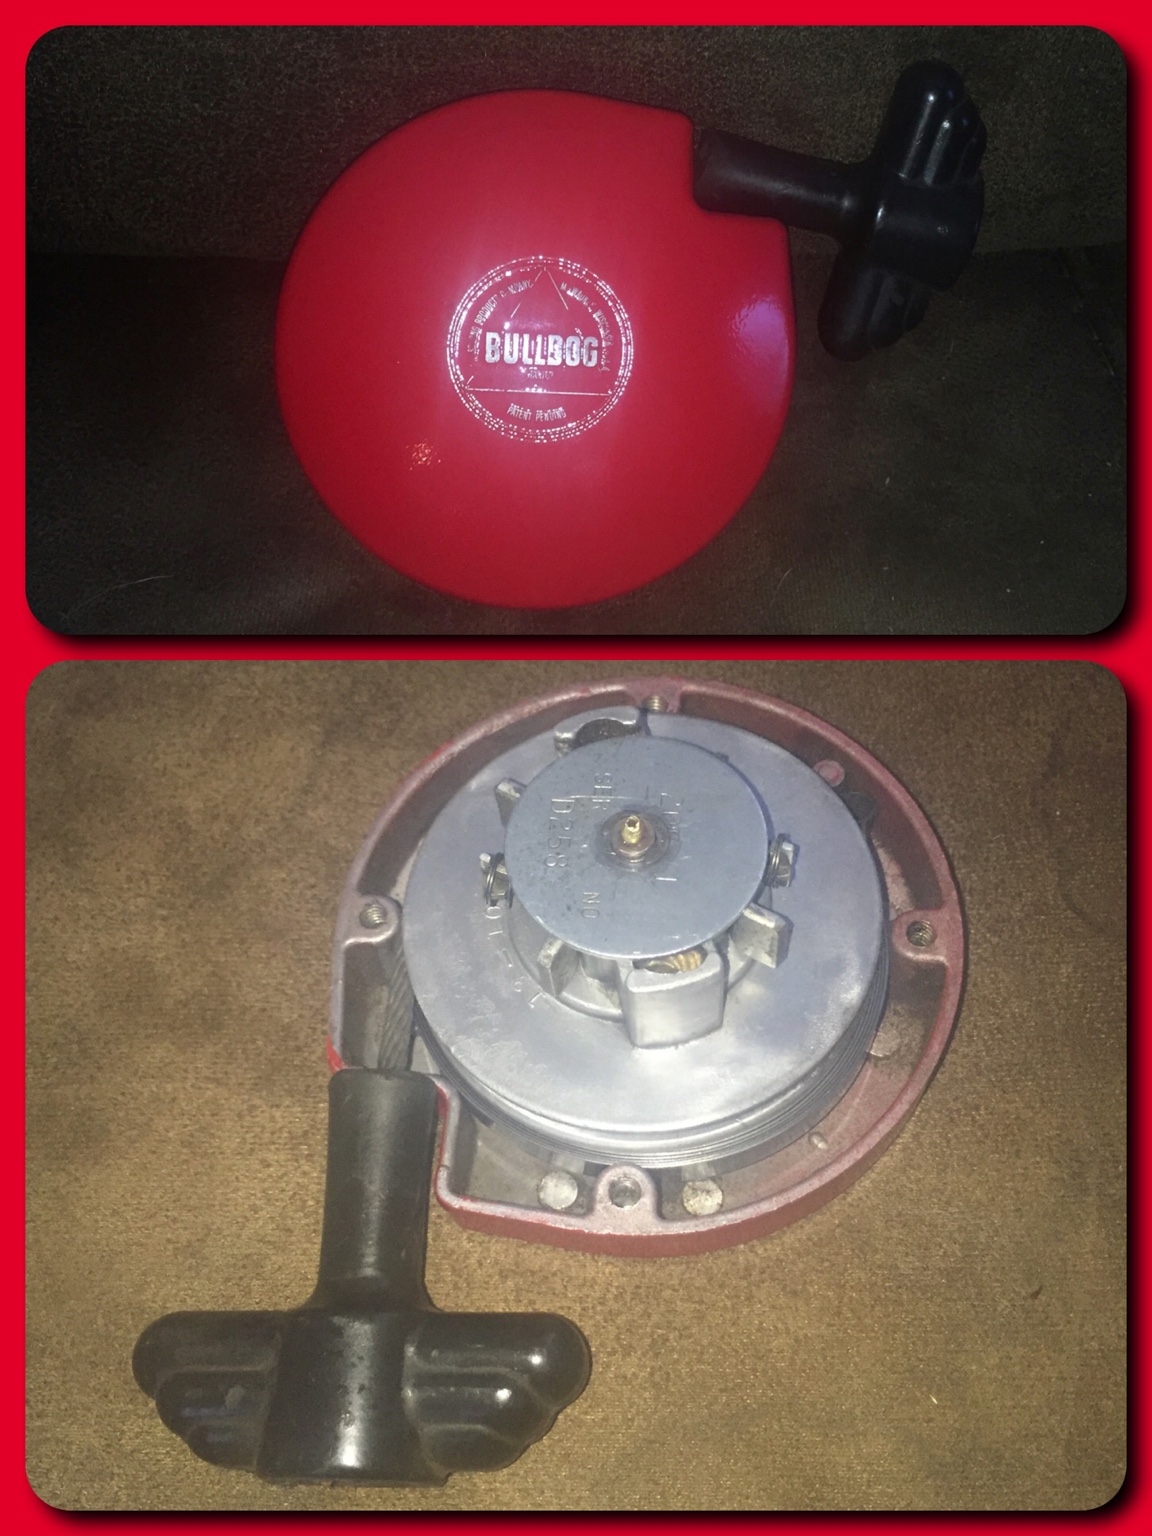
Here's a picture of the cleaned up starter assembly before going back on the saw.

3753933bb681ab785e4e8e4b4223b253.jpg
 
Simply wow! Good work hands down. Back in 77 I was in Lake Tahoe working for an old builder and used jumping jacks and plate whackers with those A 84? engines on'em.
 
This model came with an AH-47 engine. Don't know if I mentioned this earlier, but my dad told me that my grandfather actually worked for Lombard before he enlisted. I never knew that, and it made this whole project even more fun to do.
 
Back
Top