Mcculloch 101-125 Kart saw, My way

Arborist Forum

Help Support Arborist Forum:

This site may earn a commission from merchant affiliate links, including eBay, Amazon, and others.
Beautiful welds Lee!......Glad you got the parts you needed to get this build done. Yep! 50 year old epoxy probably wouldn't have been the way to go......Hahahahahaha! Like that chrome too!
 
Nice work Lee! That intake is pretty slick, good looking welds, too. Looking forward to the video...what bar/chain combo are you gonna put on this one? It's nice to watch your build threads cause the results are always exceptional!

Brian
 
Thanks Guys.
As for the lower big ports, I would call them
lubrication holes. To the best i can figure there
put in for lube and cooling. The piston top doe's
not come down that far.


Lee

Lee-

Another great build. Your custom manifold looks awesome, good work.
As for the extra intake holes, experienced kart guys I've talked to called
those "sniffer" ports. They line up with matching slotted holes made in
the skirt of the piston and start to open as the piston is coming back down,
which in turn starts filling the crankcase sooner. There were factory dirt
bikes from the late 60's to the late 70's that used a similar set up.
The Yamaha YT-175 is one example. Some of the early Suzuki RM bikes
used that arrangement. I've also seen it done on some 090 competition
saws where the engine was converted to a Reed intake and two or four
extra transfer ports were added.
The porting on that block looks fine and will make a good runner. It's better
to just knock the edges off the ports on a Mac block if a person isn't going to
make them directional, rather than making the ports directional but have them
facing the wrong direction. That is the most common mistake I see, especially
on a lot of junk blocks sold on e-bay.

With that said, would adding those extra ports hurt a standard cylinder and what would be the expected gains? I've got a cylinder for a 125 that I would really like to try porting and have been reading a bunch on the topic, but still really don't understand it. You see them ported to smooth the edge and often look directional because of the teardrop shape. I've yet to see one with the ports opened bigger. Seeing how a modern saw is ported to open the intake earlier, think extending the port toward the crank so it opens earlier would get some gains as well as smoothing the edges? Anybody put a wheel on one of these or a 125 to see the numbers and what can be done to really make it run?
 
Last edited:
Those ports with a windowed piston provide more area through which the case can inhale charge, but they do not affect timing in the traditional sense. These reed intake engines are sucking charge as soon as the case goes into vacuum. I wonder how much it affects charge bias to the top transfers...
 
On a cylinder with the three normal ports, the case isn't really inhaling much, just providing a more positive airflow from the carb toward the ports when the piston comes down correct? Seems the only way in is thru the port. So If I'm reading correctly, the lower port actually allows the mix to fill the case and instead of just flowing air toward the port it's providing the correct air/fuel mix also, hoping to get a little more charge into the combustion chamber?

Smoothing the upper ports would make the charge flow smoothly but not really increase the charge, opening them up would, as would adding the extra ports. Anybody opening them up and extending them toward the crank more like an oval shape without removing the bridge between the ports?
 
When the piston goes up, the reeds open because of case vac and it fills through the duct at the bottom towards the crank. The 2 added holes in the cylinder wall coupled with holes in the piston would give more area for the case to fill with charge. When the piston comes down, there are three paths for the transfer mix to follow. 1 is at the bottom/back of the cylinder through a duct leading to 3 holes back there. #2 is to reverse direction up the intake side to the 3 holes shown in the picture that are opposite the 3 at the back. #3 is up a channel in the flywheel side of the piston and around the rings through two boost ports in the flywheel side of the cylinder wall.

attachment.php
 
Once again an excellent project Lee. You really show the rest of us the kinds of things that can be done with a little imagination and applying yourself to the task.

Can't wait to see the finished project, I like the yellow/black/chrome scheme for this saw, it will be an eye-catcher as well as a fantastic runner.

Mark
 
This looks like a really nice build!! Looking forward to see how it turns out:rock:. I like that intake, would never have thought of making one. How did the impulse passage work for that. So far I am only familiar with the regular saw intake passage as far as the impulse port goes. Real nice work!!
Thanks again guys.
Brian, The pulse port is in the reed block
and goe's into the intake. Kinda like your
797 doe's.

And for who asked, the reeds are a 4 pedel
pyramid setup.


Lee
 
Looking good Lee, as always! I need to pick up a TIG machine one of these days.
 
I must say, Lee, that is one awesome job of fabricating! I will definitely be following your progress on this build. Super job, keep us posted. Can't wait too see more:msp_thumbsup:
 
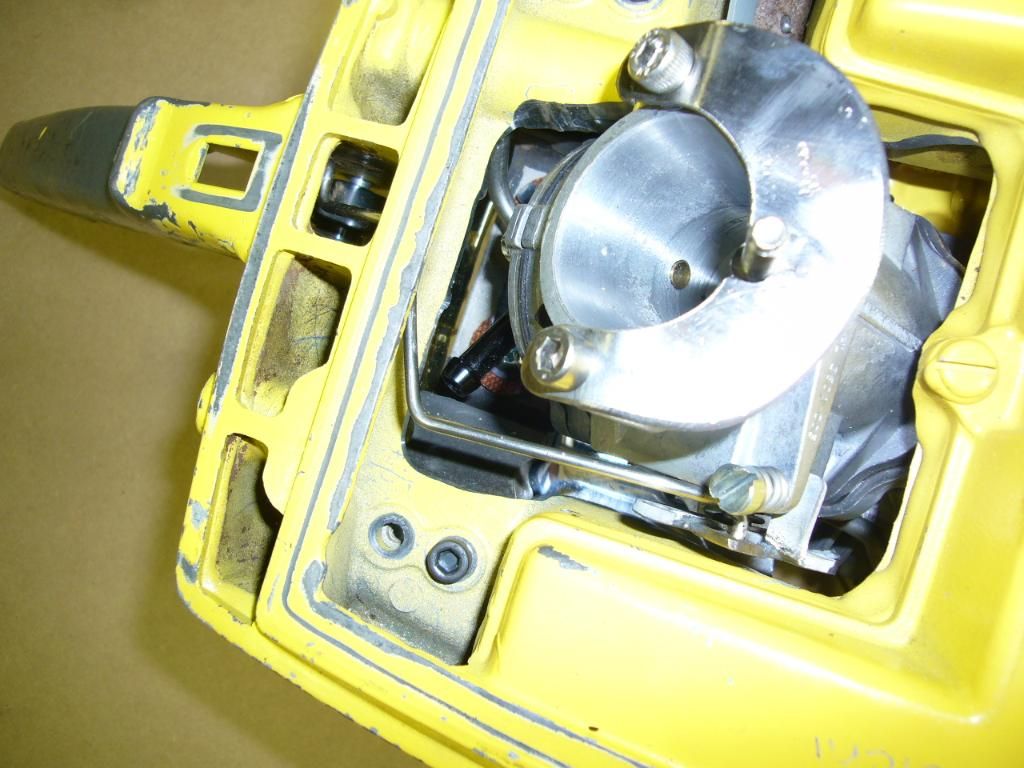
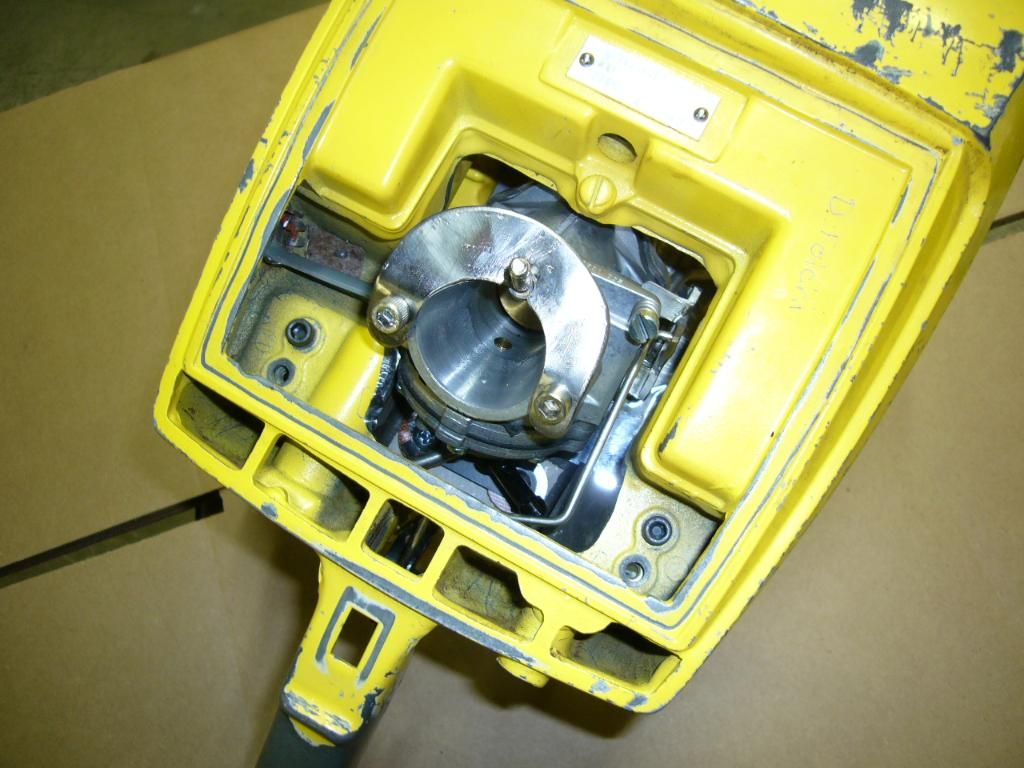
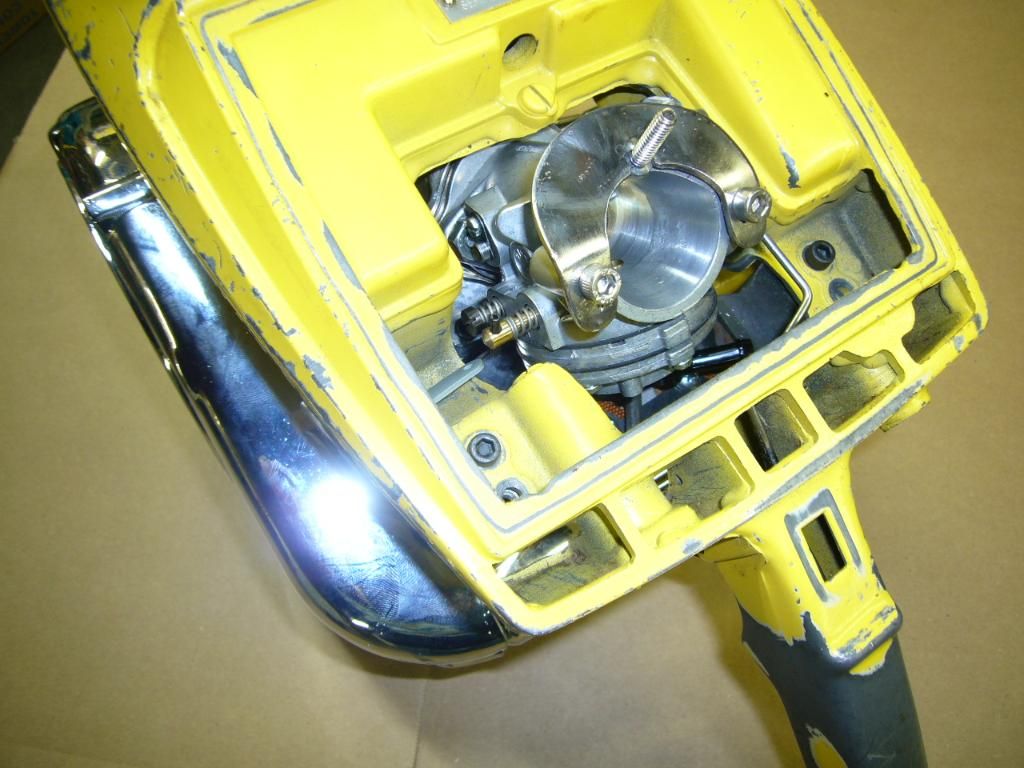
Got a bit more done last night and today.
Throttle rod, Air filter mount are done.
I have room for the fuel line and i can still
adjust the carb through the hole in the side
of the air box.
Next will bead blast the tank and filter cover,
Then give them some nice paint.
While the paint is setting up i can assemble
the motor and maybe make smoke next weekend.


Lee


101-125Mac001.jpg

101-125Mac002.jpg

101-125Mac003.jpg
 

Latest posts

Back
Top