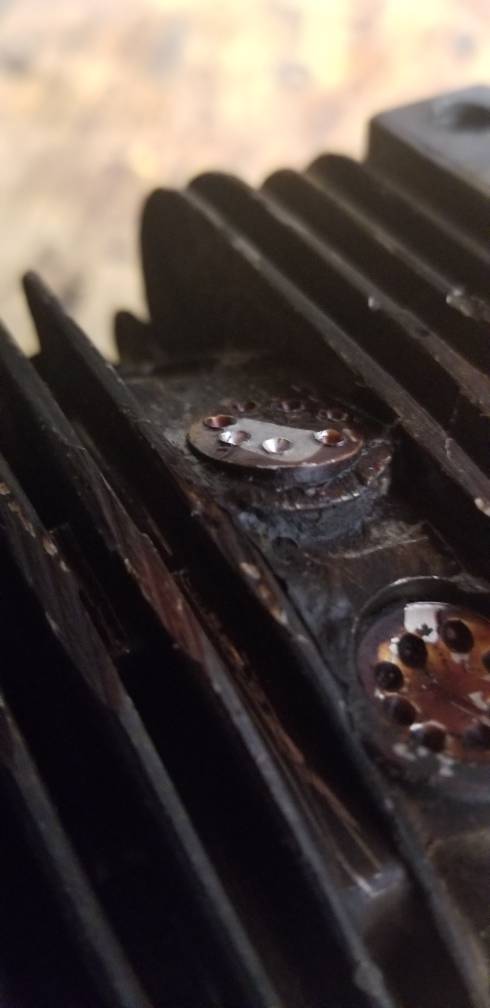
It's a small screw that seamingly does nothing. It was how they drilled the hole in the first place.
Make sure your piston is down out of the way!!!
Brian
Make sure your piston is down out of the way!!!
Brian


It's a small screw that seamingly does nothing. It was how they drilled the hole in the first place.
Make sure your piston is down out of the way!!!
Brian


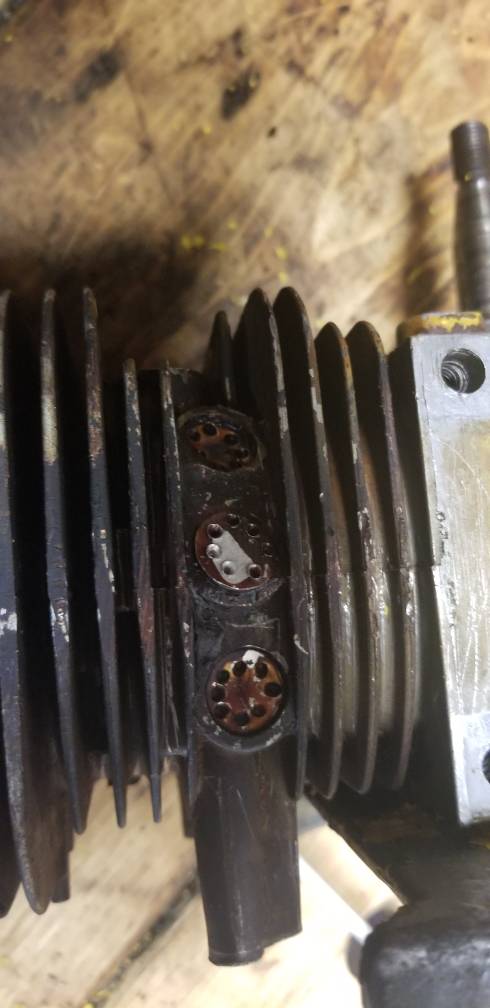
Rob, You might not have to take it off at all. Their is a screw on the muffler side right up around the DSP Valve. Take it out and use a snall drill bit to clear the carbon from the hole leading into the cylinder. Put the screw back in and I bet your DSP valve will work.
Brian
Fresh pics in the sun. Removed that weird cover over the clutch I'm sure that was not stock. Pretty sure this is one of the 44's, whether 72, 80 or 87cc still to determine.. I think there may still be some non-OEM bits of metal plate still attached. Looks like a farmer repair. Does anyone have an extra recoil/clutch cover?Hi Folks,
Picked up a couple of Mac tonight. What I believe is a 610 (brick) and a mystery vintage Mac. Please help me identify, perhaps a 55 Missing clutch cover/recoilView attachment 671669 View attachment 671670 View attachment 671671 View attachment 671672
The 610 doesn't appear to have a choke can this be correct? It is missing parts from the chain break seems to have v good comp and does have a decomp valve.


Want it for parts, not locked up! I've only got $15 CDN into itKevin- I've done it both ways but painting the assembled saw is certainly easier and eliminates the fastener issues. You certainly could pre-paint some of the components that will be hard to paint with the saw assembled but the last coat assembled will look more like a factory finish.
Lee - that poor thing has had a hard life. You might be doing it a favor by putting it out of its misery...
Mark
A question for those of you who restore/repaint these saws. Do you fully assemble the saw then paint the whole saw the way I think they did from the factory or do you paint individual parts? If you paint individual parts, what do you do to paint the exposed screw heads after?
The last one I did I painted individual parts but I replaced all the hardware with new so I just left all the screw heads shiny. Want to reuse the original hardware on this one so I want to touch up the paint on them.
Thanks guys.
I got to say, I've never seen the little holes in the plugs like that before. Why would someone go through all that trouble?