Red rep target ahoy! Open fire onto David324!
ARRRRRRG!!!
... what the #### is going on? His rep is back already.
:bang: I just had him all red a couple minutes ago. Who reps a guy that is all red?!? :bang:

Red rep target ahoy! Open fire onto David324!
ARRRRRRG!!!
... what the #### is going on? His rep is back already.
:bang: I just had him all red a couple minutes ago. Who reps a guy that is all red?!? :bang:
Now I really feel bad for even considering doing that.:bang:
Started on the tank Wednesday night by cutting out the stock intake and making a rough opening for the new one. Still have lots of grinding to do before I'm even close to getting it to fit over sloper. Also got a good idea for how I'm going to bolt the tank down without using the original holes since they'll be completely gone. I'm thinking of using studs in the block instead of screwing the intake down and then use some small brackets that can be bolted to the inside of the tank and then slid down over the studs. I'll try to post some pics soon of what I'm trying to explain. I have it figured out pretty well too for resealing the tank with new giant hole it.
Project should begin picking up speed shortly.

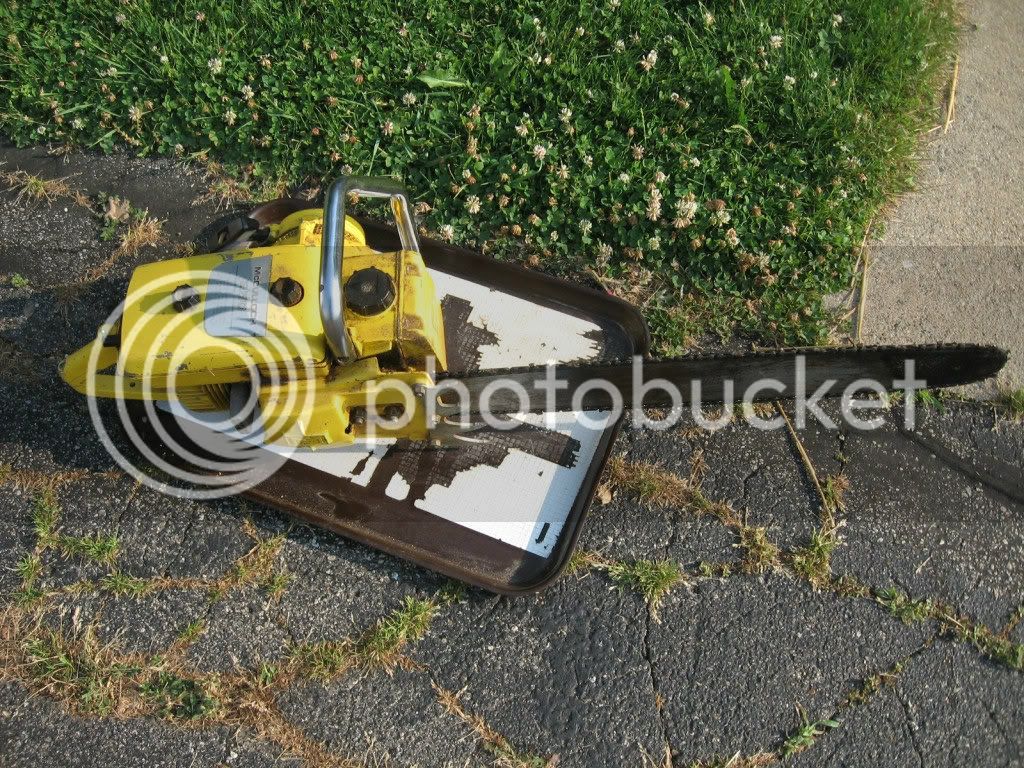
Nice saw, Kyle ... we need video! :hmm3grin2orange:


Kyle, I would add to your to-do list: cleaning the air filter. Nice looking saw. Ron


Nice looking 250 Kyle. I second Ron's instructions. Clean that damn air filter. Also, don't syphon some of the gas out. Dump it ALL out. Then refill about 1/3 way with good fuel and let sit for an hour or so. Swish it around, then dump it out. That'll get the mung out of the bottom of the tank, and out of the fuel filter felt. It won't draw fuel if the felt is varnished up. Also...........................pull the fuel line out and look to see if the felt is in the belled end of the fuel line. If it's not (and I've seen saws with the felt sitting in the bottom of the tank) then the saw won't run once you get down to an inch or so of fuel in the tank.
Also, those are the easiest carbs in the world to work on. Take the carb apart and clean it out. Remove the seat body from the carb before spraying carb cleaner in there, as the carb cleaner can damage the vitton seat. It unscrews with a thin wall 5/16" socket. A nut driver is usally too thick-walled to fit between the brass seat body and the carb casting. Don't remove the welch plugs. Read this too.........and make sure you have the diaphragms/gaskets in the right order.
http://www.tillotson.ie/docs/techinfo_HL_US.pdf
The fuel pump diaphragm will be the LAST thing you put on the 'stack' before the pump section cover (with the carb upside down). Get the pump diaphragm and pump gasket switched, and it'll not pump fuel for ####. Remove the tin bottom cover and the sintered bronze fuel filter. The filter will often be full of varnish and rust to the point that fuel won't pass through it. Get the cover good and tight, but don't strip/break the center screw. You should kit the carb while you're at it, as the filter gasket will likely be ruined and leak. The other diaphragms/gaskets could use replacement too. The diaphragm/gasket kit is DG-5HL (or DG-2HL). The 'full' kit with the needle and seat, metering lever, and other bits is RK-88HL.

Looks like I'm a member of the Super 250 club thanks to joeymt33.
what are the requirements for membership? isn't it a video of the actual saw cutting wood with the prospect member holding it?
Hopefully the guys with better cross-refernce materials can help me here ...
I have a Pro Mac bar about 24" long with part number 87078.
Does anyone have specs on this one?
I cannot find it anywhere in my list of IPLs.
TIA ...


Kyle, I would add to your to-do list: cleaning the air filter. Nice looking saw. Ron
This is all I got for the 10-series. Maybe it's for something else?
Step on that air filter first to make sure whatever is stuck to it is dead first!