What are you building with your milled wood? merged

Arborist Forum

Help Support Arborist Forum:

This site may earn a commission from merchant affiliate links, including eBay, Amazon, and others.
Impressive. :clap:

attachment.php


attachment.php
 
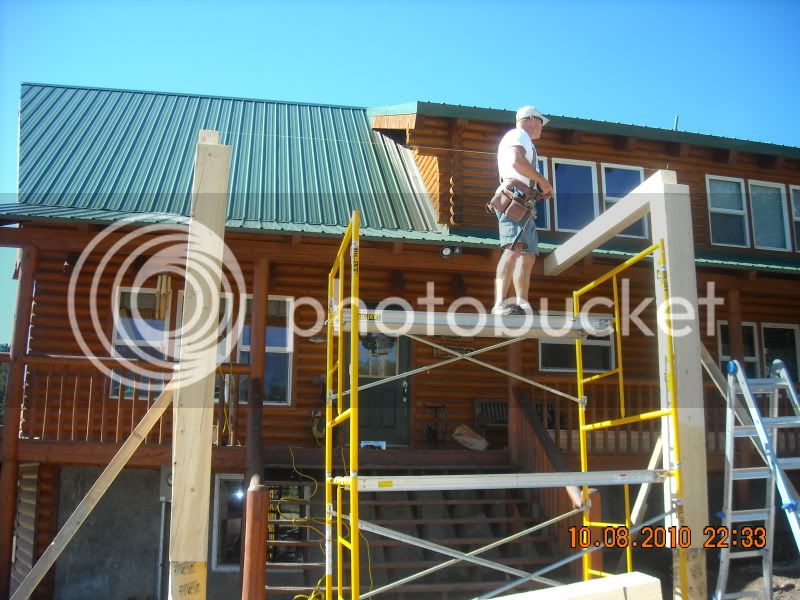
Three more verticals today. Doesn't sound like much, but that's hard work. It's all I can do to lift up the post and set it in the mortise.
attachment.php


Lookin' good!
You will have something to be proud of when you finished.
 
From A Log To A Bench

Some time ago i brought a big load of logs home. The back trailor had some pretty nice logs on it, but the front trailor had mostly low grade logs and also some "shorts".

Anyway, i decided to mill one of the low grade logs into lumber to build some benches out of, and that's exactly what i did,

orig.jpg


With the lumber milled out of the log, and such a beautiful day out, i moved my miter saw out of the shop. It was just too nice out to be cutting the lumber to the lengths i'd need for the bench, indoors! In the pict. on the right, you can see the material for one bench all cut out,

orig.jpg


So i broke out my handi-dandy jig for building benches, and checked the fit of the pieces. The fit was good, so i put some good quality construction adhesive on the pieces.

orig.jpg


With that done, i dug out a box of 16D nails that were left over from a building i built long ago, and predrilled and nailed the pieces together. I did use a 4" twist nail to hold the angled back piece into place, as the 4" spiral nail adds a bit of strength.

orig.jpg


I made this bench 4' wide, and it was going up on the deck that's over my shop. I didn't want to have to lug it the 2-1/2 stories up the stairs, so i carried the two side pieces and the rest of the lumber up onto the deck in two loads, and finished it there.

First i put the bottom boards on, then on go the back boards, and very quickly the bench is all finished, right in place!

orig.jpg


Now, my new bench is in a great place to look over my back garden, and food plots i planted for the animals. I also cut/rake/bale those plots and sell the grass hay that grows in them. You can see the hay all baled up,

orig.jpg


"Turning a log into a bench" was a fun project, and that bench will be very useful and last a long time up on the deck!

SR
 
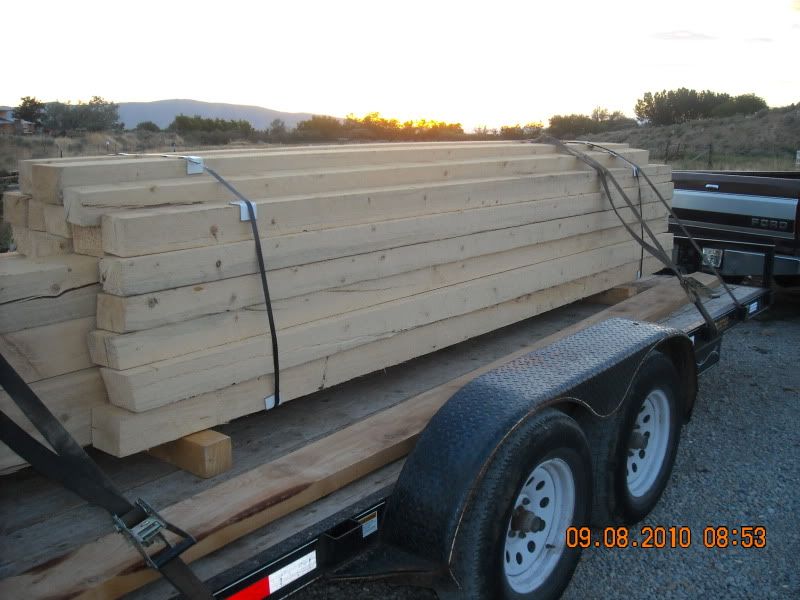
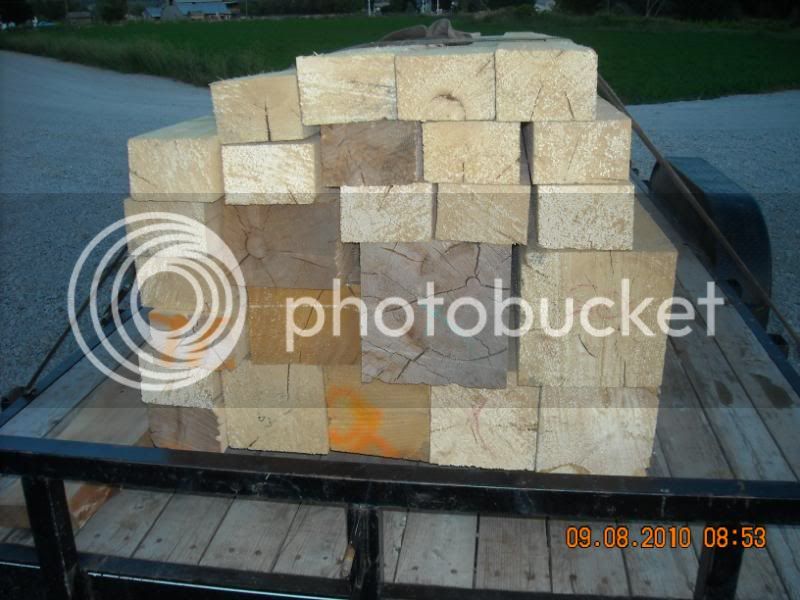
Some spruce heading to Idaho. For a porch. More pics asap.

Kevin

033.jpg


Some not as concentirc as I like. But....gotta work with what you have.

032.jpg
 
Well, I finally got my Ridgid bandsaw fixed after well over a year being busted; actually got a part from a local shop that carries General tools after noticing their saws were identical above the base/stand. Getting parts from HD/Ridgid is like pulling teeth, and everything comes from the US, so very pricey too - Ridgid wanted $35 just to SHIP a part that I can literally fit in my back pocket and that might weigh a pound and a half at best. $54 later, I have a new top wheel mount/tensioner/adjuster piece and have it all re-calibrated and tracking true again. Today I had a couple spare hours in the afternoon and decided to try a pattern I came up with a while ago on a small scrap of figured Birch that I've been keeping dry in the basement since my first milling season three years ago:

attachment.php

It's about 16" long by 10" wide. This is the "front" or good side and has only had two applications of mineral oil so far. The crotch grain soaks it up like a sponge, but is starting to keep its shine and color. Really nice crotch grain on this side. I wanted to get the main run of it perfectly centered, but there was just no way that was going to happen. The wood past the knot on the one edge was too soft to work with; as it was I had to harden a couple white spots on the more spalted backside with some CA glue to get a nice even sanded surface.

attachment.php


The color is more true to life in this picture; the first one is a bit on the orange side. The grain might not be quite as highly figured on the backside, though it is still quite nice and that side does have a bit more character with the spalting and pinworm holes. I filled and sealed the holes with CA glue as well. I just put a dab on them, let it tack up for a few seconds, and then fire up the random-orbit sander and it fills them in pretty well with fine dust. I also had to fill a fairly decent drying check in the knot on the edge.

I had just been playing with a compass on graph paper when I came up with the pattern. I drew one big circle which defines the "ends" of the piece, and then drew another one about 2/3 the diameter of the first with the center offset by about a third of the first's diameter, and cut off the part of this circle that went outside the larger circle's diameter. I then used a flexible curve tool to draw the transition on one side, folded the pattern in half, and cut it out so it was perfectly symmetrical.

My mom really likes it, so it might not be staying around home here for very long. Wish I had a good supply of wood like this, because I can turn stuff like this out pretty quickly even with my mediocre-at-best tooling, and I'm sure I could sell some here and there. Big (<16" here is really big) birch with decent crotches like this are rare finds around here, though once you do find them, getting the wood is a non-issue; Birch is considered a weed species up here and you can cut more or less as much as your heart desires live and green for firewood. I have a whole bunch of smaller Birch crotches I've saved up, but not much more that I could make something of this size from. :(
 
Last edited:
A few more vertical posts installed this weekend.
attachment.php

Looks like your going to have a pretty nice out building when it's done. Looking Good!

I'd like to get out milling but I pinched a nerve in my building a wheelchair ramp at my Dad's house so milling has been put on hold until the back gets better and I can finally finish the ramp.


jerry-
 
Closing out the 3 posts above, I finally finished the bench (tung oil) and with the fumes of the last coat still floating around in my head, I post these picts for your entertainment. I chamfered the edges of the seat about 1/8" and the legs and stretchers about 1/16" and that really cleaned up the look. I'm quite happy with the design, even thought the seat slab is not the ideal board... but it still carries the memory and history of the family.

I've decided that the shape of the legs worked better than I thought it ever would. They don't seem too heavy from any direction, but from either front or side, they seem to have a strong "thigh" or "foot" lending a stable look, but not too heavy from any one direction.

The joinery isn't perfect, but I'm not either.

Hope you enjoy, keep working and post more of your work soon to inspire us all.

Mill safe,

Schumann

P.S. Anybody know anything about that hand plane I have? Thanks!

attachment.php

attachment.php

attachment.php

I wouldn't have quoted such an old post but I checked your profile and see that you still come around. Beautiful bench! And that joinery you used blows my mind. I've been a custom cabinetmaker for almost two decades and that is among the best joinery I've seen.

I do have one thing that you might watch for in the future when gluing up wide planks like this one. Look at the ends of the boards. See how the growth rings are turning in what looks like a "frown"? I call those "smiles" and "frowns" It's not crucial on a plank the size of yours - around 12 inches or so - but when gluing up it's best to alternate your "smiles" and "frowns". This will help your lumber from cupping in the future. I'm sure you picked the face of your board by the cosmetic appearance. If you ever do a very large plank this way and fail to keep in mind how the wood cups you can run into problems rather quickly.

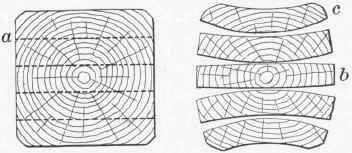
As you can see from the picture below, you can look at the ends of a board and determine how it will cup. Closer to the center there is very little cupping but the wood will tend to try to cup on the top and bottom, becoming a bit thicker in the middle. I'd say after the amount of time since your project was completed you have a distinct upward bow down the middle like the board right below the middle one in the pic.
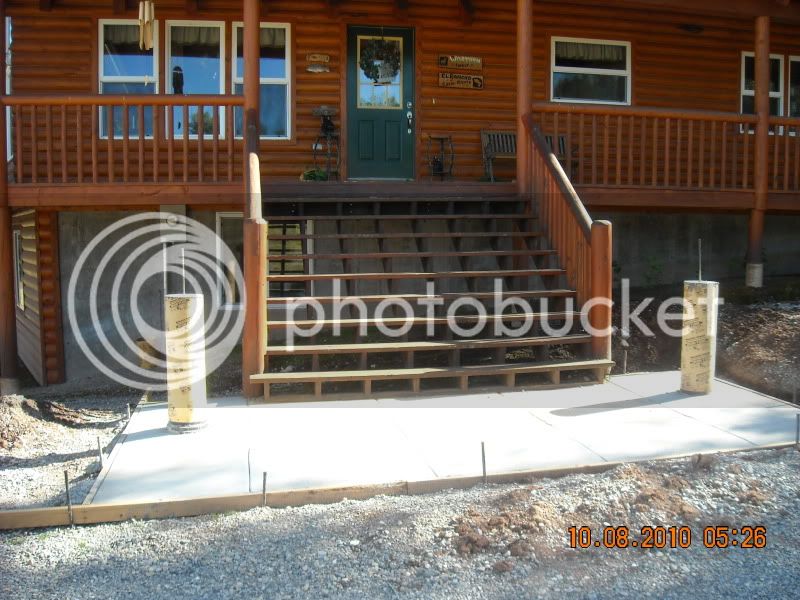
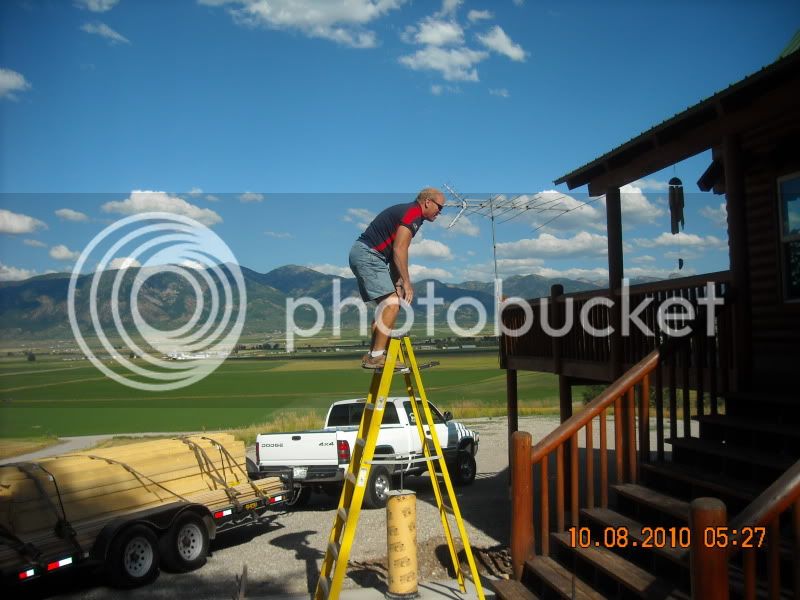
Fig-15-Warping-of-planks-cut-from-an-unseasoned-log.jpg


Again, beautiful work!
 
I do have one thing that you might watch for in the future when gluing up wide planks like this one. Look at the ends of the boards. See how the growth rings are turning in what looks like a "frown"? I call those "smiles" and "frowns" It's not crucial on a plank the size of yours - around 12 inches or so - but when gluing up it's best to alternate your "smiles" and "frowns". This will help your lumber from cupping in the future. I'm sure you picked the face of your board by the cosmetic appearance. If you ever do a very large plank this way and fail to keep in mind how the wood cups you can run into problems rather quickly.

I'd say after the amount of time since your project was completed you have a distinct upward bow down the middle like the board right below the middle one in the pic.


i have heard this argument also- and arguments against it- and i have definitely glued up many panels with alternating ring direction, and many without.

my personal rule is to arrange the boards so they look best, which is usually how they are on that bench, with the outside of the tree facing out.

if the wood is at a reasonably low moisture content and has had time to acclimate to the user's environment before milling and cutting joinery it will be fine. wood does indeed cup like your diagram shows, the trick is to joint/plane it for final use after the fact. :cheers:

-Roger
 
You guys are doing some amazing work....keep up the pics too.

Lots of good information.

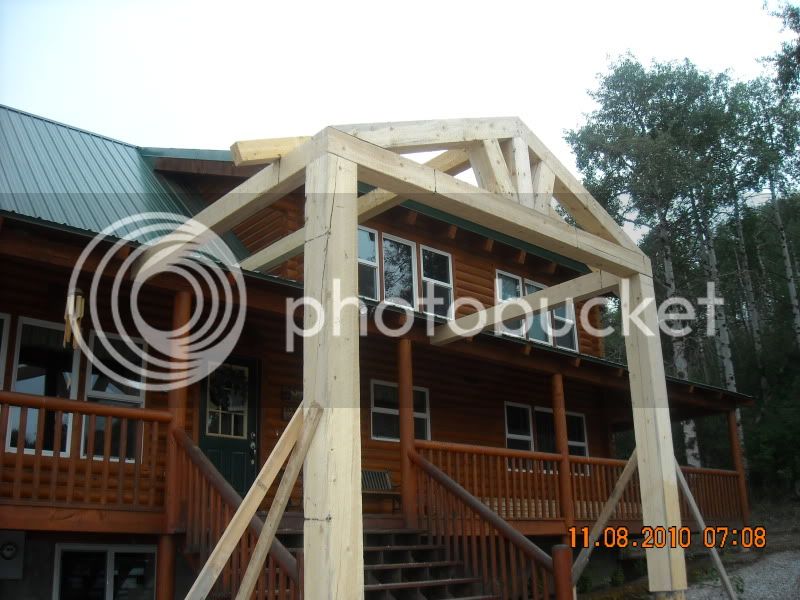
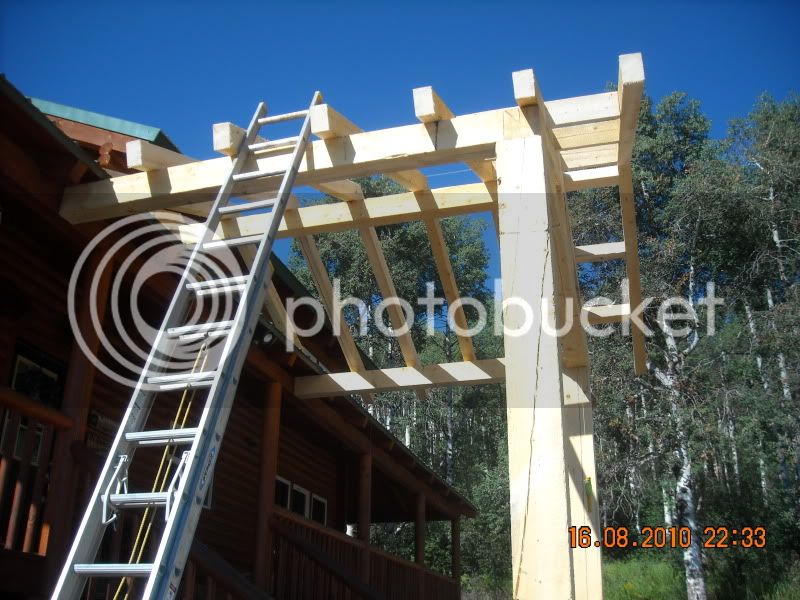
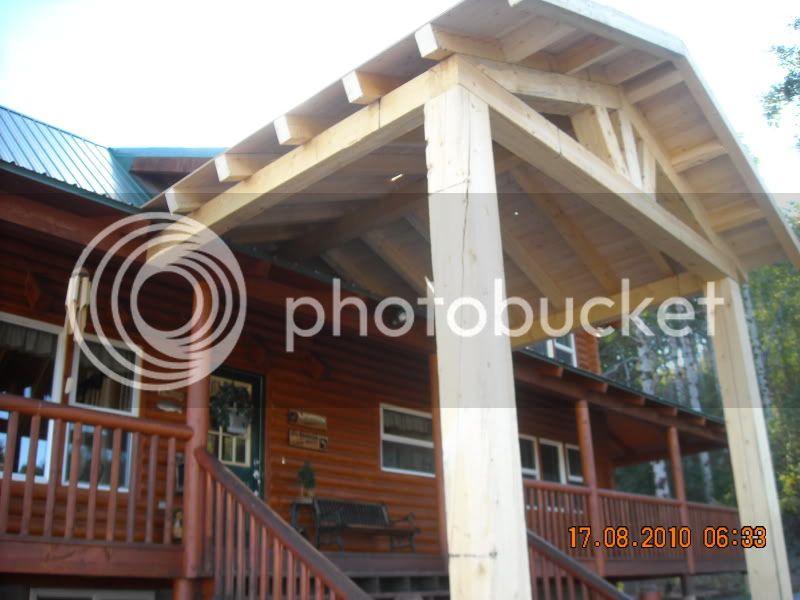
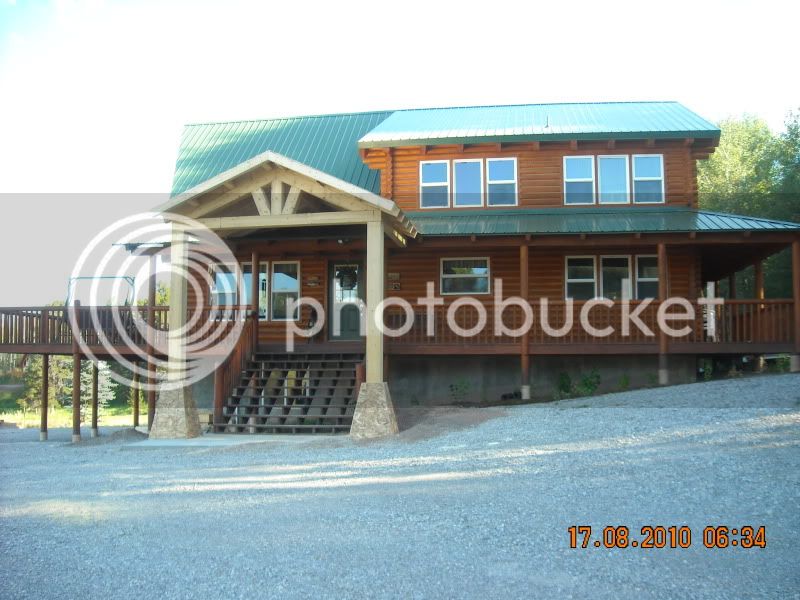
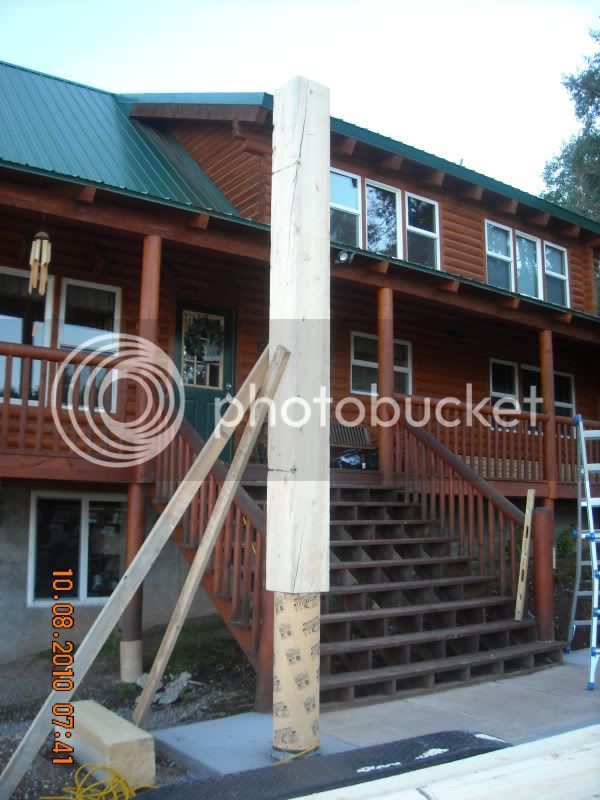
Here is some of the damage I have done, this late summer.

To begin with.

001-8.jpg


Oh, how I hate heights.

003-8.jpg


011-11.jpg


022-6.jpg


025-4.jpg


003-9.jpg


007-12.jpg


010-7.jpg


Stained today, and we finish the porch next week. Two days a week for three weeks time. Have to work around the owner's schedule.

Oh, the date and time stamp. Date, month and year.
 
Back
Top