511A Grinder - Improvements / Tweaks?

Arborist Forum

Help Support Arborist Forum:

This site may earn a commission from merchant affiliate links, including eBay, Amazon, and others.
View attachment 339846 View attachment 339847
Great ideas. Love to see some photos!

A few years back someone posted instructions for making the motor reversible - anybody got it?

Somebody suggested that if they increased the range of motion for the head tilt and vise, you could grind both Left and Right cutters the 'right way' without a reversing motor, and the guarding problems associated with that.

Philbert
You need 2 switches. You can keep the origional to energize and de-energize the hot leg. Then use a DPDT switch to switch EITHOR the start winding or the run winding. On mine, the start winding was the red and blue leads from the motor-with the red to the capacitor. The black and green leads are from the run winding. The "start winding" is really the split part of the split pole motor, and not really a "start winding" as it never drops out, but shifts the phase to bring in an additional winding which aids in starting and helps the motor run stronger. Anyway ........ I kept the cap circuit wired in straight and I decided to switch the run winding, so I set the switch up to swap the run wires with the hot and neutral wires. Works like a champ !!

I made a plate for both switches and the wires are tucked away nicely .........
 

Attachments

  • IMG_2663.JPG
    IMG_2663.JPG
    53.6 KB
  • IMG_2664.JPG
    IMG_2664.JPG
    41.7 KB
  • IMG_2666.JPG
    IMG_2666.JPG
    74.6 KB
  • IMG_2667.JPG
    IMG_2667.JPG
    71.9 KB
  • IMG_2668.JPG
    IMG_2668.JPG
    83.3 KB
  • IMG_2669.JPG
    IMG_2669.JPG
    73.1 KB
  • IMG_2670.JPG
    IMG_2670.JPG
    86.4 KB
I just stand off to the side a little, enough to be out of the way and still see what the wheel is doing. Never had anything hit me yet.
There is a good enough difference in the finish of the cutter for me to suggest that anyone with a 511a grinder should make it reversable !!!
 
I just stand off to the side a little, enough to be out of the way and still see what the wheel is doing. Never had anything hit me yet.
There is a good enough difference in the finish of the cutter for me to suggest that anyone with a 511a grinder should make it reversable !!!
I have a 511AX and put the two switches on it after the first week of owning it and have never looked back. That was about 4 years ago. Like was said, just stand off to the side a little and never had a problem.
 
FYI - I spent some time searching for these, and they have been surprisingly hard to find.

The threads on these bolts are metric: one is 10mm x 1.5 pitch, and one is 10mm x 1.00 pitch. I can get nuts this size from the little drawers in my local hardware store, but could not find 'T' handles with these threads, after rooting around for some time on the Internet. Might have to improvise with the hardware store nuts.

The newer 511AX model appears to use a quick release lever in the back (head tilt) instead of a star knob.

Philbert
You may have found a solution to this by now, but an easy fix is to weld a piece of tube on top of the nut (parallel) and then a piece of rod (perpendicular) to the top of the tube.
The tube extends the depth the nut can be screwed down, and the rod provides the handle. A squirt of paint and the job is done.
 
I was all interested in the reversing and felt that I just had to do it. After getting the early 511A grinder and using it some without the reversing function, and then checking the cutters, I don't think I will bother with setting up the two switches for the reversing function.

I still enjoyed reading this recounter of setting up the reverse function. I had saved pictures from the earlier threads on reversing the Oregon/Tecomec grinders.

I also have a Silvey swing arm square grinder that reverses and I use it as intended by Silvey by always grinding from the outside - in.
 
I never thought I would do it eithor, but it was a rainy day, I had several projects on my bench waiting for parts with no more space to start a new project, so I just wanted to look at the wiring to see how easy or how hard it would be to make my 511a spin in reverse. When I saw how much room was there for 2 switches, and then saw the DPDT switch in one of my draws .............. the soldering iron came out. I was done in 1/2 hour and I took a chain from a project, sharpened it up and compared it to a chain that was done before the 511a could go in reverse ................... when you see the quality of your own work improove by investing 1/2 hour in a rather simple project, it becomes something more than "a nice feature" to talk about. A few customers have made mention that they dont tend to drift to the right in the cut anymore eithor ............... maybe thats true, maybe not, but they perceive it and I have gotten a few more chains to sharpen and machines to work on from their "word of mouth" ................... plus - nobody else around here has a reversable grinder, just me !!!!!!!!!! WooHooooooo !!!!!
 
Wing Bolt

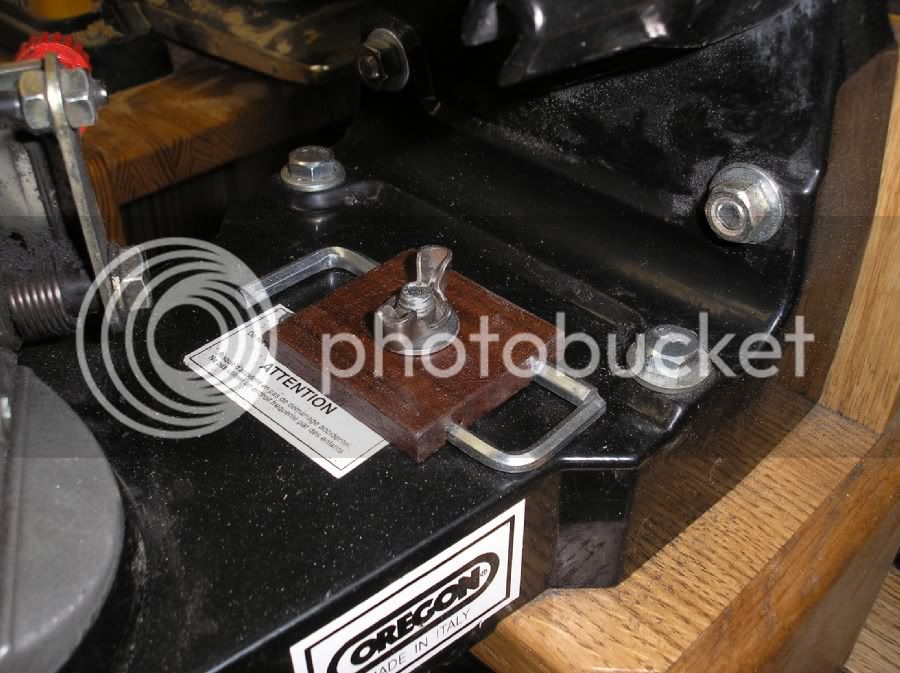
This was a minor annoyance. I still need to use a hex ('Allen') wrench to change the grinding wheel, but it annoyed me to use a different sized wrench to loosen the cover first, and to tighten it after. Hard to find a 5mm threaded knob at my local hardware store, so I got a slightly longer 5mm bolt, a wing nut, jam nut, and washer, and made this up.

I would use a nicer knob for OEM, but this is pretty simple and it works (original bolt and wing nut/bolt side-by-side). I see this part of the guard left off on many grinders, so it may be a common annoyance.

WingNut1.jpgphoto 3.jpg


Philbert
 
Boss Mod

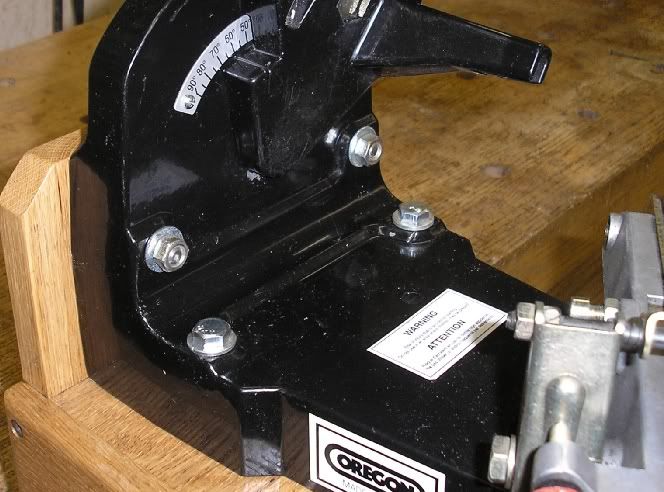
There are many small variations between different models of these grinders, and some changes through the years. On my 511A, there is a mounting boss for some accessory (?) on the back of the chain holding vise. The shape of this raised area has always made it hard to grip the locking nut on the vise centering screw.

photo 2.jpg

I knew that if I cut/ground it completely off, I would suddenly find out what it was for. So I finally decided to just open up more clearance for a wrench. I used a Dremel tool, without disassembling the vise. The metal used in this Oregon version is very hard, and it was slow going with an abrasive stone. The stones also filled up very quickly. I had much better success using a reinforced cut off wheel (although, I first had to wear it down to an appropriate size).

photo 4.jpg

photo 6.jpg
photo 7.jpg

Picked up a cheap 10mm wrench at a garage sale, and I keep that with the grinder, wheels, hex keys, etc.

Philbert
 
I used a short piece of rubber hose to hold the 2 hex wrenches together (harder to lose) and keep them in the small box with the other things (lumber crayon, twist ties, dressing brick, wheel gauge, etc.

Philbert

Hex Wrenches.jpg
 
Install thin washers between the vice half's to grip the chain better.

I had that problem with the vice not holding the cutters tight. I replaced the spacers between the vice halfs with thinner washers, now the vice grips the cutters tight.
J.Walker posted this 2 years ago. Took me a while to get around to it!

My grinder had been holding the chain OK - at least I did not notice any movement. Over time, it started to feel a little sloppy. I measured the space between the rails with stacked feeler gauges and came up with approximately 0.095 inches - much more than any 0.063 gauge chain I might sharpen!

Disassembled the clamping rails (2 screws) and found some wear, where it meets the cam, that could be responsible for some of the change.

photo 1.jpg

Measured the ring spacers, which came out pretty close to 0.10 inches.

photo 2.jpg

These are low risk parts to modify - easy to replace. I drilled shallow holes in a block of wood to hold the spacers and filed them down to about 0.080*** inches.

photo 3.jpg

This vise still only clamps a single drive link, but it seemed to hold it rock steady once again.

The vise rails actually have 2 sets of mounting holes, can be interchanged, etc., giving a user several wear spots for the locking cam. I mounted them in the original position just to see what effect the thinner spacers had by themselves. It's also pretty easy to loosen up the mounting bolts, or to replace the spacers, in case you need to grind some chain with thicker drive links than the standard .043, .050, .058, .063 chain.

Thanks J. Walker!

Philbert

*** Note: see follow up post, below.
 
Running some .063 chain today, the vice clamped the drive links very securely. But I am getting some hang up at the lower ends of the vise rails (?).

These only serve to guide the drive links into and out of the vice, so they do not need a precision gap. I will double check to make sure that these bars are straight, and bevel the inside edges of these with a file and ScotchBrite abrasive wheel.

If you do not want to do this, perhaps only file the spacers down to .090 inches to start.

Philbert
 
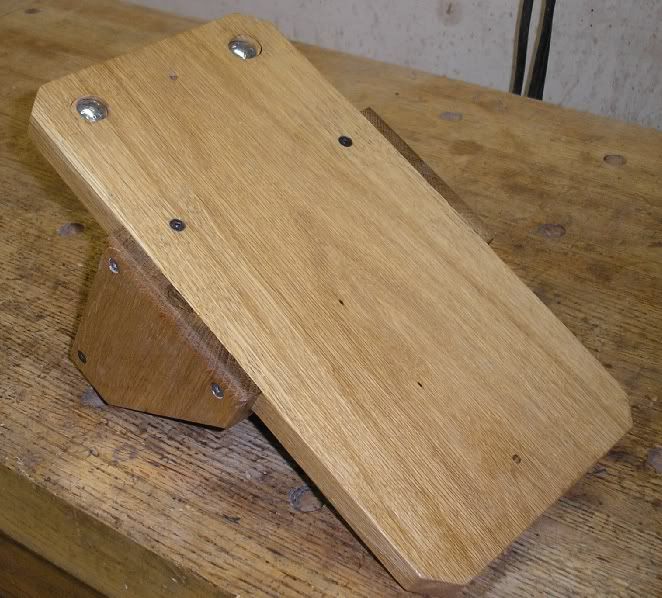
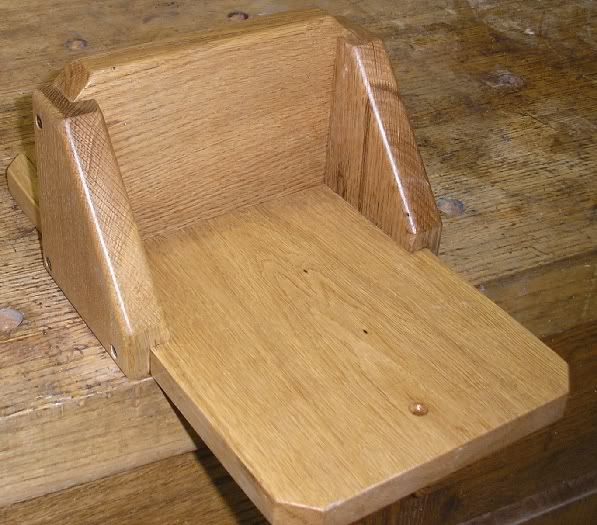
The 5/4 sections are quartersawn. The 4/4 long back is plain sawn. Good catch but I got you on the 5/4. I used that to build by outdoor deck flooring and bought about 600 bd ft of it. This caddie was made with leftover cutoffs. And, yes, it makes no difference here. Any good hardwood would work.

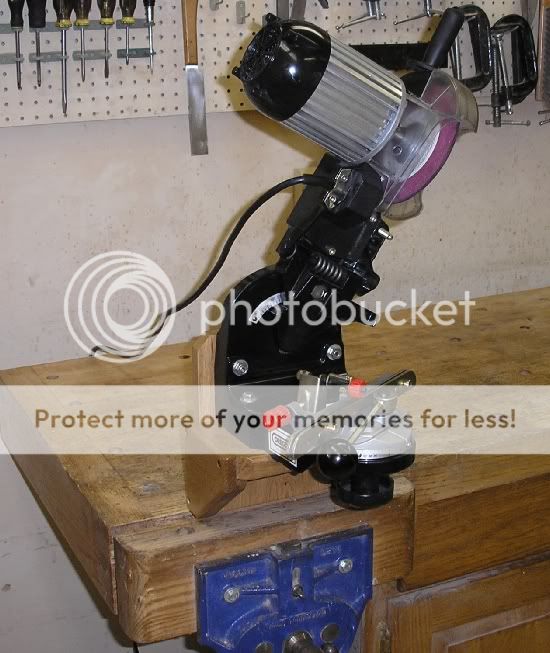
Perhaps the best overall feature is that you can remove the bracket from the bench with the grinder attached and free up the vise and bench for another project or repair. The grinder and its bracket then become one integrated unit.
 
I noted in an earlier post that I like to keep my grinding wheels (and all the little things that go with them: hex wrenches, dressing stone, etc.) together in a Rubbermaid/Tupperware style container with the grinder, since I don't always set it up in the same place. It also protects the wheels from damage.

I guess I got lucky the first time. Rubbermaid changed the shape of their containers - if the wheels fit in the top, they don't fit in the bottom. And if they fit in the bottom, the tops are huge! Anyway, I traced a new wheel onto some cardboard, cut it out, and kept it in my car for checking at garage sales, thrift stores, etc. Finally 'scored' this weekend at an estate sale.

Screen shot 2014-10-12 at 4.38.06 PM.png

Philbert

(P.S. The larger, 8 inch wheels for a Silvey grinder fit nicely into a tortilla container from a Mexican restaurant!)

image.jpg
 

Latest posts

Back
Top