MS461 Giveaway Saw Build Thread

Arborist Forum

Help Support Arborist Forum:

This site may earn a commission from merchant affiliate links, including eBay, Amazon, and others.
Hi Randy (Mastermind),
Great info, i am new to chainsaws, previously worked on cars, though i recently by mistake broke off the nub (integrated key) in the 455 rancher flywheel so it had no key, so i cut off the end of a chainsaw file to use instead (briggs keys too big) and cut a slot in the flywheel, it was a little loose so i gooped it with red threadlocker and put it all back, i might have advanced the timing, by how much who knows, when tightening the flywheel to the right. I was going to sell but now the saw sounds much much better, much like a motorcyle, so i'll probably sell my 026 instead (firewood saw here). Not sure if it cuts better since this was a busted 455 i got cheap and put a used crank and new golf piston in.

Anyway, am i correct in thinking that you advance the "spark" timing by adjusting the flywheel ~6 deg earlier to take into account the higher rpm from better breathing along with higher compression, and with higher rpm you need some level of spark advance? We don't have vacuum advance in saws but i thought the newer saws have electronic spark advance? And i guess the deg of advance would give best power at the now adjusted higher rpm at max torque, guessing here now at 10K rpm or more instead of ~9K RPM?

Thanks again for great post!
 
Just to make sure the point here is seen, This thread goes to show what kind of people we have here on AS. Number one We have several people coming together to help out a family. Maybe you guys are all personal friends or maybe you just know one another from this forum regardless that does not matter. Number two We have a saw builder showing step by step how to mod a saw. Now the chances of someone doing the same mods you see here and getting as good of results as what Randy gets are not quite as likely. But what Im getting at is Randy is doing this for a benefit, he is taking time away from working on other saws to put money in his pocket and he is opening up his book of wisdom that has taken years im sure of destroying parts and learning from mistakes to get where he is at now. HATS OFF AND APPLAUDE. If I ever get the desire to have a saw done by a pro such as yourself I will for sure be in contact. I have been doing my own portwork and machining for a while now more for fun than anything. But I see in the near future that I will be in contact. Thanks again for all you guys do and GOD BLESS.
 
I have a serious question............

Why is the saw two toned to look like a cremesicle?

I'm just reminded of ice creme bein soft and sweet.........is the saw also soft and sweet?


All joking aside thanks for sharing all this with us Randy!

It's shiney!
 
Now, I'm trying to decide how much I should share on my port work..........I've spent a lot of time learning how to get repeatable results on the port heights.

I'm of the belief that knowing how I do it, and actually doing it yourself is two different things, so I'm just gonna spill all the beans here.
Its all good as long as you
028 more minutes and I'll post another funny talkin video.....
Keep them coming as long as they aren't videos of you and Thomas1 in the sack, you can spoon him all you like while somebody kicks him, but please don't film it!:eek::)
 
Thank you again for taking the time to explain, makes perfect sense now. I hope to be sending you a weak anemic heavy slow Echo 600P for you to do the voodoo you do so well too. I'm very pleased with it. I just want a great saw to be a badass saw.
 
Your attention to detail is immaculate. I appreciate your willingness to share the info and techniques. Thanks!
 
I just got back home.....my daughter wanted her daddy to go look at a house she's thinking about buying. Went duty calls....I gotta go. :D

I'm almost done with the port work, and will post a few more pics. There's really not a lot to doing the port work.

Uploading pics now.
 
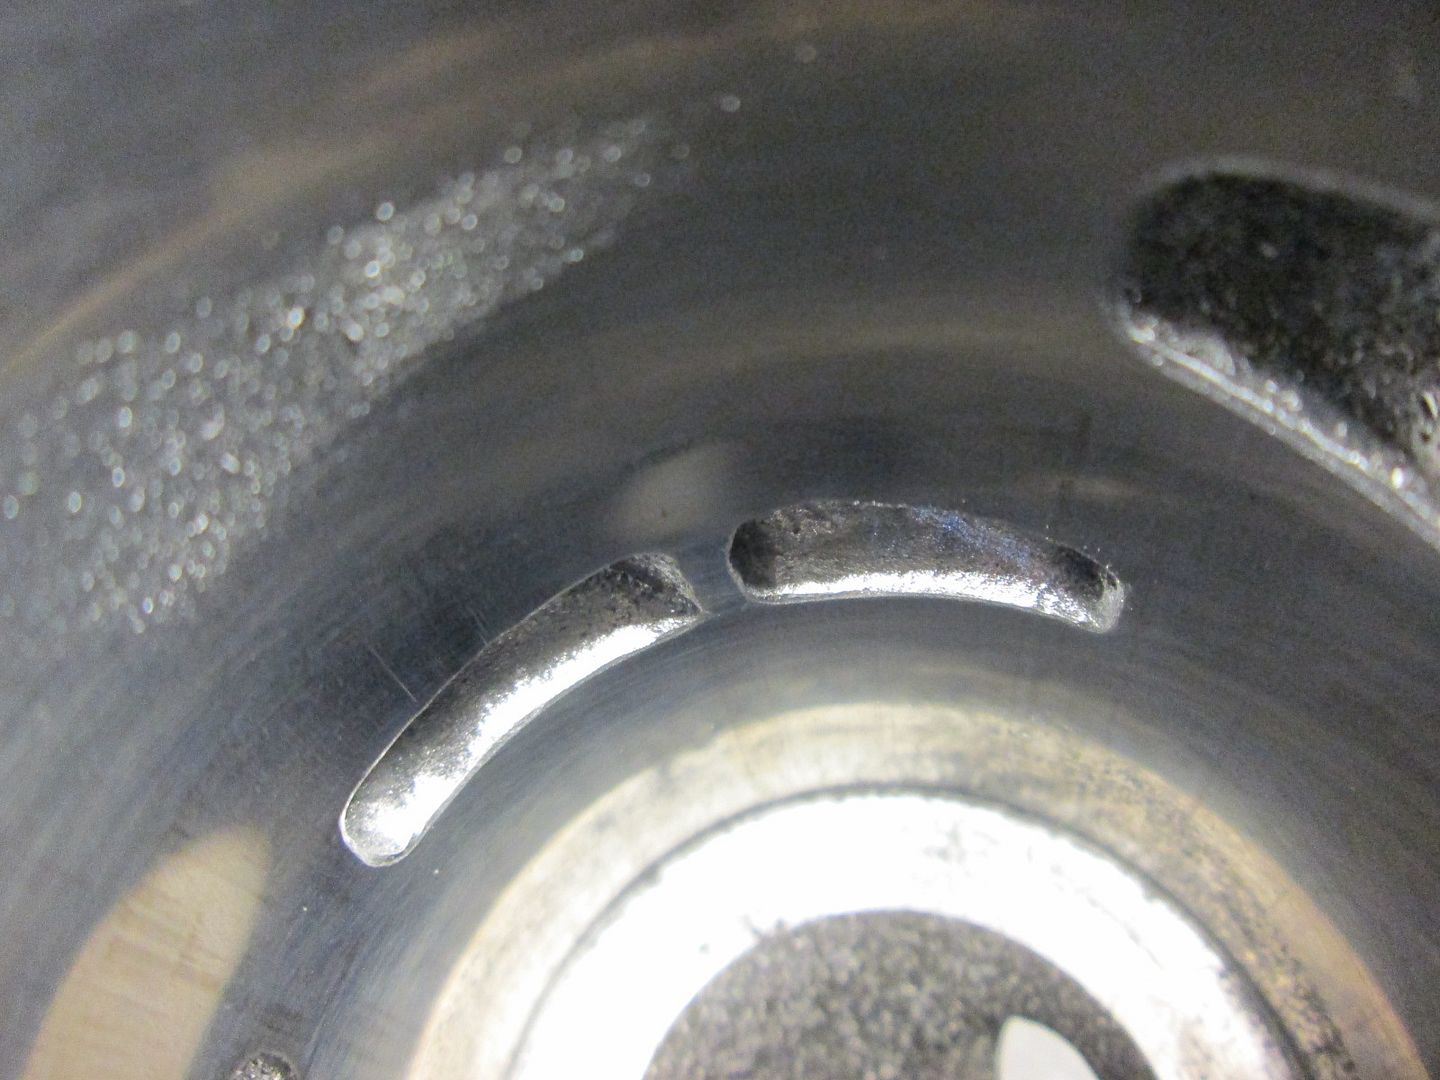
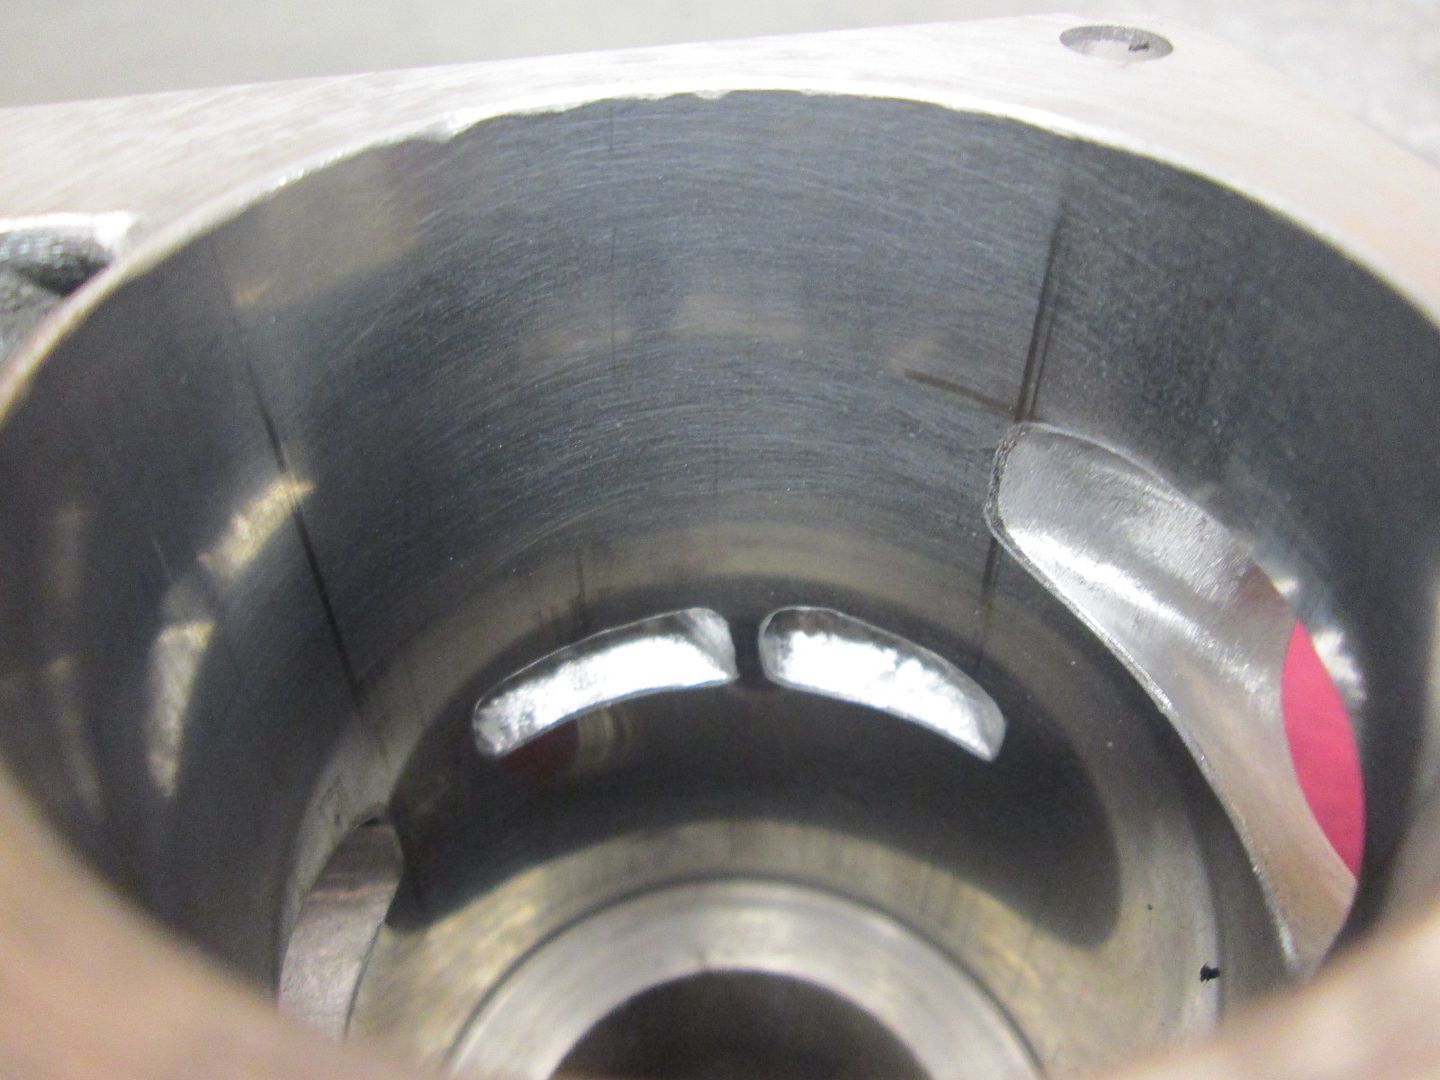
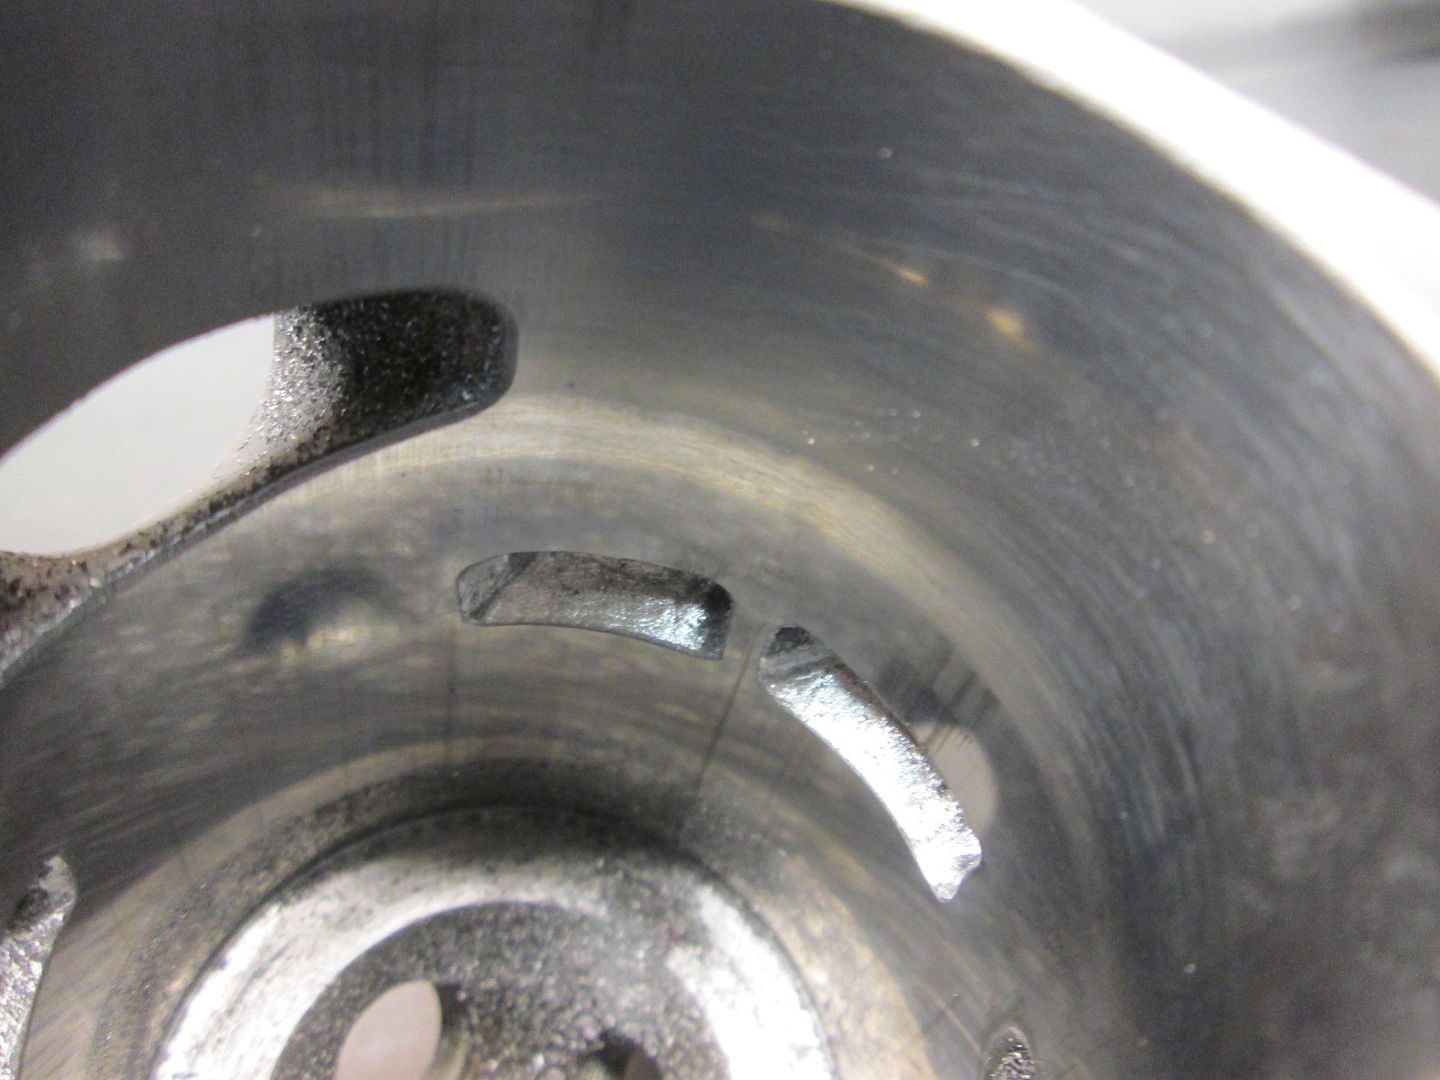
Here's a shot of the upper transfer ports when they were just roughed in to the correct height. I try to make the corners as tight as I can on these so that they flow as much as possible when they first open.


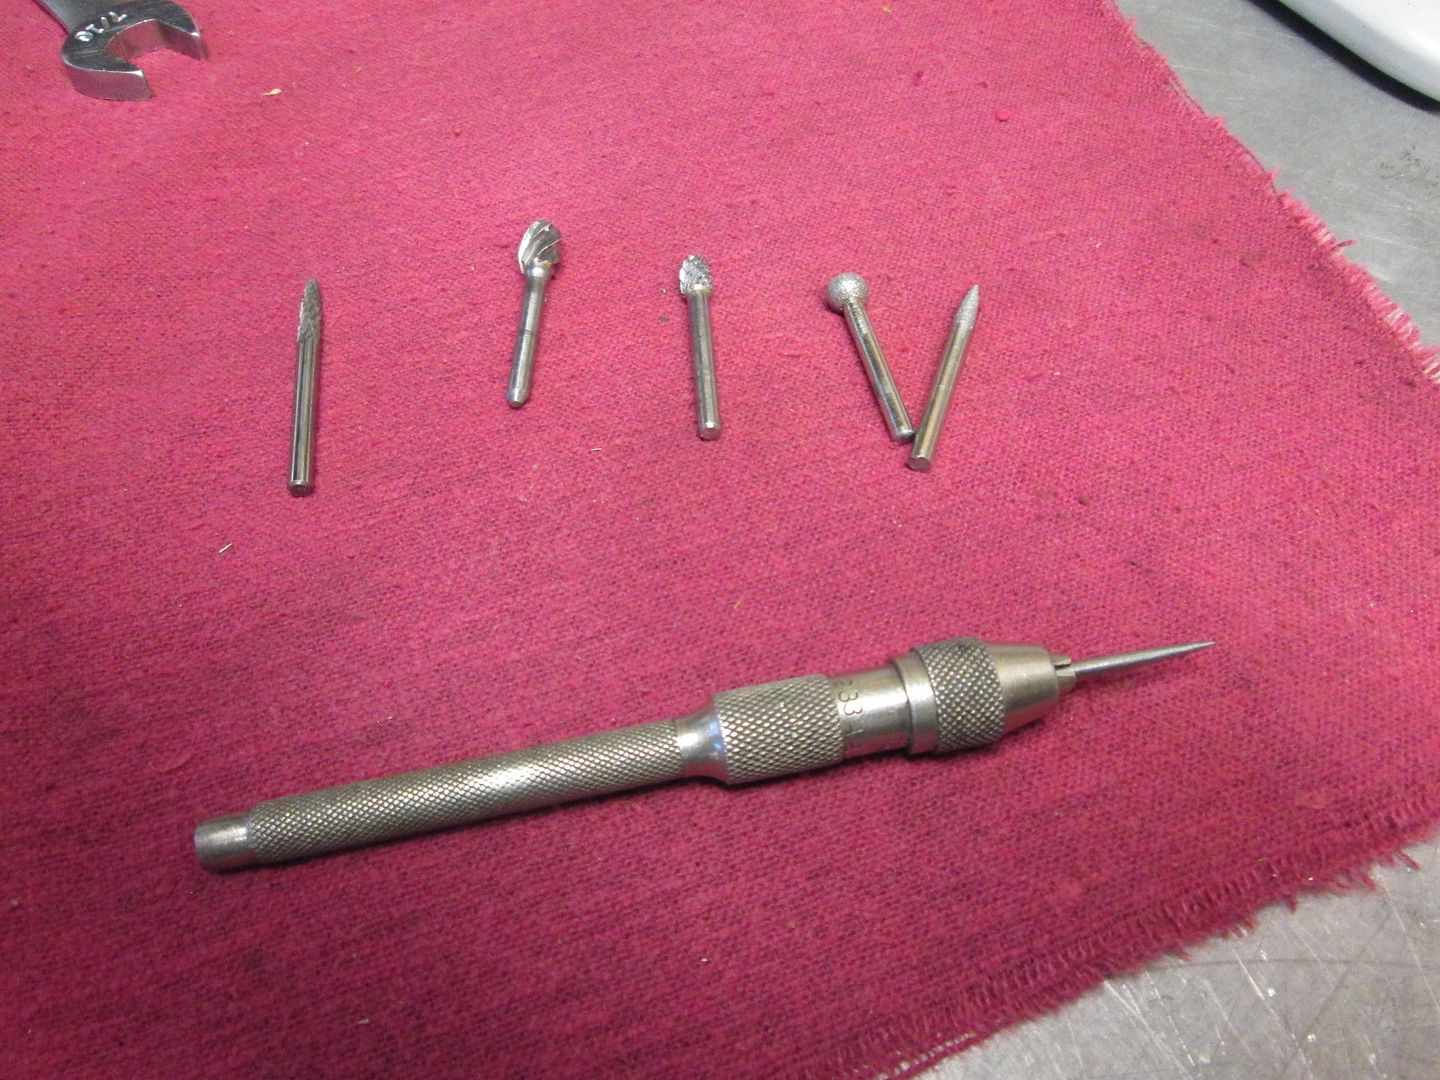
These are the various burrs I've used on these upper transfers.


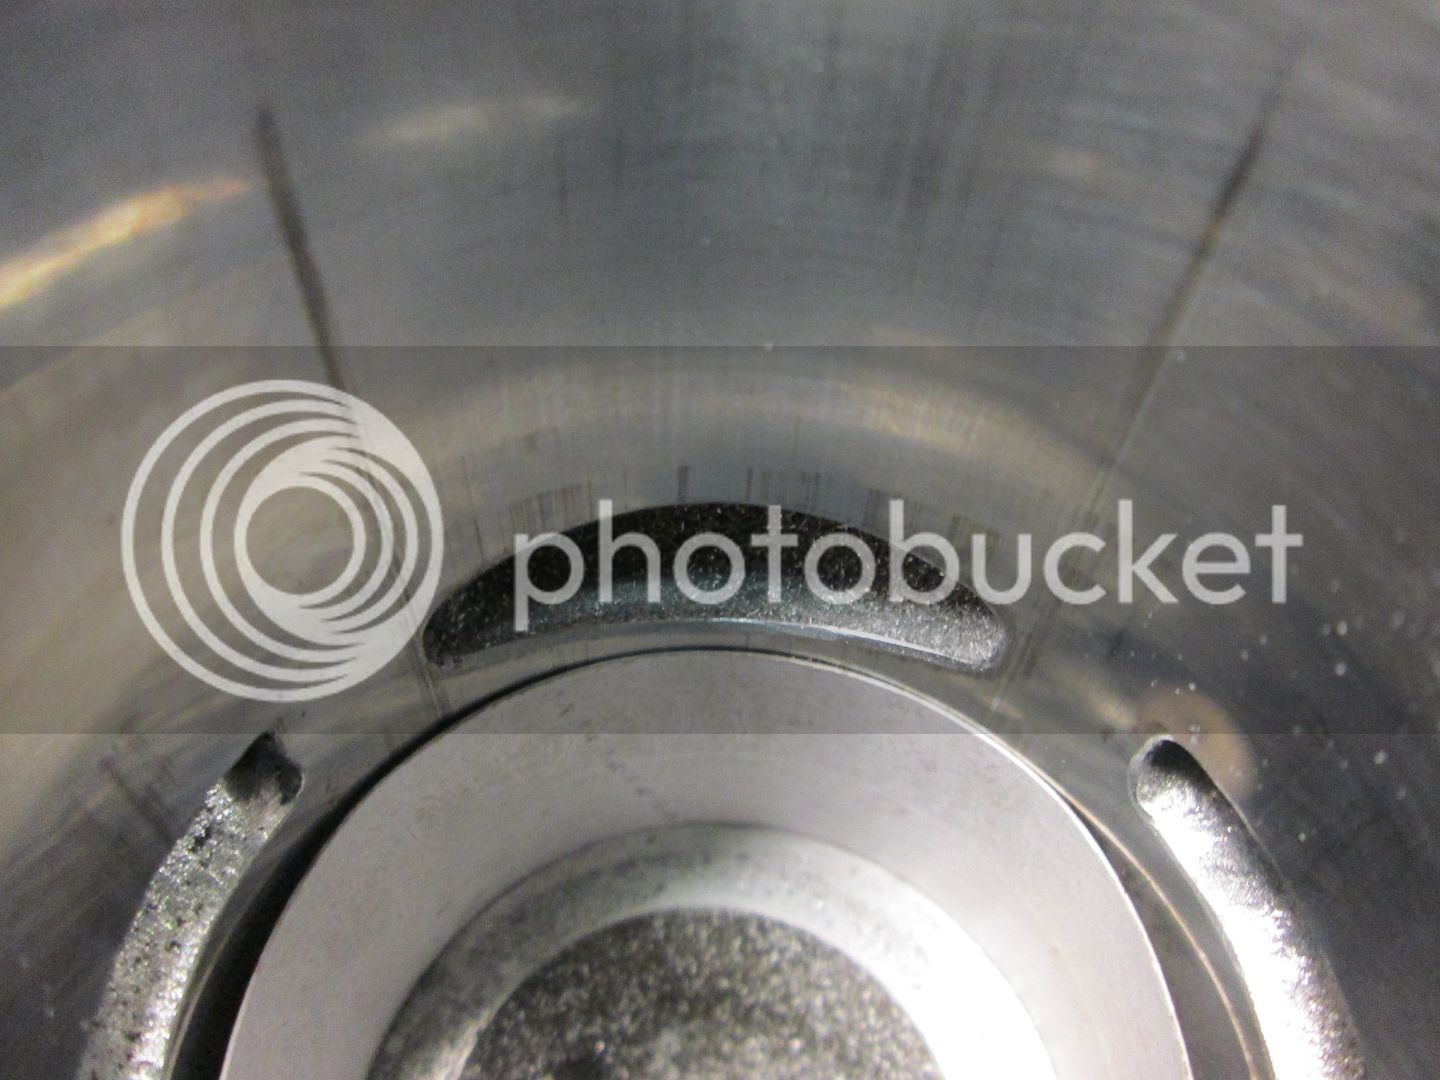
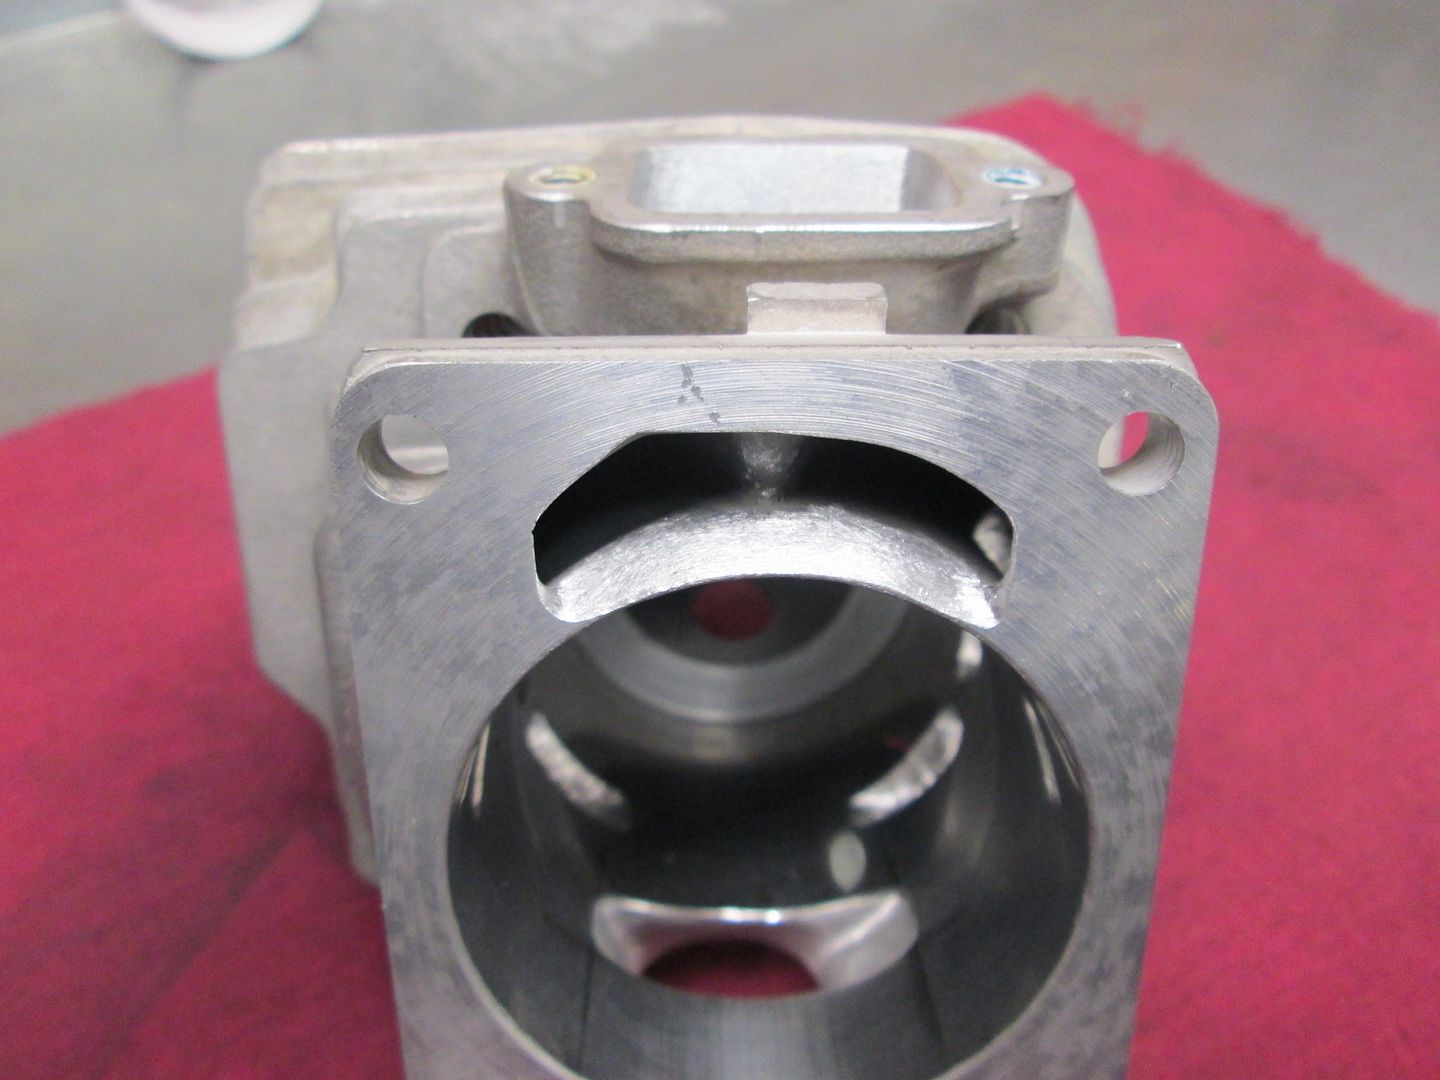
In this picture you can see what I was talking about in the video. I cut the port upward until I contact the card stock. The pencil lines are to control the width. As you can see, I don't widen the exhaust much at all. IMHO the shape of the port, and height, means far more than width. An overly wide port just wears the rings out faster.


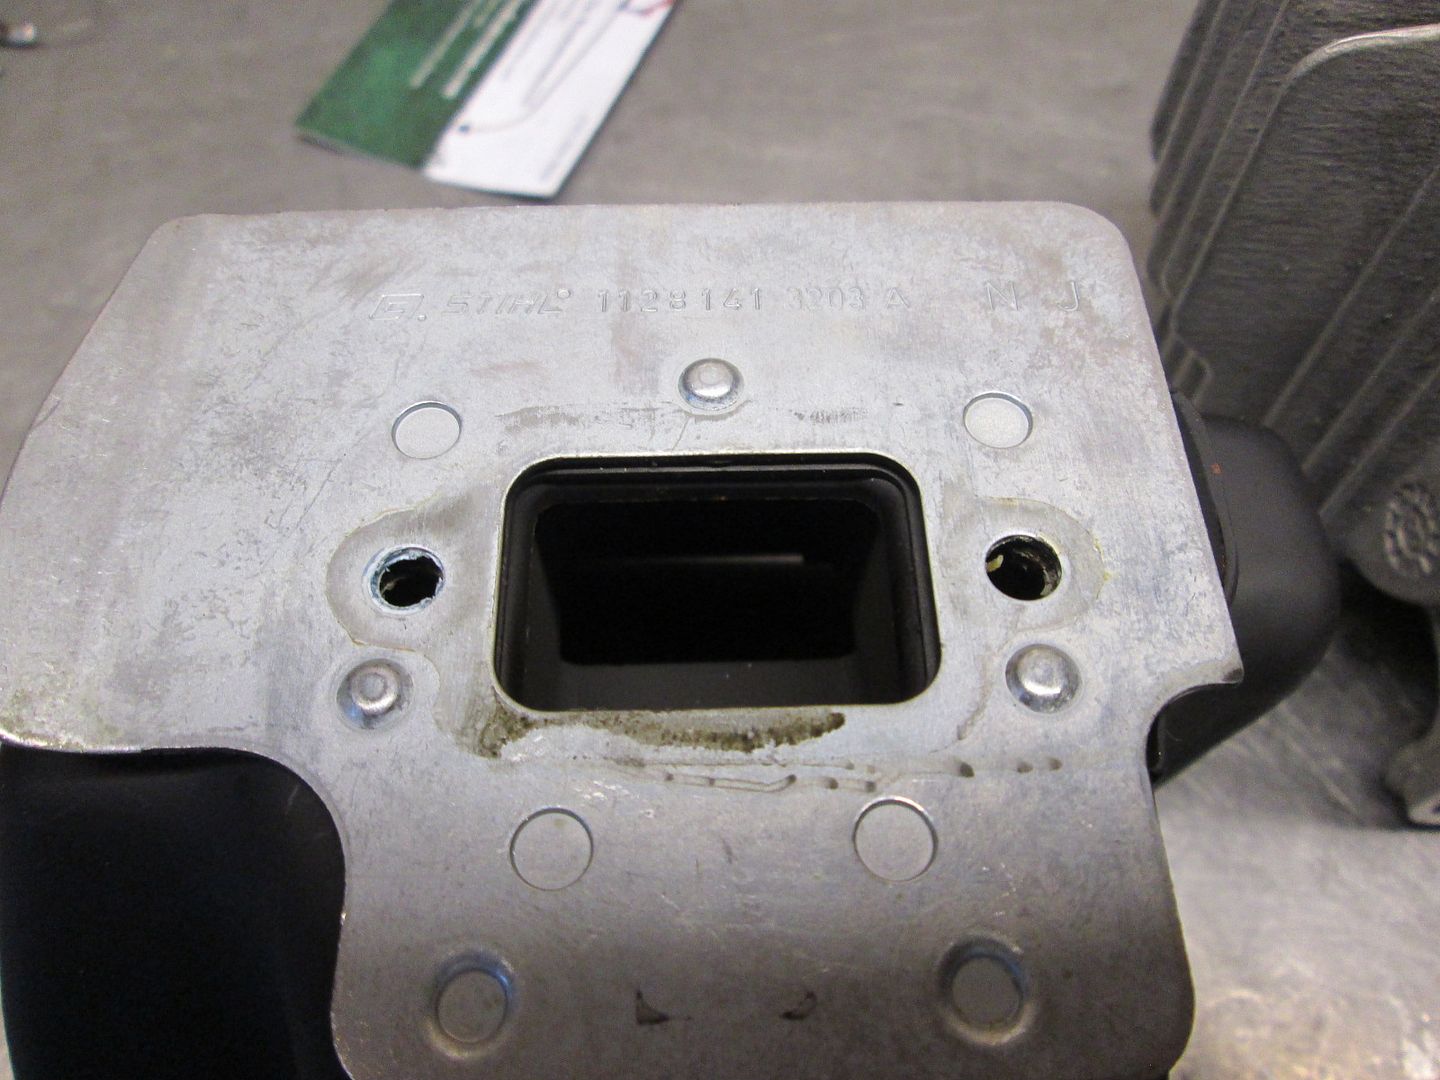
On the 461, and most Stihl saws, I use the heat shield as a template for port matching the muffler to the jug.


The exhaust roughed in.


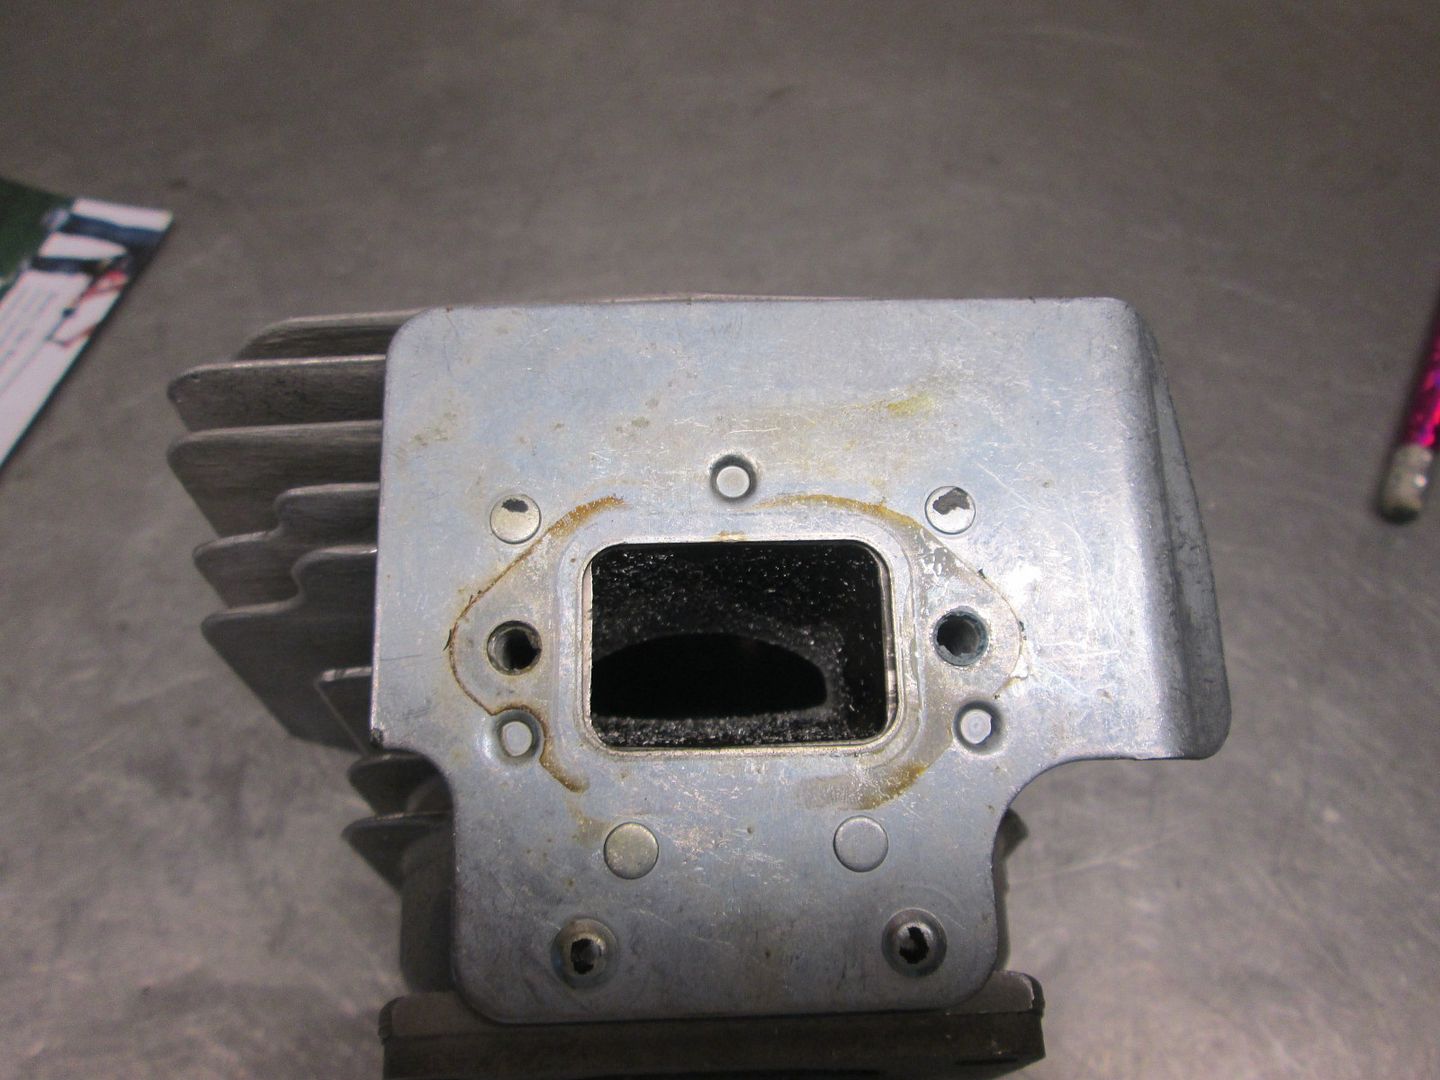
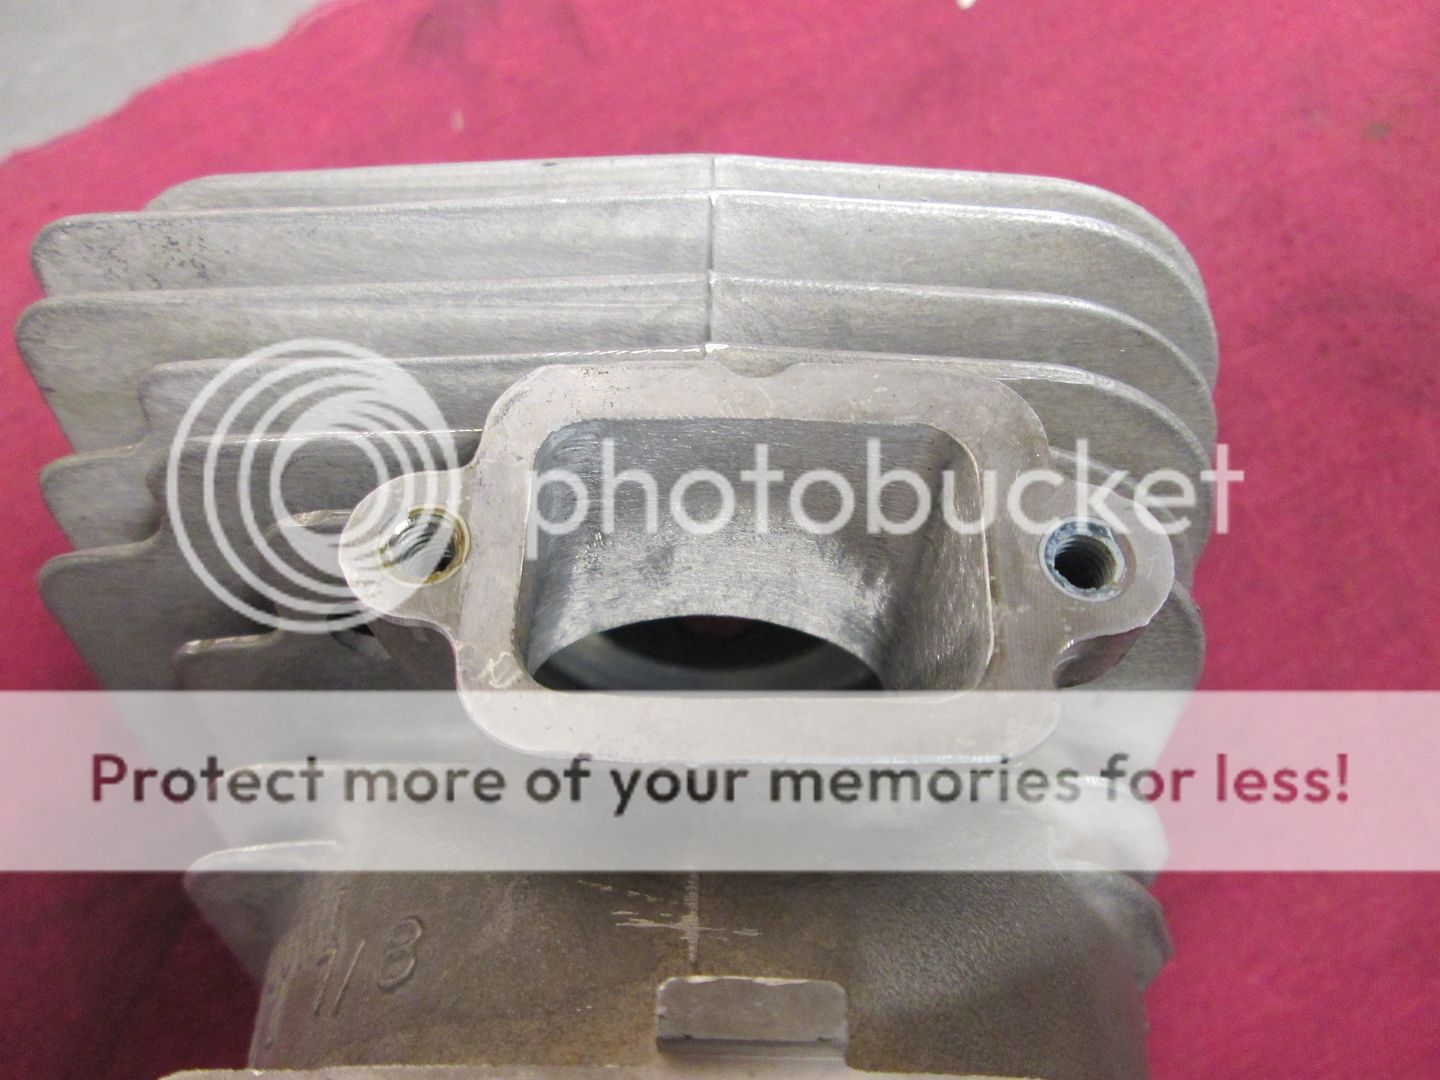
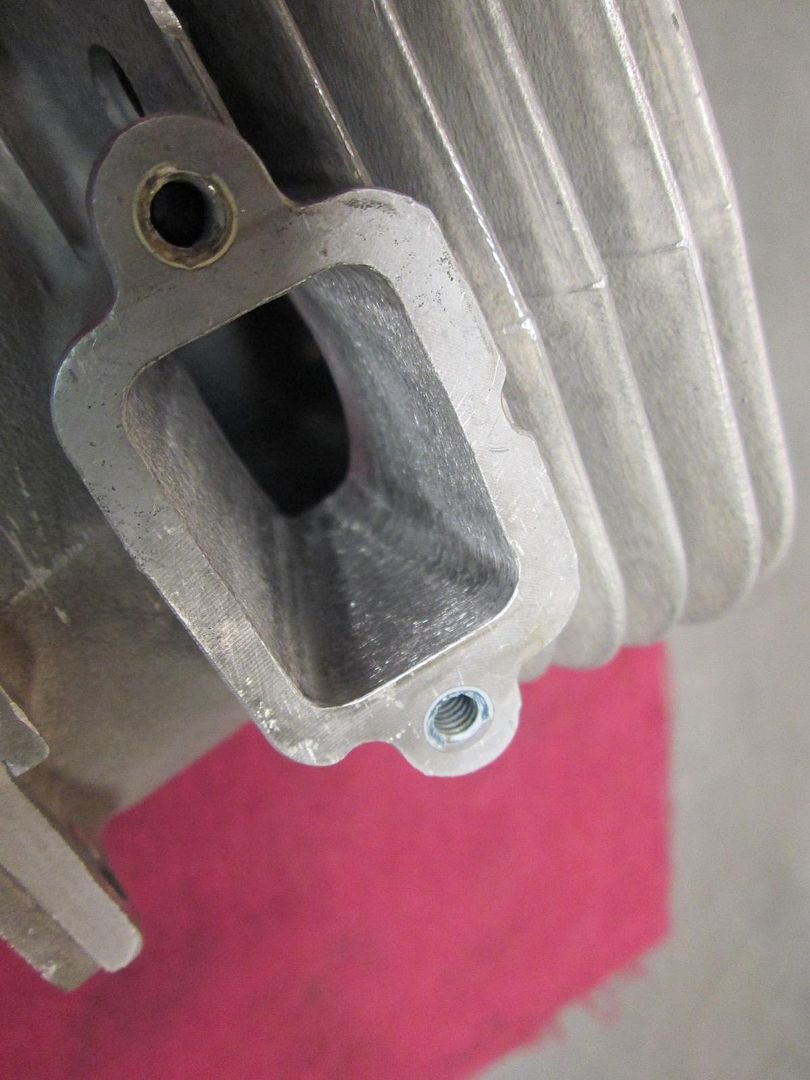
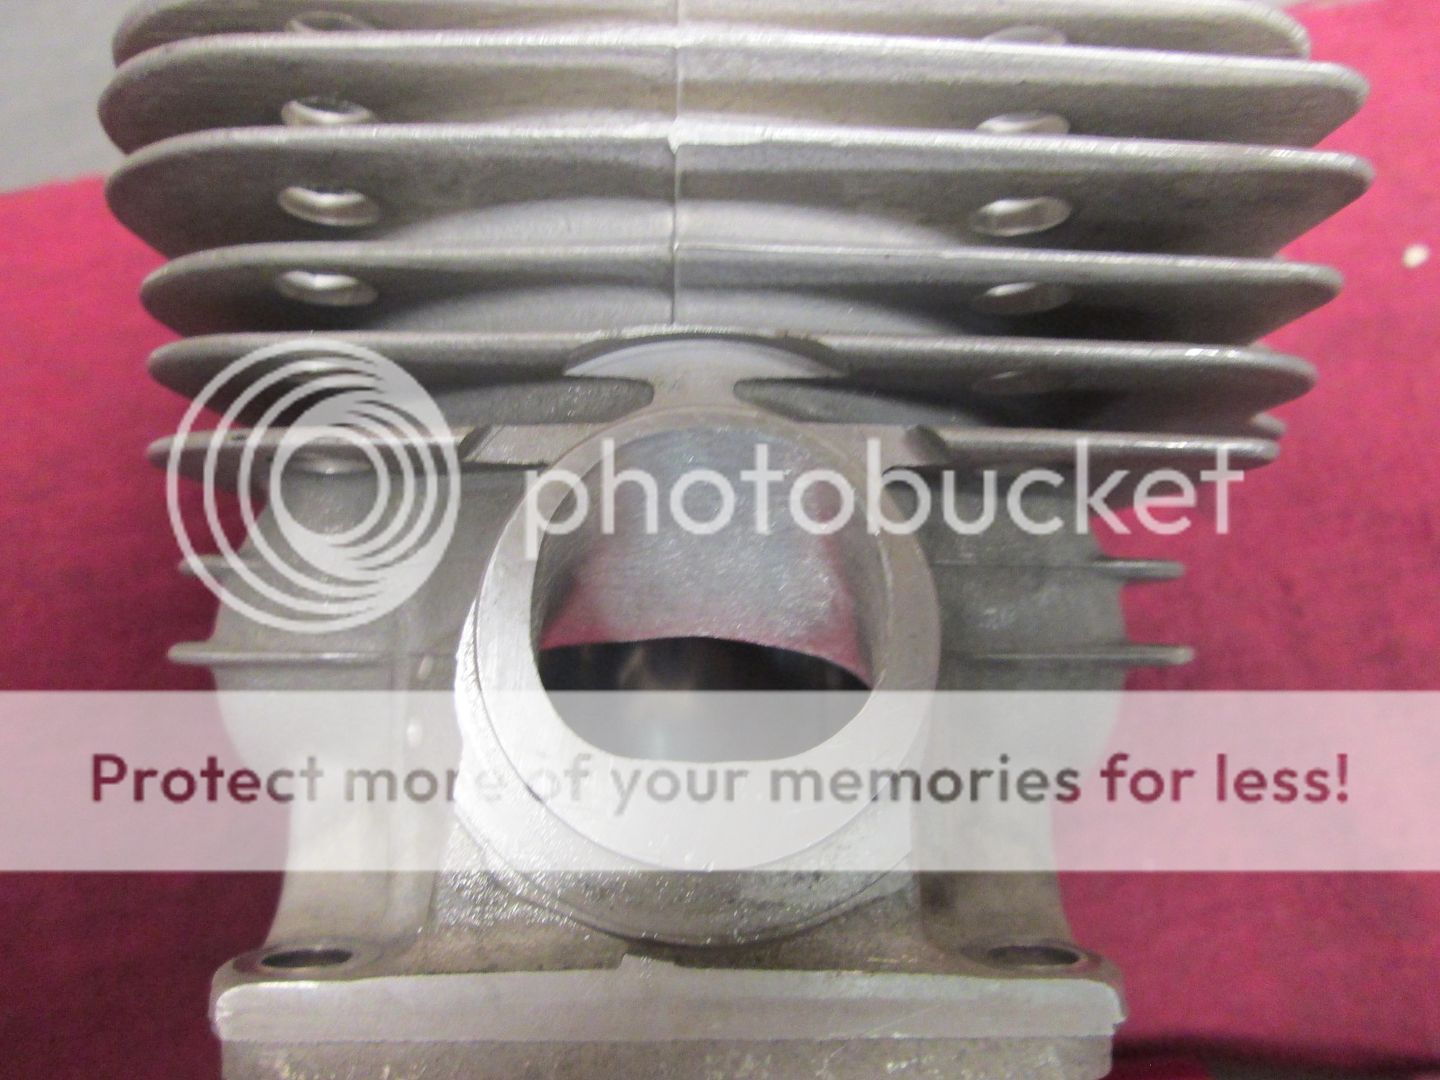
The intake marked up....again, I don't widen this port much either.


This is a shot with one side roughed in. It gives you an idea of what I'm looking for in shape compared to the stock port.

 
I use several different grits of emery cloth and ScotchBrite when finishing the port work. Here's some of the shop packs of emery cloth.

 
I'm gonna do the finish on the port work now. Jon has been working the muffler over......and I'll have pics of that process later too.
 
The transfer entrance after cutting the base.


And now.


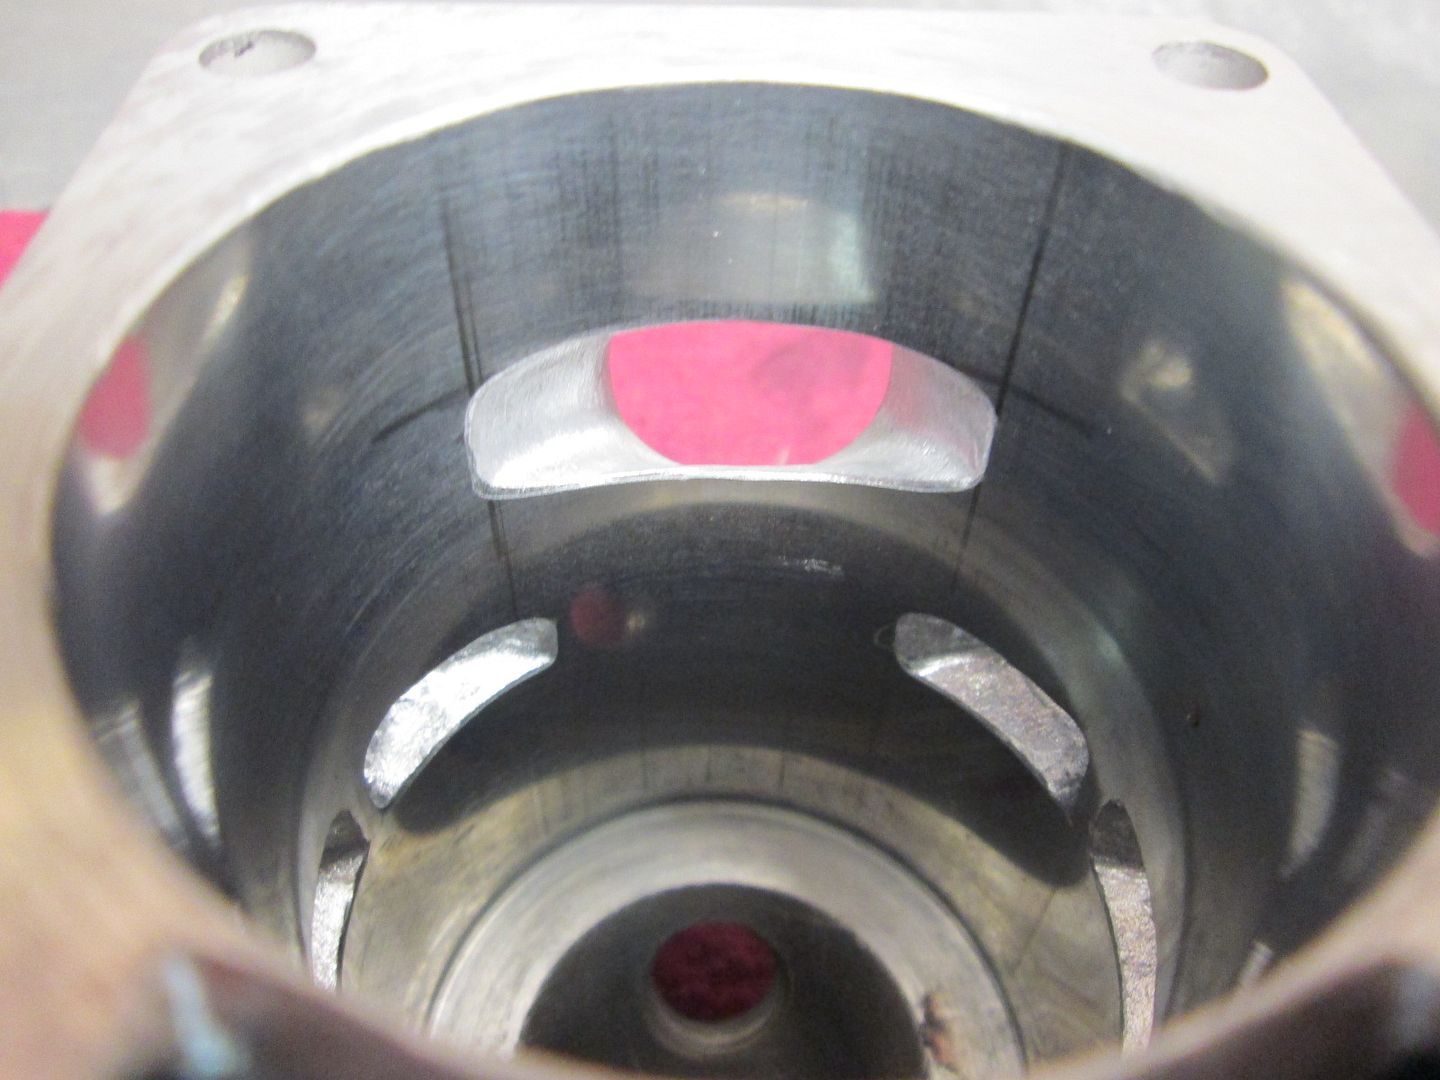
Here's some shots with the finish at 80 grit.


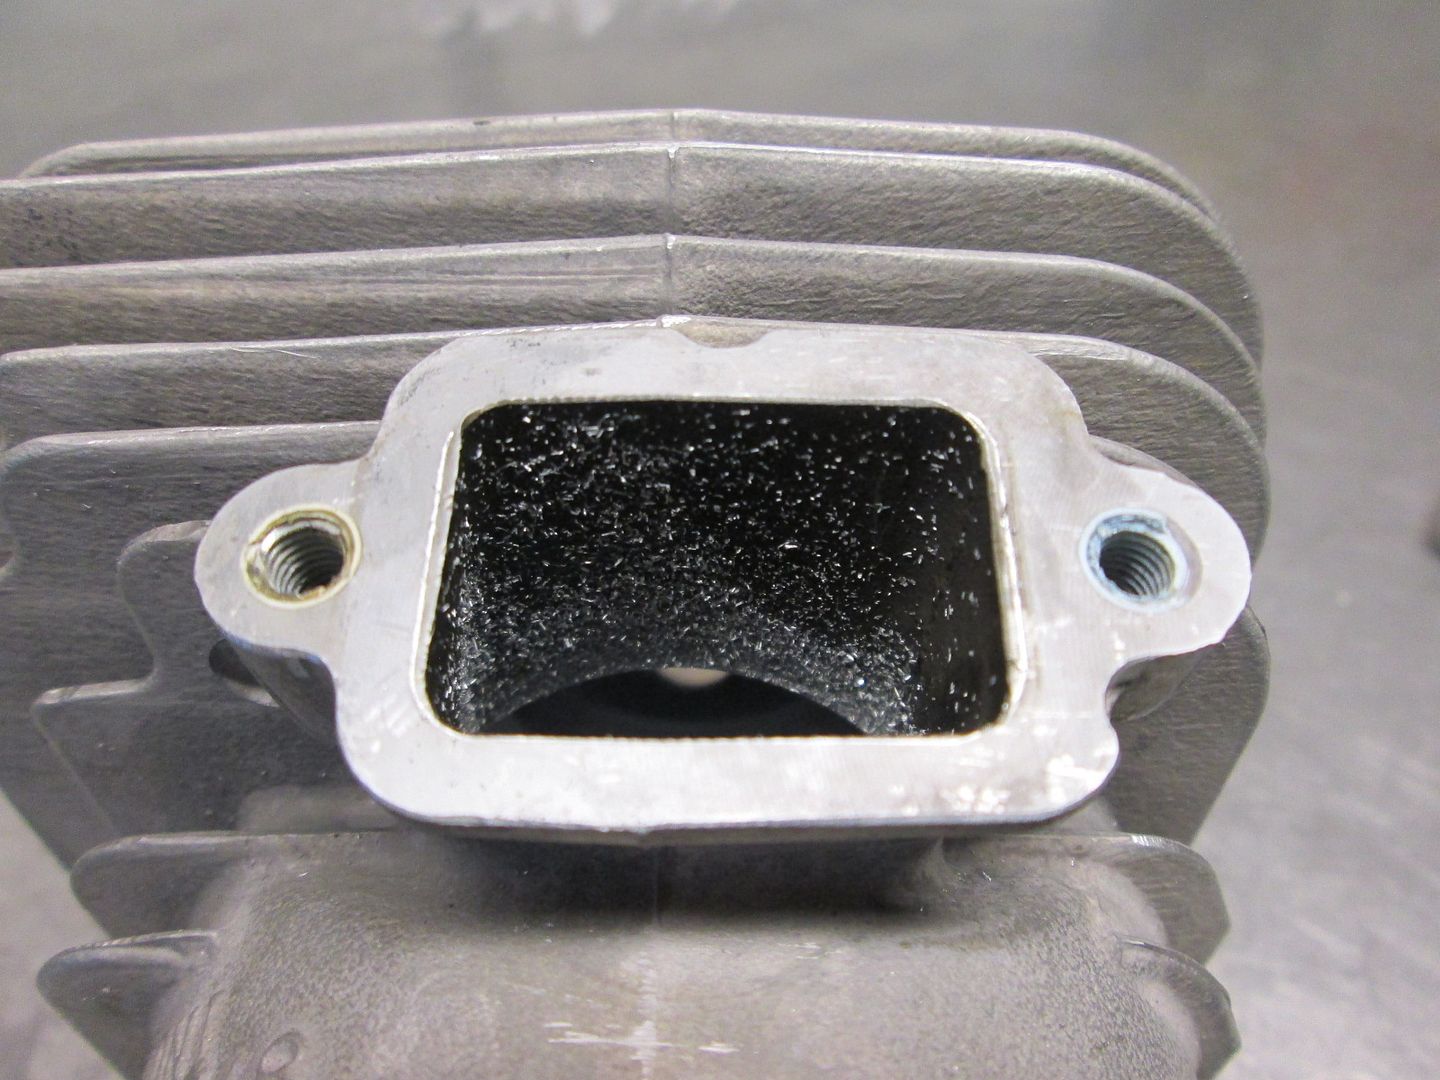
In this picture you can see the bevel I added around the intake port.


The transfers thru the exhaust....I just wanted to see if I could get this shot. :D


The intake is finished. 80 grit is as far as I take it.


Latest posts

Back
Top