Yikes!
You are using an out of date browser. It may not display this or other websites correctly.
You should upgrade or use an alternative browser.
You should upgrade or use an alternative browser.
036 rebuild
- Thread starter NHRA1877
- Start date

Help Support Arborist Forum:
This site may earn a commission from merchant affiliate
links, including eBay, Amazon, and others.
Wagnerwerks
The underdog..
Holy crap. 40 bucks a set for aftermarket is steep. I'm used to husky bearings. Someone on here can lead you in the right direction for the aftermarket number or if they are stihl specific and that's a good deal. You should be able to use aftermarket as stihl buys them from some one else too. It's one of those things.... For example... Mercedes motor mounts are made by Lemforder. If you buy them aftermarket from Lemforder and not mercedes, they are the exact same mount with the Benz emblem ground off and cost 75 bucks less. Gotta love it.
Good job so far with the case splitter and cylinder clean up. It's just not worth doing all this and only going half way.
Good job so far with the case splitter and cylinder clean up. It's just not worth doing all this and only going half way.

Boy do I feel like an A hole haha. So I broke down and ordered the bearing through the dealer for 42 dollars and it will be here on thurs, after that comes the assembly of the cases which I'm praying will be painless
Wagnerwerks
The underdog..
Never meant to make you feel that way. I think your doing great. My first actual rebuild ended with a saw that died from going only half way. Ended up parting it out..lol.
You may have made a great choice and at least you know it will be right. A reliable saw is what your trying to end up with and that's just a small upgrade to get you there.
I have thoroughly enjoyed your write up so far. Keep up the good work!
You may have made a great choice and at least you know it will be right. A reliable saw is what your trying to end up with and that's just a small upgrade to get you there.
I have thoroughly enjoyed your write up so far. Keep up the good work!
NHRA, i'm late to this thread...where in jersey are ya. Im in Somerset County...and there is a national bearing company in the other end of town. Good luck, looks like ya got this one ...good on ya !!!
Thanks guys, the eBay seller refunded the money so in reality the oem bearing was only 12 dollars more than what I had paid.
Now when I install the new bearing I will try to heat the case in the oven, my question is since I have the chain brake assy still attached what temp can I heat it to? Don't want to end up melting the Chain brake and have to replace that too.
Also I'm from Morris county
Now when I install the new bearing I will try to heat the case in the oven, my question is since I have the chain brake assy still attached what temp can I heat it to? Don't want to end up melting the Chain brake and have to replace that too.
Also I'm from Morris county

$39.99
$59.99
SPEED FORCE Kindling Splitter-Log Splitter-FireWood Splitter–Power Log Splitter Blade Made from CAST Steel, Black Large
SpeedForceUSA

$38.99 ($0.39 / Foot)
Arborist Rope Climbing Rope Swing for Tree(1/2in x 100ft) Logging Rope 48 Strands for Pull, Swing, Knot (Orange)
SDFJKLDI

$14.99
$17.99
Fiskars Pole Saw Blade Replacement for Fiskars Pruning Saws and Tree Pruners, 15" Blade with Woodzig Chainsaw-Style Tooth Design
AMZ South Supply

$202.29
Oregon Yukon Chainsaw Safety Protective Bib & Braces Trousers - Type A Protection, Dark Grey, Large
Express Shipping ⭐⭐⭐⭐⭐

$337.83
$369.99
WEN Electric Log Splitter, 6.5-Ton Capacity with Portable Stand (56208)
Amazon.com

$56.99 ($0.38 / Foot)
$69.79 ($0.47 / Foot)
Arborist Rigging Rope 1/2 in x 150 Ft Blue Bull Rope Polyester Braided Arborist Rope 1/2 inch 48 Strands 150 Feet for Various Outdoor Applications Construction Climbing Swing Sailing
Glfcai store

$21.99 ($3.66 / Count)
Firewood Log Splitter 45mm+32mm + 4 Handles (Square + Round + Hex Shank + Small Hex) Wood Log Splitter Easy Splitter Detachable Drill Bit Heavy Duty Electric Drills Screw Cone Driver Removable
JianShiMoQinDianZiShangWuYouXianGongSi

$215.05
$233.19
Weaver Leather WLC 315 Saddle with 1" Heavy Duty Coated Webbing Leg Straps, Medium, Brown/Red
Amazon.com

$59.99 ($0.40 / Foot)
$69.99 ($0.47 / Foot)
Arborist Rigging Rope Bull Rope Black (1/2 in x 150ft) Polyester Braided Arborist Rope 48 Strands for Tree Work Camping or Swinging…
UIERTIO

$63.99
ZELARMAN Chainsaw Chaps Apron Wrap 8-layer for Men/Women Loggers Forest Workers Protective Chain Saw Pants Adjustable
QUALITY GARDEN & HAND TOOLS

$56.99 ($0.38 / Foot)
$59.99 ($0.40 / Foot)
Double Braid Arborist Rope Orange(1/2 in x 150 ft) Arborist Rigging Polyester Rope - 48 Strand Rope Swing for Tree Bull Rope for Outdoor, Climbing, Swing, Sailing
Cosirulnta Shop

$79.99
ZELARMAN Chainsaw Chaps 8-layer Protective Apron Wrap Adjustable Chainsaw Pants/Chap for Loggers Forest Workers Class A
QUALITY GARDEN & HAND TOOLS
komatsuvarna
Arboristsite MVP
Thanks guys, the eBay seller refunded the money so in reality the oem bearing was only 12 dollars more than what I had paid.
Now when I install the new bearing I will try to heat the case in the oven, my question is since I have the chain brake assy still attached what temp can I heat it to? Don't want to end up melting the Chain brake and have to replace that too.
Also I'm from Morris county
Just take all that off. 2 little clips is basically all that holds it on....
Thanks guys, the eBay seller refunded the money so in reality the oem bearing was only 12 dollars more than what I had paid.
Now when I install the new bearing I will try to heat the case in the oven, my question is since I have the chain brake assy still attached what temp can I heat it to? Don't want to end up melting the Chain brake and have to replace that too.
Also I'm from Morris county
I use a toaster over at 250 ~ 275 degrees. The shop manual specs "appriximately 120C". It also specifies removing any/all rubber parts, levers, etc., which I do.
Thanks guys, the eBay seller refunded the money so in reality the oem bearing was only 12 dollars more than what I had paid.
Now when I install the new bearing I will try to heat the case in the oven, my question is since I have the chain brake assy still attached what temp can I heat it to? Don't want to end up melting the Chain brake and have to replace that too.
Also I'm from Morris county
not far at all ..Im 10 minutes away from Bridgewater Commons.
as pogo said...the brake stuff is easy off, don't risk it and once youve done it you can do all the late model Stihls. take a pic then take the clips off. the spring is the only somewhat tough thing.
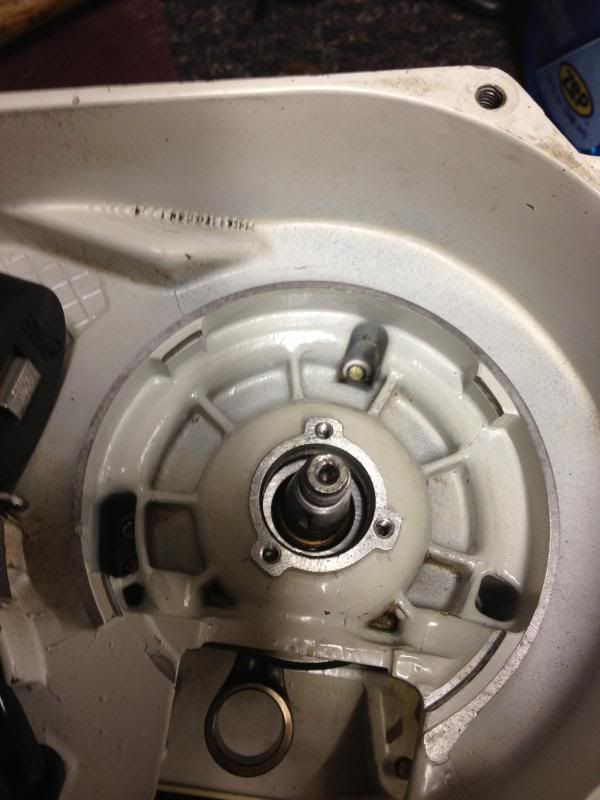
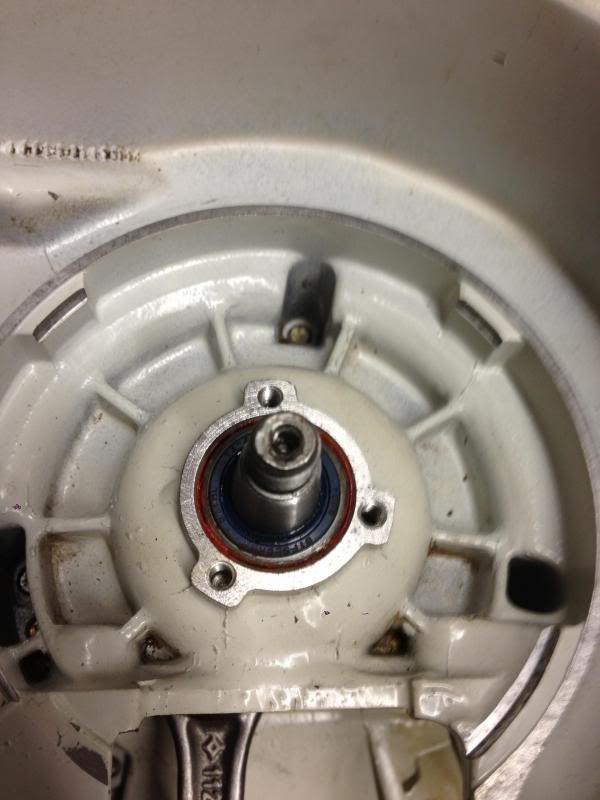
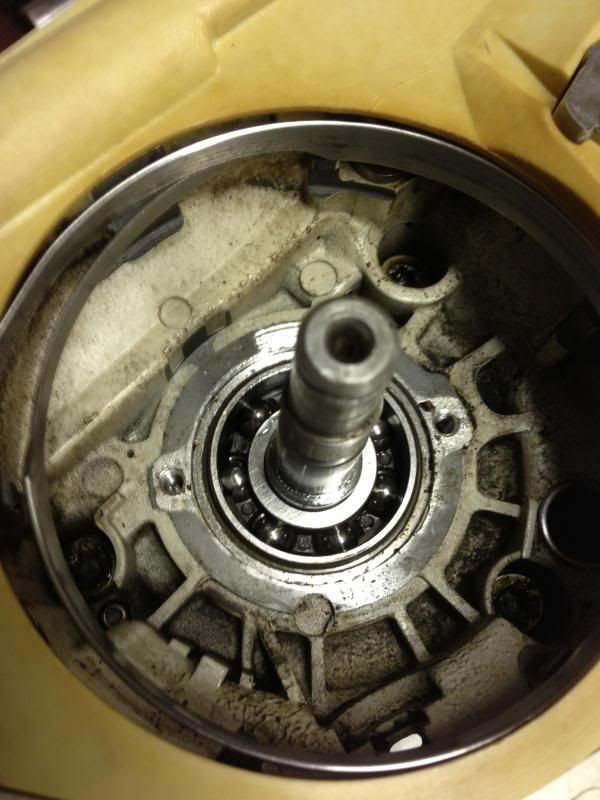
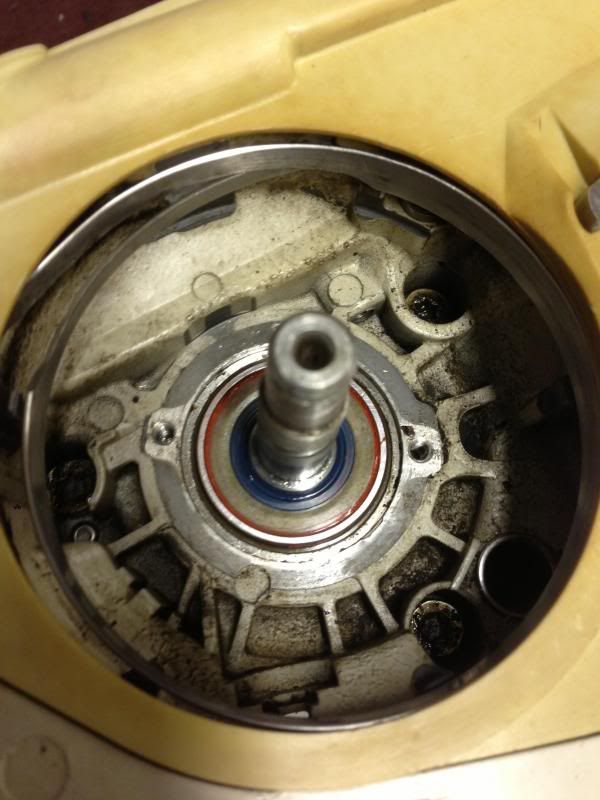
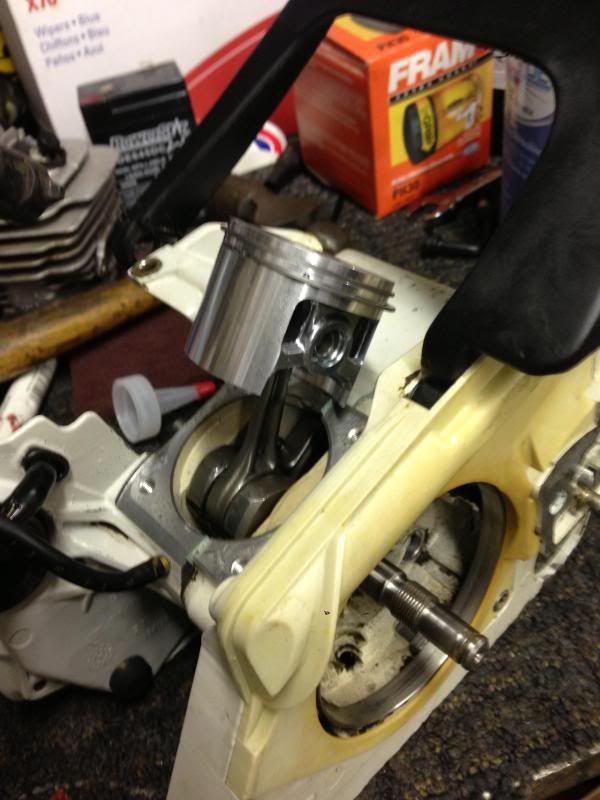
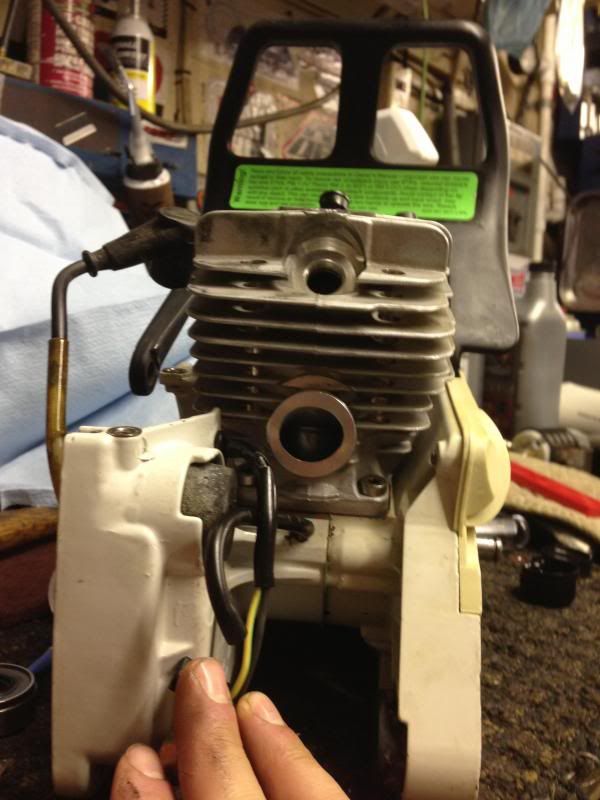
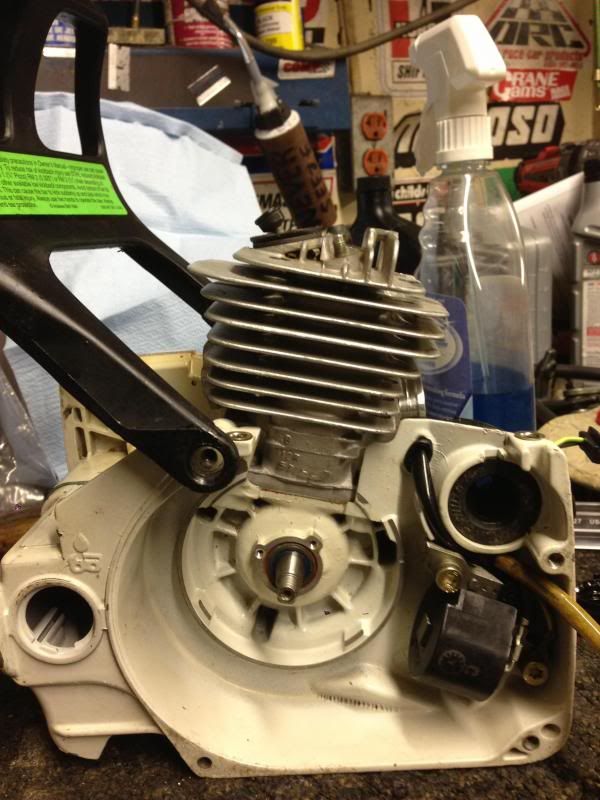
Case is together, clutch side bearing didn't go in as smooth as everyone said it would, but it's in. The case however did go together easy, I tightened all the screws as right as I could get them with a screwdriver, put the gasket in dry and tapped the crank on both sides and it Spins great.
What is the best/easiest way to install the seals and what should I know about installing them? I will be installing them tomorrow and will be assembiling as much as I can of the saw tomorrow. Thanks guys
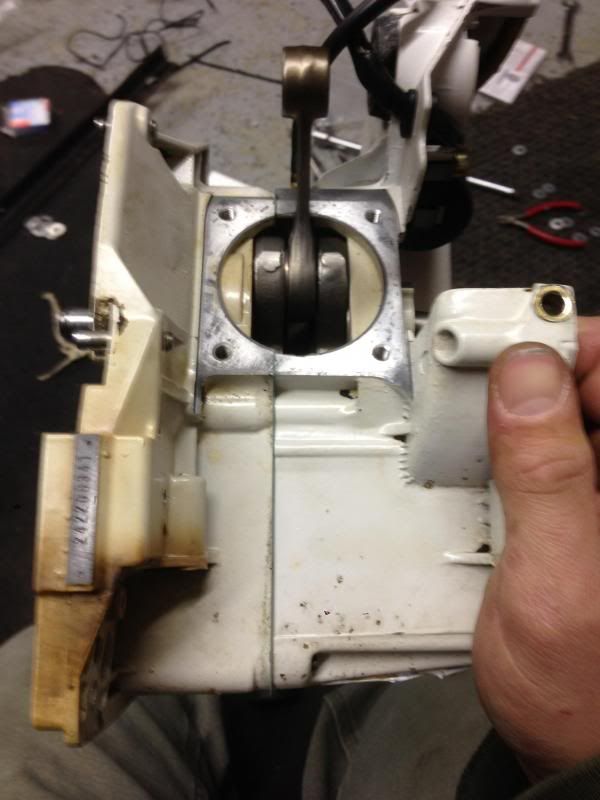
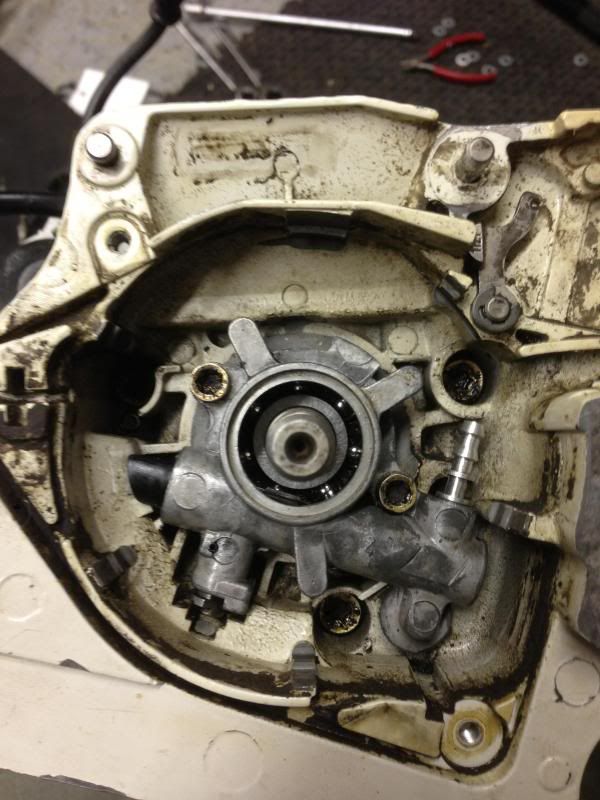
What is the best/easiest way to install the seals and what should I know about installing them? I will be installing them tomorrow and will be assembiling as much as I can of the saw tomorrow. Thanks guys


Wagnerwerks
The underdog..
I always drive them in "gently" with a socket and extension that matches size of the seal. I often Smear a VERY thin bit of sealant on the outer lip to give it a bit of extra seal but more to help it slide in. Make sure it's glinting in squarely and if it starts getting crooked, tap more on the other side.  . Drive it till it's flush with the case... (Some saws seals get driven till the seat... Others that are stihl guys can tell you if this is one of them.)
Great 036 thread here minus the pics until they figure out how to transfer those links to the new system.
http://www.arboristsite.com/communi...projects-crank-bearings-carbs-etc-etc.190161/
As for the seals, the main thing to consider as stated is get em in straight. The sealant on the outside diameter is less significant than lubricating the crank and inner diameter rubber lip to avoid the seal getting hung and flipping outward as it is pressed into position. Lube it well. I do use a sealant on the outer surfaces as well...Dirko in my case.
I also use an appropriately sized washer (larger than the bore) under a socket positioned directly against the seal to help assure a clean and flush press into the bore.
Did you get the OEM oil line kit? If so, definitely use the spring and cut the line to the spec. Use a heat gun to give some flexiibiliity to the line for installation over the barb on the pump and to get the thimble into the delivery end.
Looking good. Another thing, tho. You should really use at least a t-handle torx bit to tighten that case. A torque wrench with appropriate extension and torx bit are obviously the optimum way to go. A screwdriver handle torx driver may not provide the torque to keep that case from leaking.
Looking good. Another thing, tho. You should really use at least a t-handle torx bit to tighten that case. A torque wrench with appropriate extension and torx bit are obviously the optimum way to go. A screwdriver handle torx driver may not provide the torque to keep that case from leaking.
komatsuvarna
Arboristsite MVP
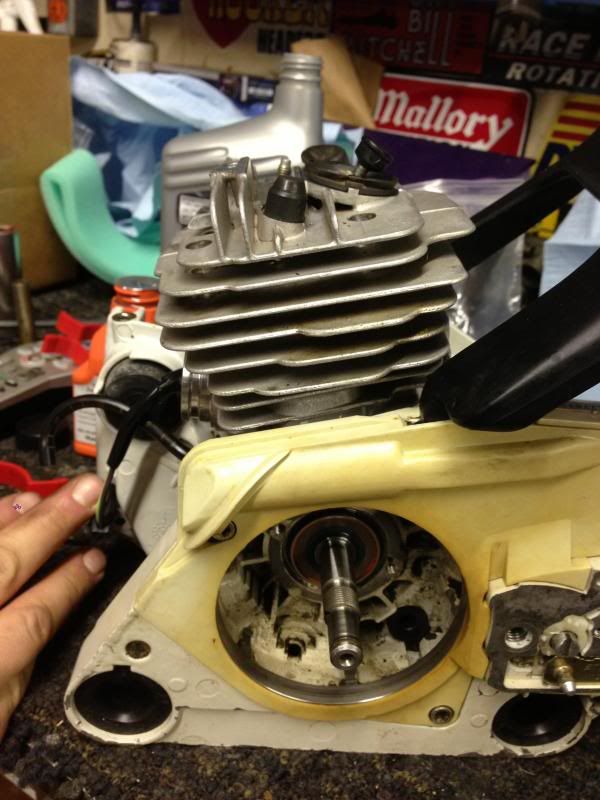
You might double check your flywheel side crank seal. I cant hardly tell from the picture, but it looks like the seal is still on the tapered part of the crank stub, instead on up on the shoulder where it needs to be. May just be the pictures, but it'll be easier to check now rather than later. Those seals set kinda deep if I remember right....
So the oil line was a pain, not as terrible as I have heard it was but definitely a pain. I tried to put it onto the oil pump first then slide it up from the clutch side but the angle was too much and it didn't want to slide in so I had to take it back off and work it up off the oil pump. We're getting there, got the middle on, still waiting on the carb kit from the dealer which will hopefully be here by mid week and still waiting on an answer on which way the offset on the key goes for the flywheel.
Still need to order the upgraded clutch drum which I will order this week.
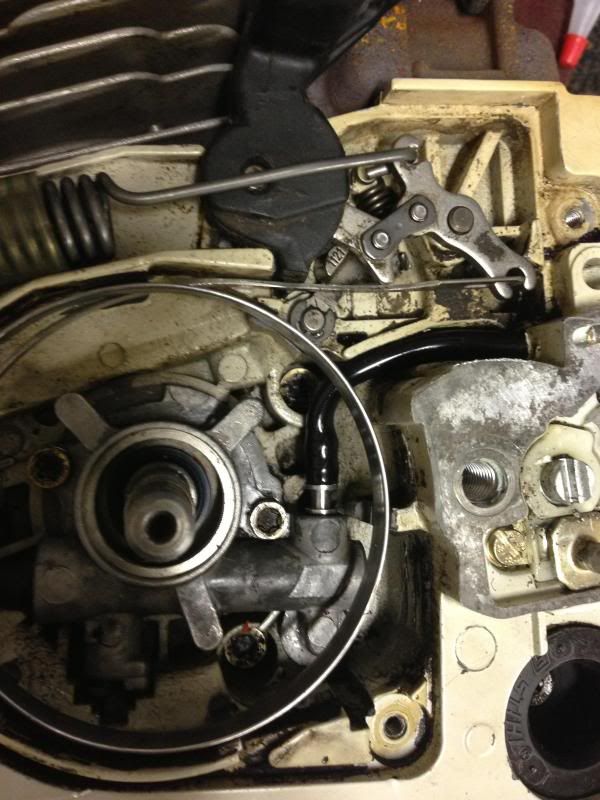
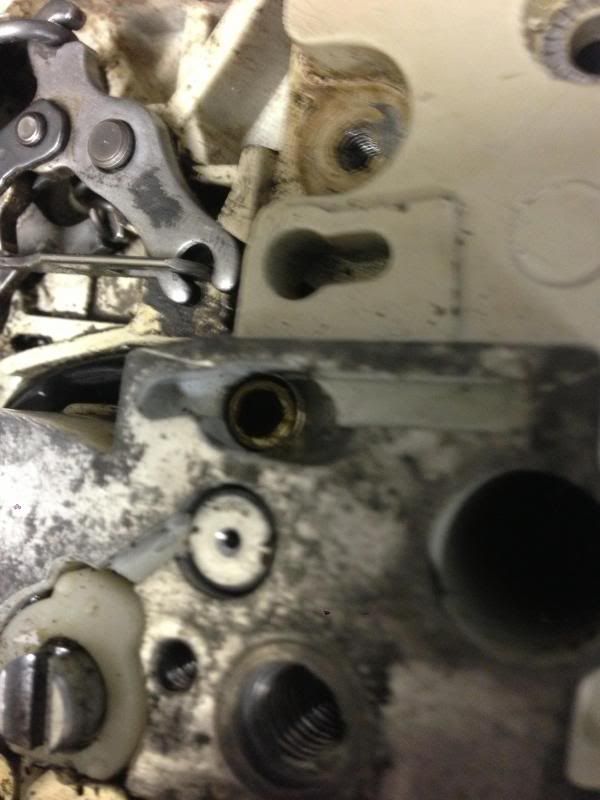
Still need to order the upgraded clutch drum which I will order this week.


...and still waiting on an answer on which way the offset on the key goes for the flywheel.
What do you mean by "offset"? The flat vs.the curved sides? If so, the flat side goes into the flywheel keyway and the tapered side fits into the crank.
The round part goes into the crank, but the flat part that grabs the flywheel has an offset on it, I don't want to put it in the wrong way and effect the timing of the saw
Also I don't have an IPL so could someone help me with the clutch install, the worm gear goes into the oil pump, it looks like the bushing goes into the worm gear, then there's a washer you can see in the picture, I don't know if this goes on then the clutch goes on or? Thanks guys, I forgot to take a few pictures during the breakdown
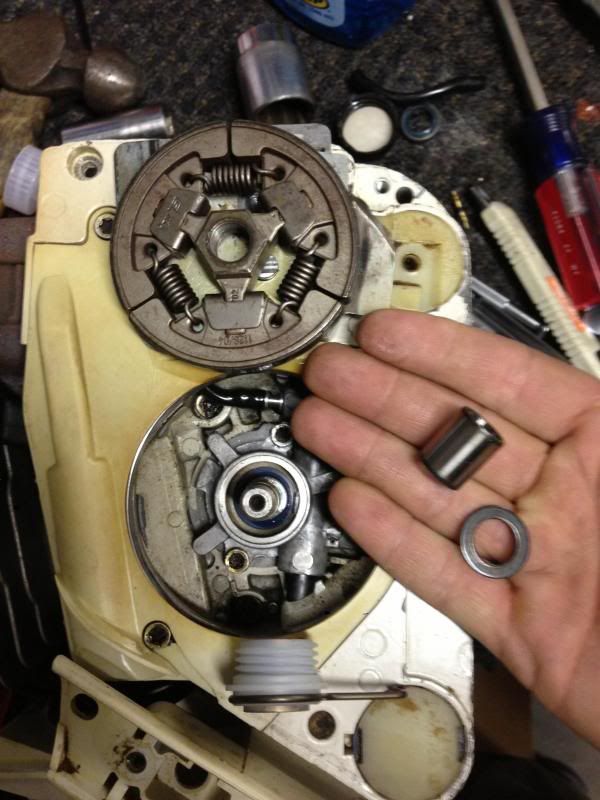
Also I don't have an IPL so could someone help me with the clutch install, the worm gear goes into the oil pump, it looks like the bushing goes into the worm gear, then there's a washer you can see in the picture, I don't know if this goes on then the clutch goes on or? Thanks guys, I forgot to take a few pictures during the breakdown


