You are using an out of date browser. It may not display this or other websites correctly.
You should upgrade or use an alternative browser.
You should upgrade or use an alternative browser.
Homelite Chainsaws
- Thread starter briantutt
- Start date

Help Support Arborist Forum:
This site may earn a commission from merchant affiliate
links, including eBay, Amazon, and others.
RandyMac
Stiff Member
homelitejim
Full of Scrap
KRIKEY!

i need the dimensions of the cranks seals for the super ez auto i am rebuilding. it's no. is 40304595, and according to this bulletin, found in a search, it was made in 1974. i found an ipl, but would rather find parts locally instead of chasing part nos. on the internet.
the old seals were holding, but since i have to replace a leaking cyl.base gasket( or leave it out)- need to check squish-and put in new rings, i'll do them too.
the comp. was 120psi. what is good on these ? any one stop sources for these things on here ?
also need the main oil pump seal. appears to be felt. this saw was filthy with oil and fine dust, had a long time leak.
any help would be appreciated.
here's the bulletin
homelitejim
Full of Scrap
in before the Mac attack.
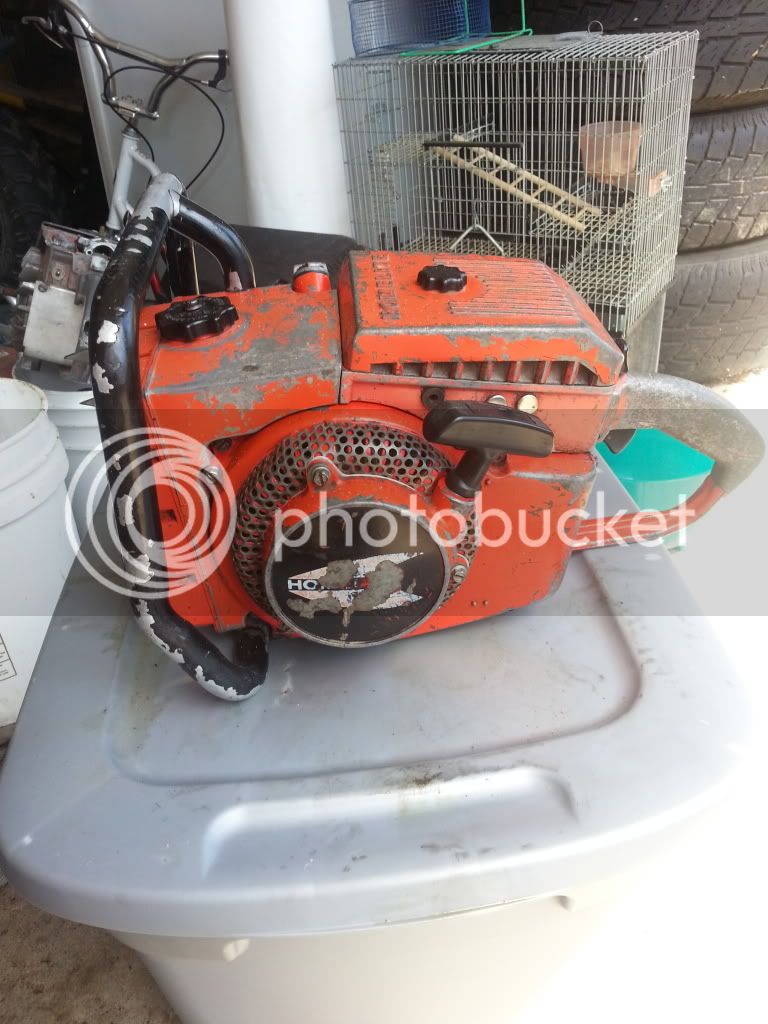
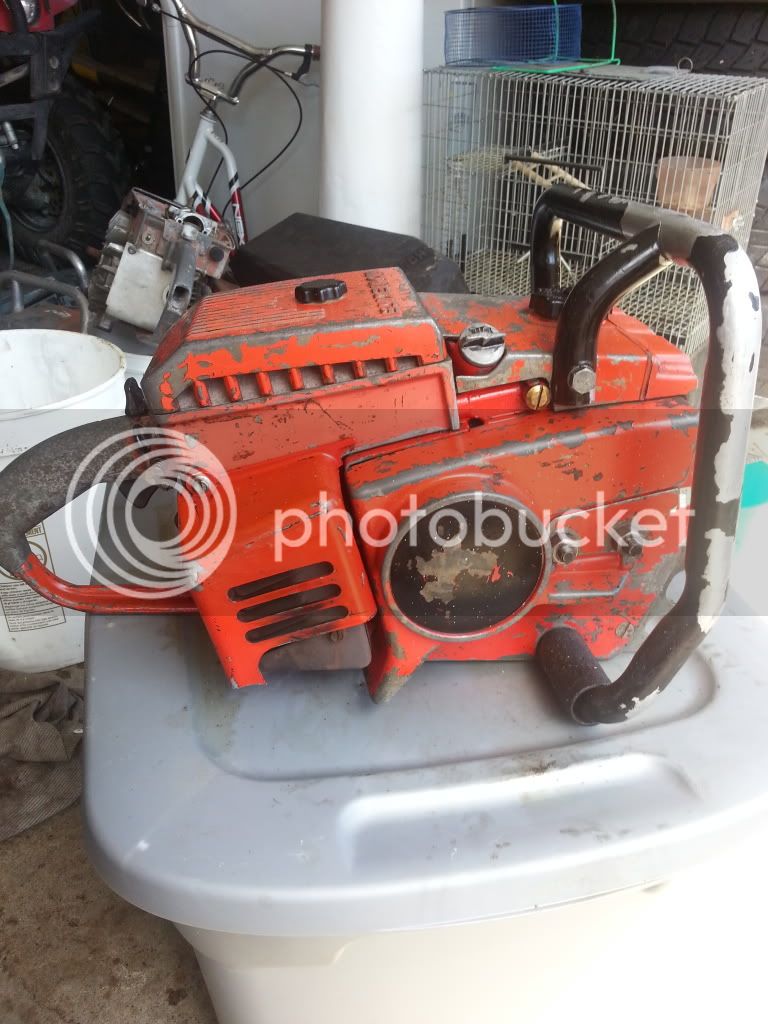
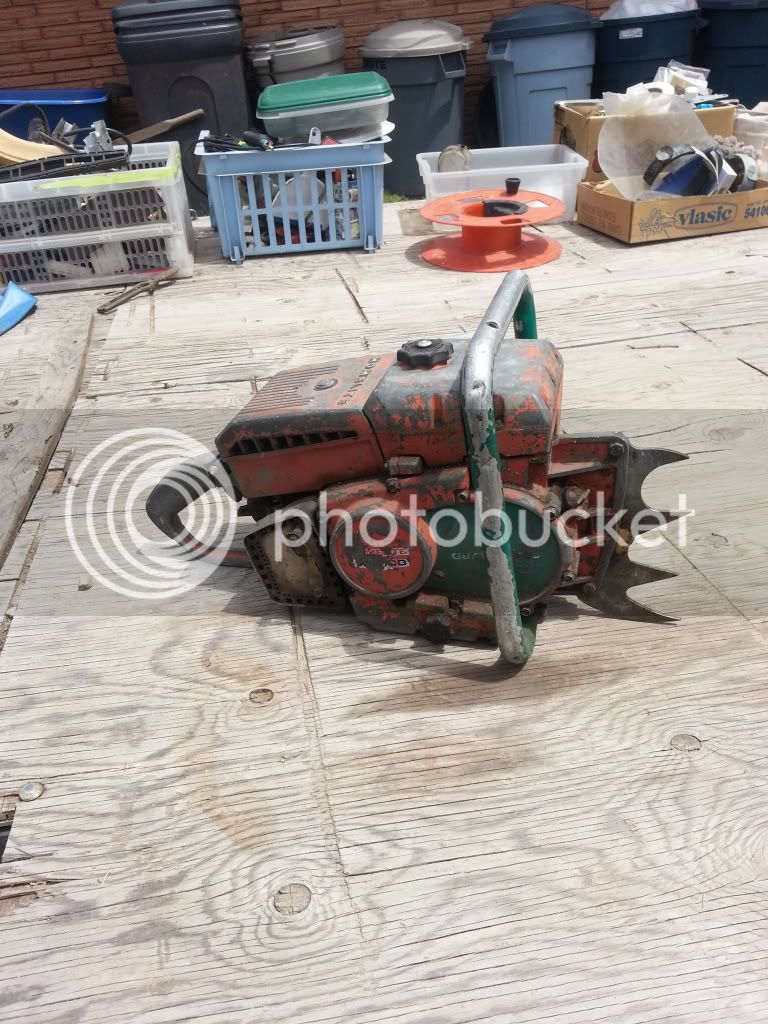
I got this 1050A in trade for a green saw, too bad it is to hot to drag a bar off my wall and get this saw in some wood as it is a beast.


I got this 1050A in trade for a green saw, too bad it is to hot to drag a bar off my wall and get this saw in some wood as it is a beast.
huck01955
ArboristSite Guru
in before the Mac attack.


I got this 1050A in trade for a green saw, too bad it is to hot to drag a bar off my wall and get this saw in some wood as it is a beast.
Congratulations looks like a great saw

$215.05
$233.19
Weaver Leather WLC 315 Saddle with 1" Heavy Duty Coated Webbing Leg Straps, Medium, Brown/Red
Amazon.com

$21.99 ($3.66 / Count)
Firewood Log Splitter 45mm+32mm + 4 Handles (Square + Round + Hex Shank + Small Hex) Wood Log Splitter Easy Splitter Detachable Drill Bit Heavy Duty Electric Drills Screw Cone Driver Removable
JianShiMoQinDianZiShangWuYouXianGongSi

$56.99 ($0.38 / Foot)
$69.79 ($0.47 / Foot)
Arborist Rigging Rope 1/2 in x 150 Ft Blue Bull Rope Polyester Braided Arborist Rope 1/2 inch 48 Strands 150 Feet for Various Outdoor Applications Construction Climbing Swing Sailing
Glfcai store

$39.99
$59.99
SPEED FORCE Kindling Splitter-Log Splitter-FireWood Splitter–Power Log Splitter Blade Made from CAST Steel, Black Large
SpeedForceUSA

$63.99
ZELARMAN Chainsaw Chaps Apron Wrap 8-layer for Men/Women Loggers Forest Workers Protective Chain Saw Pants Adjustable
QUALITY GARDEN & HAND TOOLS

$79.99
ZELARMAN Chainsaw Chaps 8-layer Protective Apron Wrap Adjustable Chainsaw Pants/Chap for Loggers Forest Workers Class A
QUALITY GARDEN & HAND TOOLS

$38.99 ($0.39 / Foot)
Arborist Rope Climbing Rope Swing for Tree(1/2in x 100ft) Logging Rope 48 Strands for Pull, Swing, Knot (Orange)
SDFJKLDI

$337.83
$369.99
WEN Electric Log Splitter, 6.5-Ton Capacity with Portable Stand (56208)
Amazon.com

$202.29
Oregon Yukon Chainsaw Safety Protective Bib & Braces Trousers - Type A Protection, Dark Grey, Large
Express Shipping ⭐⭐⭐⭐⭐

$59.99 ($0.40 / Foot)
$69.99 ($0.47 / Foot)
Arborist Rigging Rope Bull Rope Black (1/2 in x 150ft) Polyester Braided Arborist Rope 48 Strands for Tree Work Camping or Swinging…
UIERTIO

$56.99 ($0.38 / Foot)
$59.99 ($0.40 / Foot)
Double Braid Arborist Rope Orange(1/2 in x 150 ft) Arborist Rigging Polyester Rope - 48 Strand Rope Swing for Tree Bull Rope for Outdoor, Climbing, Swing, Sailing
Cosirulnta Shop

$14.99
$17.99
Fiskars Pole Saw Blade Replacement for Fiskars Pruning Saws and Tree Pruners, 15" Blade with Woodzig Chainsaw-Style Tooth Design
AMZ South Supply
Warped5
WingNut
lesorubcheek
Addicted to ArboristSite
Had a little fun today with this SEZ. With about 15" of rain over the past few days, a leaning pine tree started giving way at its roots. Needed to get it down before it fell on the fence. Usually grab a 150 for trees like this, but our son wanted me to use the SEZ, so I agreed. It ran great... easy to see why many people praise 'em. Still personally prefer a 150 though  .
.

Dan

Dan
homelitejim
Full of Scrap
Homelite Super XL Repair
Hi. I'm relatively new to chainsaw repair, as well as to this forum. Would appreciate some advice.
My neighbor has given me an old Homelite Super XL. (UT is 100453, SN 481950112. No other model markings - as per evident practice with HL.) Last used over 2 years ago. So I flipped the switch, choked it, and pulled the cord. Very tight on the first couple of pulls, then looser. Then, on about the 10th pull, a scratchy noise became apparent on every revolution. (Didn't start, or even fire, btw.) I quit trying to start it. Maybe dirt fell into the cylinder from the exhaust manifold?
I'm not a small engine mechanic but am capable, and have a box of tools. So I started to take it apart. The seemingly obvious approach is to remove the carb housing. As I eventually learned, you need to remove the carb from the housing first.
Along the way, in frustration, I tried to break in via other routes. Removed the starter rope housing, OK. But flywheel removal is a puzzle. Maybe I need a puller to get closer from that direction.
Flipped 'er over. Removed chain and bar. Got the right handed nut off, and the clutch cap. Figured the OFF --> printed on the clutch body/wheel meant a left hand thread. Ginned up a 1 x 2 with a nail to poke into one of the three holes in the clutch body. Using the stick for leverage, and a bit of clothesline in the spark plug hole, got the clutch body off. Now I could see four hex bolt heads that hold the clutch housing to the crankcase. Got them out. (The clutch body had been in the way...) Still, the clutch housing wouldn't come off, even though it would rotate slightly around the drive shaft, since there is a bearing on the shaft inside the clutch box. Tried to remove the bearing assembly (held on with three machine screws), to no avail; I suspect that it is pressed onto the shaft.
Back to the carb approach. Took out the guts, and got the carb box - attached to the trigger handle - off. Dealt with the copper tube that ports bar oil around. (Who knows quite why - I don't yet.) Took off the muffler, and can view the exhaust port. So now 3 of 4 head bolts are accessible. But the last one, down and to the right as viewed from the trigger, would be verrry difficult to remove. The base plate of the saw, which seems integral to the crankcase, is in the way. And it is held on by a sequence of screws that seem to hold two halves of a clamshell together. But half of those screws are impossible to reach with a screwdriver because the clutch housing is in the way.
Best I can figure, the factory pressed the main shaft bearing that resides in the clutch housing after the rest of the saw was assembled. ?
Now, I read that other chainsawyers often replace pistons in their saws, and even cylinders. (I'm not sure, but it sounds like they also sometimes modify the head ...?) So evidently, on most saw models, there is a way to get the head off.
What am I missing? Or do I just need to worry that last lower right bolt out of its hole?
Advice, or a link to detailed instructions or to an appropriate forum thread, highly appreciated.
Thanks in advance,
giarcea
(aka Alan)
huck01955
ArboristSite Guru
Very nice what are they model 17 5-20 7-21 Very nice find I have a model 7-21 I need to find a bar and chain for got it running went to borrow bar and chain from my model 17 chain is to short 7-21 drive gear is bigger :bang:
Hi. I'm relatively new to chainsaw repair, as well as to this forum. Would appreciate some advice.
My neighbor has given me an old Homelite Super XL. (UT is 100453, SN 481950112. No other model markings - as per evident practice with HL.) Last used over 2 years ago. So I flipped the switch, choked it, and pulled the cord. Very tight on the first couple of pulls, then looser. Then, on about the 10th pull, a scratchy noise became apparent on every revolution. (Didn't start, or even fire, btw.) I quit trying to start it. Maybe dirt fell into the cylinder from the exhaust manifold?
I'm not a small engine mechanic but am capable, and have a box of tools. So I started to take it apart. The seemingly obvious approach is to remove the carb housing. As I eventually learned, you need to remove the carb from the housing first.
Along the way, in frustration, I tried to break in via other routes. Removed the starter rope housing, OK. But flywheel removal is a puzzle. Maybe I need a puller to get closer from that direction.
Flipped 'er over. Removed chain and bar. Got the right handed nut off, and the clutch cap. Figured the OFF --> printed on the clutch body/wheel meant a left hand thread. Ginned up a 1 x 2 with a nail to poke into one of the three holes in the clutch body. Using the stick for leverage, and a bit of clothesline in the spark plug hole, got the clutch body off. Now I could see four hex bolt heads that hold the clutch housing to the crankcase. Got them out. (The clutch body had been in the way...) Still, the clutch housing wouldn't come off, even though it would rotate slightly around the drive shaft, since there is a bearing on the shaft inside the clutch box. Tried to remove the bearing assembly (held on with three machine screws), to no avail; I suspect that it is pressed onto the shaft.
Back to the carb approach. Took out the guts, and got the carb box - attached to the trigger handle - off. Dealt with the copper tube that ports bar oil around. (Who knows quite why - I don't yet.) Took off the muffler, and can view the exhaust port. So now 3 of 4 head bolts are accessible. But the last one, down and to the right as viewed from the trigger, would be verrry difficult to remove. The base plate of the saw, which seems integral to the crankcase, is in the way. And it is held on by a sequence of screws that seem to hold two halves of a clamshell together. But half of those screws are impossible to reach with a screwdriver because the clutch housing is in the way.
Best I can figure, the factory pressed the main shaft bearing that resides in the clutch housing after the rest of the saw was assembled. ?
Now, I read that other chainsawyers often replace pistons in their saws, and even cylinders. (I'm not sure, but it sounds like they also sometimes modify the head ...?) So evidently, on most saw models, there is a way to get the head off.
What am I missing? Or do I just need to worry that last lower right bolt out of its hole?
Advice, or a link to detailed instructions or to an appropriate forum thread, highly appreciated.
Thanks in advance,
giarcea
(aka Alan)
The first thing you may want to do before you pull this apart any further is remove the muffler and look at the piston and cylinder through the exhaust port to see if it's scored up which would indicate it was run lean or without oil in the gas mix and ths piston has started to melt. That would indicate that you likely need a new piston and rings as well as a cylinder if that's scored up as well.
If you look in your private messages in a short while, I will have sent you a repair manual for Homelite saws which may help you as you go along. I don't see an IPL (illustrated parts list) for that UT number but you can maybe find one at one of the sites I will post in my private message to you or at least one that will help you get it apart. The copper plumbing is for the manual oil pump. Your saw will have an automatic pump as well.
Last edited:
homelitejim
Full of Scrap
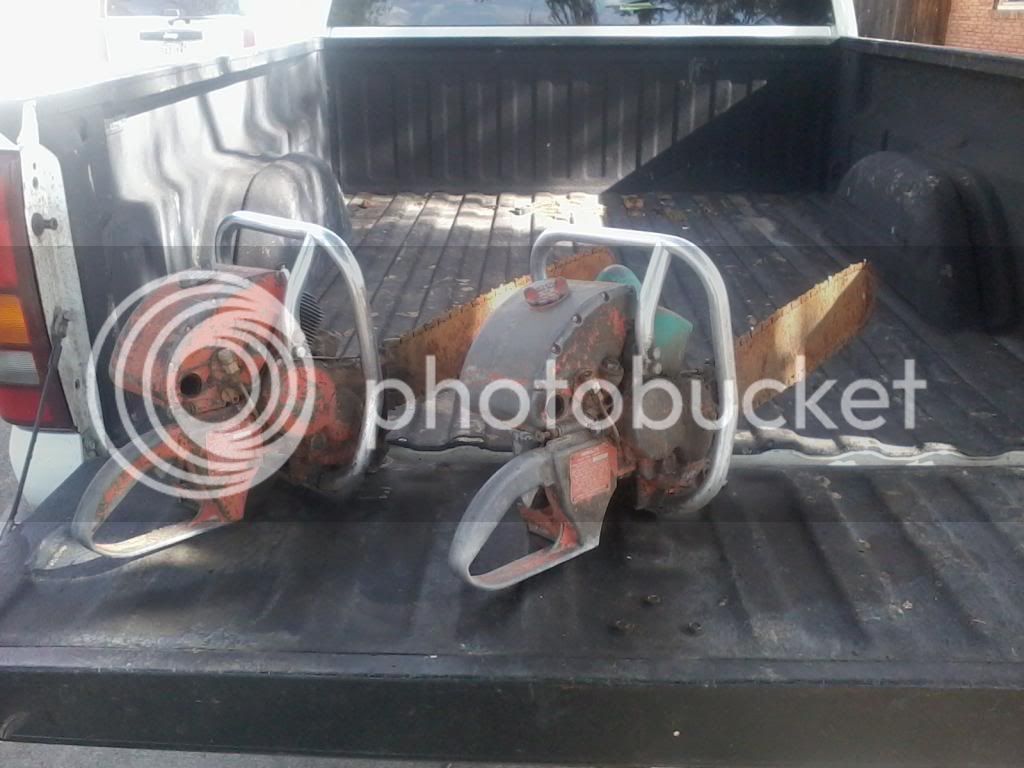
Very nice what are they model 17 5-20 7-21 Very nice find I have a model 7-21 I need to find a bar and chain for got it running went to borrow bar and chain from my model 17 chain is to short 7-21 drive gear is bigger :bang:
Both are model 17's. One bar is serviceable the other must have been used to chop rocks.
Warped5
WingNut
Eccentric
Mister Wizard
Ted fun is fun..............but how about YOU post some Homelite pics here (or just make a post about one of the cool Homelites you've gotten recently) rather than just throwing Mac pics in when the thread crosses 24 hours without a post..... opcorn:
Warped5
WingNut
Ted fun is fun..............but how about YOU post some Homelite pics here (or just make a post about one of the cool Homelites you've gotten recently) rather than just throwing Mac pics in when the thread crosses 24 hours without a post.....opcorn:
Fine.
Randy laid down the rules .... rules are rules.
I feel persecuted for following the rules. :bang:
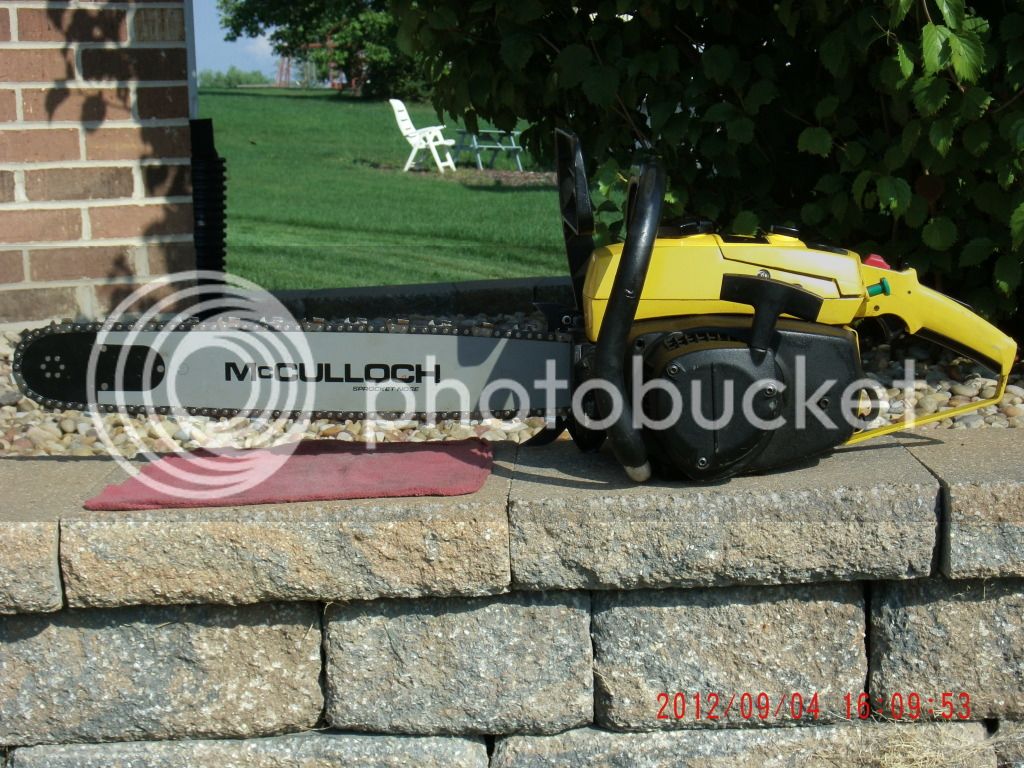
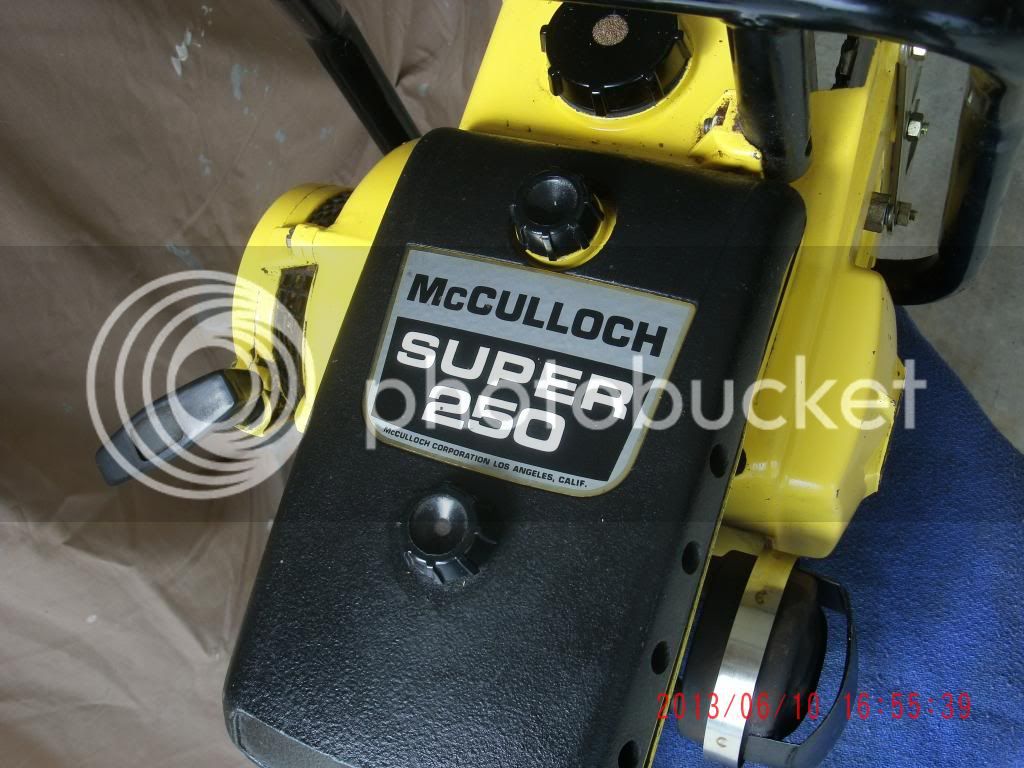
(I must say the picture quality on that Super 250 is pretty good!)
So here:
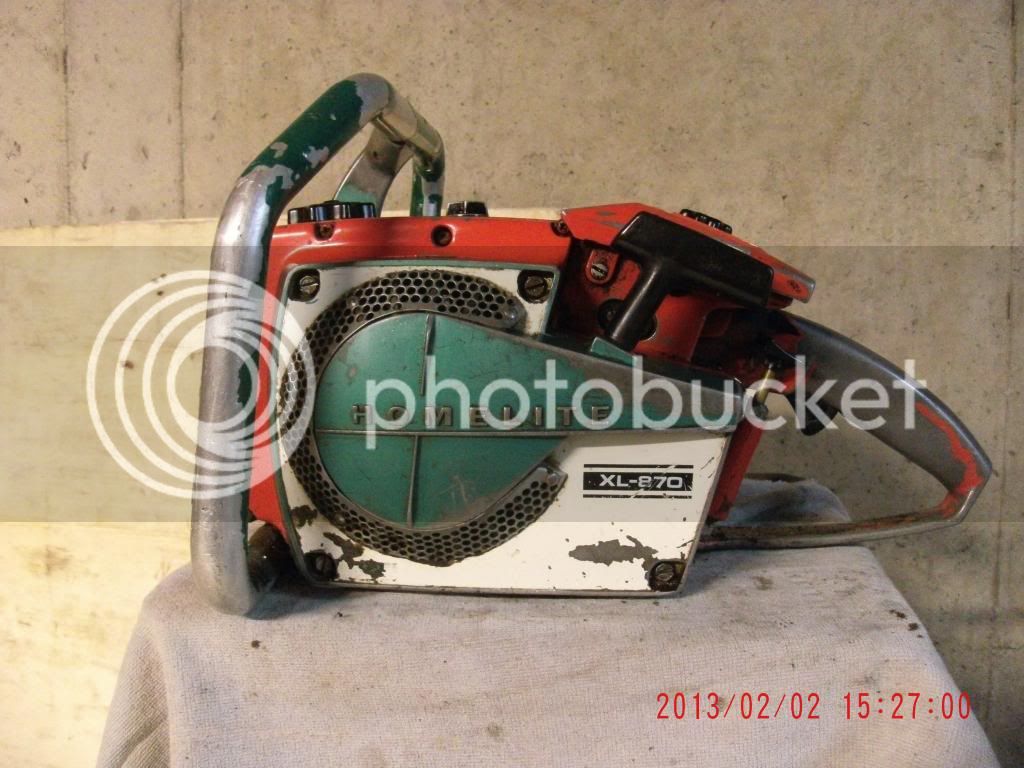
Happier now? :jester:
Homelite Super XL Repair - Removing the head..
Tim,
Thanks for the documents. Been busy a couple of days, will return to saw disassembly soon.
Would piston scoring necessarily be on the exhaust port side?
Alan
The first thing you may want to do before you pull this apart any further is remove the muffler and look at the piston and cylinder through the exhaust port to see if it's scored up which would indicate it was run lean or without oil in the gas mix and ths piston has started to melt. That would indicate that you likely need a new piston and rings as well as a cylinder if that's scored up as well.
If you look in your private messages in a short while, I will have sent you a repair manual for Homelite saws which may help you as you go along. I don't see an IPL (illustrated parts list) for that UT number but you can maybe find one at one of the sites I will post in my private message to you or at least one that will help you get it apart. The copper plumbing is for the manual oil pump. Your saw will have an automatic pump as well.
Tim,
Thanks for the documents. Been busy a couple of days, will return to saw disassembly soon.
Would piston scoring necessarily be on the exhaust port side?
Alan
Eccentric
Mister Wizard
Yes. I was just pointing out that since you're a 'Homelite guy' now that you're giving yourself #### when you say "slackards" and post a Mac pic. Be part of the solution........
Tim,
Thanks for the documents. Been busy a couple of days, will return to saw disassembly soon.
Would piston scoring necessarily be on the exhaust port side?
Alan
It could be all around but the exhaust side is hotter and that is where it would likely show up first and you would see a scored up piston through the exhaust port. If you don't see any scoring there on the piston your rings may be stuck in the piston causing poor compression. If you see aluminum pickup on the back side of the cylinder when you look through the exhaust port that would indicate the piston is likely scored all around. You could potentially have broken rings as well.
Some pics of a scored piston
http://www.arboristsite.com/chainsaw/154619.htm
jtracy1223
ArboristSite Operative
This 4th bolt is ging me all kinds of problems. Anyone got a way to removed it without pulling everything apart? I want to replace the cylinder gaskets and rings and maybe pistons on super ez auto and super xl auto
so now 3 of 4 head bolts are accessible. But the last one, down and to the right as viewed from the trigger, would be verrry difficult to remove. The base plate of the saw, which seems integral to the crankcase, is in the way. And it is held on by a sequence of screws that seem to hold two halves of a clamshell together. But half of those screws are impossible to reach with a screwdriver because the clutch housing is in the way.
Best i can figure, the factory pressed the main shaft bearing that resides in the clutch housing after the rest of the saw was assembled. ?
Now, i read that other chainsawyers often replace pistons in their saws, and even cylinders. (i'm not sure, but it sounds like they also sometimes modify the head ...?) so evidently, on most saw models, there is a way to get the head off.
What am i missing? Or do i just need to worry that last lower right bolt out of its hole?
Advice, or a link to detailed instructions or to an appropriate forum thread, highly appreciated.
Thanks in advance,
giarcea
(aka alan)
Similar threads
- Replies
- 2
- Views
- 579


