McCulloch Chain Saws

Arborist Forum

Help Support Arborist Forum:

This site may earn a commission from merchant affiliate links, including eBay, Amazon, and others.
I felt compelled to weigh in on page 1066!

Haven't touched a saw in 2 months and with temps near, at, or above the century mark I haven't cared to. Been plenty busy with the new day-job and at the track. Gettin' itchy to, though. About seven more weeks and racing is over.

Hope everyone is well and I'll be in more after Labor Day.

Been a while, eh?

As for cutting in these temps, I will be doing that tomorrow. The 850 is going to go back to work with the firewood pile that I got here. And the Fiskars will be working as well. This stuff is twigs, so I'm gonna put the 20" bar from the 610 on, and throw the 8 pin on as well.
 
On schedule - well almost.

Chainsaw lab needs a clock. I got my favorite 800 back together tonight/this morning. Can't test run it at 1AM so maybe in 18 hours or so. The SP81 muffler body with homemade stainless cap/baffle and grill-less 800 chain brake/clutch guard looks kind of funky. I don't want to put a good clutch cover on it as the grill breaks too easy. If all goes well I'll post some pictures later. Ron
 
How hard is it to take down a 10-series mac and replace the rings?

I am thinking it needs to be done on my 7-10 and I haven't messed with full disassembly of horizontal cylinder saws. Thanks for any tips/tricks/advice. :clap:
 
How hard is it to take down a 10-series mac and replace the rings?

I am thinking it needs to be done on my 7-10 and I haven't messed with full disassembly of horizontal cylinder saws. Thanks for any tips/tricks/advice. :clap:

If you have an IPL, it would really help for your first time.

Don't forget about the screw that goes through the oil tank into the fuel tank.

There are eight screws that hold the crank case to the cylinder. 4 big ones inside the oil tank and four small ones outside the oil tank.

You don't have to remove the clutch from then crank if you don't want to

You don't have to remove the starter from the flywheel housing.

You can leave the auto oil pump in place.

That's a few tips that I could think of quick. Hopefully some of the veterans will come along with some real help

Joe you hit most of the important parts. Most of the saw has to come apart to get into the engine on these 10-series. There's a lot of 'learn by doing' stuff on these, such as getting the manual oiler pushrod indexed in the manual oiler pump when putting the tank assembly back on. As always, a clean saw is the way to go when going into the engine on these. Threebond 1194 is my prefered engine sealer for buttoning up the crankcase. It's also known as Hondabond-4 (and Yamaha/Kawasaki/Suzukibond-4).

Here's a link to a download of the 10-series shop manual. Good to have along with the IPL.

http://www.mediafire.com/?w4rk7019mhk7md6
 
For me, one of the most difficult aspects of the 10 Series reassembly is remembering to put the shroud in at the right time, then getting the tank, washer, shroud, and engine block all aligned to re-install the screw.

I took Leeha's advice (from the Super series large frame saws) and made a couple of long studs (10-24) to install in the block and then stack the gaskets and spacer before setting the tank back on the saw, seems to help keep everything in alignment during reassembly. REVELATION - I need one more stud to put through the shroud and washer and that will keep the back end in line during reassembly! I bet I can still get the oiler rod to slip in place as the tank drops on...

Take a bunch of photo's as you are dismantling the saw, certainly makes it easier to remember where everything goes when it comes time to put it back together. If it is really dirty, consider cleaning it once or twice during the process so you can see all of the fasteners and don't try to force somethaing apart that is still screwed together.

My 7-10 has pinned rings, some older 10-10 models, etc. do not. Make sure you have the correct rings for yours, and fit the rings over the pins before you try to slip it back together. If you do, it will slide right in, if you don't, you will be buying more rings...

A couple more thoughts / observations...I have pretty good luck reusing the fuel tank gasket and the oil tank cover gasket, but they are cheap enough and plentiful so you might want to round them up before you start the project.

Get new gaskets around the spacer (between the engine block and the tank) and the carburetor gasket or gaskets if you have an additional spacer there as well. While you're at it, get a new exhaust gasket to try and prevent any more leakage in that area, again everything is cheap and plentiful.

Mark
 
Last edited:
For me, one of the most difficult aspects of the 10 Series reassembly is remembering to put the shroud in at the right time, then getting the tank, washer, shroud, and engine block all aligned to re-install the screw.

I took Leeha's advice (from the Super series large frame saws) and made a couple of long studs (10-24) to install in the block and then stack the gaskets and spacer before setting the tank back on the saw, seems to help keep everything in alignment during reassembly. REVELATION - I need one more stud to put through the shroud and washer and that will keep the back end in line during reassembly! I bet I can still get the oiler rod to slip in place as the tank drops on...

Take a buch of photo's as you are dismantling the saw, certainly makes it easier to remember where everything goes when it comes time to put it back together. If it is really dirty, consider cleaning it once or twice during the process so you can see all of the fasteners and don't try to force somethaing apart that is still screwed together.

My 7-10 has pinned rings, some older 10-10 models, etc. do not. Make sure you have the correct rings for yours, and fit the rings over the pins before you try to slip it back together. If you do, it will slide right in, if you don't, you will be buying more rings...

Mark

veteran, i told you one would come along. :msp_thumbup:

i haven't used any of that threebond 1194. what am i missing? could you name some uses that would make me decide i can't live without that in the shop?
 
veteran, i told you one would come along. :msp_thumbup:

i haven't used any of that threebond 1194. what am i missing? could you name some uses that would make me decide i can't live without that in the shop?

Sealing up crankcases (and around the bearings on a 10-series). Sealing up fuel tank halves. Using as a 'skim coat' on oil tank gaskets. What do you use now Joe? RTV products are unsuitable because they don't play well with prolonged gasoline exposure.
 
I have used Indian Head gasket shellac, some blue silicone, and Threebond 1194.

The Threebond may be a little bit messier than silicone (stuff gets stringy if you are not careful) but no worse than Indian Head and it really seems to make a good seal.

On the 10-10 E project over the weekend I had to take it down a second time after installing a new seal on the PTO side as there was a little leak at the joint. Fact is it looked like someone had replaced the front half of the crankcase on this one and maybe the parts did not fit up as precisely as intended. In any case, the second time with a little more generous serving of Threebond the crank case seal was complete.

Good point though to the OP on this topic, be sure to make a pressure/vacuum test of the crank case before you put the whole thing back together and replace the seals if there is any doubt whatsever. The seals may be a bit harder to find but again, they are out there if you look.

Mark
 
I've been using that aviation grade sealer from permatex, it's been working well. I think I'll pick up a tube of this 1194 and try it out.
 
Chainsaw lab needs a clock. I got my favorite 800 back together tonight/this morning. Can't test run it at 1AM so maybe in 18 hours or so. The SP81 muffler body with homemade stainless cap/baffle and grill-less 800 chain brake/clutch guard looks kind of funky. I don't want to put a good clutch cover on it as the grill breaks too easy. If all goes well I'll post some pictures later. Ron

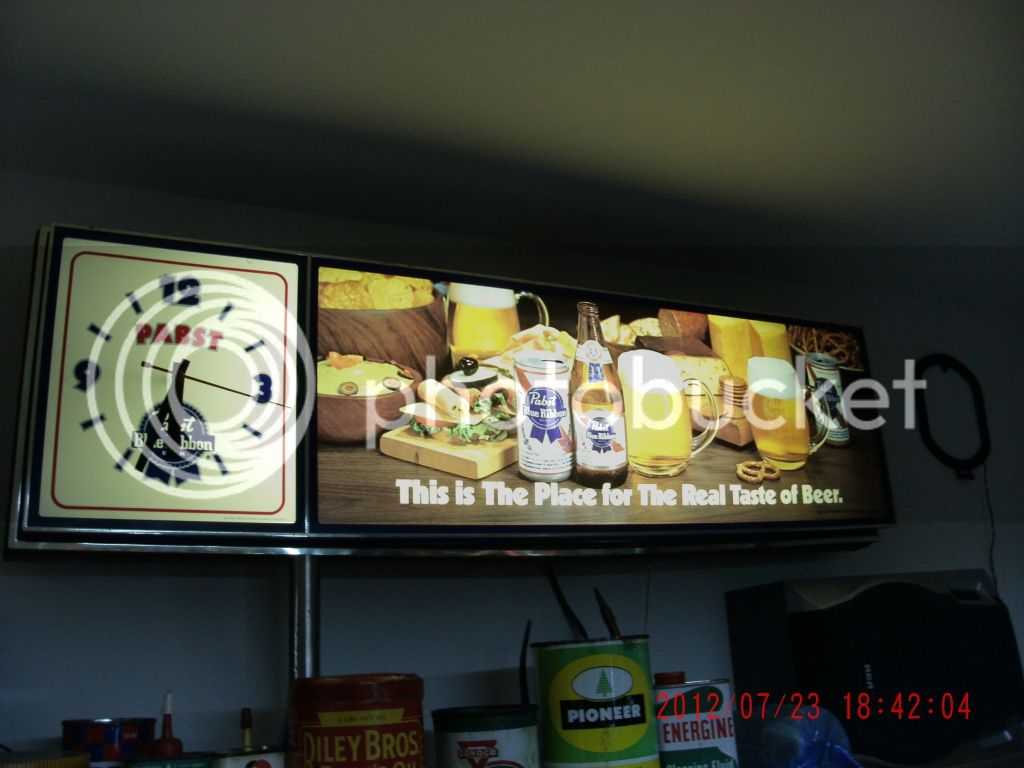
You need a clock like one of these:

View attachment 245968
View attachment 245969
View attachment 245970

If i want the picture to show up and not the link itself, how do I do that?


bob
 
I LIKE that Mac clock, but ...

GEDC0546.jpg
 
Ted, how the heck did you do that, with the pic????? I'm at a lost....:msp_sad:

Sure, I could tell you .... but it'll cost you a clock .... :jester:

1) Determine what the URL is of the picture and copy it from the window in your browser.
2) When you are composing your post and you are at the point where you want to insert a picture, click on the icon that looks 'like a little picture with bold corners'
3) In the pop-up window click on 'from URL'
4) Paste in the URL from #1 above and remove the check from the box
5) Click OK ... you'll see how the editor wraps the 'IMG' tags around your URL
6) Go ahead and post your reply ... you should see your pix.

Cheers!

Edit: There are several members here that have similar instruction for posting pix. There are variances caused by the use of different browsers/versions. Hope you find this helpful.
 
Last edited:
Wow thanks for all the great tips guys! In the coming months look for some pictures and report when I tear into it. I'm going to have to print this page!
 

Latest posts

Back
Top