New guy in Maine

Arborist Forum

Help Support Arborist Forum:

This site may earn a commission from merchant affiliate links, including eBay, Amazon, and others.
Put a wrap of 2" masking tape around the tree, use it for a guideline until you get your lazer eye used to it.

Awesome idea guys! I did end up feeling a bit better as we have a new neighbor who is starting to build a house. He is doing his own clearing and i took a walk to check it out yesterday. ALOT of ugly stumps! farmer cuts, mismatched notches, back cuts a solid foot above the hinge cut. I squirmed a bit, and i know i am nowhere near a experienced cutter. I just hope i don't find him pinned under something one day.


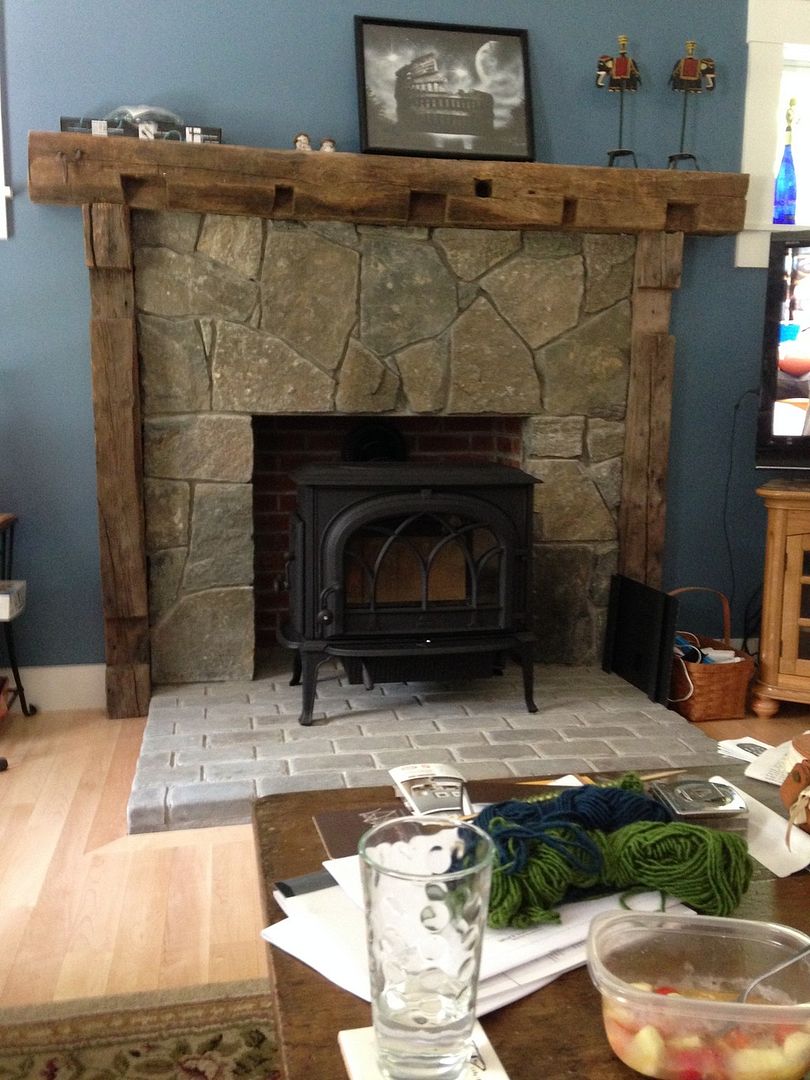
In more exciting news, stove is in!


Did some reading and I know i need to do some small burns to let her swell up and set the paint. Going to pick up a condar top temp gage at some point and probably wait until end of sept to do the burns. let it be a littler cooler, but nice enough that i can open windows. It is the Jotul F500 Oslo for people not familiar with it.
 
trukn2004, don't be afraid to cheat abit and use stuff like tape to get your cuts better. I would much rather laugh at you with tape on the tree than see your obit because you didn't. I do crappy cuts all the time but I pick my trees to do them on. I do most of my cutting in a bush and direction seldom matters so I practice trying to make trees go where they naturally wouldn't want to go. I dropped 3 big trees a week ago on a front lawn and they went exactly where I wanted them to go. The practice paid for itself that day. My buddy would cuts all the time was impressed, especially when I pointed out a widowmaker laying across the tree he was starting to cut down. It was about 50' up and he never noticed it because he was in a hurry to show me how good he is. You can never spend too much time checking for "oh crap" moments.
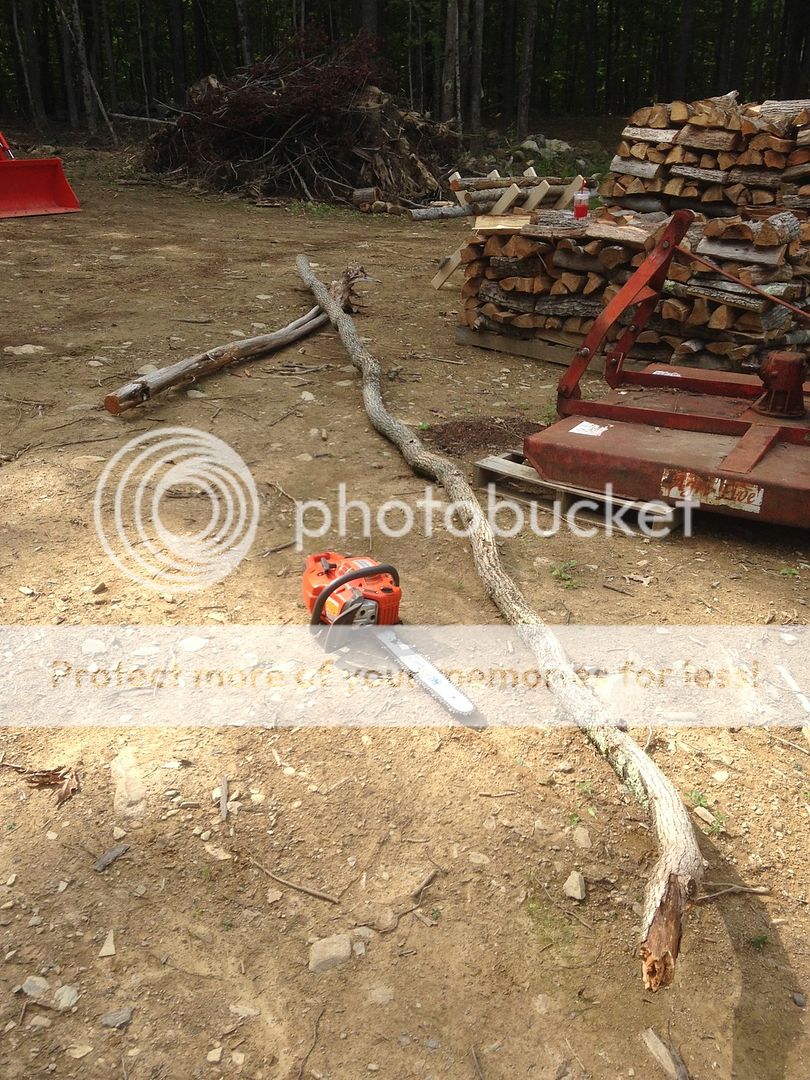
This isn't the one but it was one like this but much higher up in a tree that didn't get damaged, the branch landed in that tree from a tree 30' away. This one was up about 30' high. We dropped 6 trees so far and have a few left to go. The most dangerous ones are on the ground now but we'll still treat them with respect. Wind can cause damage that you can see until you start cutting. The ashes are 30+" and the silver maples are 24 to 36" dia. There is a 7' willow but not sure if I'm going to drop it or not yet.
IMG_20150808_182714.jpg
 
trukn2004, don't be afraid to cheat abit and use stuff like tape to get your cuts better. I would much rather laugh at you with tape on the tree than see your obit because you didn't. I do crappy cuts all the time but I pick my trees to do them on. I do most of my cutting in a bush and direction seldom matters so I practice trying to make trees go where they naturally wouldn't want to go. I dropped 3 big trees a week ago on a front lawn and they went exactly where I wanted them to go. The practice paid for itself that day. My buddy would cuts all the time was impressed, especially when I pointed out a widowmaker laying across the tree he was starting to cut down. It was about 50' up and he never noticed it because he was in a hurry to show me how good he is. You can never spend too much time checking for "oh crap" moments.
This isn't the one but it was one like this but much higher up in a tree that didn't get damaged, the branch landed in that tree from a tree 30' away. This one was up about 30' high. We dropped 6 trees so far and have a few left to go. The most dangerous ones are on the ground now but we'll still treat them with respect. Wind can cause damage that you can see until you start cutting. The ashes are 30+" and the silver maples are 24 to 36" dia. There is a 7' willow but not sure if I'm going to drop it or not yet.
View attachment 444303

Thanks Cantoo! I definitely treat all the trees with as much respect as I can. Working in a forest I don't really care too much which way the tree falls, so I take the time to read each one and send it towards its natural lean. A walk around the base, looking up and checking surrounding trees is done each time. If I come across one that I don't think I can control it is left as-is. I am getting better each tree I drop! Widowmakers are definitely no joke!
 
Have heard good reviews on the Jotul stoves----sure a nice looking mantle, rock, stove, etc.

I totally agree!!!
Thanks guys! the whole stove area just kind of came together. I liked a more uniform look, and the wife like more flow. So we used bluestone pavers for the floor and some sort of rock on the wall. Got all of it for half off at a landscaping company that was closing. I had originally planned to have a mantle milled from a piece of wood off of the property, but a buddy was tearing down a 100+ year old barn and that beam had great character and presence. The uprights were two smaller beams that I planned to use in another room but they were too short. The stone guy wanted a easy edge to put his rock too, and the plaster guys wanted a nice straight edge to work to as opposed to a jagged rock. Worked out for everyone and I think it does a great job of framing out the stonework.
 
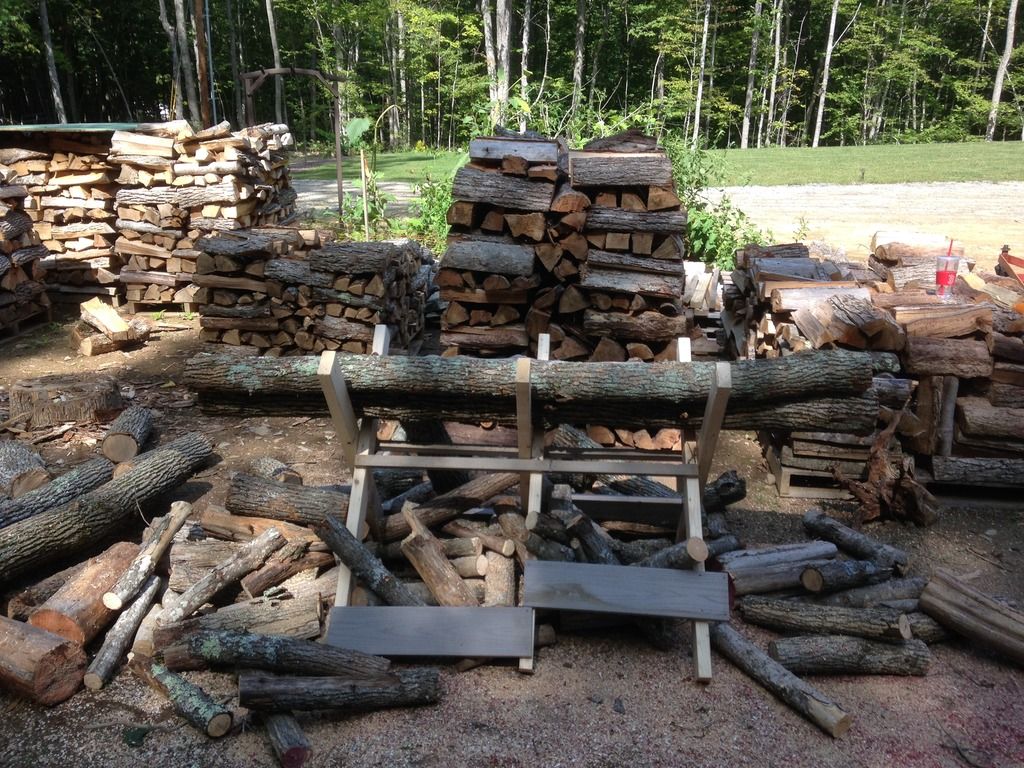
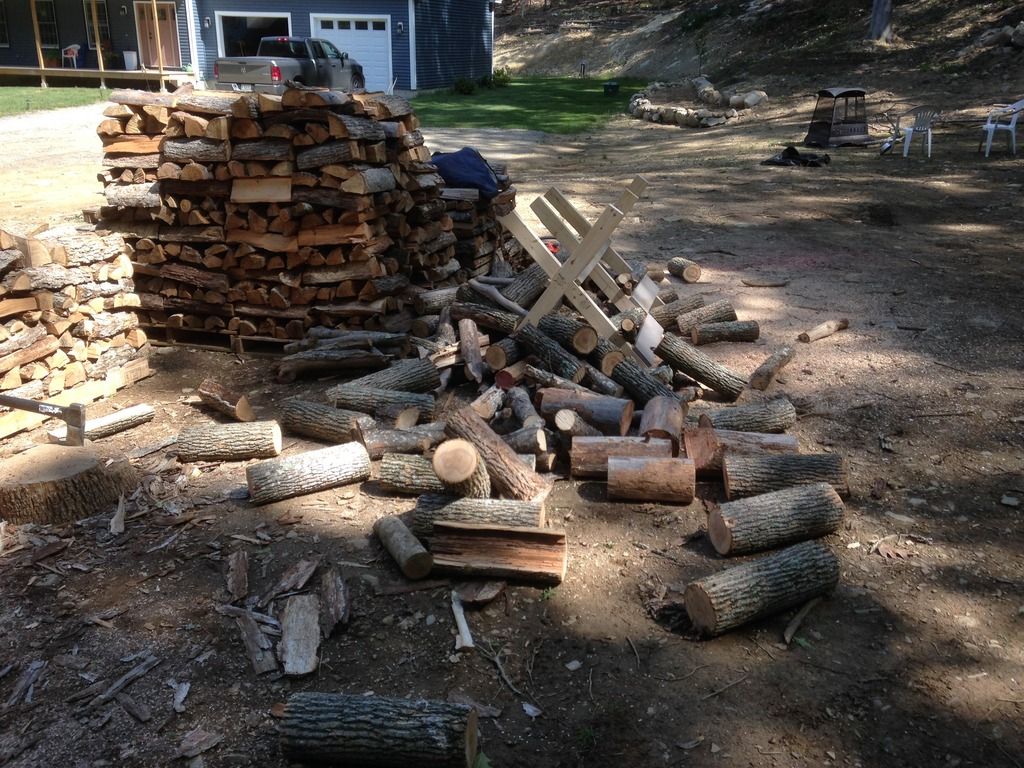
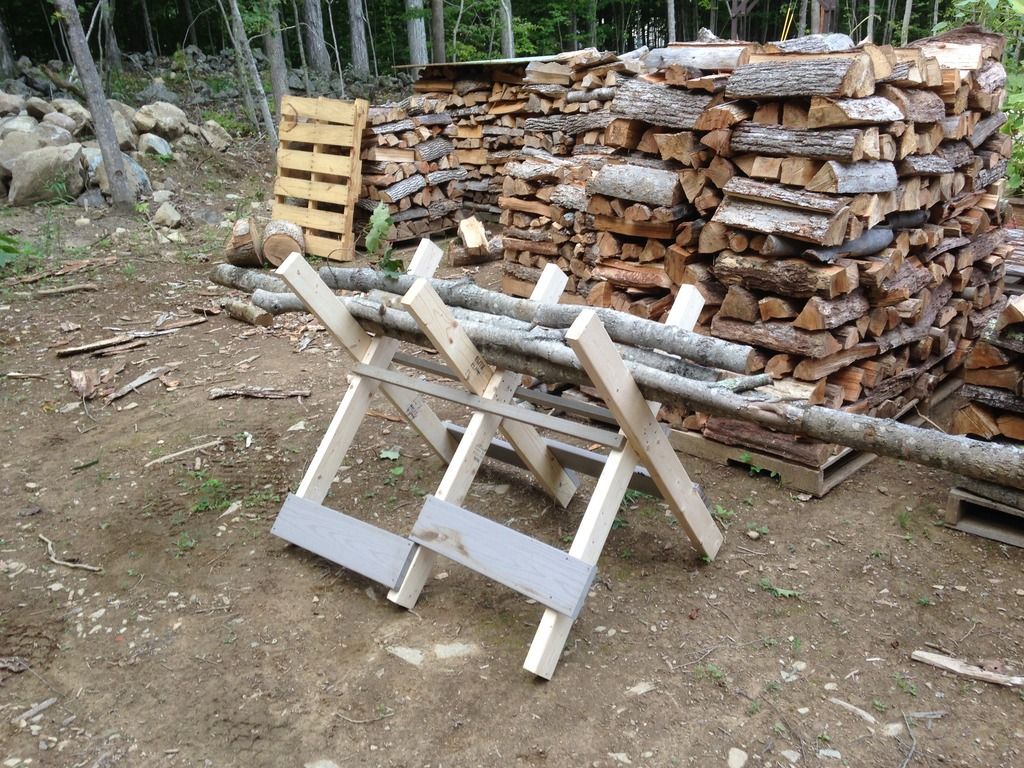
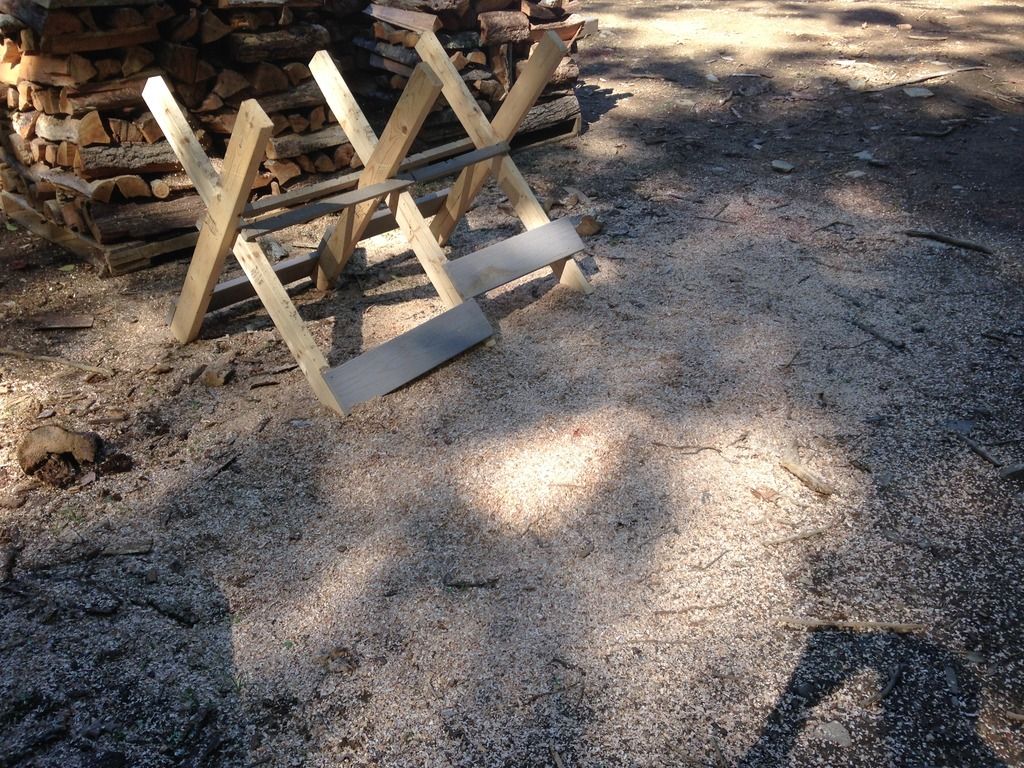
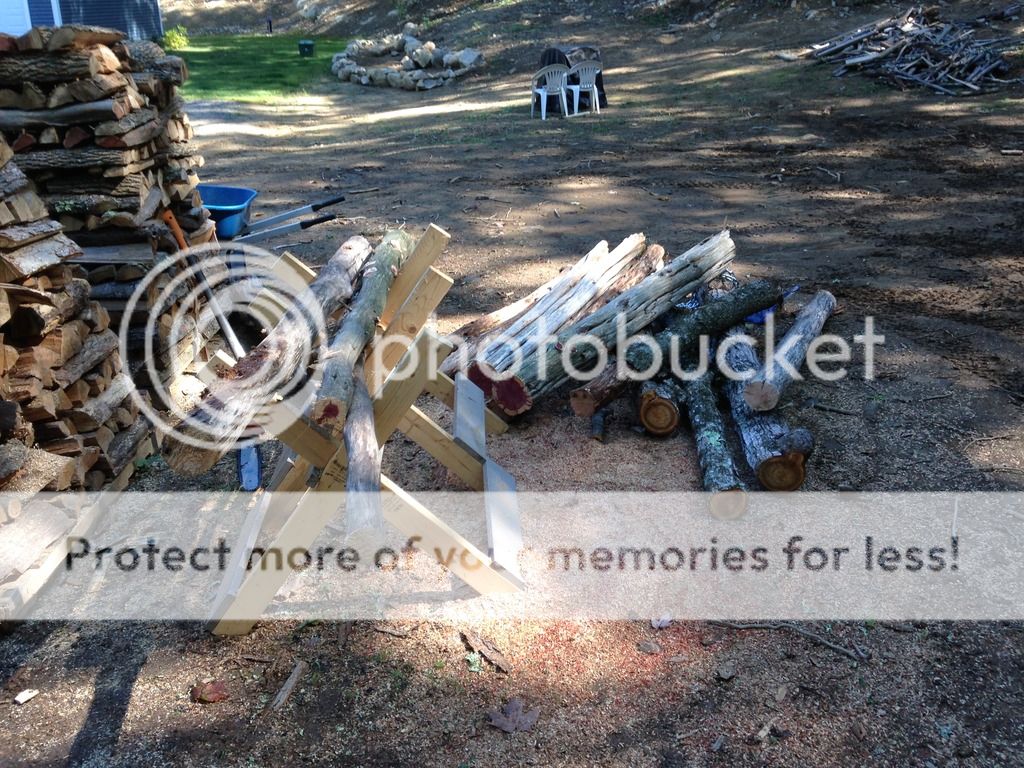
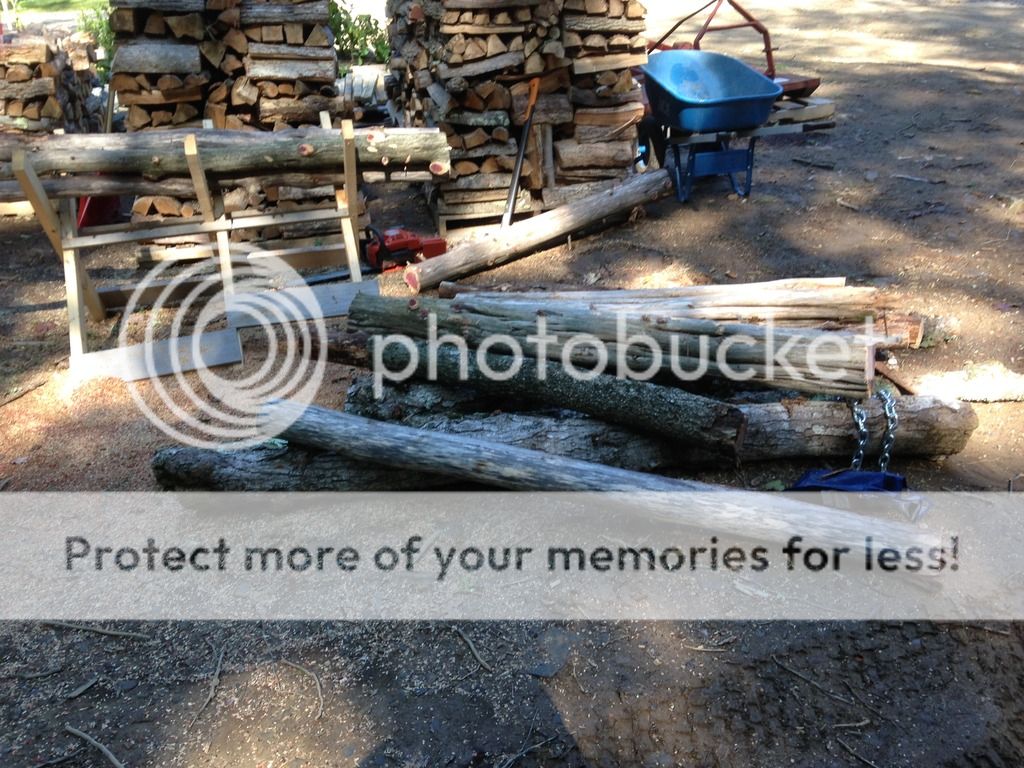
Well I spent today doing a bit of cleaning up around the house. I have been postponing building a log sawhorse to aid me with cutting up some of the smaller pieces of wood that I tend to leave since it is a pain to buck them up individually on the ground. My whole day today consisted of "Zogger wood". :happybanana:All in all I cut up two cedars, 5 standing dead ash, and a few small maples. Nothing had a diameter of more then 8" and I cut and saved down to roughly 3". Overall I have to say I LOVE the sawhorses. makes processing this type of wood a lot easier, cleaner, and quicker. On to the photos!

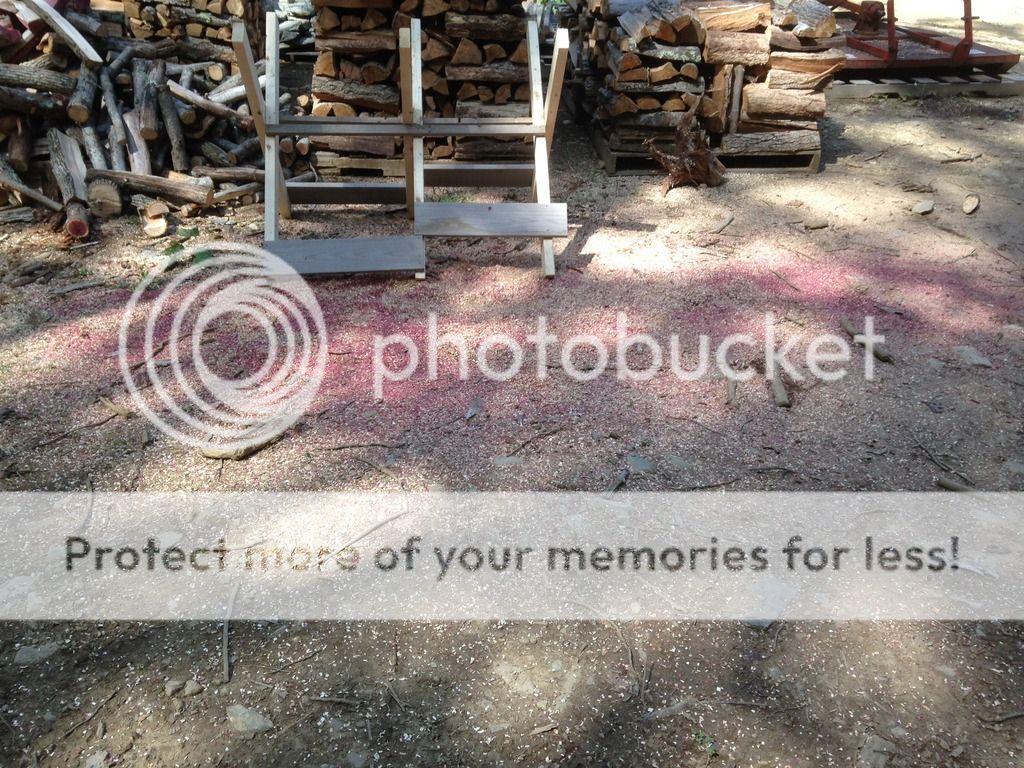
the wood sits right about waist high on me, and I used cut off pieces of decking for rigidity. the space between each set of legs is roughly 22-24 inches. total cost $0.00


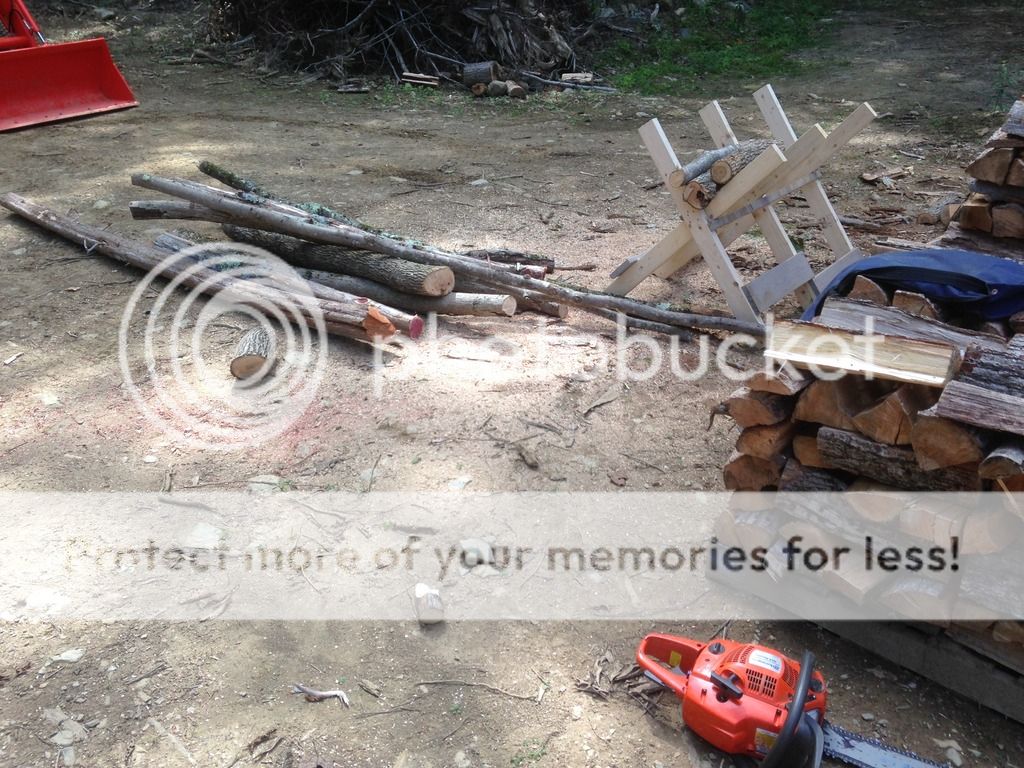
Some of the first victims. I tried to cut them to roughly 8-12 feet long.


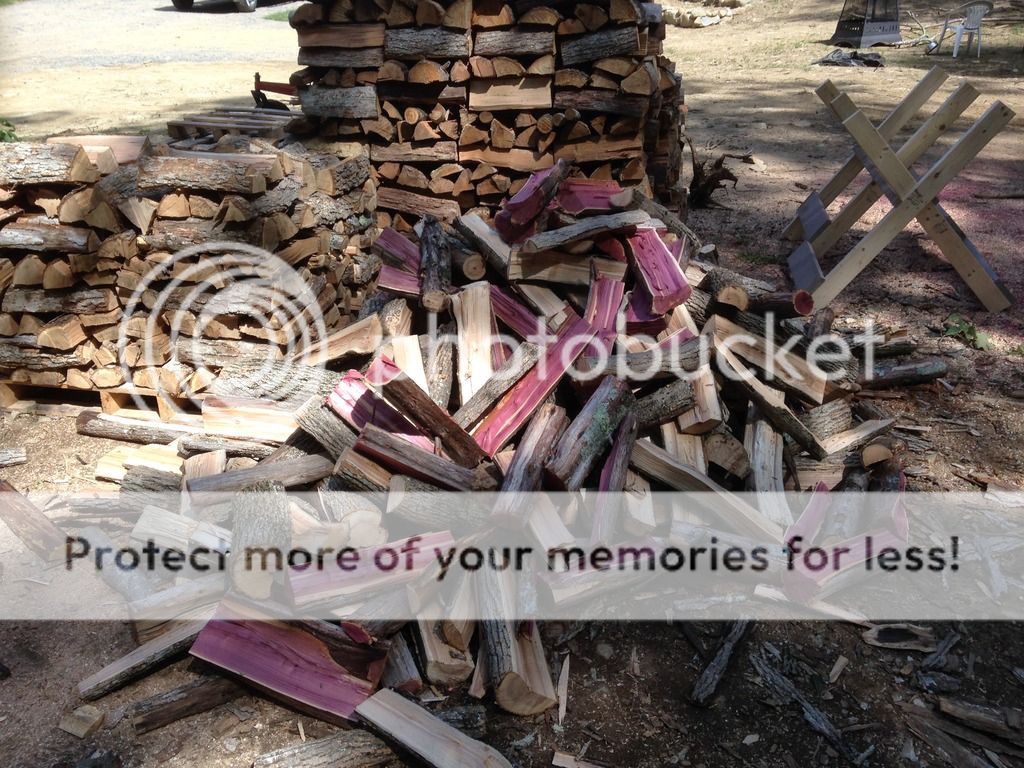
Cedar made this quite pleasant! beautiful color chips and a great aroma in the air.


All split!


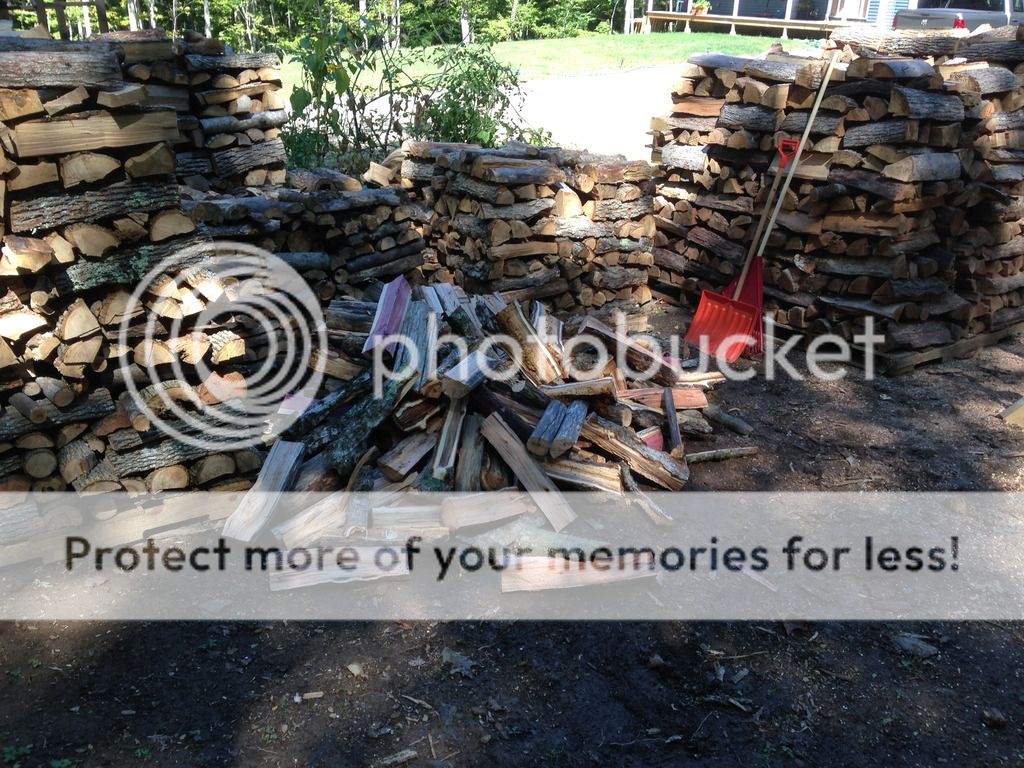
I ended up stacking it, but forgot a pic. I basically added to existing piles that you see there, making them taller. Not sure how much wood it was, but It was a decent amount for how easily accessible it was, how it cleaned up the property a bit, and how my back didn't hurt at all. Definitely a fan of the new tool.
 
Your'e doing some good work up there in Maine, I like the saw bucks!
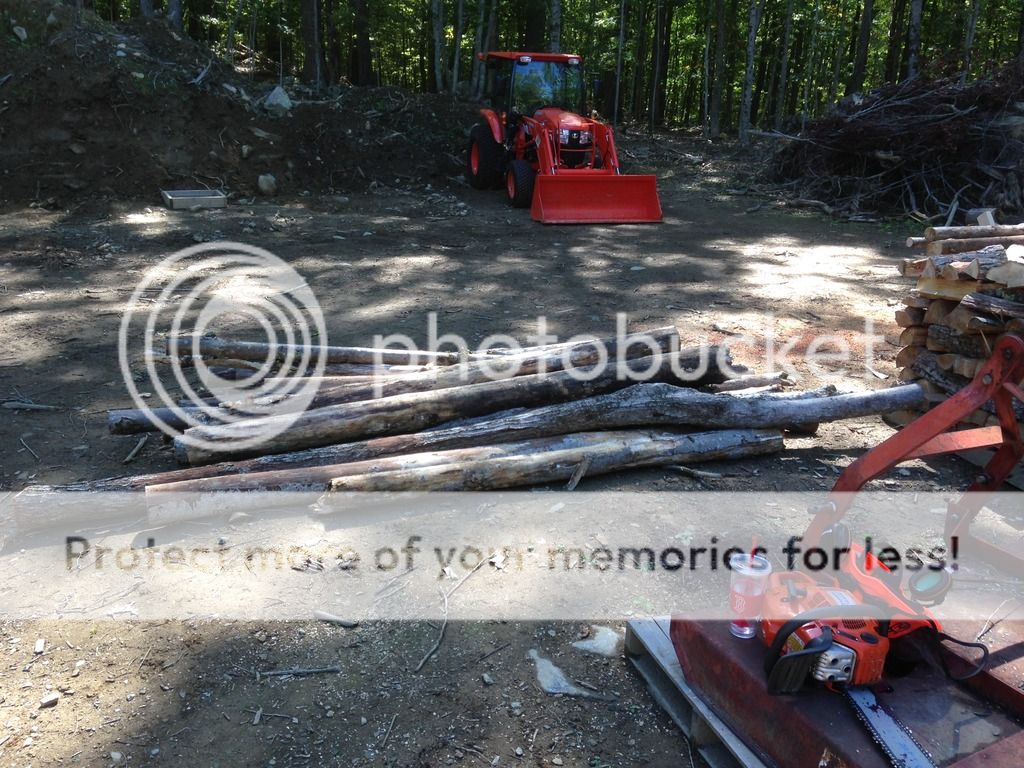
Thanks man! Im doing my best to be more active, help bring the health of my woodlot up, and offset my propane costs with sweat equity! I'm still nervous about it, but my saw isn't idling as well as it used to. I changed the air filter a bit ago, but I did just mix up a new batch of fuel. Not sure what it might be, but I'm guessing its probably something to do with the weather... just a bit nervous to try and tune it myself.
 
go to the auto parts store and get a can of berryman b12 and put a splash right into the tank or add it to your fuel can
2 ounces per gallon. ethanol laced fuels is not helping your problem.
 
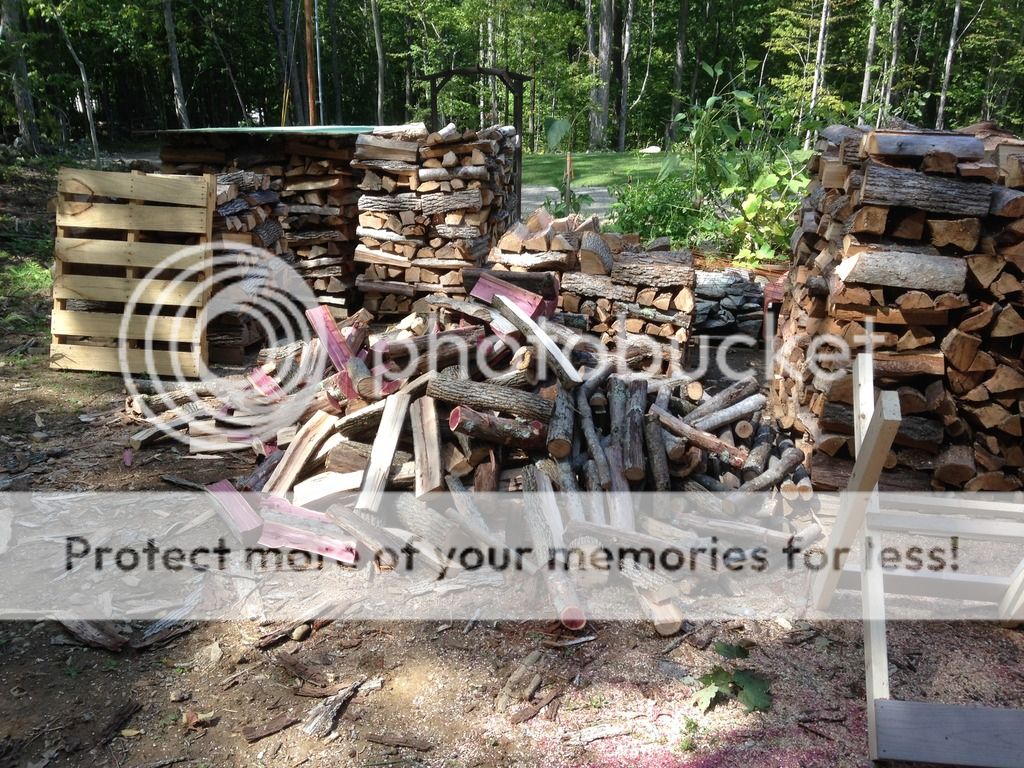
I figured another installment was due. the following work was done over a couple days, but it made a nice addition to the stack and cleaned up the woods too!

My first run was a bunch of dead, small maples laying on the ground. completely de-barked, solid and dry as a bone!

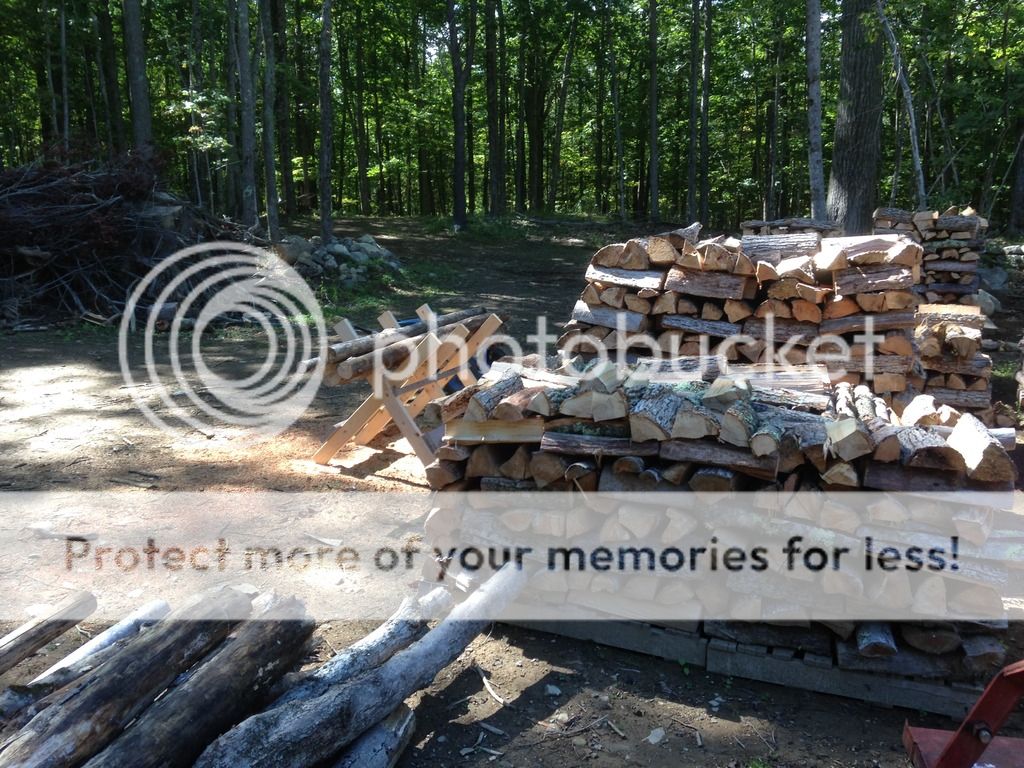
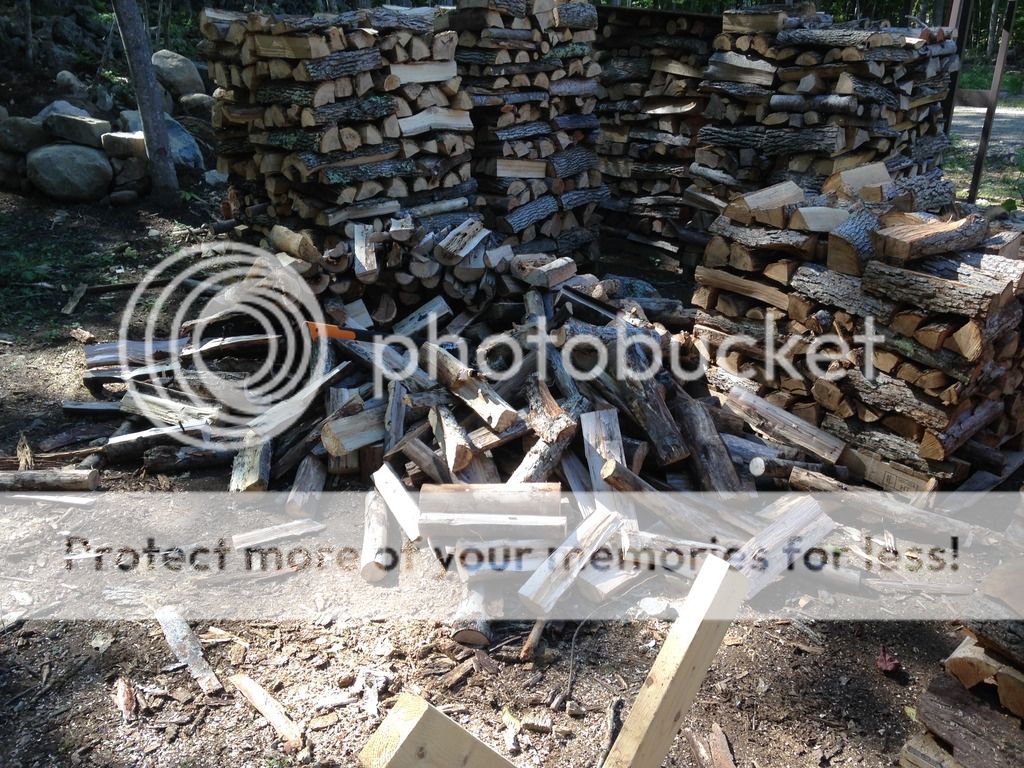


the middle pallet is the resulted stack. not too bad for a bunch of little trees that were easy to get and already very dry
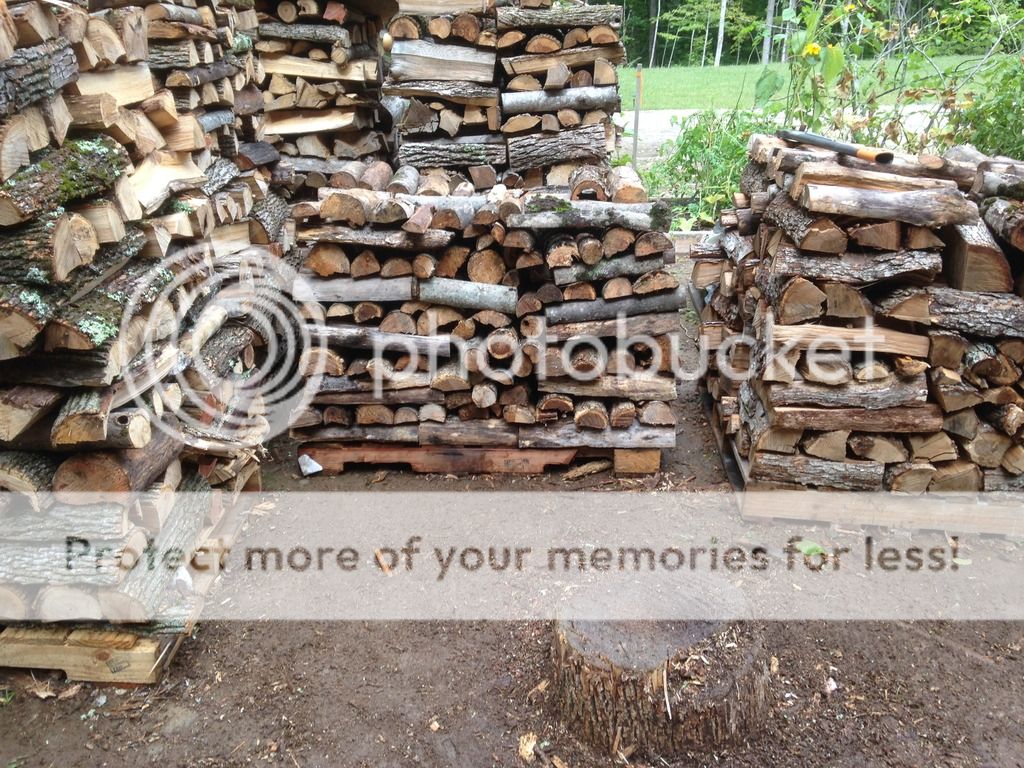


I know its all the same, but i love the chips piles ive been making!

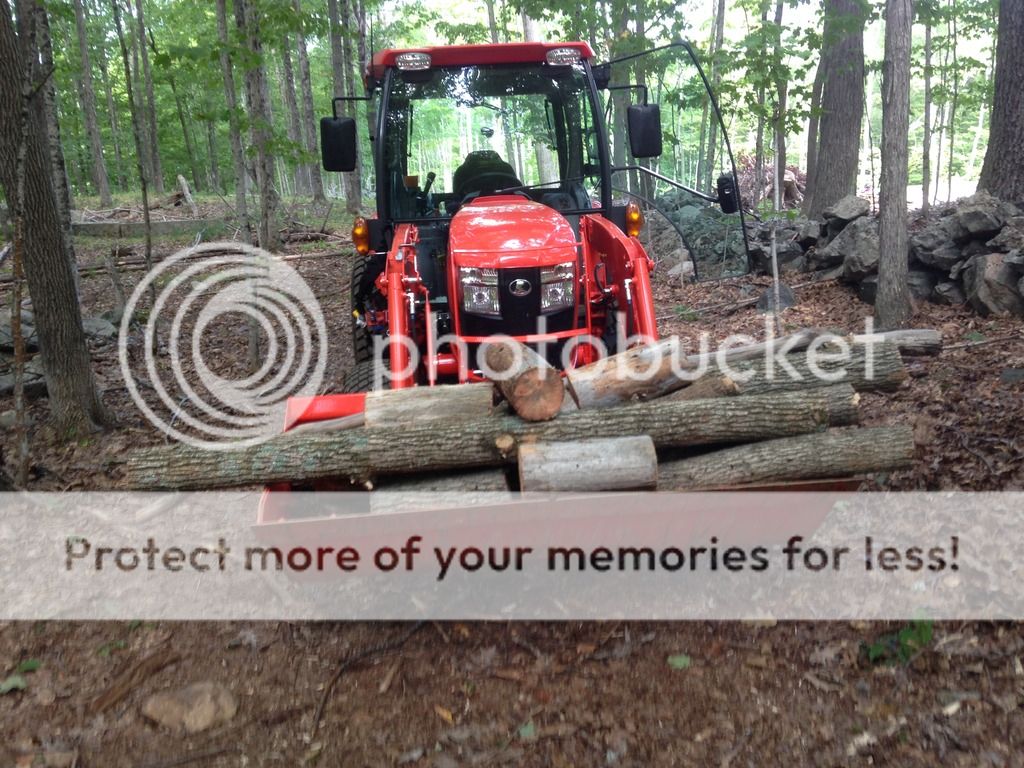
Second, i went back into the woods and took out two of the ash trees i had marked, as well as a little dead cedar. Bigger ash carried to where i could get the tractor.


the pile from the two trees.
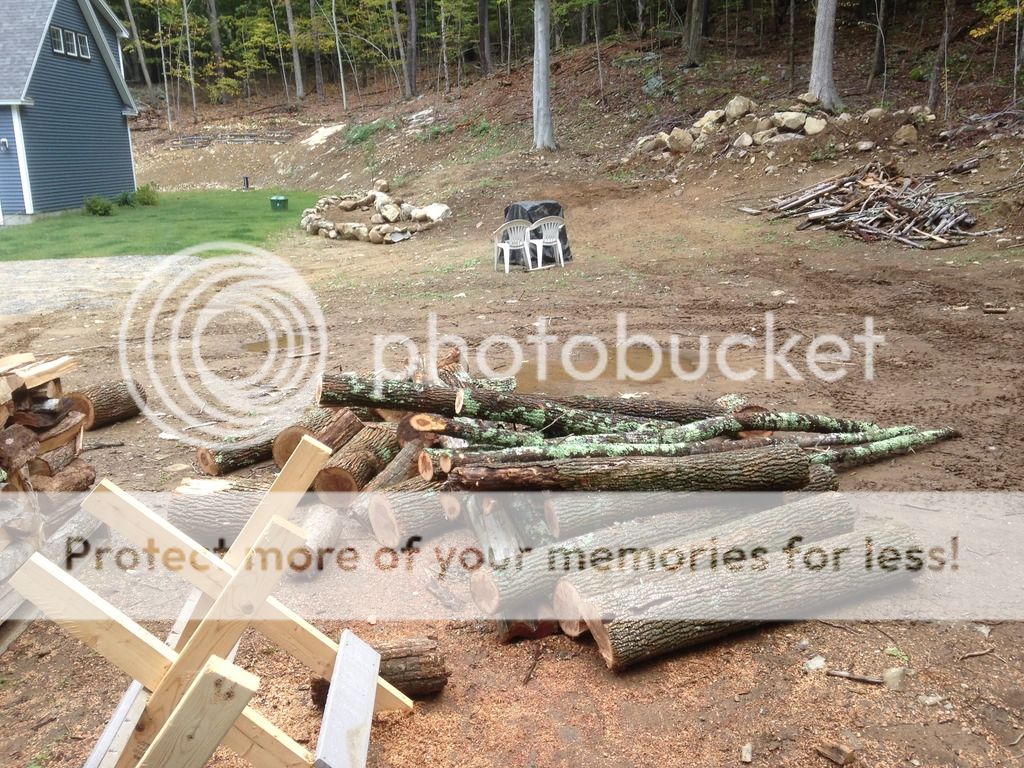


split and stacked! I put in on top of the maple that they took down in my backyard. Figured they will both be perfect for next year.


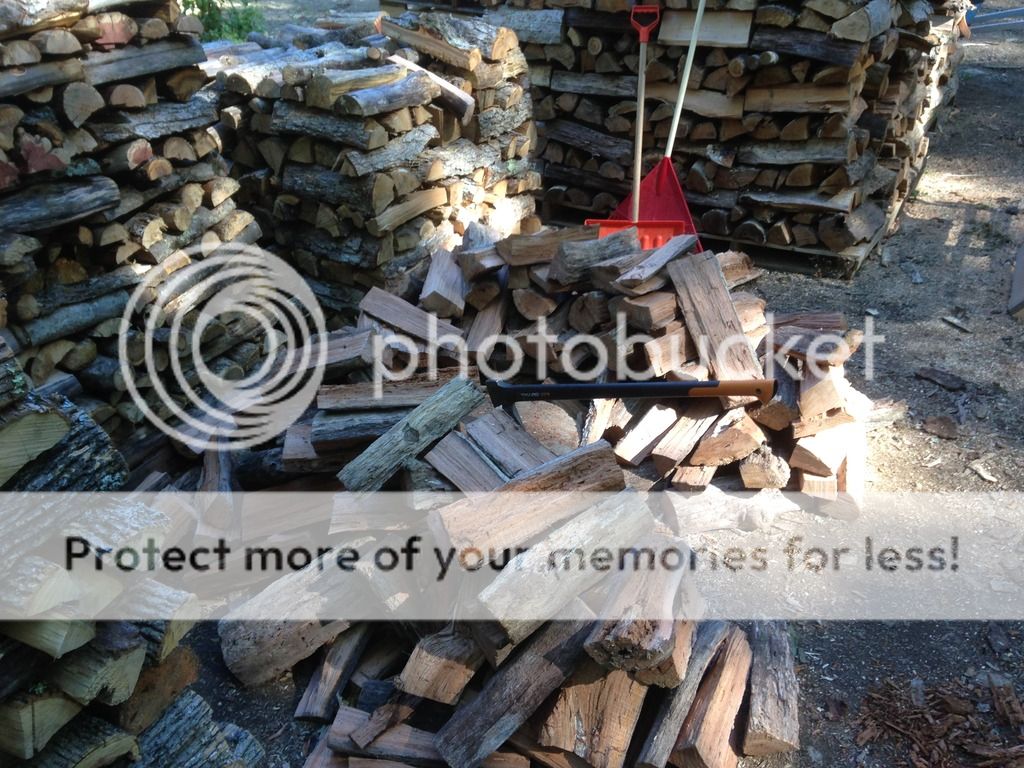
splitting area all cleaned up!
 
I figured another installment was due. the following work was done over a couple days, but it made a nice addition to the stack and cleaned up the woods too!

My first run was a bunch of dead, small maples laying on the ground. completely de-barked, solid and dry as a bone!


the middle pallet is the resulted stack. not too bad for a bunch of little trees that were easy to get and already very dry


I know its all the same, but i love the chips piles ive been making!


Second, i went back into the woods and took out two of the ash trees i had marked, as well as a little dead cedar. Bigger ash carried to where i could get the tractor.


the pile from the two trees.
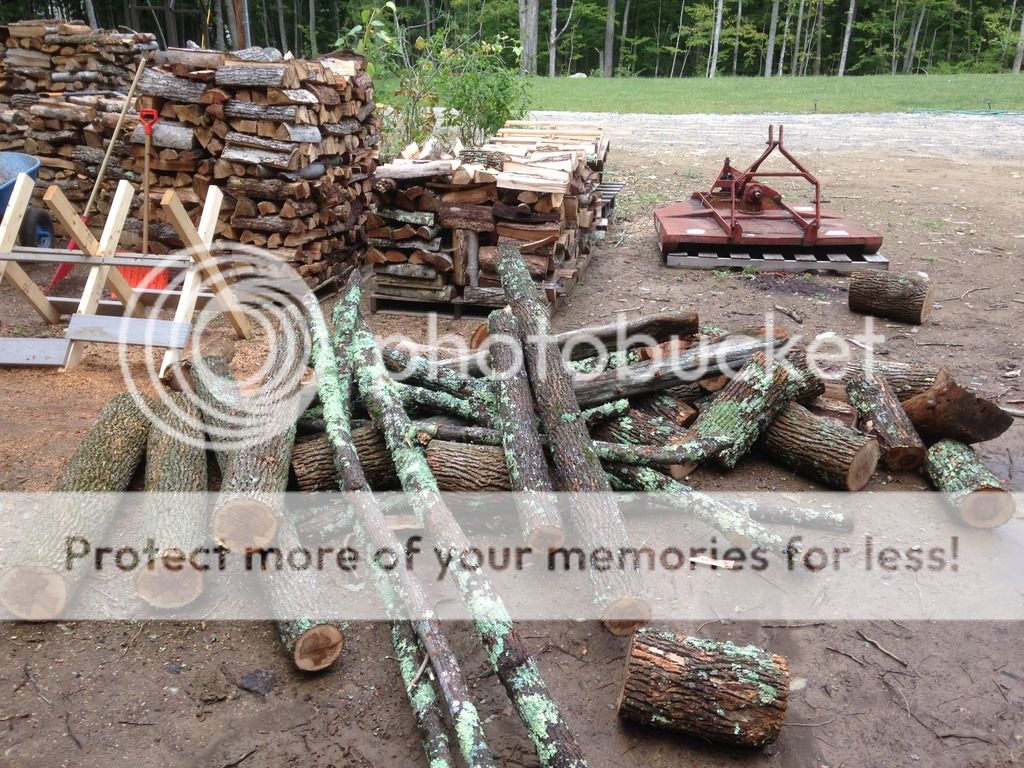


split and stacked! I put in on top of the maple that they took down in my backyard. Figured they will both be perfect for next year.
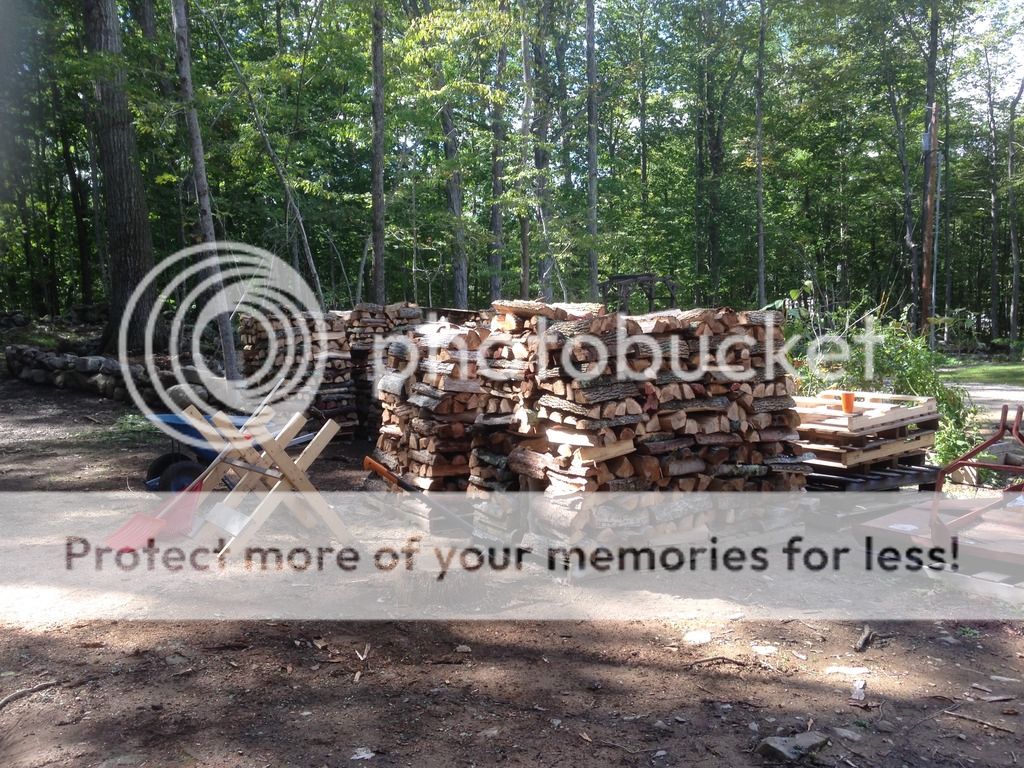

splitting area all cleaned up!
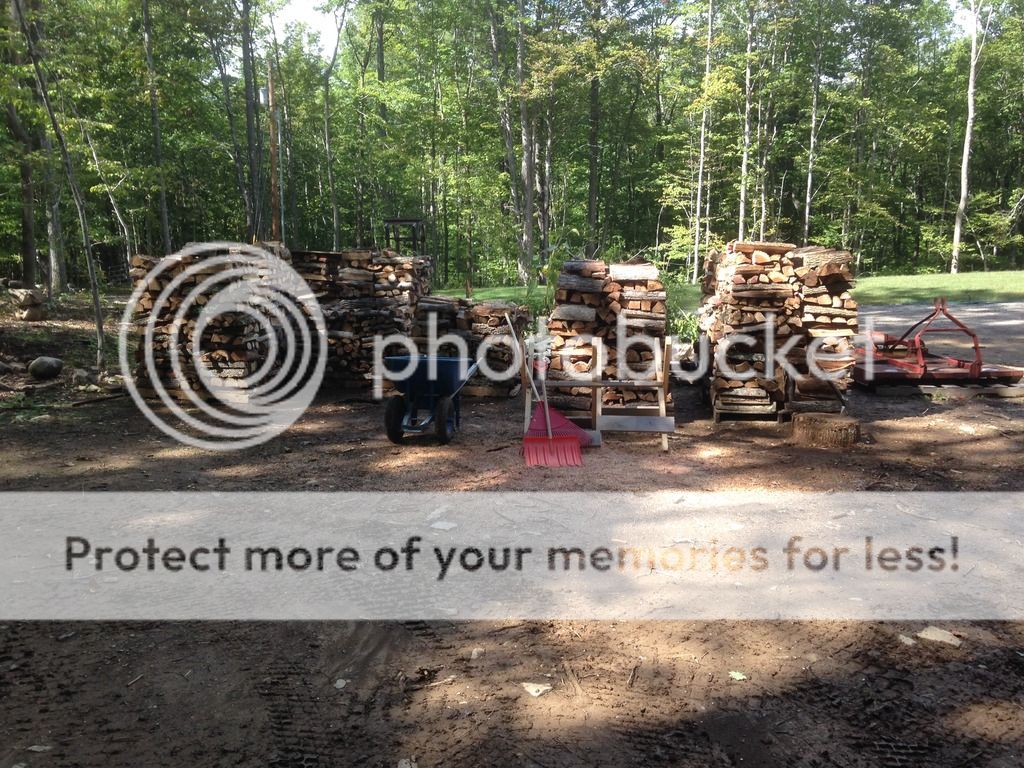
Whoop! too neat! heheheh Good feeling, isn't it?
 
Regarding the saw buck, how do you fellas stop the top sticks from bouncing around? Straps? Make sure only larger sticks are on the top?

What about bent bits that don't stack so easily in the saw buck?
 
Regarding the saw buck, how do you fellas stop the top sticks from bouncing around? Straps? Make sure only larger sticks are on the top?

What about bent bits that don't stack so easily in the saw buck?

Mostly careful stacking. Bent ones get put in all the same for me, but I have had some jump and spin. I try to go slow and ease in to minimize the issue.
Whoop! too neat! heheheh Good feeling, isn't it?

Very much so! I never realized the satisfaction and piece of mind that comes from having a decent amount of wood set up. Feels good.
 
Fun times on the coast! My lot neighbor across the way had to small hung up trees that were making me nervous. I fired up the tractor and took care of them. One was a small red oak, the other a nice size cedar (for our lots). got the wood out and got it split. Not a lot, but a little at a time has got me to where i am now.


Saturday, the wife and I decided to tackle a red oak that was hung up on the hill in a big pine. Got it down safely, cut it up. and got it split. the upper branches that had been off the ground split nice and dry, while the main trunk split out with a decently wet center. I just checked it outside, and the center pieces are already drying. I think once its stacked, it will end up being quite nice for next year.


Finally, woke up to a chilly morning and decided to do the first of the three set in burns. got the stove top to 250 for about two hours to help set the paint and let everything expand. It seemed to burn ok, but wouldn't draft as nice as i wanted. I had to run it with the side door cracked for about 15 mins, then leave the air full open. I attribute that to the high temps outside. it was nice because it kept the stove temps low like the instrucitions suggested, and i will probably wait another couple weeks to do the next burn. Let it cool off more so that I can increase the heat output.


Stunk a little bit, but with all the windows open and a fan blowing across it, the smell abated quite quickly.
 
6b70914fea7e6fb3b1707f58380ea119.jpg


First real burn, cold and rainy outside. Had some trouble with the start, but that was newbie screw ups. She is cruising between 400-475 on a stovetop thermometer. Warmed up the downstairs by 3 degrees in 2 hours.. A load of ash and possibly some maple cooking away. Now that I quelled my fears and learned some stuff, I'm loving the ambiance, heat and comfort. I look forward to many nice warm nights in my future!
 

Latest posts

Back
Top