Project Stumpbroke How I do it

Arborist Forum

Help Support Arborist Forum:

This site may earn a commission from merchant affiliate links, including eBay, Amazon, and others.

Stumpys Customs

Stumpbroke
Joined
Jan 16, 2010
Messages
5,203
Reaction score
1,021
Location
south central MO
Thought a few of ya's might want a lil more in depth look at how I port a saw. I'll be using my current project a Stihl MS460 to illustrate. Feel free to ask ?'s. I'll do my best to answer. I do want to add this is not the only way to do it, just the way I do it.

Just a run of the mill well used MS460 with a couple of new parts to go with it.
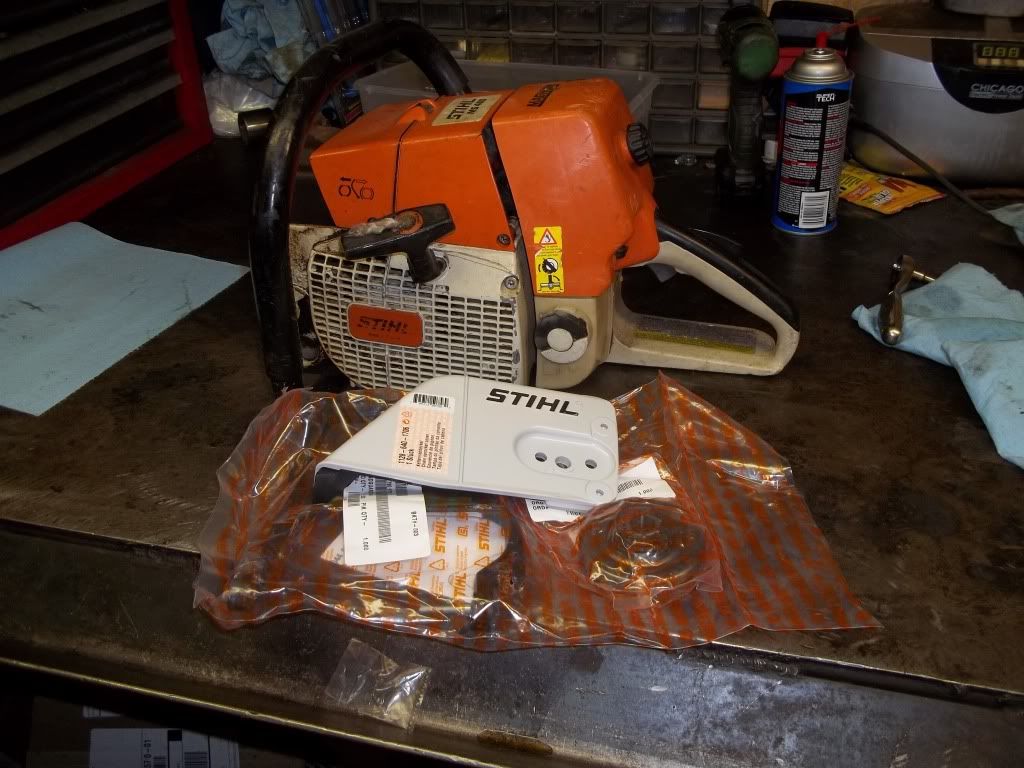
100_1887.jpg


Normal grit & grime from being used for it's intended purpose.
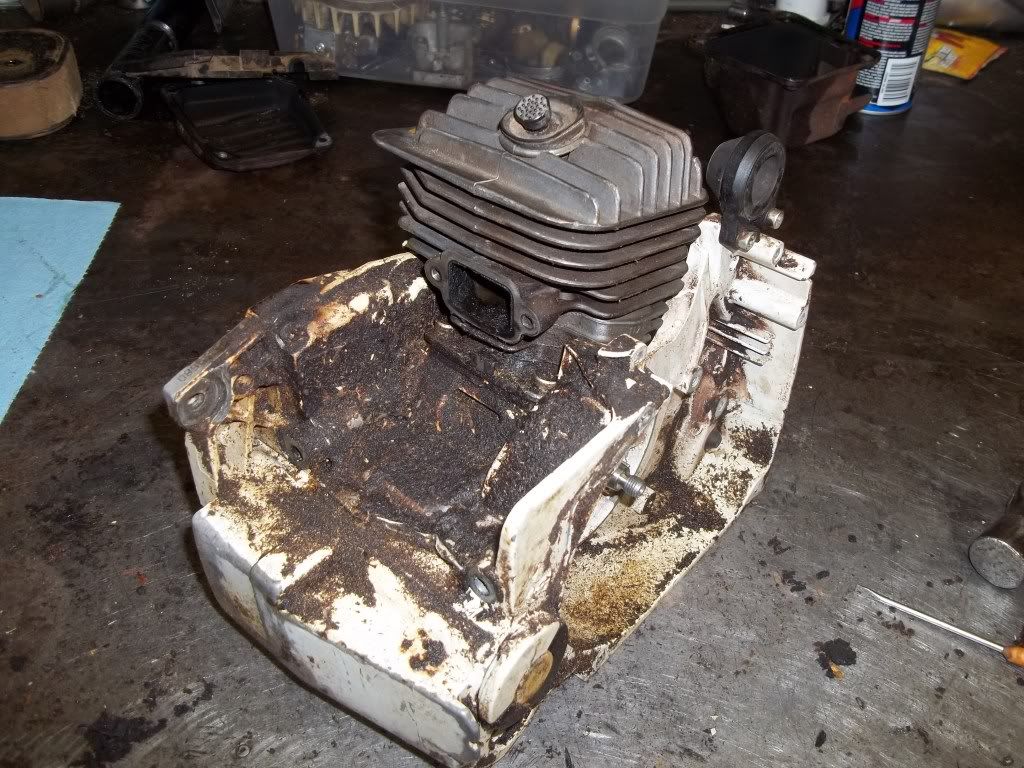
100_1888.jpg


The first step is to get everything as clean as possible. I have a parts washer outside the shack that the saws take a bath in.
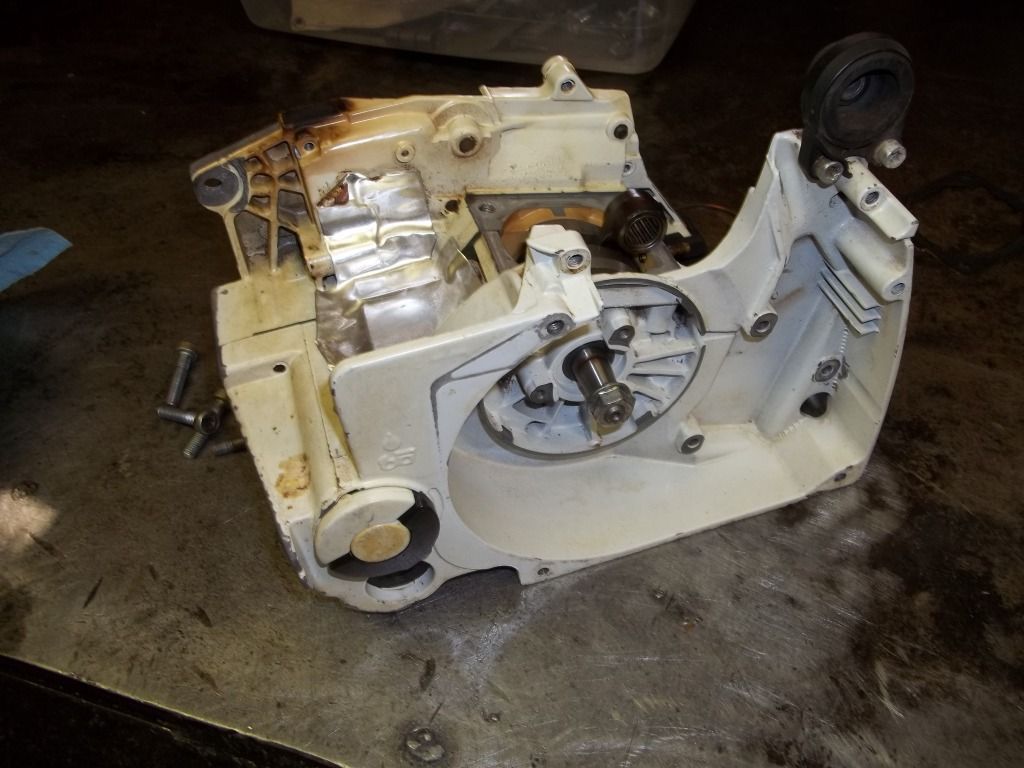
100_1990.jpg
 
Stump, you must have one hellva solution in the parts washer...that stuff cleans! mind sharing the mixing ratio and contents.Looks like gloves need to be worn with face shield.....Later Jody
 
Stump, you must have one hellva solution in the parts washer...that stuff cleans! mind sharing the mixing ratio and contents.Looks like gloves need to be worn with face shield.....Later Jody

Yea... How much just to clean the saw??? I got this really nasty thing...
Well...:msp_sneaky:
 
Stump, you must have one hellva solution in the parts washer...that stuff cleans! mind sharing the mixing ratio and contents.Looks like gloves need to be worn with face shield.....Later Jody

It's just parts cleaner from the local hardware store. I think it's just mineral spirits. I just use a brush & some elbow grease to get em clean. I usually wear gloves, but sometimes I don't. It's not all that harsh.
 
After I get the machining done I install the piston & cyl and set up the degree wheel to start marking out how much I need to take off the ports to get them where I want. I start with the ex, then the upper transfers, and on to the intake. I turn the degree wheel to the number I want then I make a mark on the piston for the intake & exhaust thenmeasure from the edge to the line to give me the amount of material to remove from the port. on the transfers I have to make a mark at where the port is before grinding & then turn the wheel to the desired degree & make another mark. I hope that all makes sence.:msp_confused:

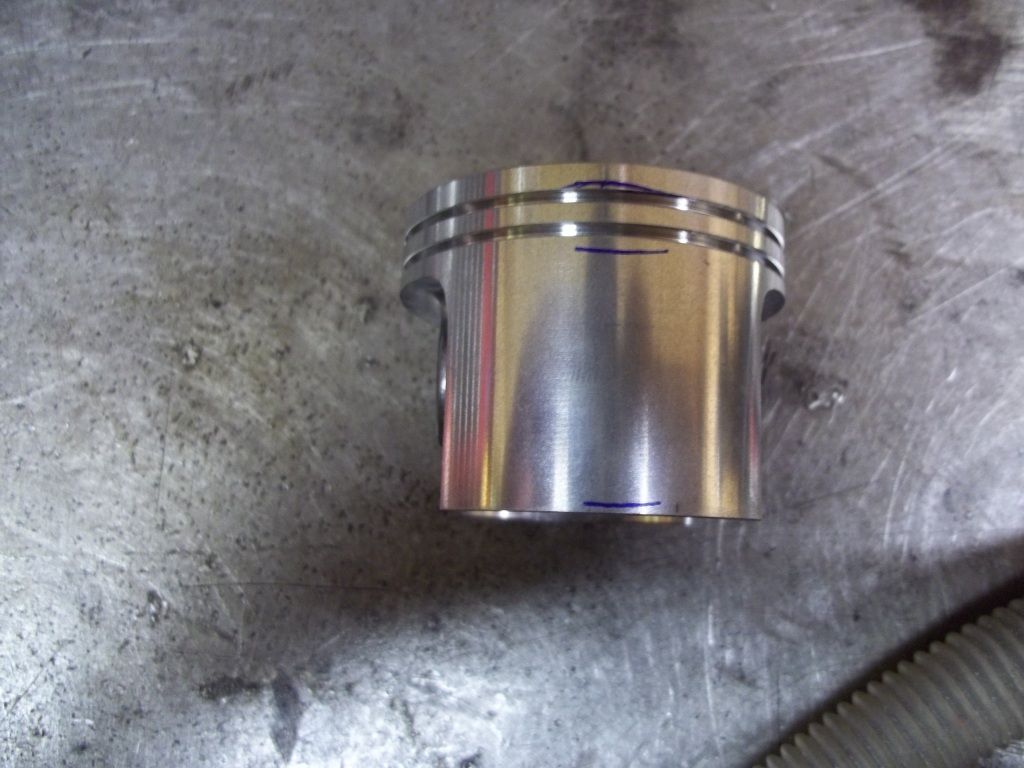
Here's the ex side of the piston with the marks. The top one is how much I need to remove from the roof of the ex port. The middle mark is the Upper transfer mark. It lined up with the top of the second ring groove when the top of the piston was even with the trans port.
The bottom mark is how much of the skirt is below the ex port @ TDC.
100_2029.jpg


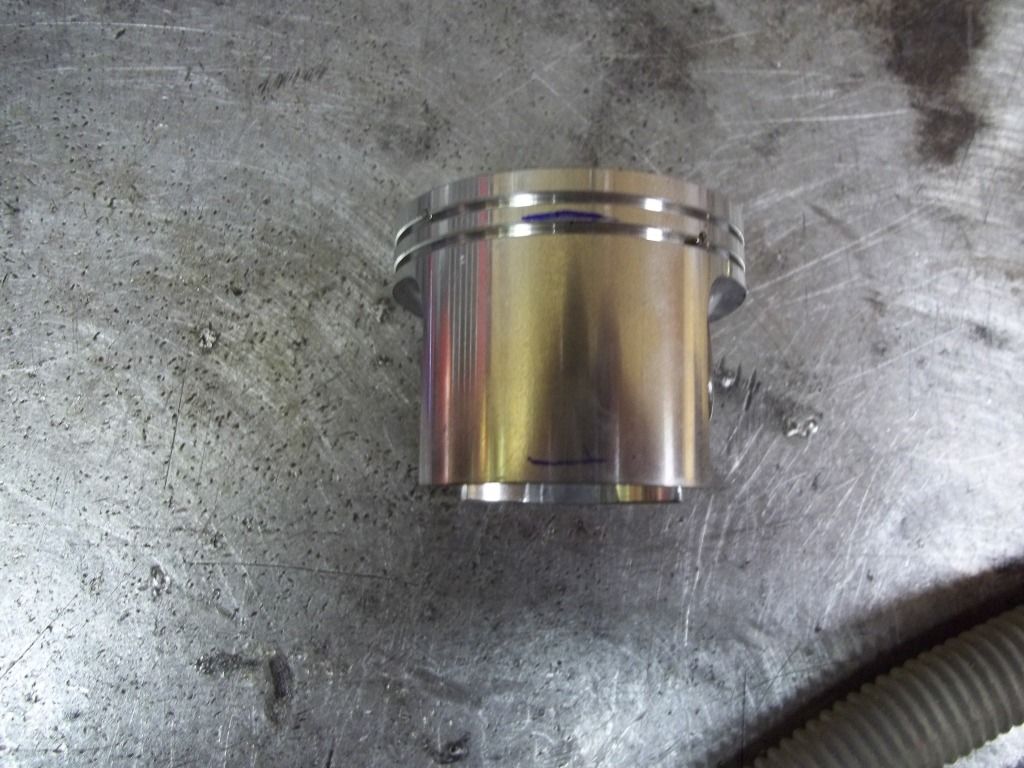
The intake side is done the same way as the ex. I set the wheel to the degree I want it at & make a mark on the skirt. The upper mark is just a reference to where top of the intake port is on the piston @ BDC.
100_2028.jpg
 
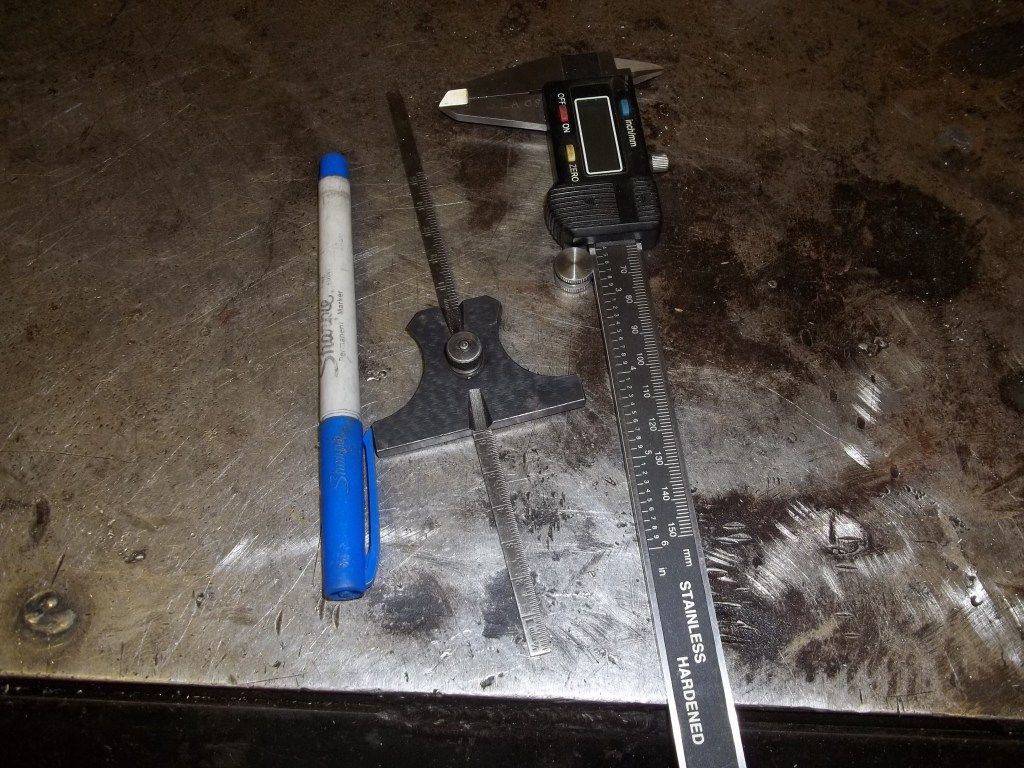
Now I'm ready to lay the cyl out. Are the tools I use for that
100_2024.jpg


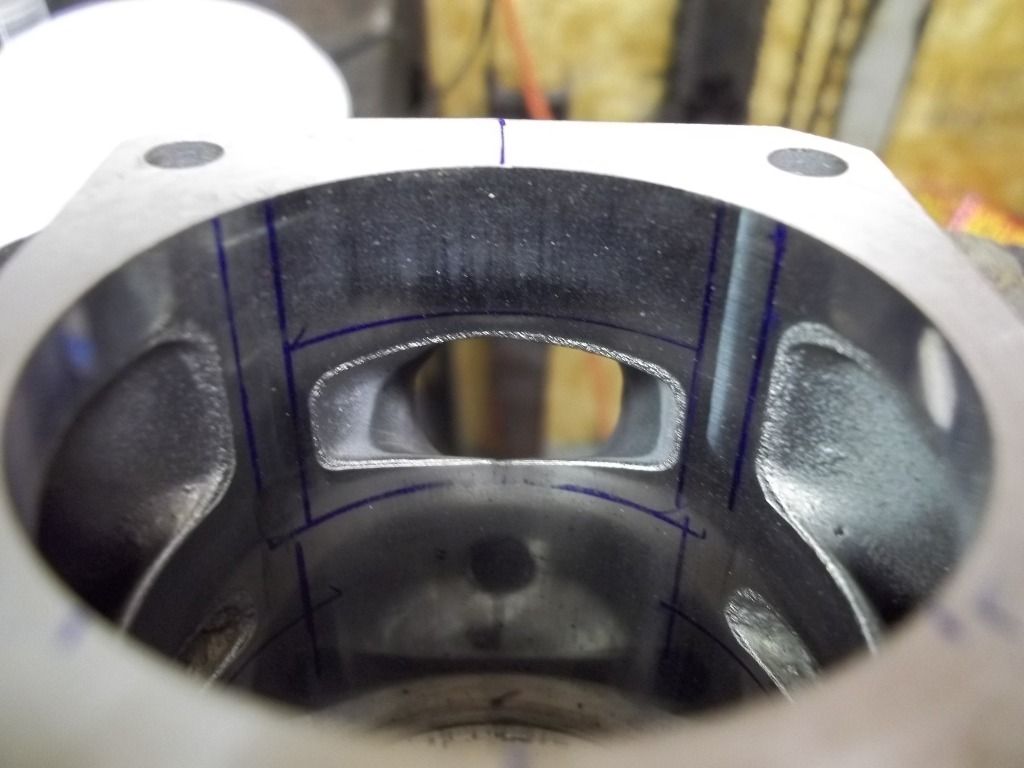
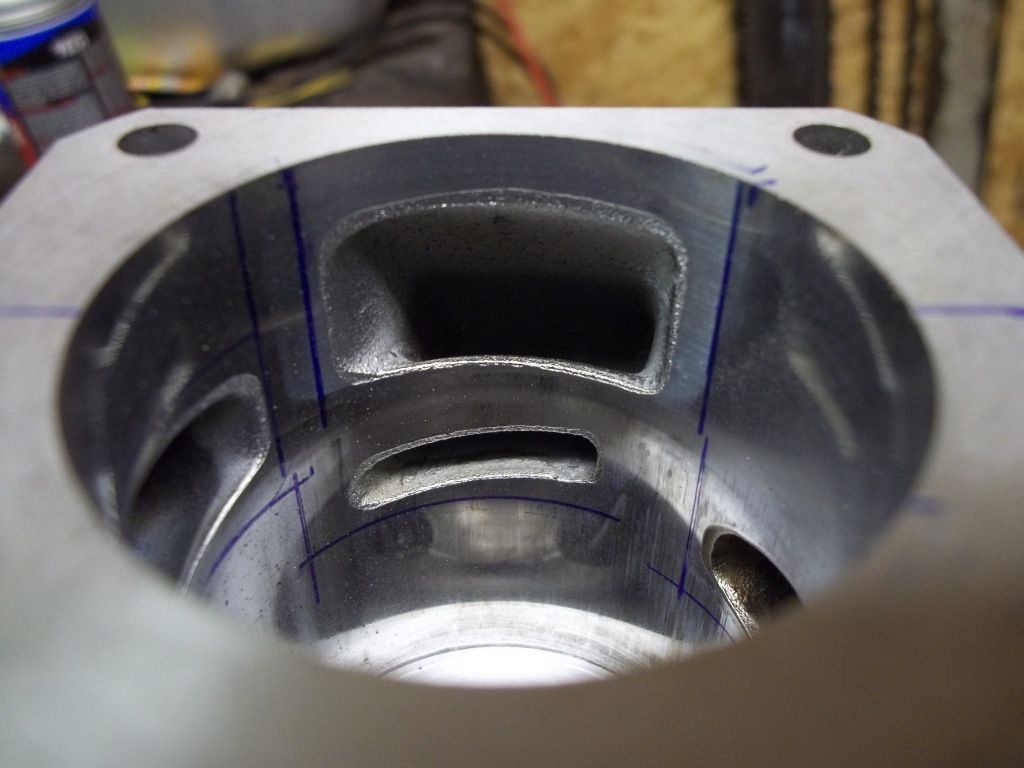
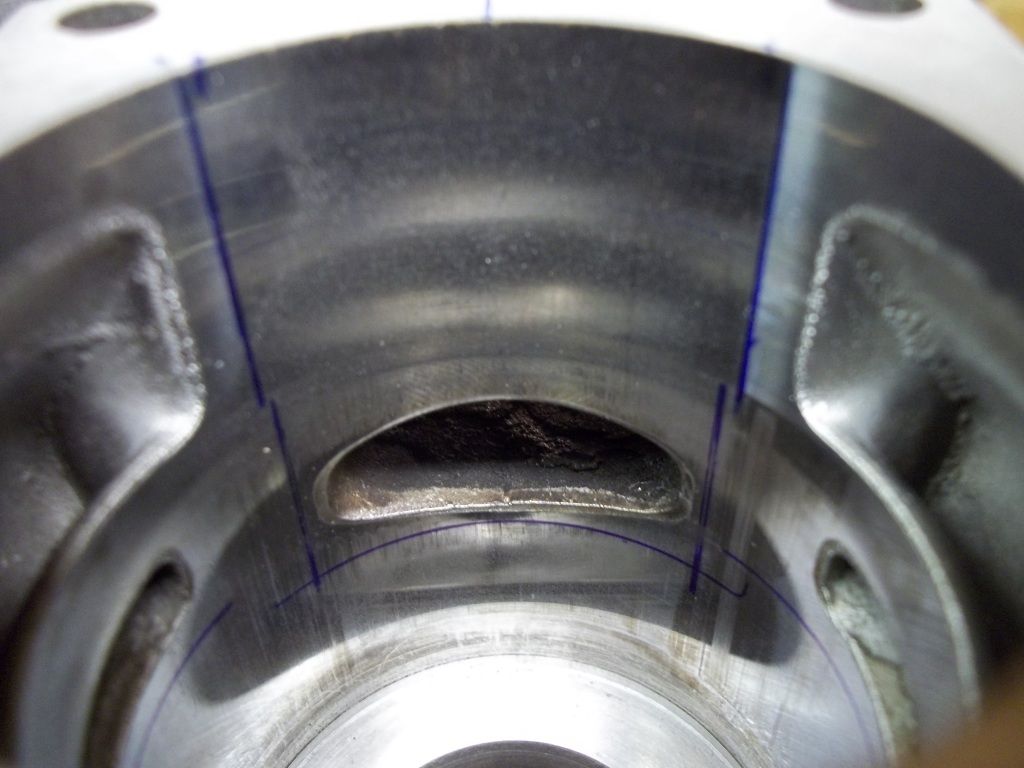
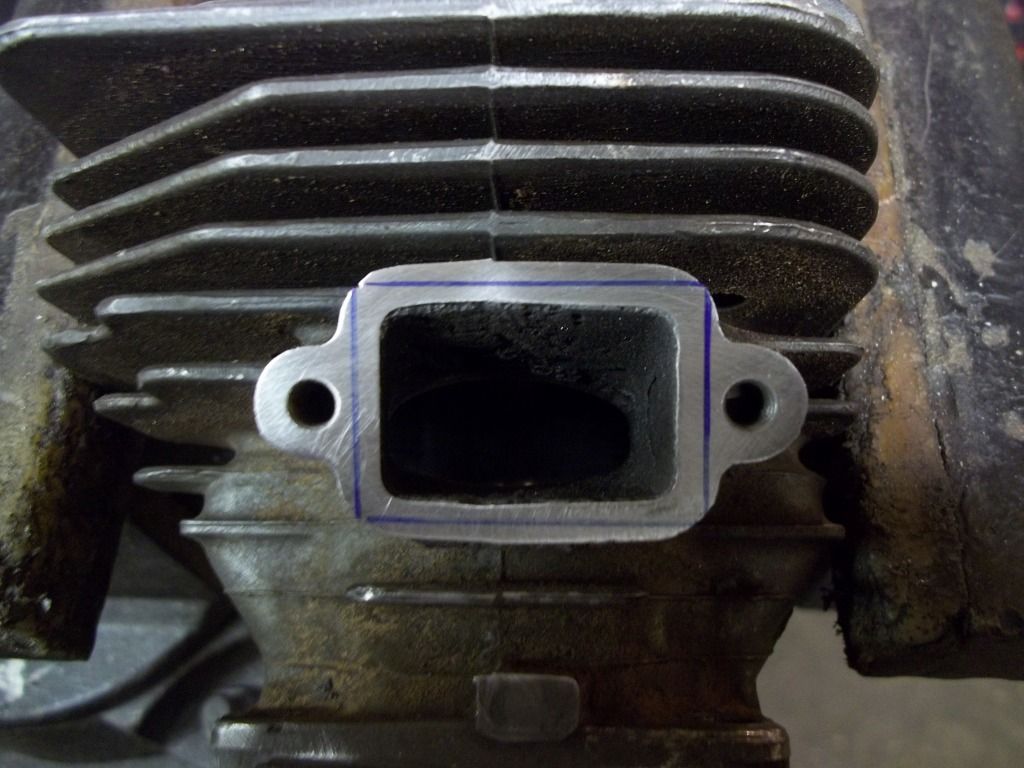
Here's the intake side lay'd out. I use the piston as a straight edge for the horizontal marks & the little square for the vertical ones.
100_1994.jpg


On the transfers I use the piston ring for a straight edge on the horizontal marks.
100_2025.jpg


100_1995.jpg


I also use the ring for the top of the ex port
100_1996.jpg


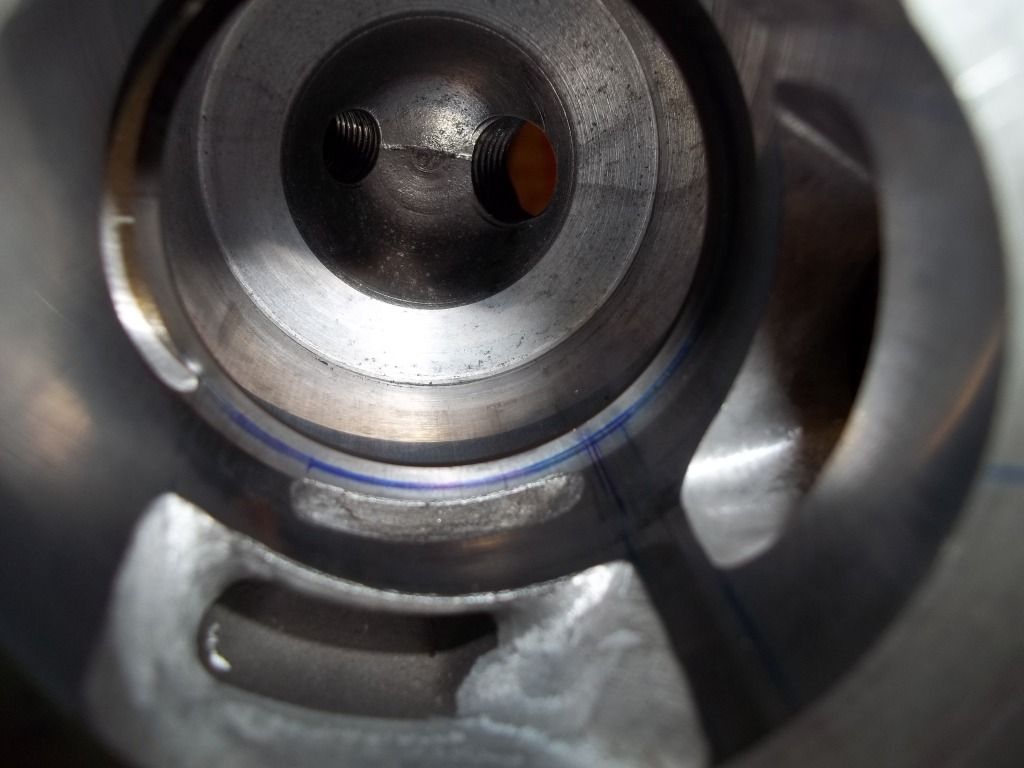
the ex flange just gets a straight edge mark & I eyeball the radius's
100_1993.jpg
 
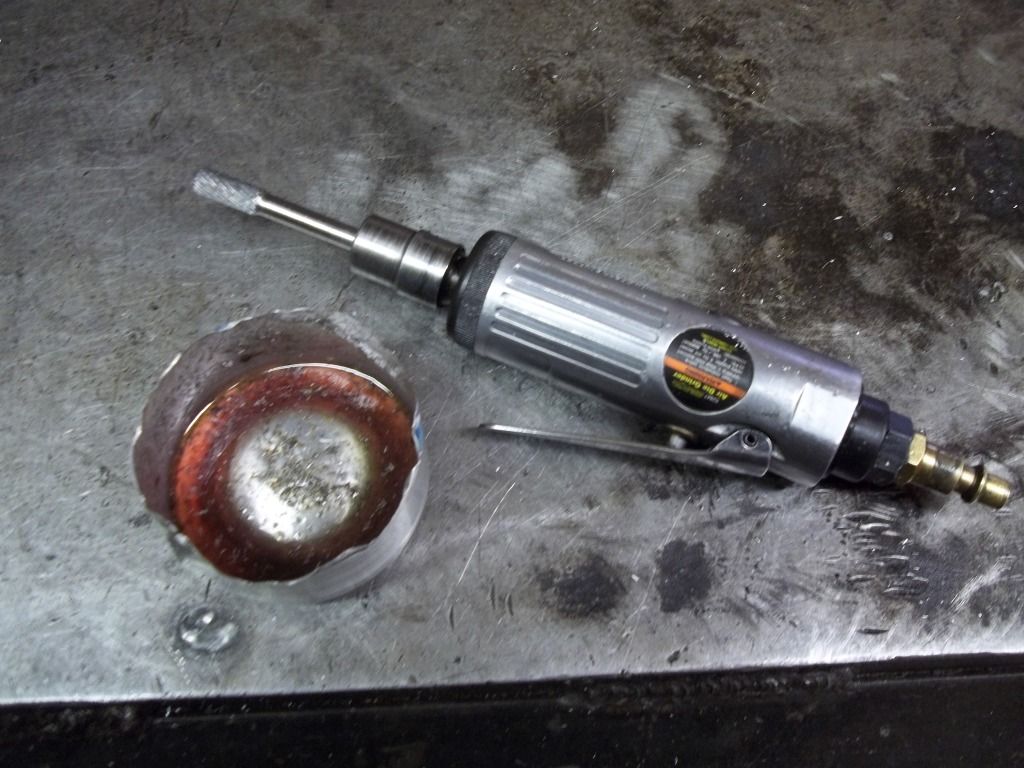
For the next step I'll be using these tools, 1/4" die grinder with a 5/16" round nose bur, and a bit of oil to keep the bit lubed from time to time.
100_2001.jpg


I start out on the outside of the ex port to open it up first.
100_2000.jpg


Then I move to the inside of the port
100_2003.jpg


I then move back to the outside to blend it all together. This is what the ex port looks like roughed out.
100_2005.jpg


100_2004.jpg
 
Last edited:
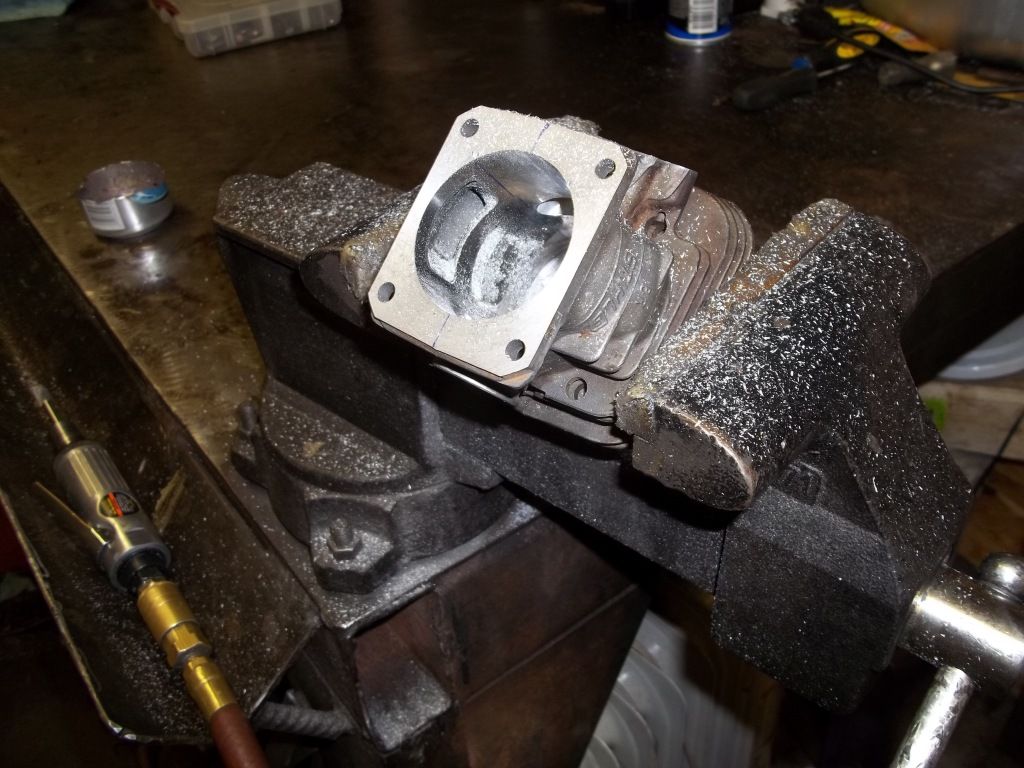
Thought I'd throw in a pick of my little vise with plastic jaw inserts.
100_2006.jpg


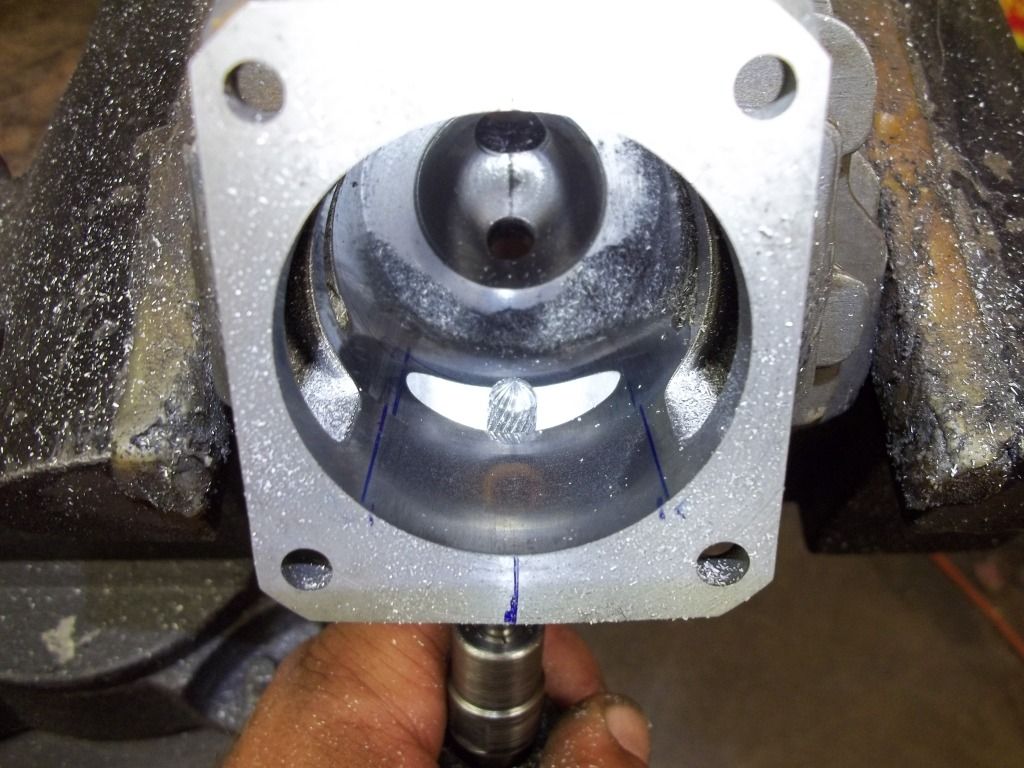
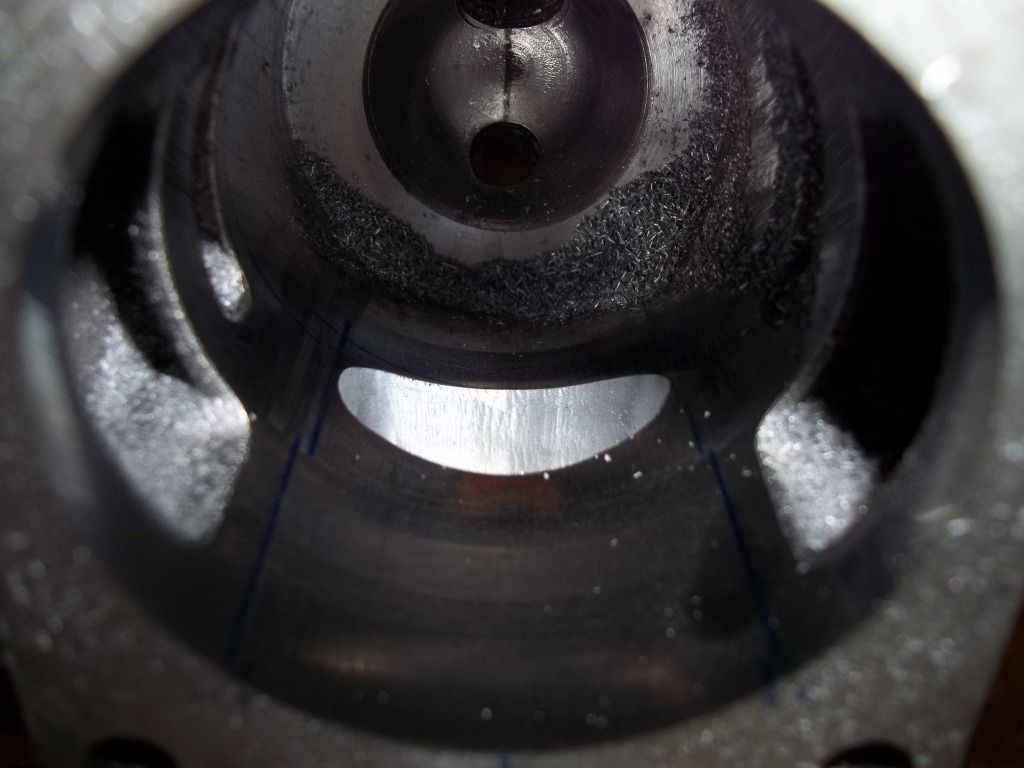
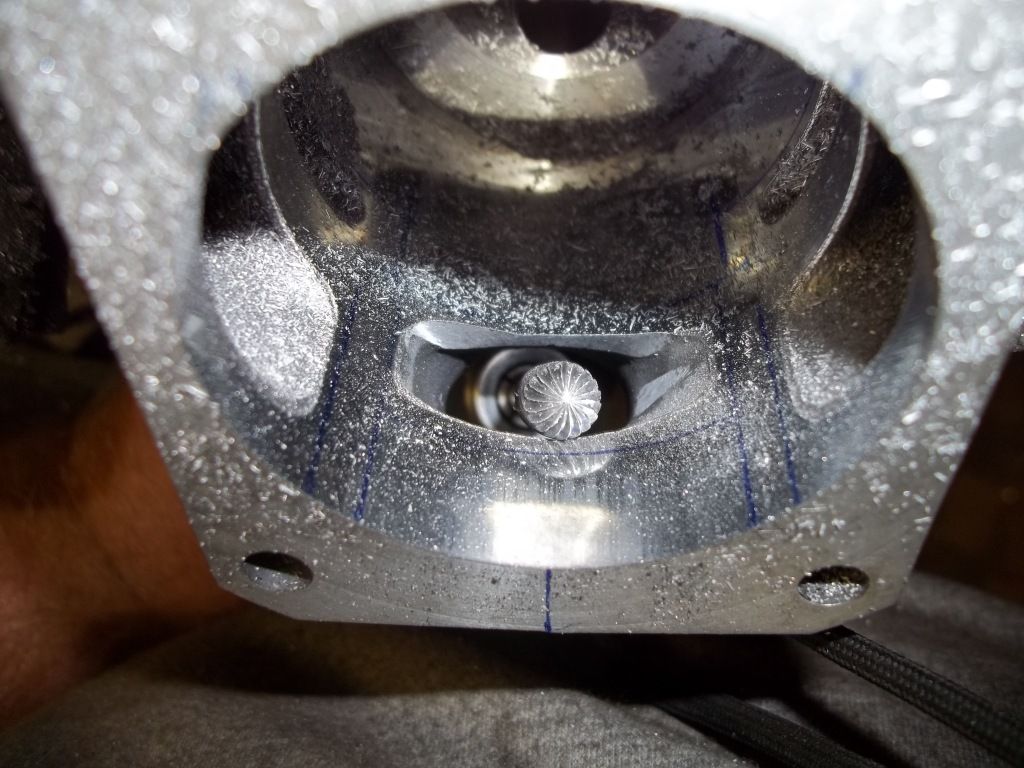
Time to move onto the intake side. I start on it from the inside.
100_2009.jpg


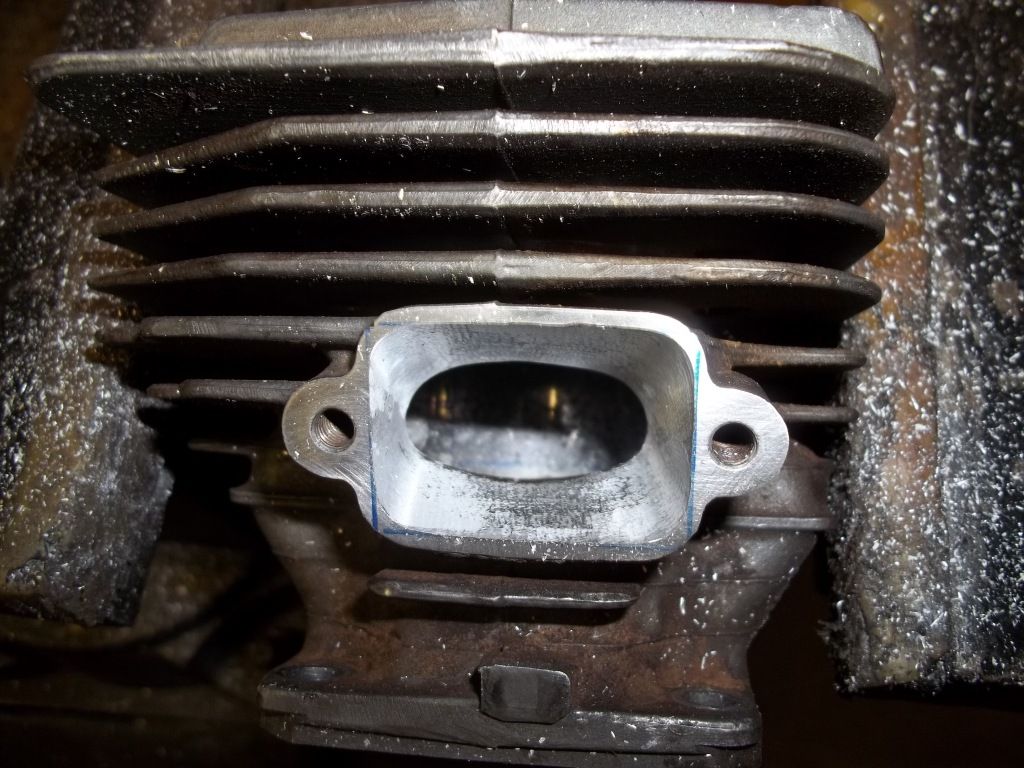
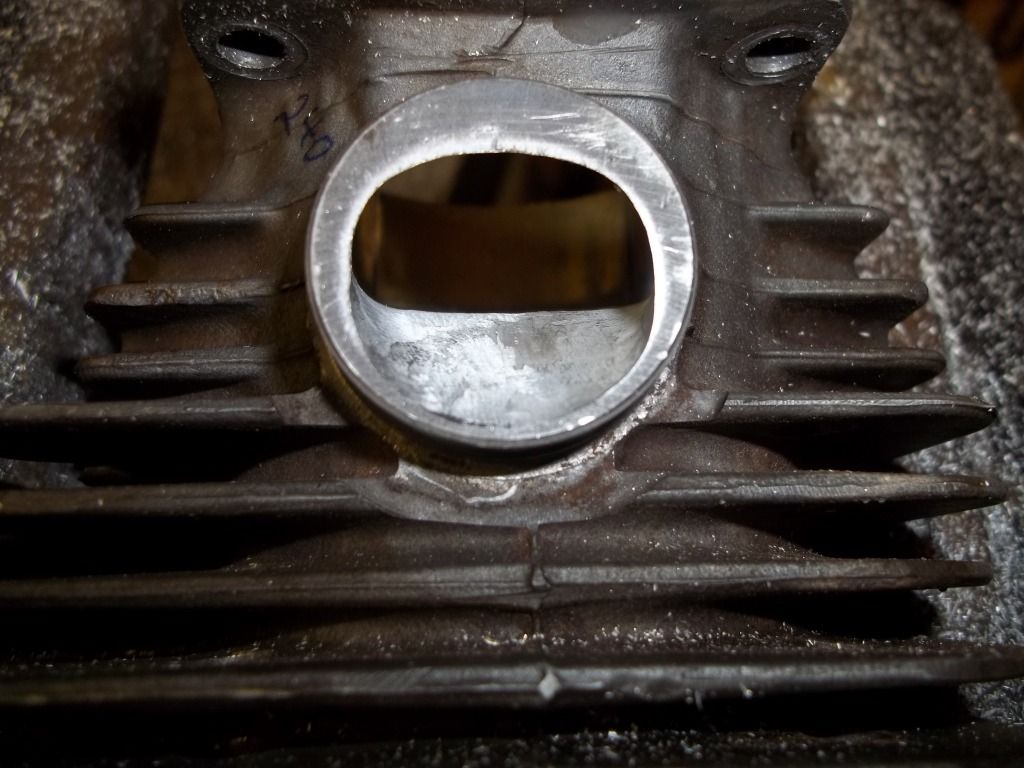
Then on to the outside
100_2014.jpg


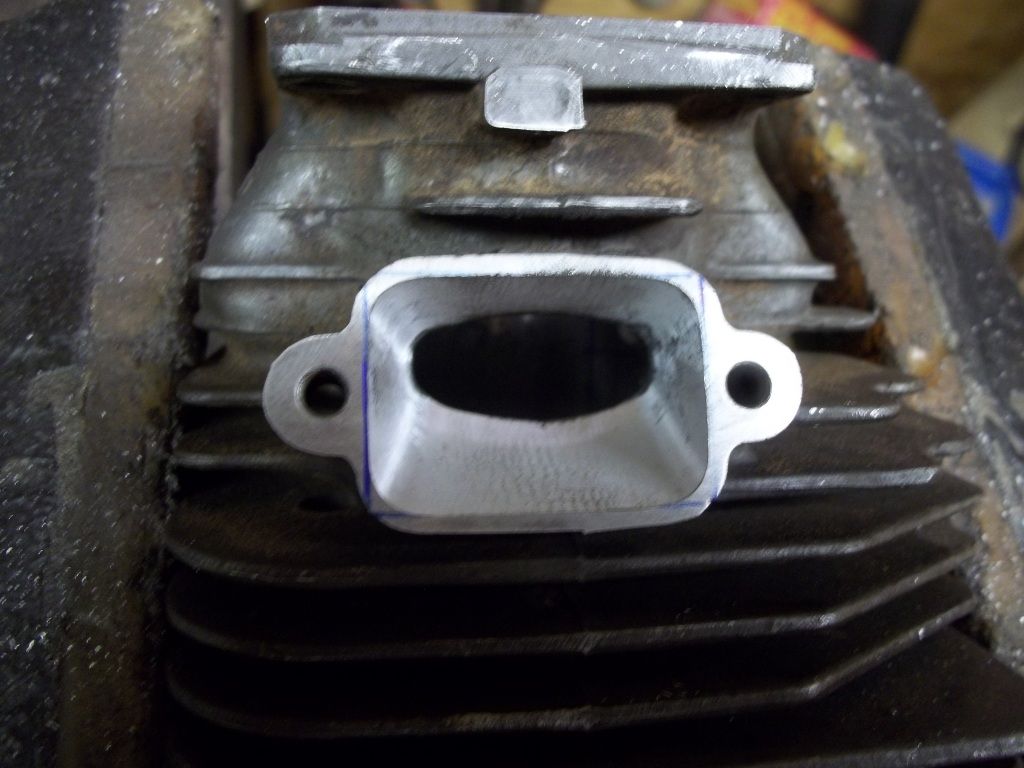
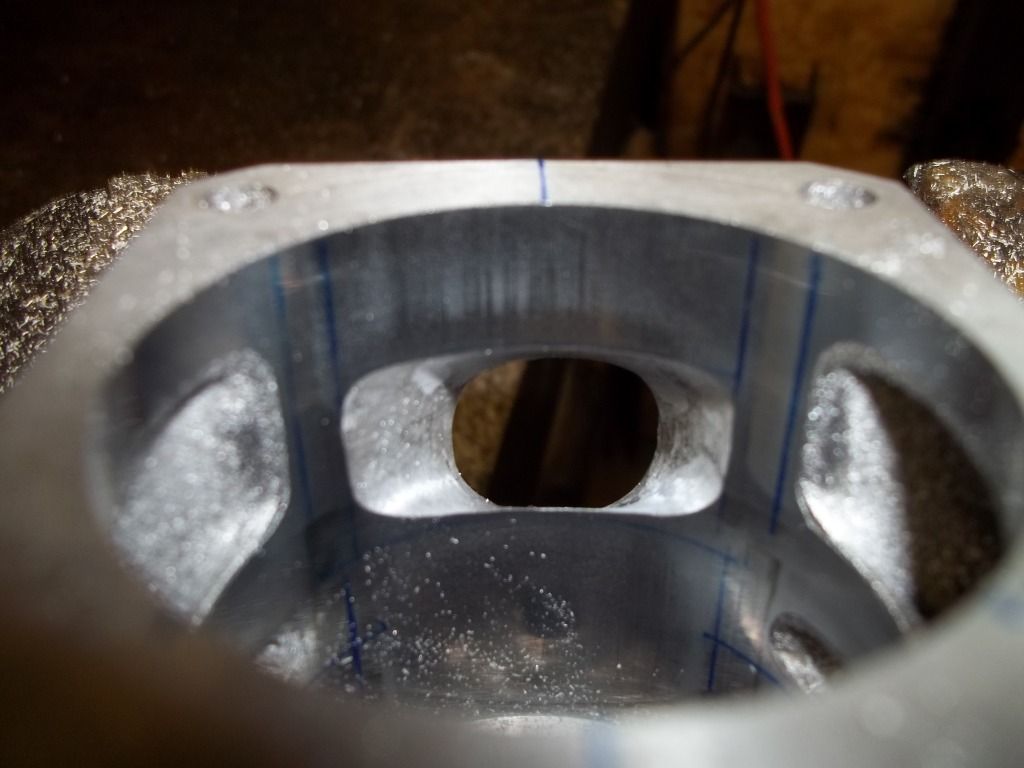
All roughed out with the same bur that I used on the ex.
100_2017.jpg


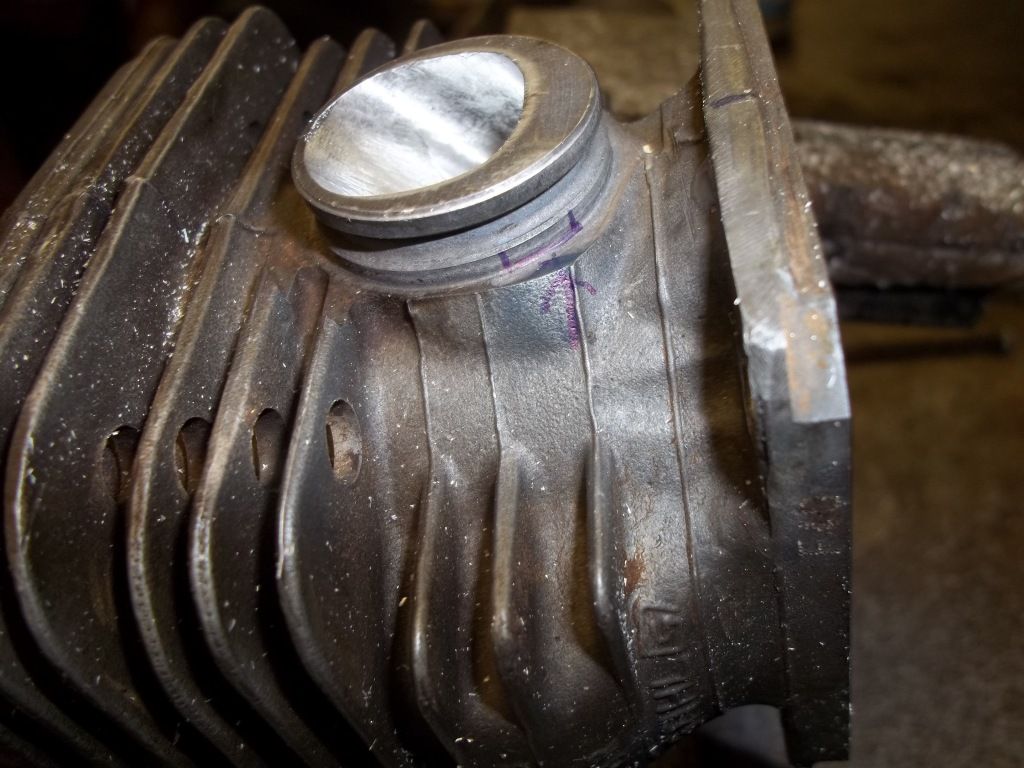
I've learned from experience that you have to be careful with the clutch side on some of the stihls since the port is angled. You can go right through the side where I've got the arrow & line on the base of the boot flange. I've had to weld a couple of holes up before, but it's been a while since I've had to do that. Live & learn.
100_2015.jpg
 

Latest posts

Back
Top