McCulloch Chain Saws

Arborist Forum

Help Support Arborist Forum:

This site may earn a commission from merchant affiliate links, including eBay, Amazon, and others.
IPL calls for 7/8 on the low and 1 1/8 on the high.
thanks for the info guys i can get it to pop and run for a few seconds then dies, i have to do some adjusting on the decomp it does not operate very well and i have trouble getting it closed with it running. it does not pull over very good with it shut, and i feel like something is going to brake when it catches(either me or the saw something has to give)
 
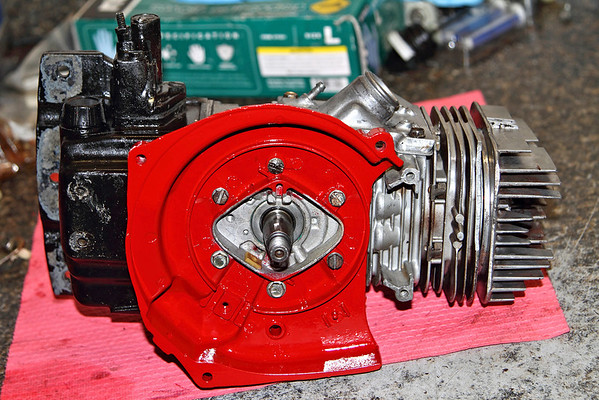
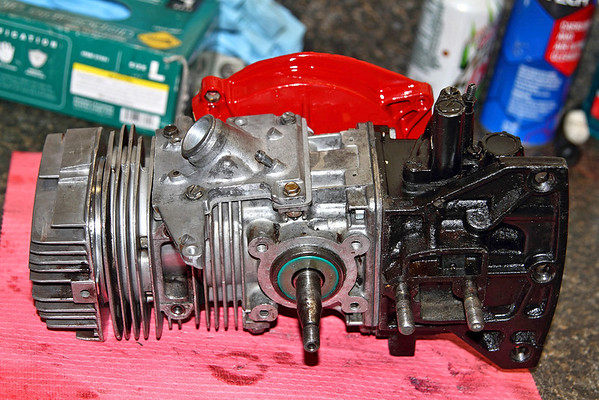
Here's some MC101 beauty for you guys. There's more posted in my build thread.

IMG8439-M.jpg


IMG8440-M.jpg
 
As promised a couple of days ago, photo's from my saw starting excecise on Saturday.

First two are the 55 and 1-72, both equipped with Tilloston carburetors and both started within 6 or 8 pulls even after setting for 4 months or more.


After that I just went ahead and started all of them, here there are spread out for your enjoyment. Front row L-R: SP125, 7-10, 10-10S x 2, SP60 just behind (darker yellow), SP85 beside the SP60, CP55, SP118, SP125, SP105, SP105, 1-76, 1-85, 1-72, 55.

I don't know why this one was so shaky, maybe that was fatigue after moving all these saws around and starting each one: L-R Jonsered 621 x2, 930, 910, 2.3 AV Homelite behind, 036, 066, PM100, 840 with the broke fuel line.

Now a few small saws starting at the bottom: Olympyk 935, SP40, MM 110, JD??, Titan 57 on top. Way in the back next to the bag of charcoal is the 77, and hiding behind the bi-tricycle is the Super 797 with the black and yellow McCulloch bar.


Finally, a close up of the broke fuel line, guess I know now why it would not run.


Mark

Nice 1-72. Did you start them all at once?

A little birdie tells me you have another horse joining that line-up...
 
Well Mac fans, I have dropped off the cylinder and piston at the machine shop earlier today...

Should be done in a week or two... I specified for .004" of clearance between the piston and cylinder... after I give it quick and good hone, I imagine it'll be around .0045" or so.

I went way back in this thread and found leeha's post on what should do... he said since it wasn't a kart engine, which we all know they run higher rpms, which means more heat... I should be able to run around .004" instead of .005" like he set his kart saw engine to... well, if you want to be exact, he set his kart saw to have .0055" of clearance between the piston and cylinder.

So... after I got home from running around town, I finished making the piston support tool (will post pics of it in action tomorrow) to push the wrist pin out of the rod... along with that kinda goofy capped wrist pin bearing that Mr. McCulloch used for some reason...

Gotta pick up a bigger c-clamp to use with the support block, a blasted 4" c-clamp is the largest c-clamp in my entire tool collection. That means tomorrow is a shopping day. While I'm at the store, I'll grab a few big boxes of baking soda to use with my homemade soda blaster... and maybe I'll get a chance to try that out. I'll first try it on the original corroded with a hole in the bottom PM850 fuel tank that came with it when it was a pile of parts... if it cleans that up nice and I find the sweet spot with the air pressure, I will then start on the 790 parts.
 
promac610

I think that capped bearing is to keep junk from the exhaust port from going down the middle of the wristpin and also into the needle bearings.

It also caps the crankcase oil and gas from comming the other way.

I think :msp_unsure:

ODW
 
Well Mac fans, I have dropped off the cylinder and piston at the machine shop earlier today...

Should be done in a week or two... I specified for .004" of clearance between the piston and cylinder... after I give it quick and good hone, I imagine it'll be around .0045" or so.===

Gotta pick up a bigger c-clamp to use with the support block

=== use with my homemade soda blaster===
Cool deal on the machining!

c-clamp? not sure of what you're facing in terms of space restrictions, but I've had good luck with the 1T version of this: 1 Ton Arbor Press - Harbor Freight Tools 1/2 Ton Arbor Press pressed the wrist pins out of 4 dolmars, plus multiple bearings, shafts, pins in & out of just as many. just watch the max height to make sure it is enough.... for $30 - $45, hard to beat.

DIY soda blaster?... build-to drawings or it didn't happen!

I don't have space for an arbor press right now... there's stuff all over the barn's workbenches. I do however, have a spot on the floor where I could put a 20 ton shop press... :hmm3grin2orange:

As for the soda blaster, you'll get pictures...


Now, before I push the pin out of the rod and pull the piston, is there a certain way the piston has to be oriented, or does it not matter since it's a full skirt piston? Just make sure the capped wrist pin bearing is towards the exhaust?
 
Last edited:
Sending the 797 block to get bored and ported increasing the bore 0.20 over. New over sized piston and rings, new seals and bearings will be installed. This saw will be restored/painted..but no way will it set on a shelf this saw will mount on the quad with me when I go cutting in the forest for big Ponderosa's. Thanks Lee for great tips on the piston apps and info:rock:
 
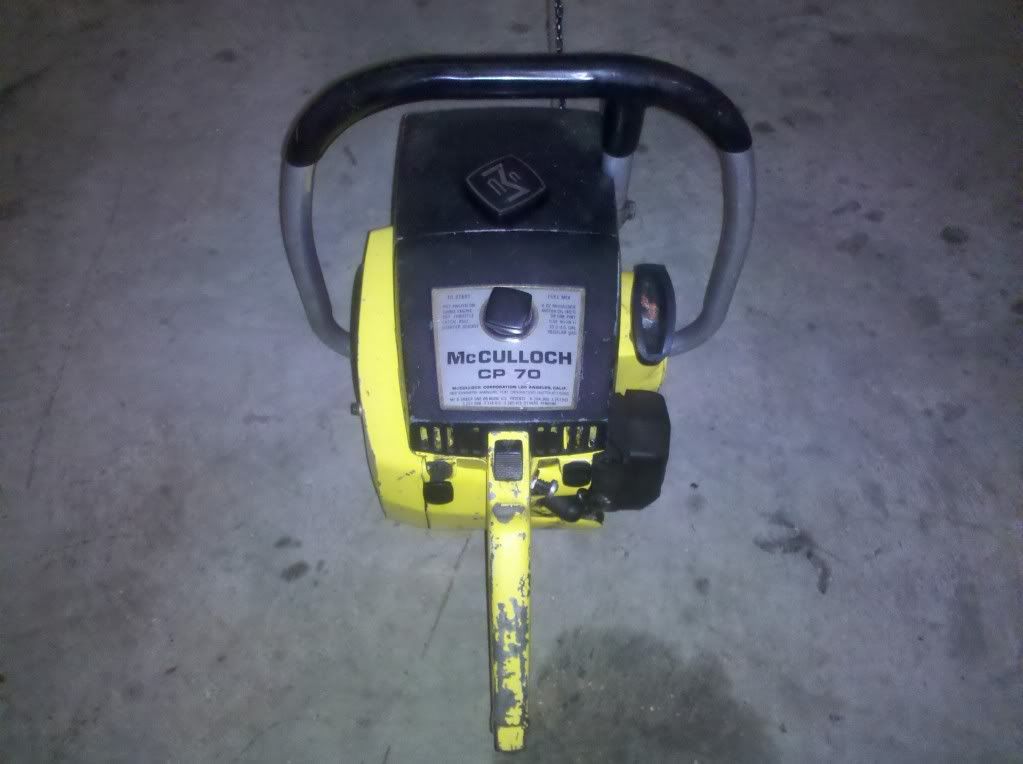
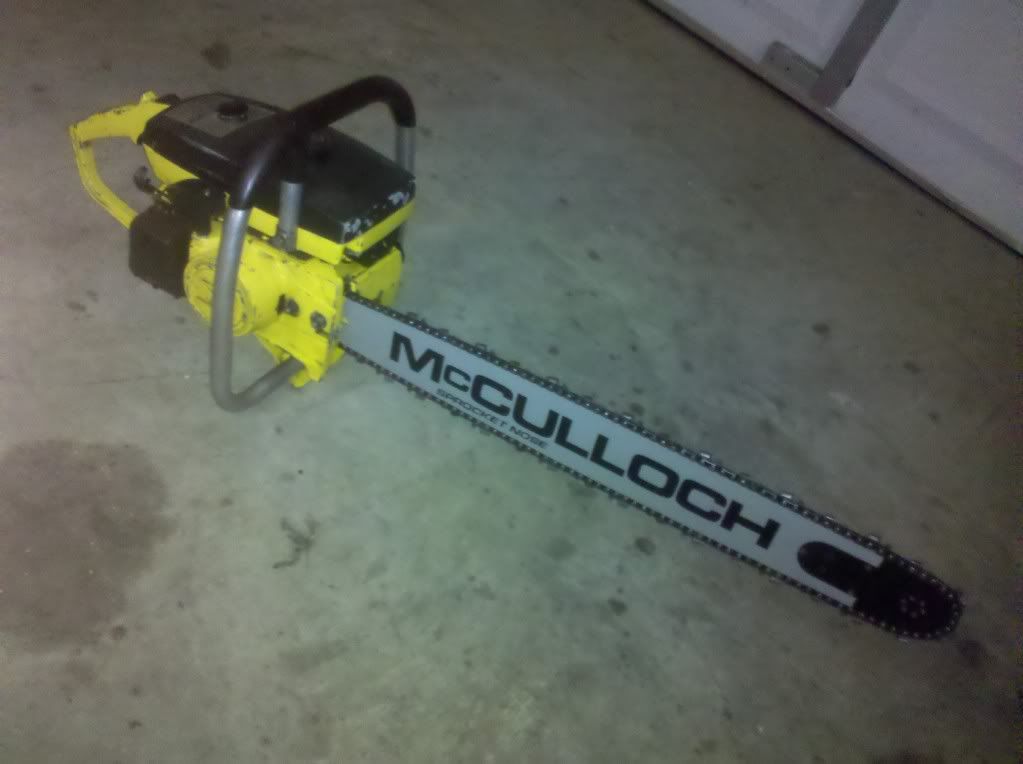
Can somebody tell me what model Mac this is? Thanks

Sent from my SCH-I500 using Tapatalk
214002d1325182164-uploadfromtaptalk1325182162638-jpg

214003d1325182179-uploadfromtaptalk1325182176077-jpg
 
Last edited:
PM700 dsp

I'm working on a PM700 with a non-working DSP. What I've found is the hole in the block from the DSp to the combustion chamber is carbon plugged. Any idea what the ID of the hole going into the cylinder is? I pulled the hex head screw/plug out, but I'm not really sure what size hole.

I figured i would ask before taking apart my other 700 for a potential sizing.....


bob
 
Kyle, the skirt extension goes toward the exhaust.

PTJeep, assuming it's a kart block, my best educated guess would be an MC-49.
 
PTJeep, assuming it's a kart block, my best educated guess would be an MC-49.

I don't know much about the kart engines, is that anymore powerfull than a saw engine? Basically, I'm guessing its no were near a 101b engine.

Sent from my SCH-I500 using Tapatalk
 
Top of my head the 49s were 80cc fixed head and not very aggressive. Mac marketed them as a youth/starter class crate-motor.
 
Well, I ran off and got the c-clamp and attempted to remove the wrist pin, and no luck... it popped and moved a little, but refuses to budge any more than where it is now... guess I'll be using a 20% off coupon at HF sometime soon... the c-clamp just isn't sturdy enough... it budged the pin a little, but after that, it's simply showing what 1060 cast steel does when it can't push or hold something... which is flex. A lot.

Also got a few small 8 oz boxes of baking soda (all this store had, planning to make a trip to a bulk store at some point tomorrow) to try and wow, it does work pretty good...

Here's a pic of the stuff I bought at the store... except for the soda blaster itself... I had the crap that I needed laying around the barn for that.

attachment.php


Yes, that is John Deere Yellow tractor paint. I figure with proper prep and application, this #### will be as hard or harder to remove than the original paint was. Do it right, do it once... It'll also match both of the 317s' wheels and mower decks now... good old tractors, and good old chainsaws... :cheers:

Here is a pic of the soda blaster... close up of the tip, that is. It's one of your run of the mill blowguns with the supplied barbed tube tip put on it... I made a v notch about 3" from the discharge end of the tube, and then slipped it over the nozzle, and then zip tied the tube to the blow gun so it stays put... the tube is about 18" long, 3/8" diameter clear vinyl.

attachment.php


Here are the results...

attachment.php


It takes some time to get a handle on running the thing, but once you get used to it, it actually is easy. However, be forewarned... you will need a LOT of baking soda just to do one saw... I ran those little boxes dry on a bottom part of the 790 flywheel cover... (I knew I would... wish those idiots stocked big bags of baking soda...) This pic shows the test piece (old corroded PM850 tank) It'll show bad spots/corroded areas, yet is gentle and does not excessively abrade the base metal in the good areas. That hole in the tank wasn't there before...

I think the results are better than sanding, so I'm going forward with the blasting. Probably still a little less time consuming than sanding as well, since the sandpaper will clog up with paint and junk... unless you're using some super aggressive stuff, which would scratch the heck out of the parts, and require them to be finish sanded before painting, unless you like all of the gouges.

Oh, and you will need to get the tip of the blaster about 3/8" from the work, and set the regulator at about 100 psi (pressure drop should make it drop to about 80-90 during use) Keep the tube up out of the baking soda... the pressure and air rushing into the box will pick it up and carry the baking soda up through the tube, and out the discharge end. You'll also need to clean any gunk and grimy crap off of the parts you want to blast before you do blast them... the soda doesn't remove the gunk very well.

So... conclusion is that a soda blaster is a good idea, and will clean up magnesium parts with basically no metal removal. It'll take corrosion and paint off, but not really any metal... which is what I figure we all would want. Hope this helps you guys with future saw projects. :cheers:
 
Sending the 797 block to get bored and ported increasing the bore 0.20 over. New over sized piston and rings, new seals and bearings will be installed. This saw will be restored/painted..but no way will it set on a shelf this saw will mount on the quad with me when I go cutting in the forest for big Ponderosa's. Thanks Lee for great tips on the piston apps and info:rock:

Little help, buddy. Who's boring and porting it and what porting are you having done? I have a Super 797 and a CP-125 block that need attention...
 

Latest posts

Back
Top