flyboy
ArboristSite Operative
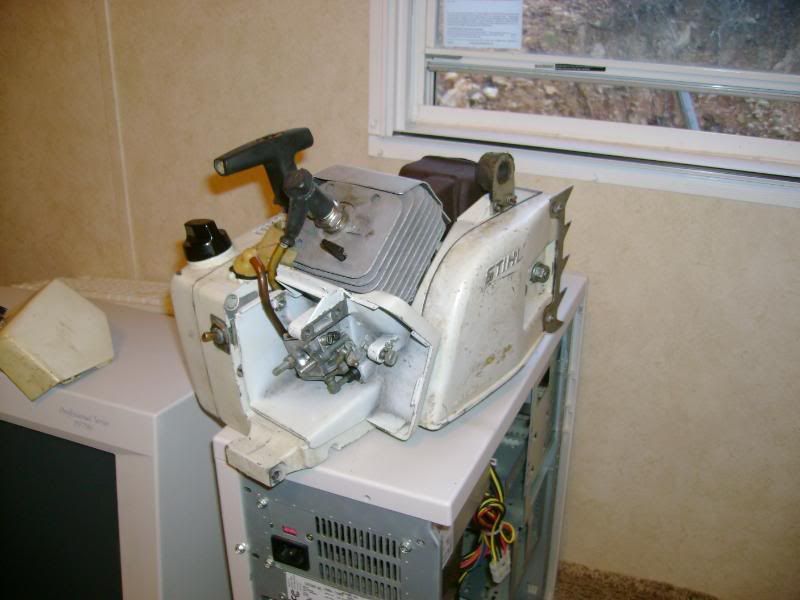
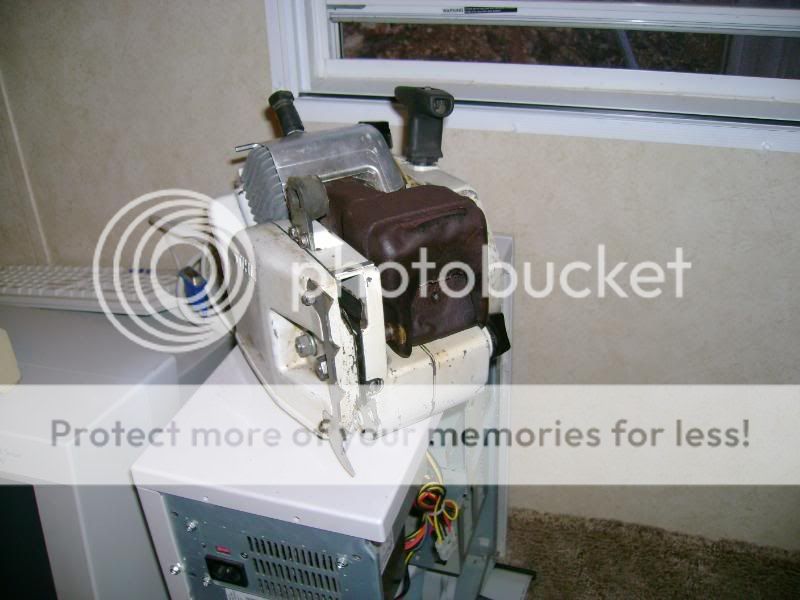
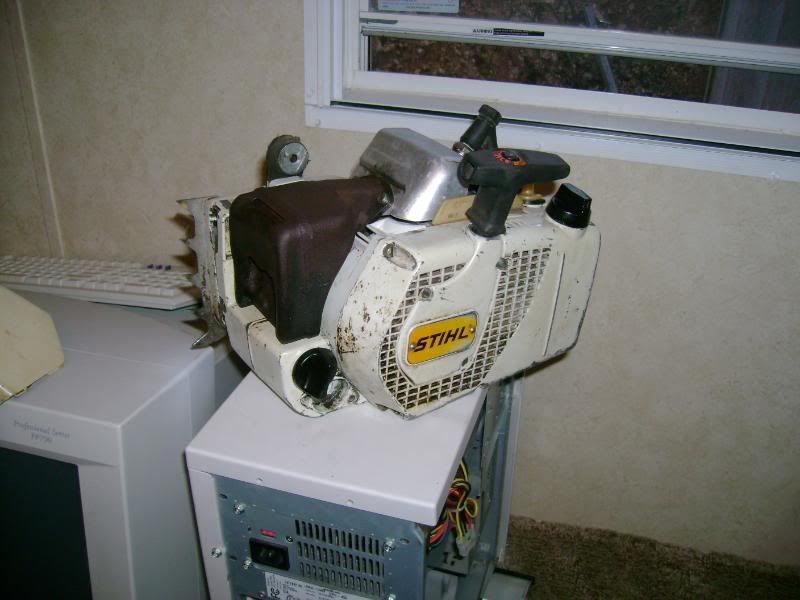
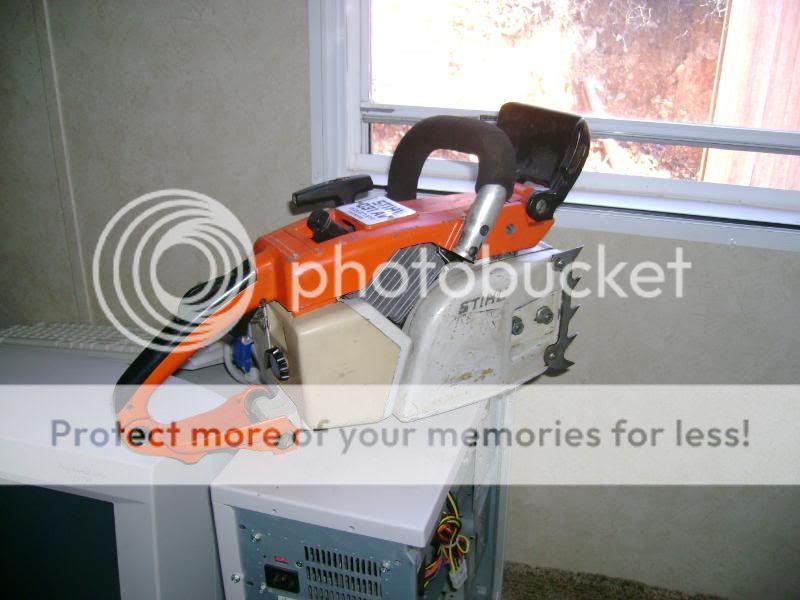
Make sure you can get new gaskets BEFORE splitting the case.


Make sure you can get new gaskets BEFORE splitting the case.

I do believe the original size is M5 x 0.8
You would have to drill then tap it out to M8 x1.25 for the inserts mentioned above. That would be my vote. Anything worth doing is worth doing right. What you will wind up in the end is a saw with more torque and the same horsepower as an 026/ms260.
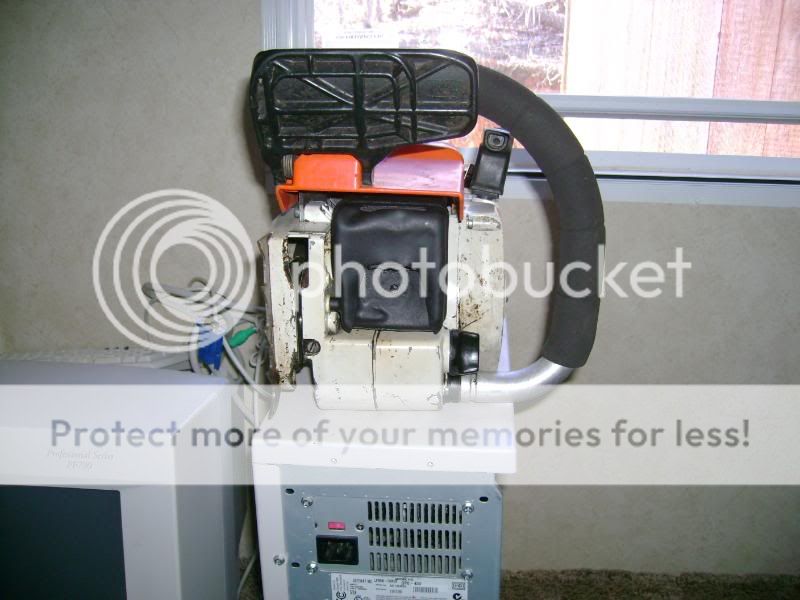
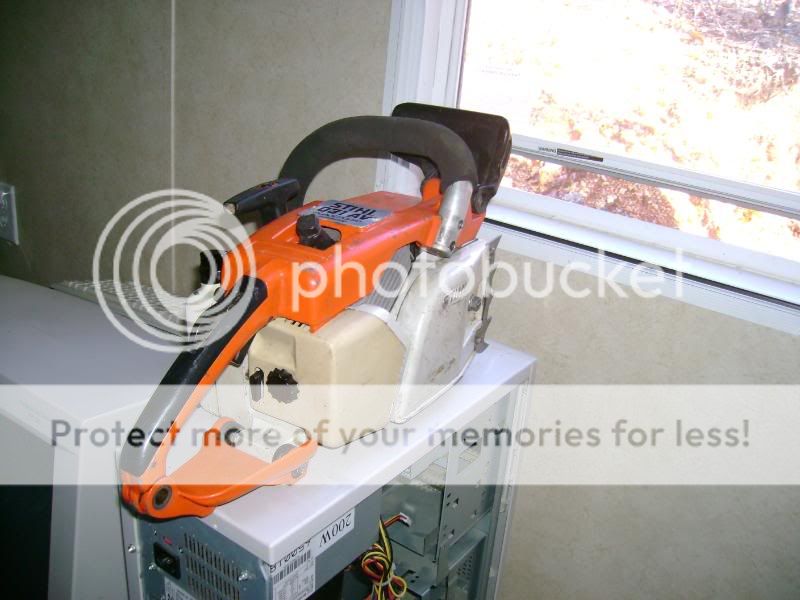
 All in all though, a very good saw (other than spotty ignition) that is one of my favorite old Stihls. Mine can keep up to my other 45-55cc saws, and that's good enough for me.
I've never bothered measuring when I torque bolts down in saws - and much like you, I'm not even sure how a guy would go about doing that for a lot of them. I just pretty much give it as much as I can with whatever tool I'm using - in the case of allen wrenches (since I don't have a T-handle set yet), I usually grab the short end with a pair of pliers or Vise-Grips for extra leverage. I've never had a cylinder bolt let go on me yet. Just can't go all Superman and really crank on them with a long-handled tool (like a torque wrench), since the soft magnesium will just tear out and strip.
1-1/4 turns out on the carb screws should keep you in the safe zone, no problem. BUT, I have yet to work on a saw that really ran at its best with both jets set exactly the same. Not to mention that you've completely torn down and rebuilt that saw, so the manufacturer's recommendations might not be optimal for this build. It takes a lot of practice to really be able to tune a carb by ear, but this guide over at Madsen's might be of use to you:
http://www.madsens1.com/saw%20carb%20tune.htm
Any pics on the progress yet? I went out and bought a set of allen T handle and torx T handles. This makes it alot easier when tearing these saws down.


Enter your email address to join: